As someone who loves open-sourced and programmable hardware, the Ploopy trackall really caught my eye. I first saw it on Reddit a year or so ago, and recently, I decided to purchase a kit from my home country of Canada. In this post, I document my build of the Ploopy Mini. If I’m being completely honest, I didn’t feel compelled to record a ton of build details or take multiple close-up photographs, because I feel that the existing build documentation of the Ploopy is fantastic. Probably one of the best instructions I’ve seen yet for an open-source electronics project.
The package arrived in a recycled 3D printer filament box, and inside the box, the parts were lovingly wrapped in a shopping flyer ![]() . I actually kind of enjoyed the packaging. It felt nice knowing that I was supporting a fellow hobbyist’s side hustle.
. I actually kind of enjoyed the packaging. It felt nice knowing that I was supporting a fellow hobbyist’s side hustle.
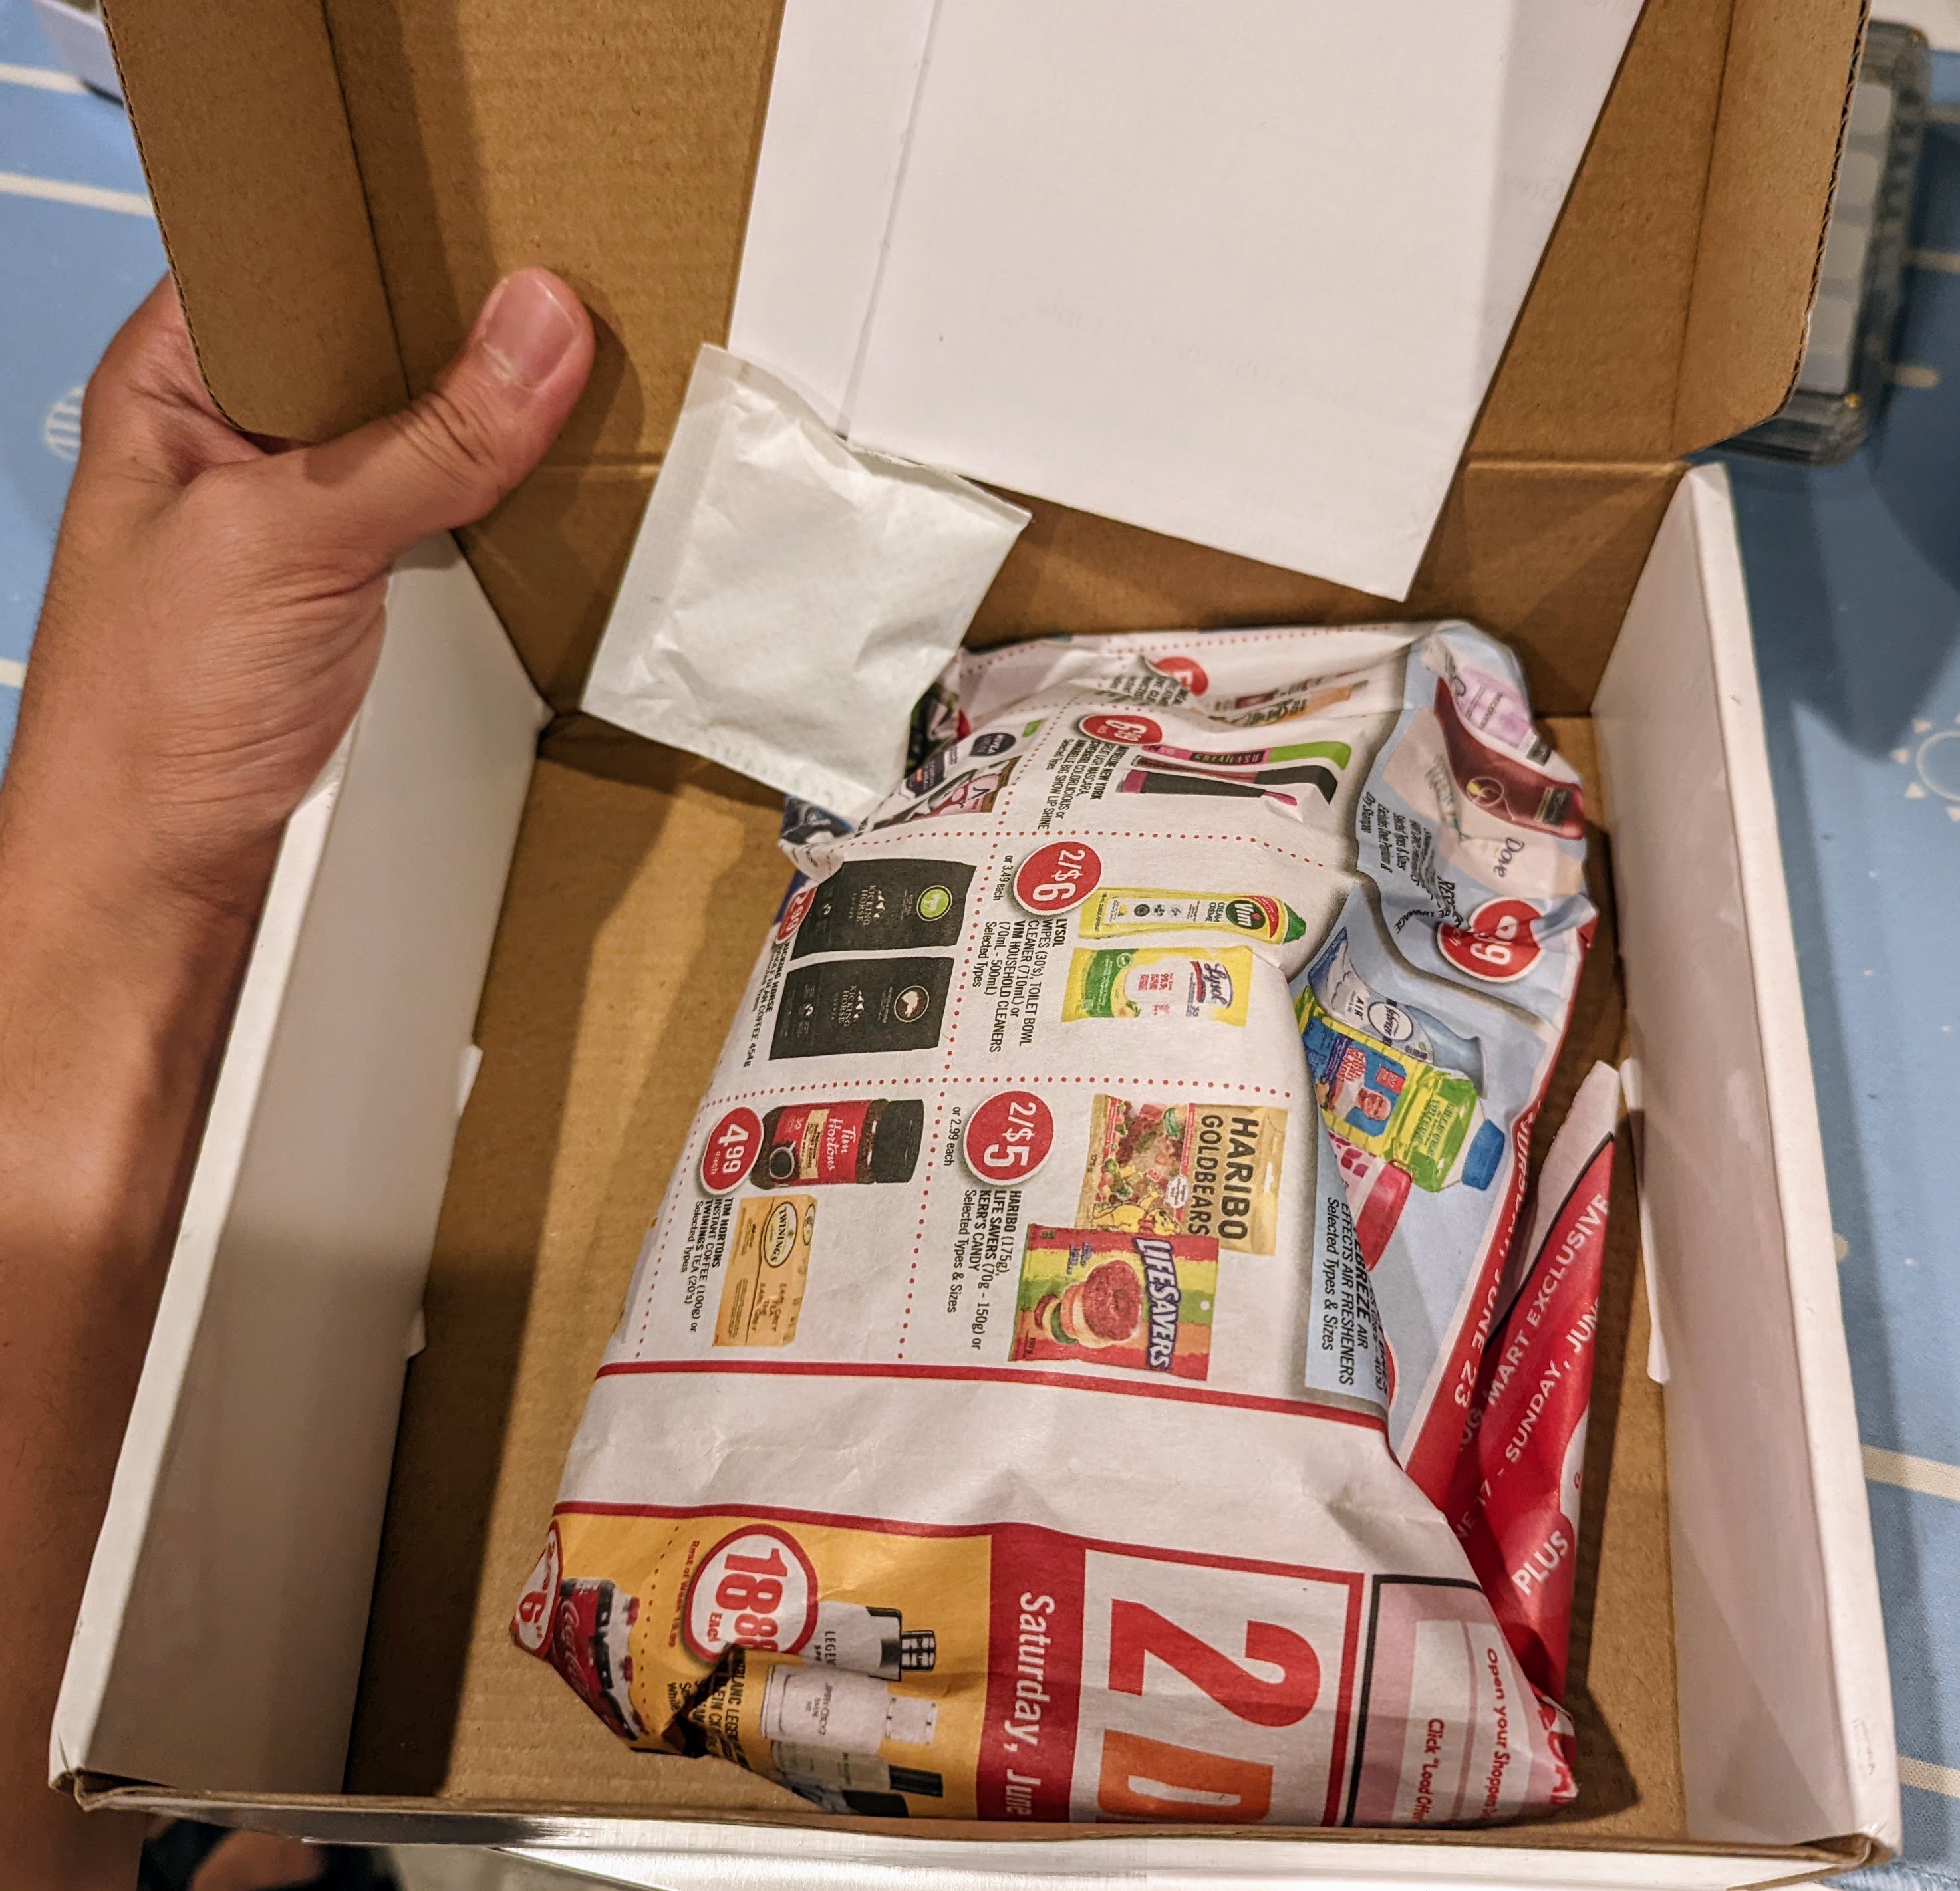
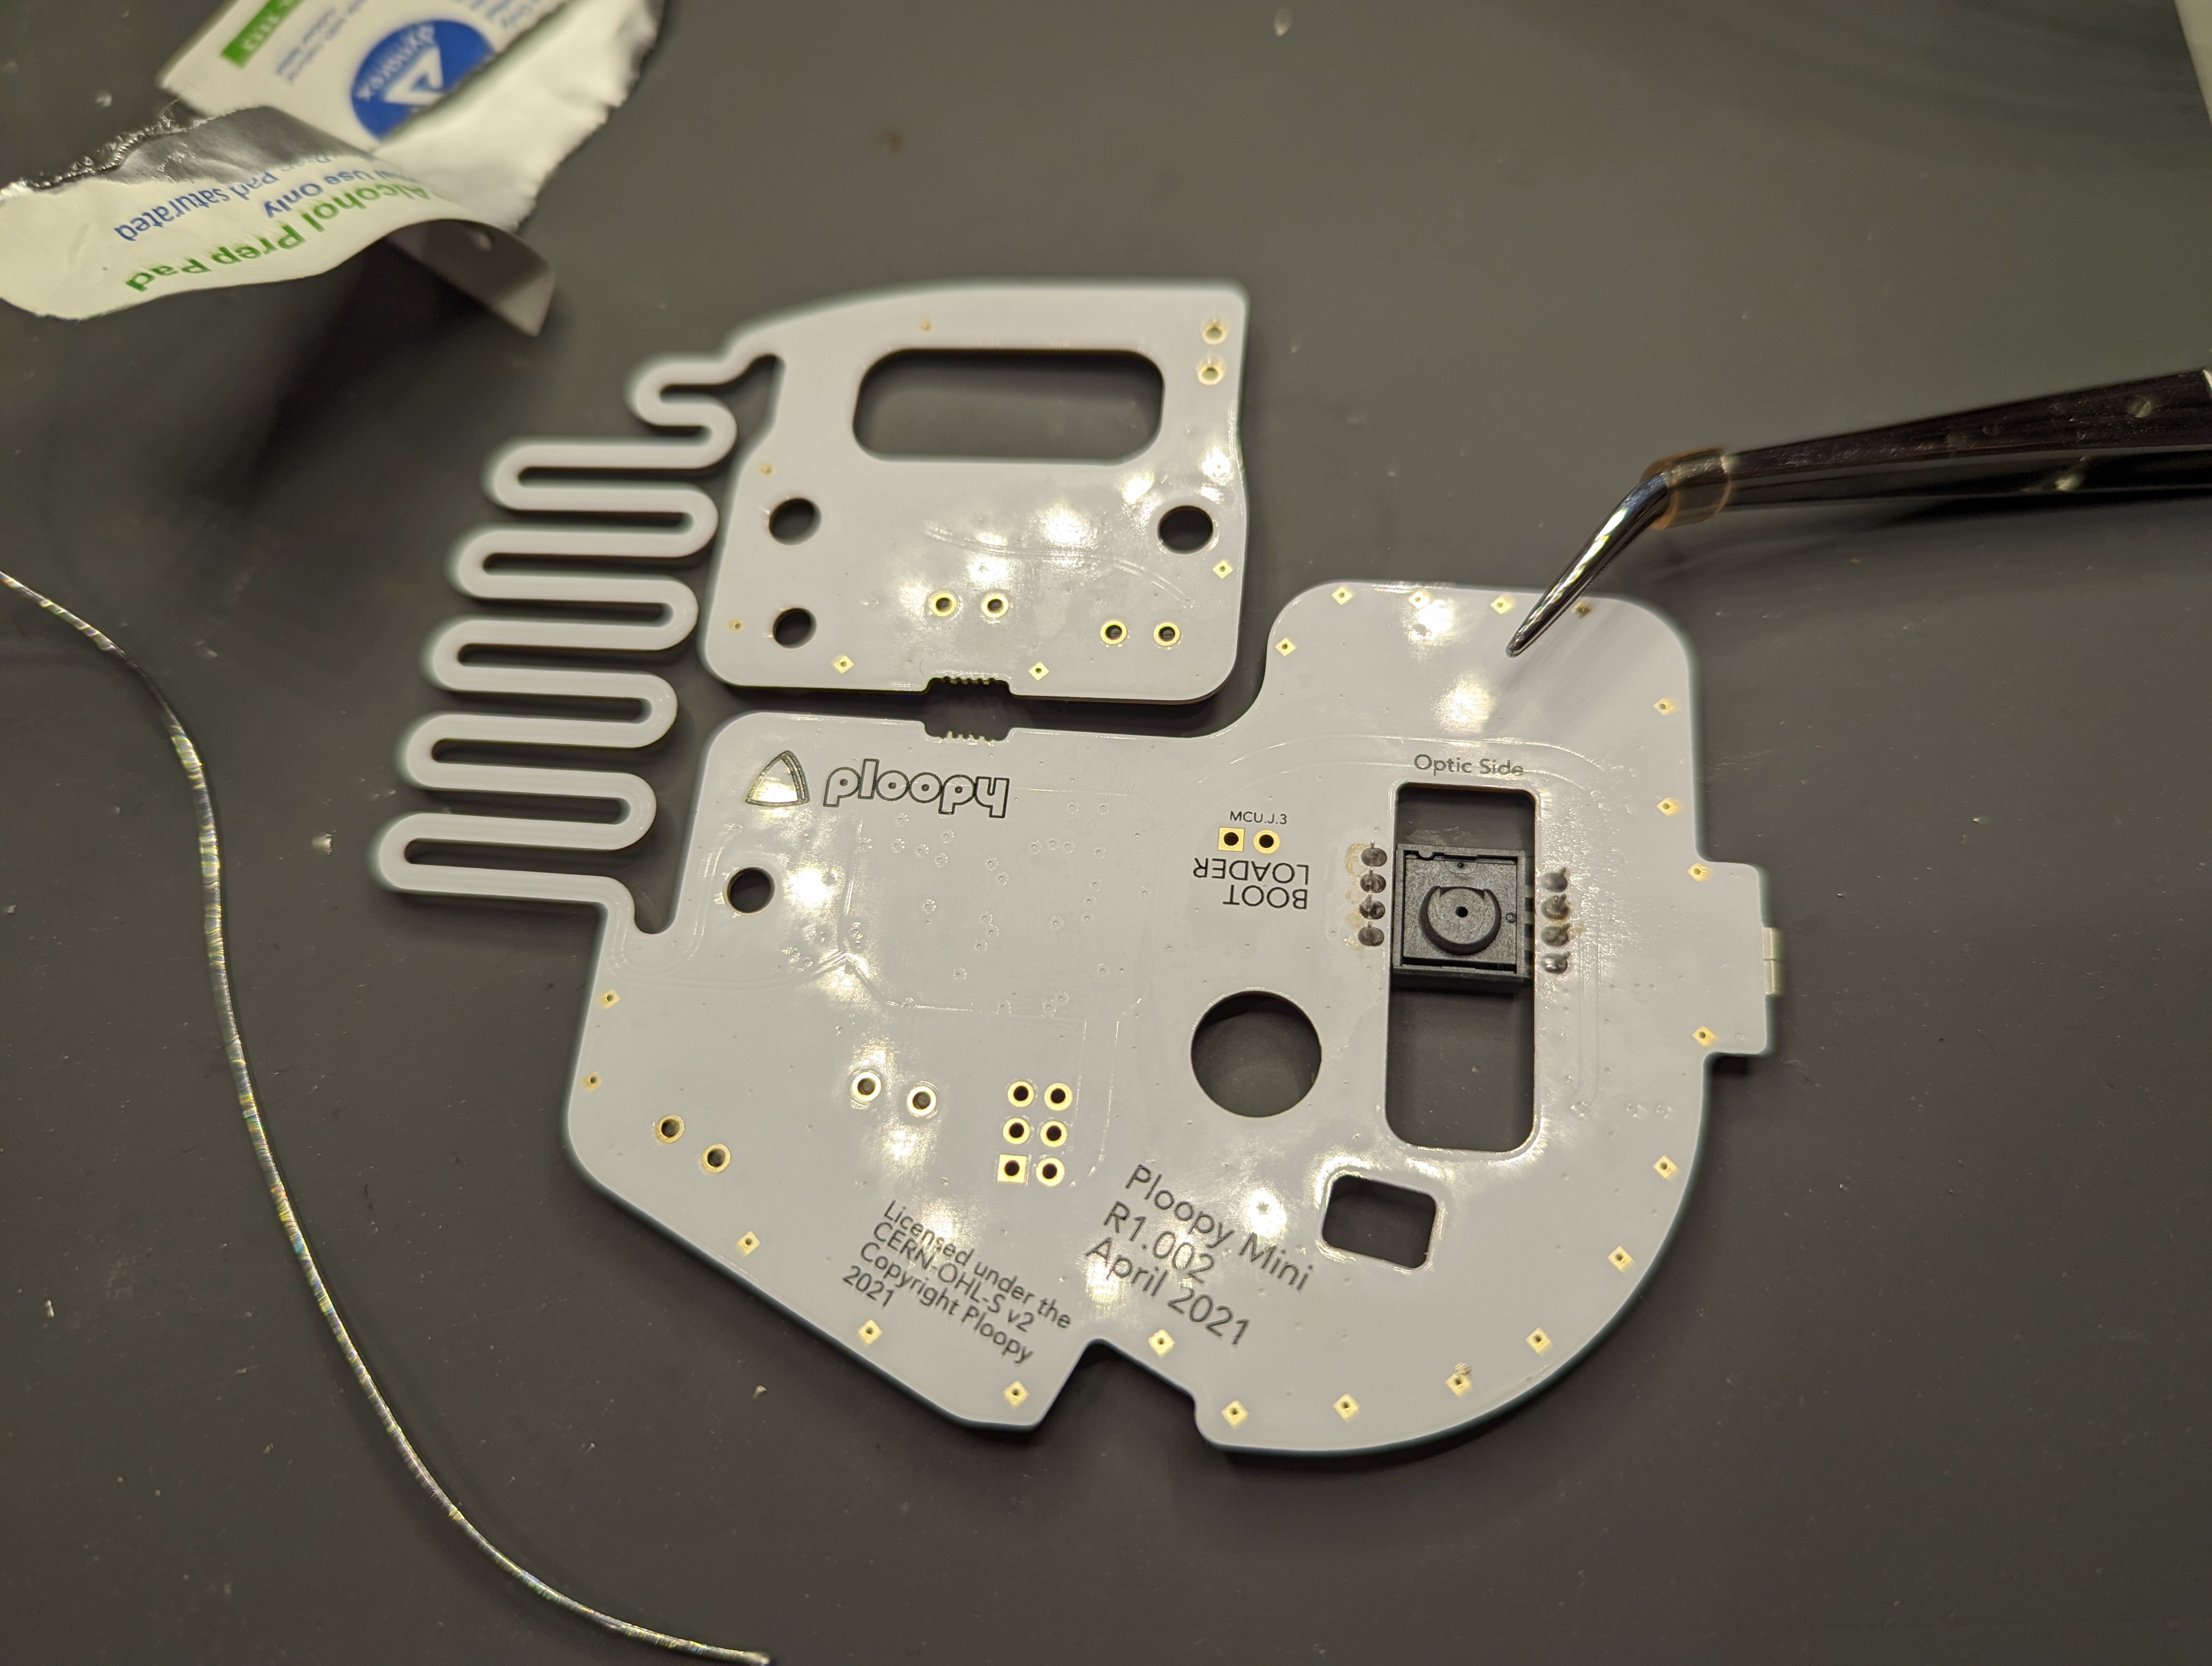
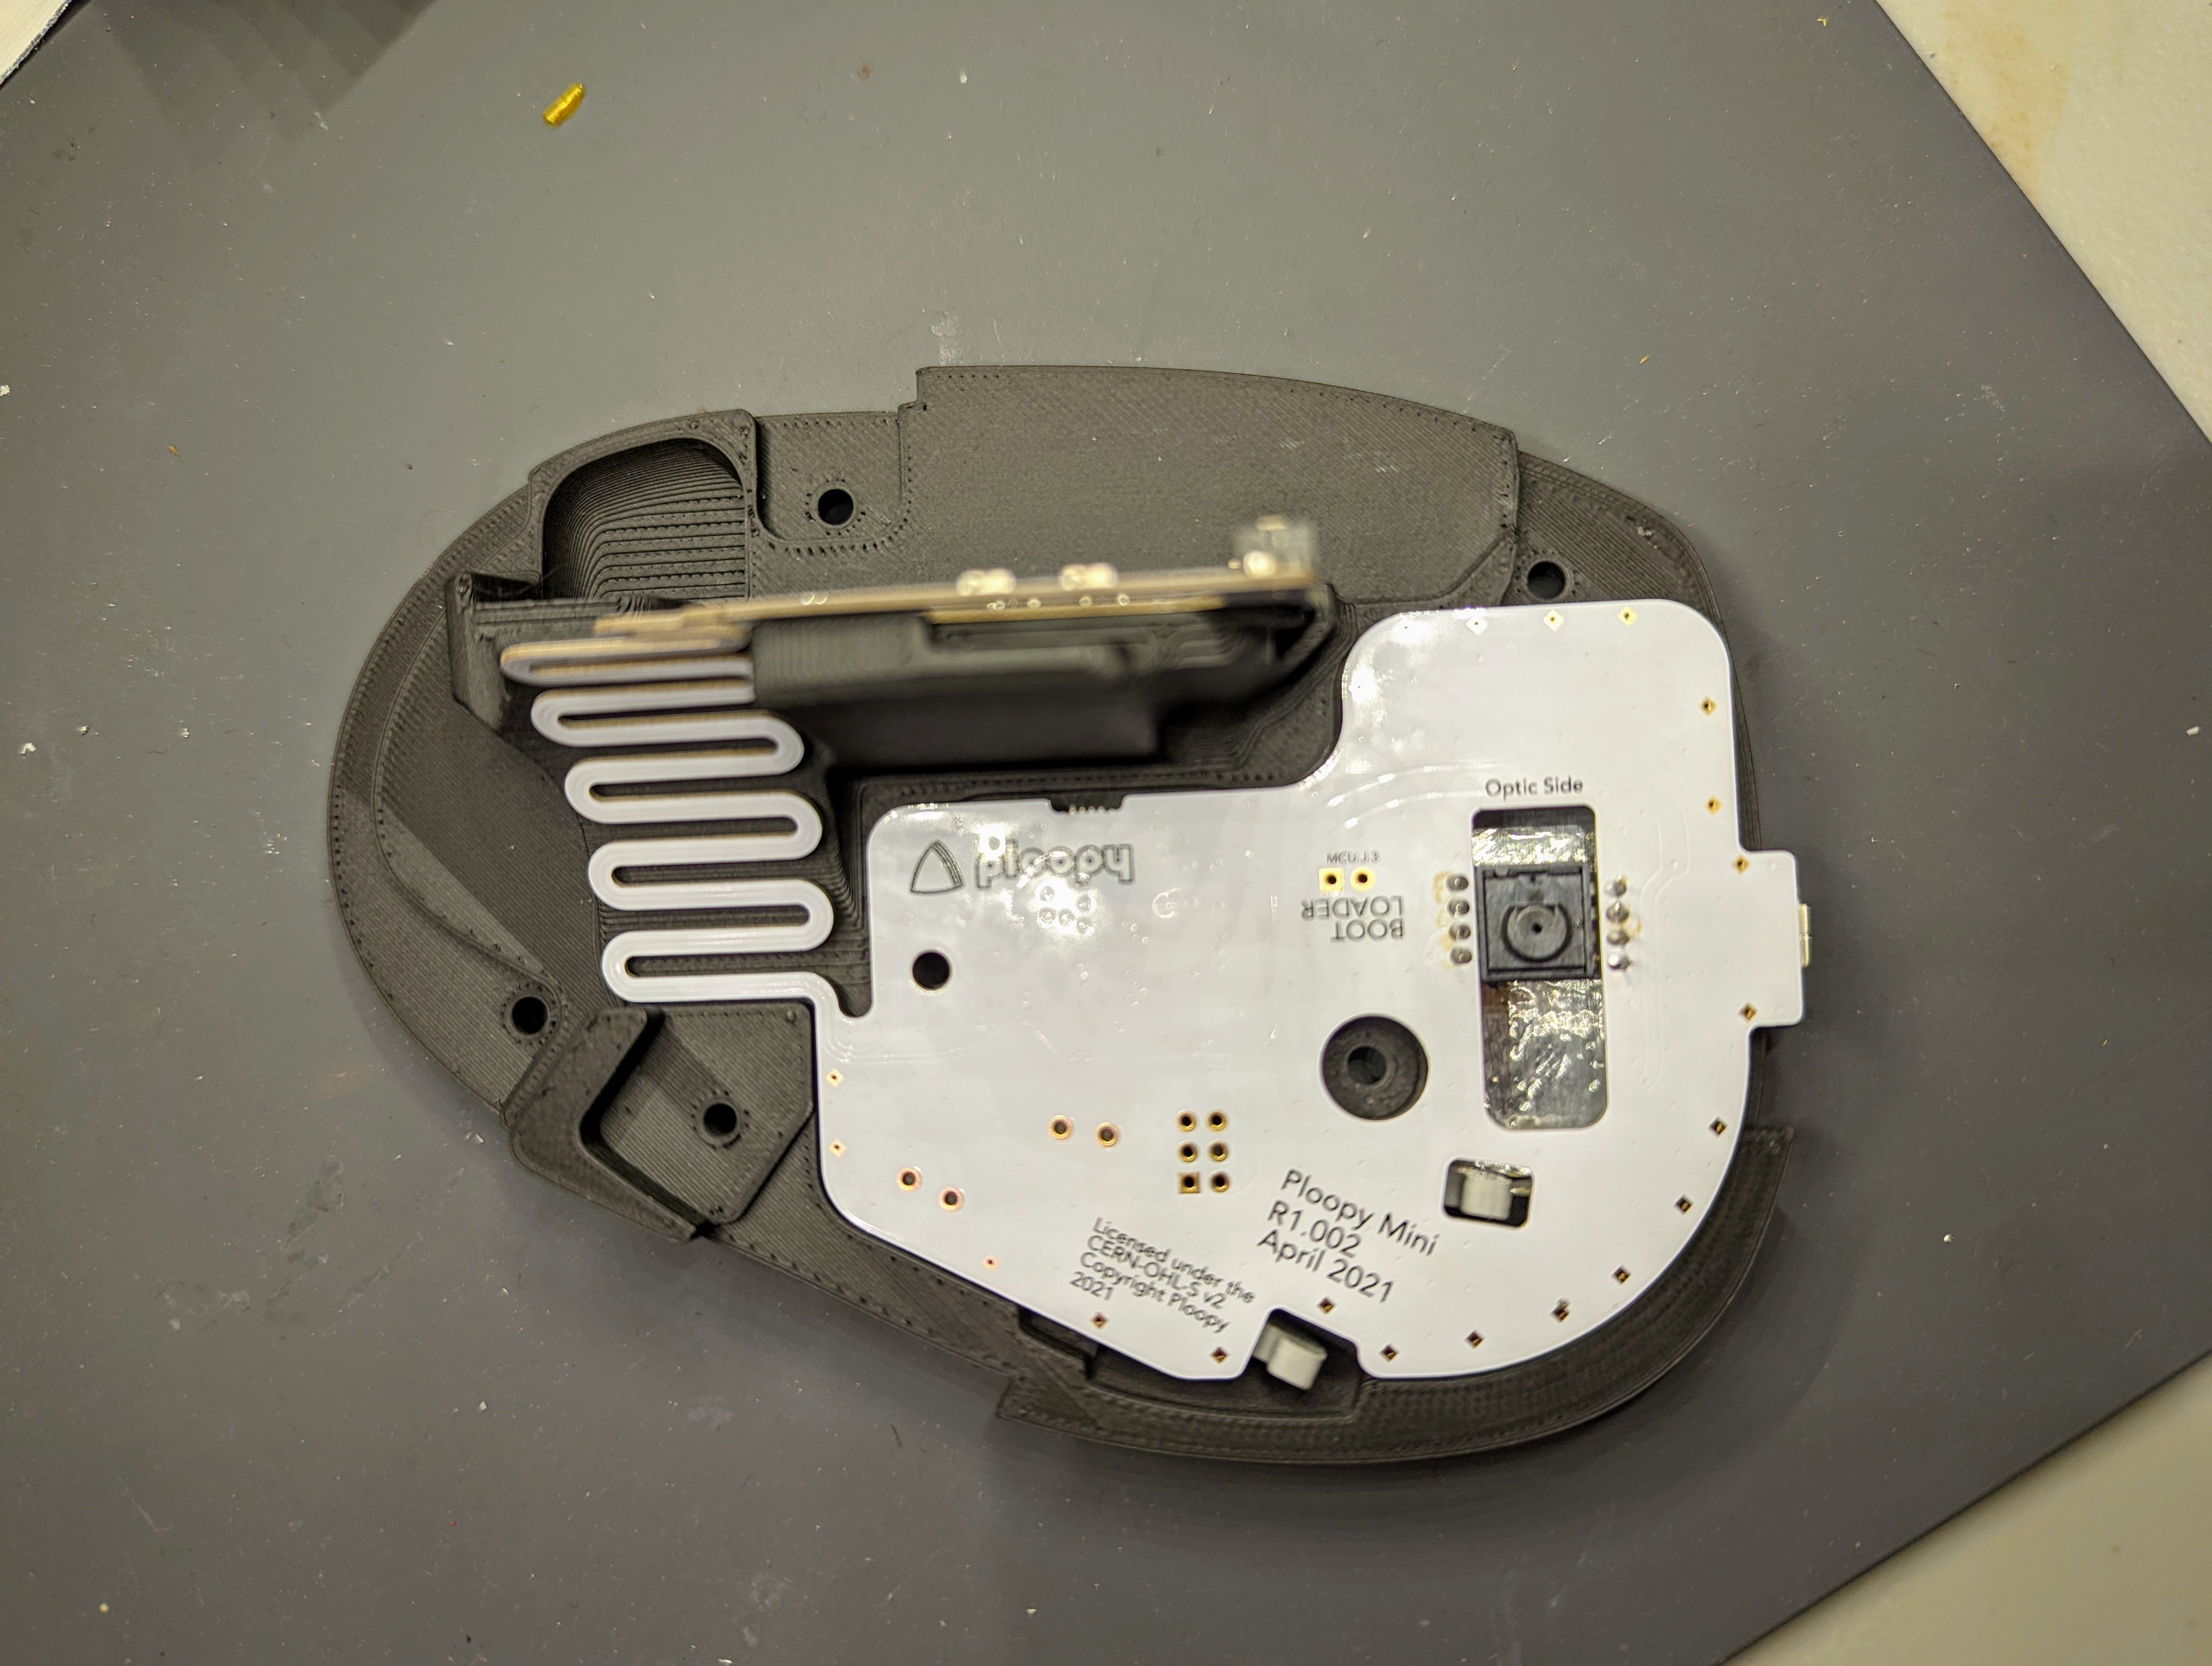
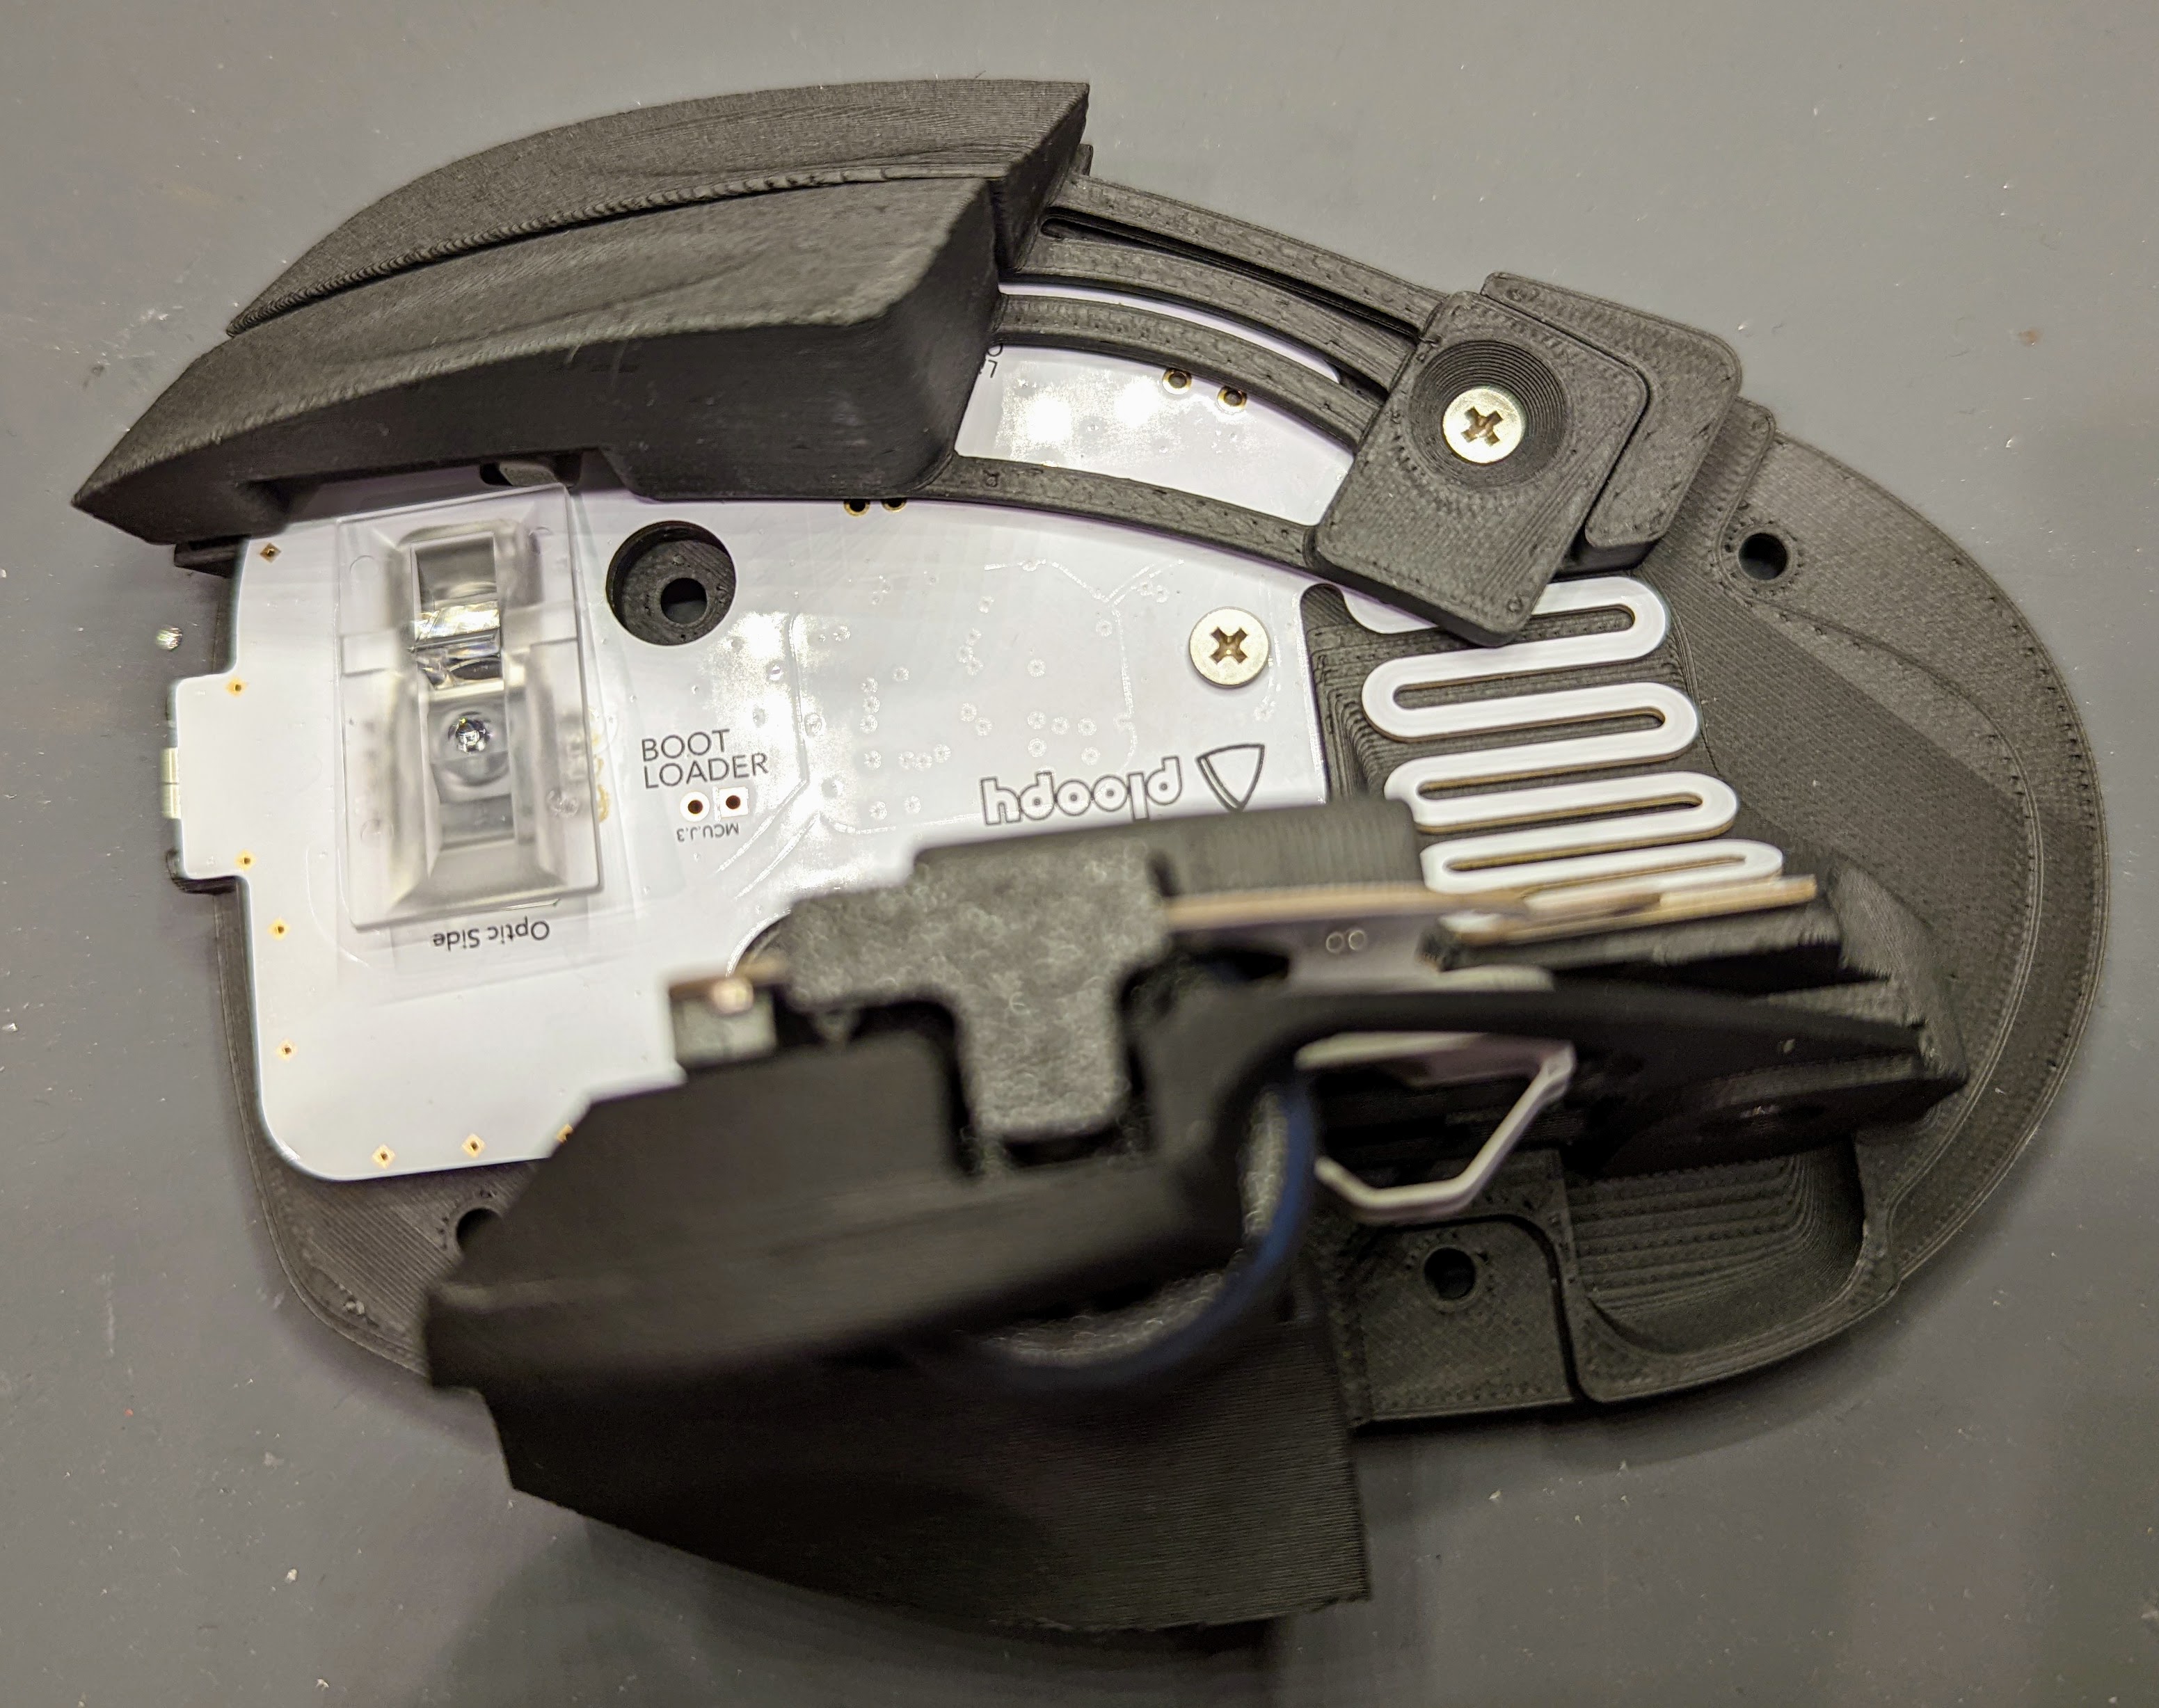
Inside the shopping flyer, all the parts were properly wrapped. Sensitive electronics were in ESD bags, and other parts were in fittingly sized Ziploc bags. I took out the PCB, and soldered onto it the trackball optical sensor.
I installed the foil carefully onto the base of the trackball, with a pair of angled tweezers.
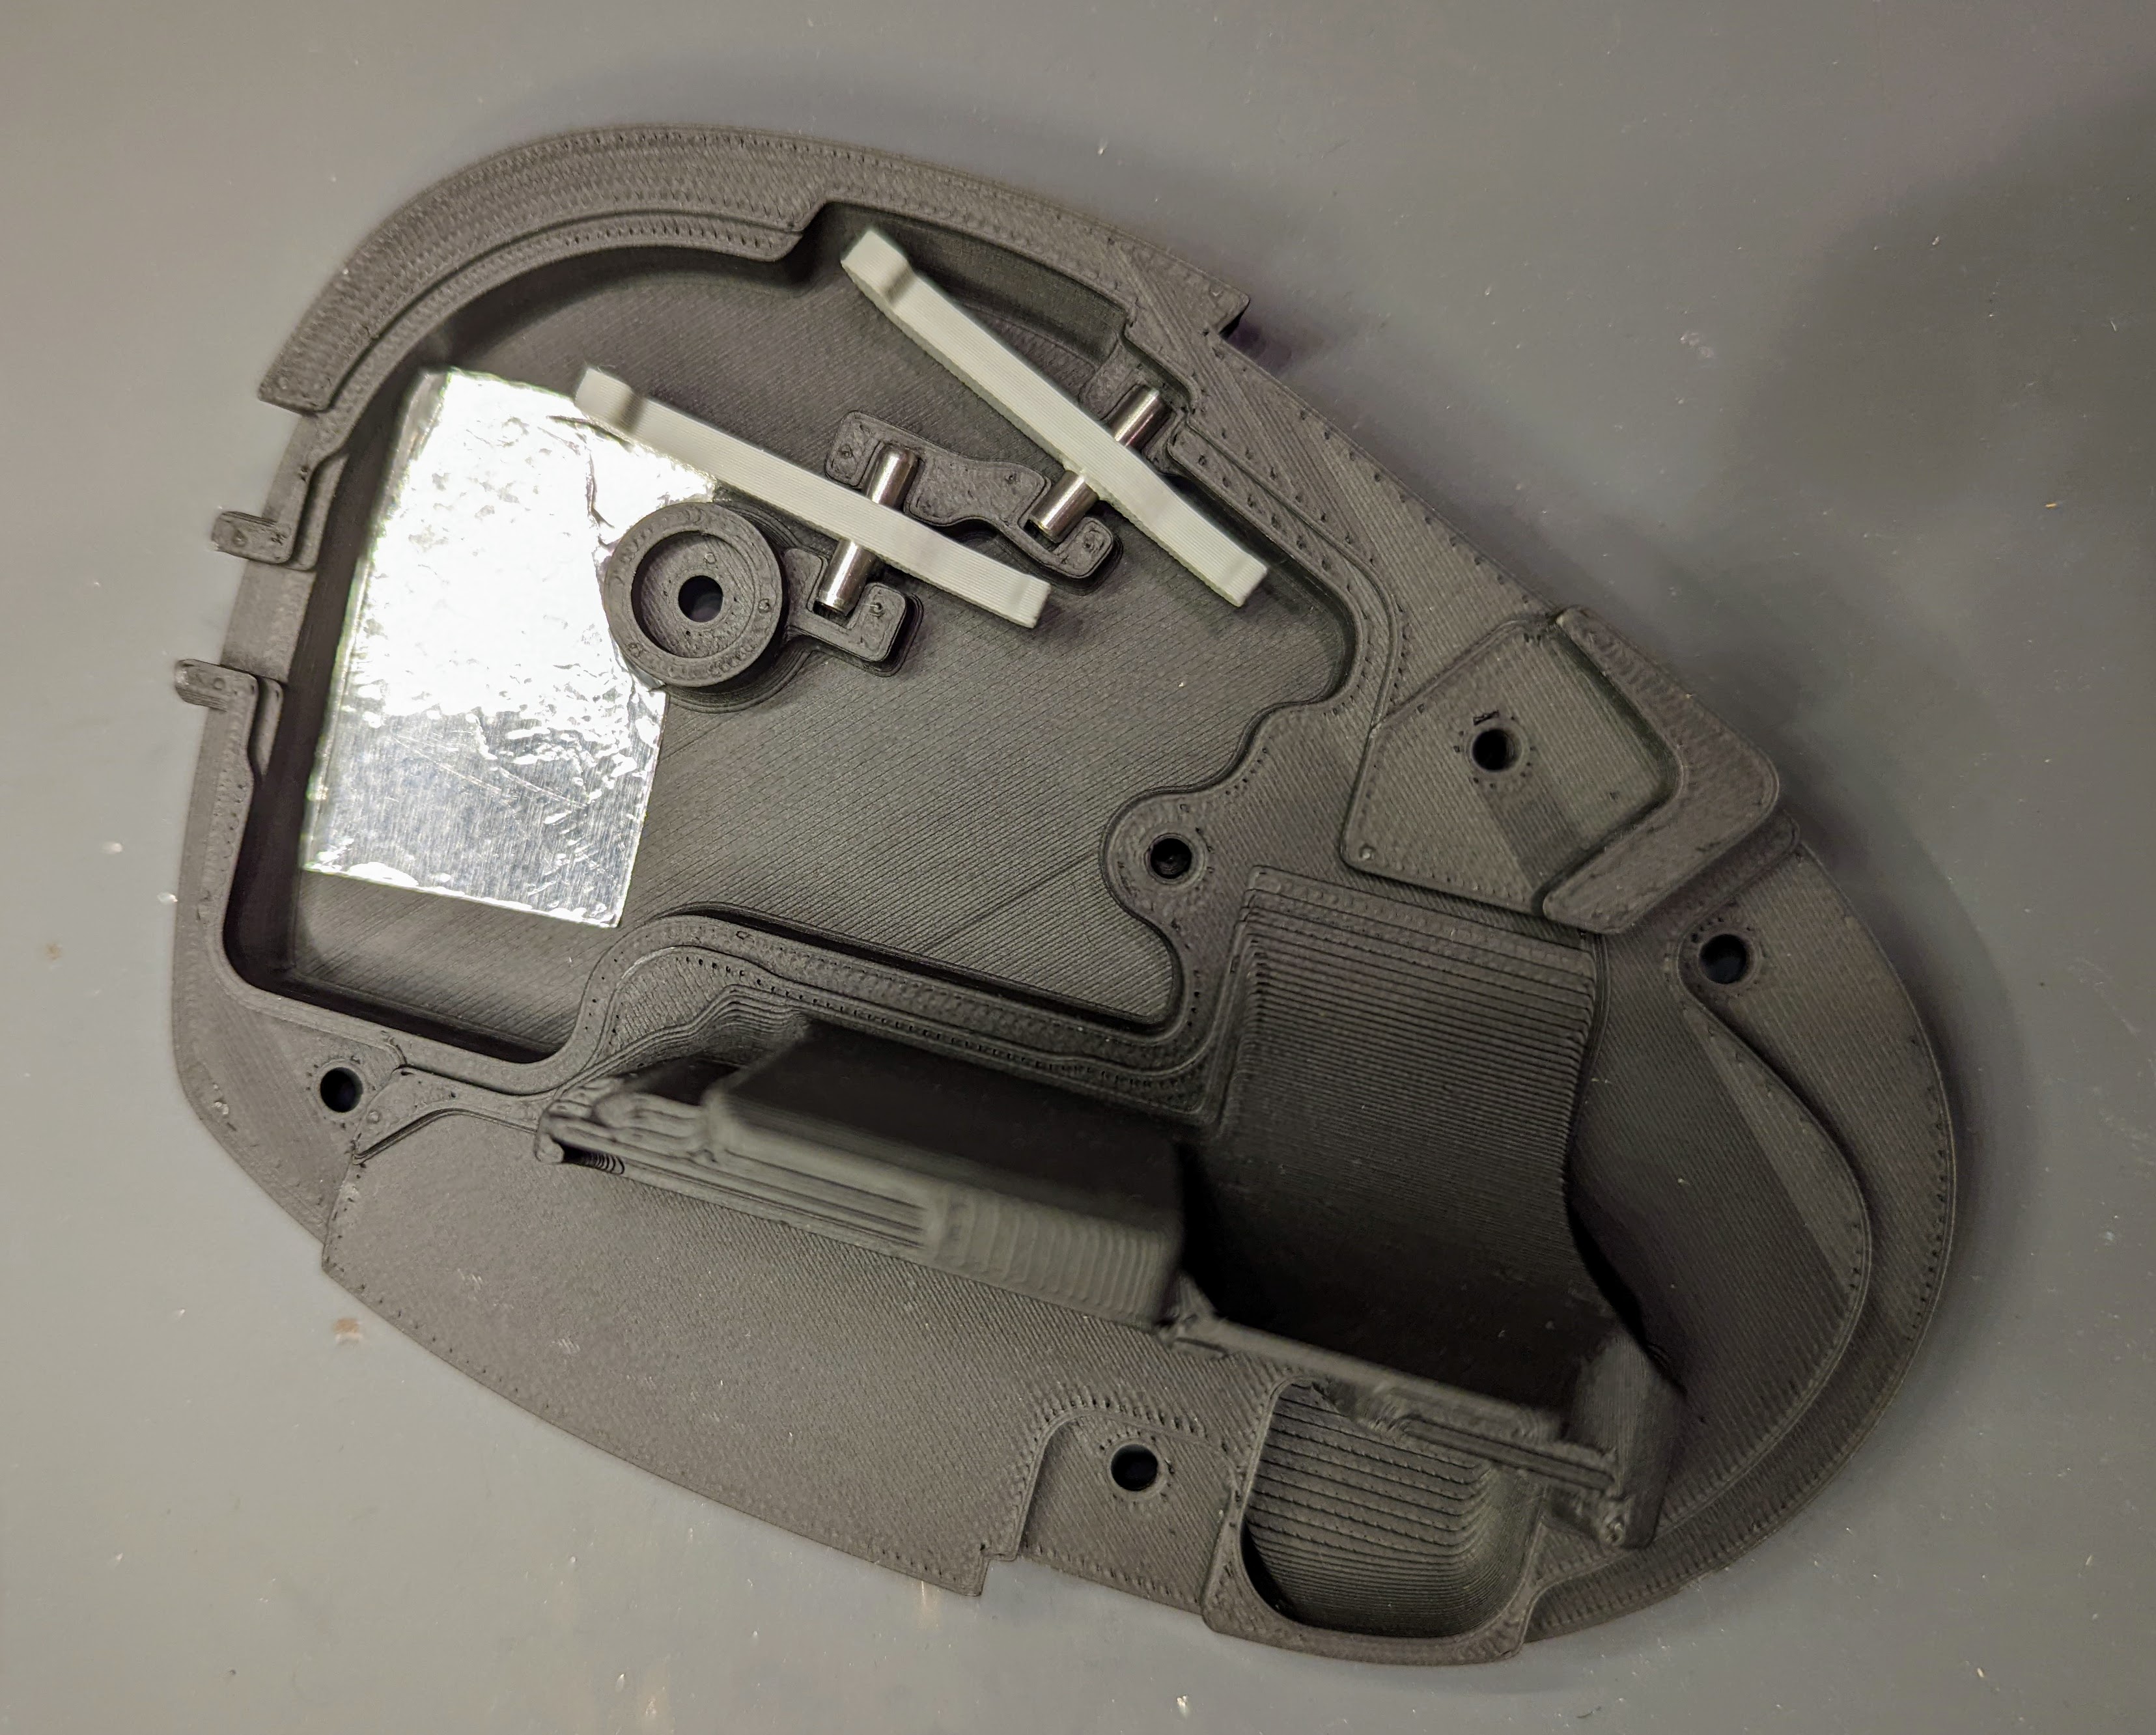
I then installed the PCB onto the trackball base. I’ve never worked with a semi-flexible PCB, so I found this part to be pretty fun. It’s also very satisfying to have parts fit together, just right ![]() .
.
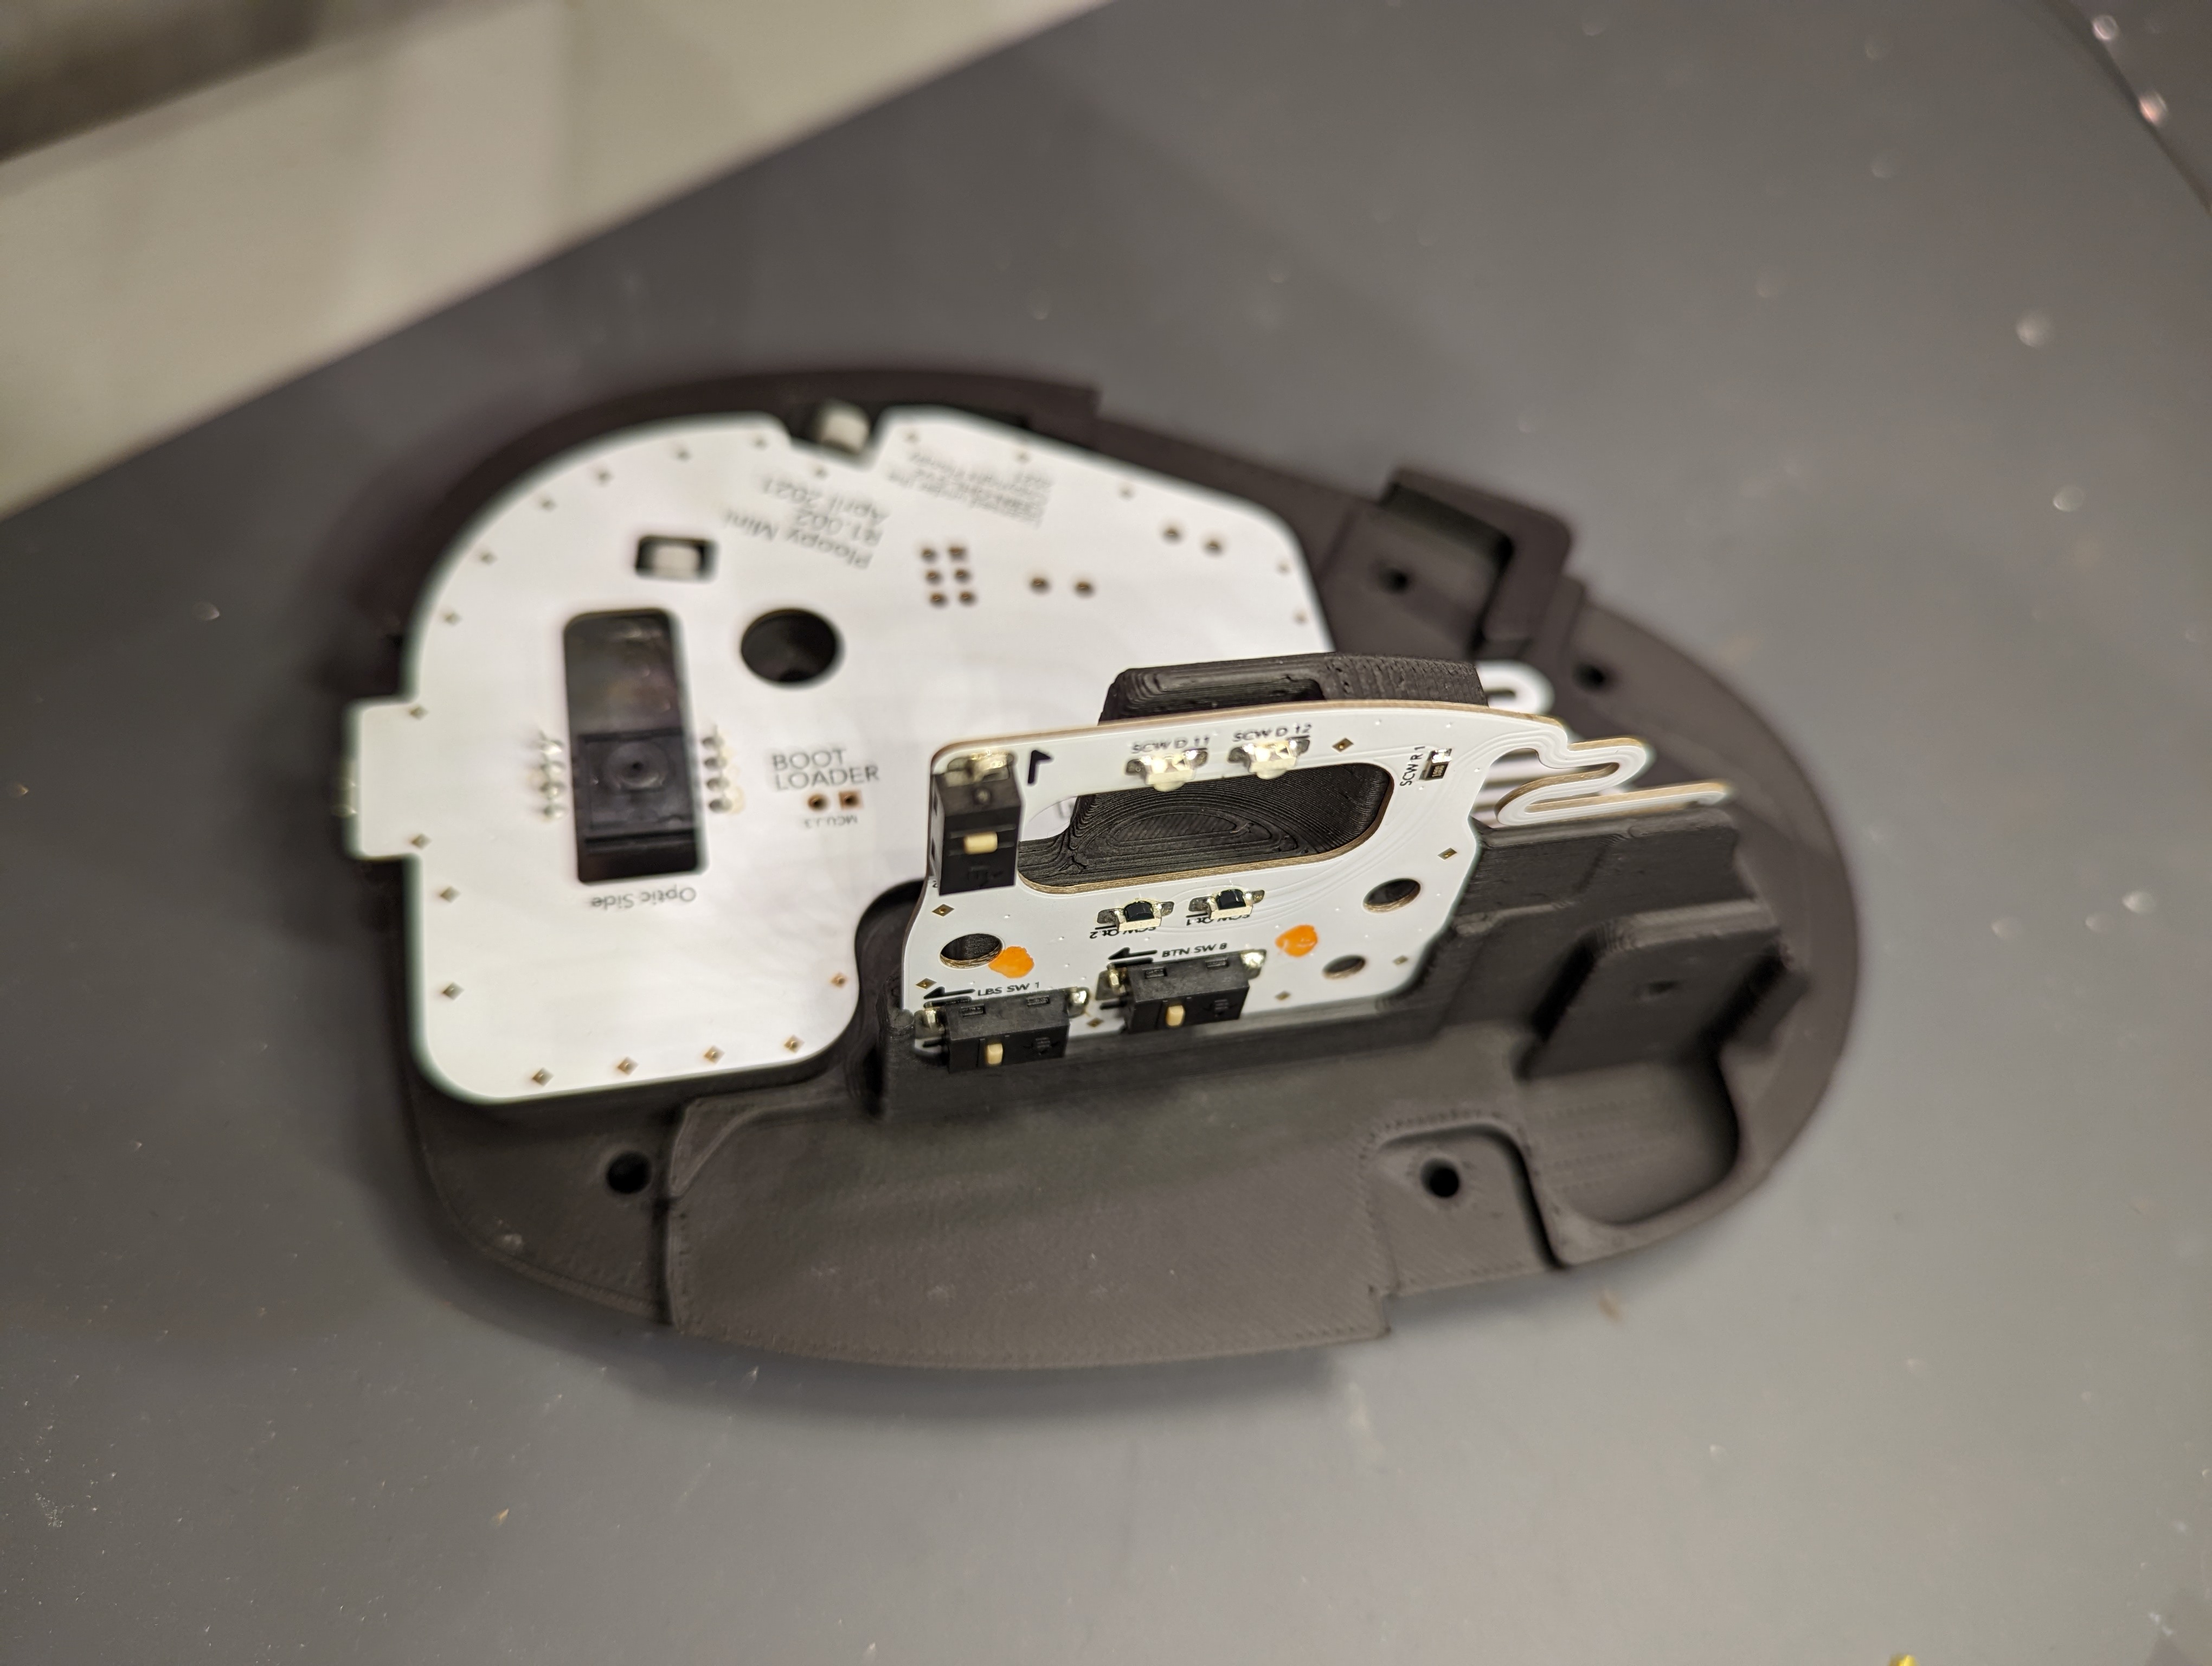
I installed the scroll wheel. The silicone grip of the scroll wheel ‘skin’ feels very satisfying and soft.
I then put on the button covers for the buttons that sit to the left to trackball. When clicking these buttons, however, I noticed that bottom of the button cover would hit the top of the trackball base, even after the switches were pushed, and the resulting ‘double’ sound and feel was unpleasant. I fixed this issue by adding a few layered strips of scotch tape on the part of the trackball base that’s underneath the button covers.
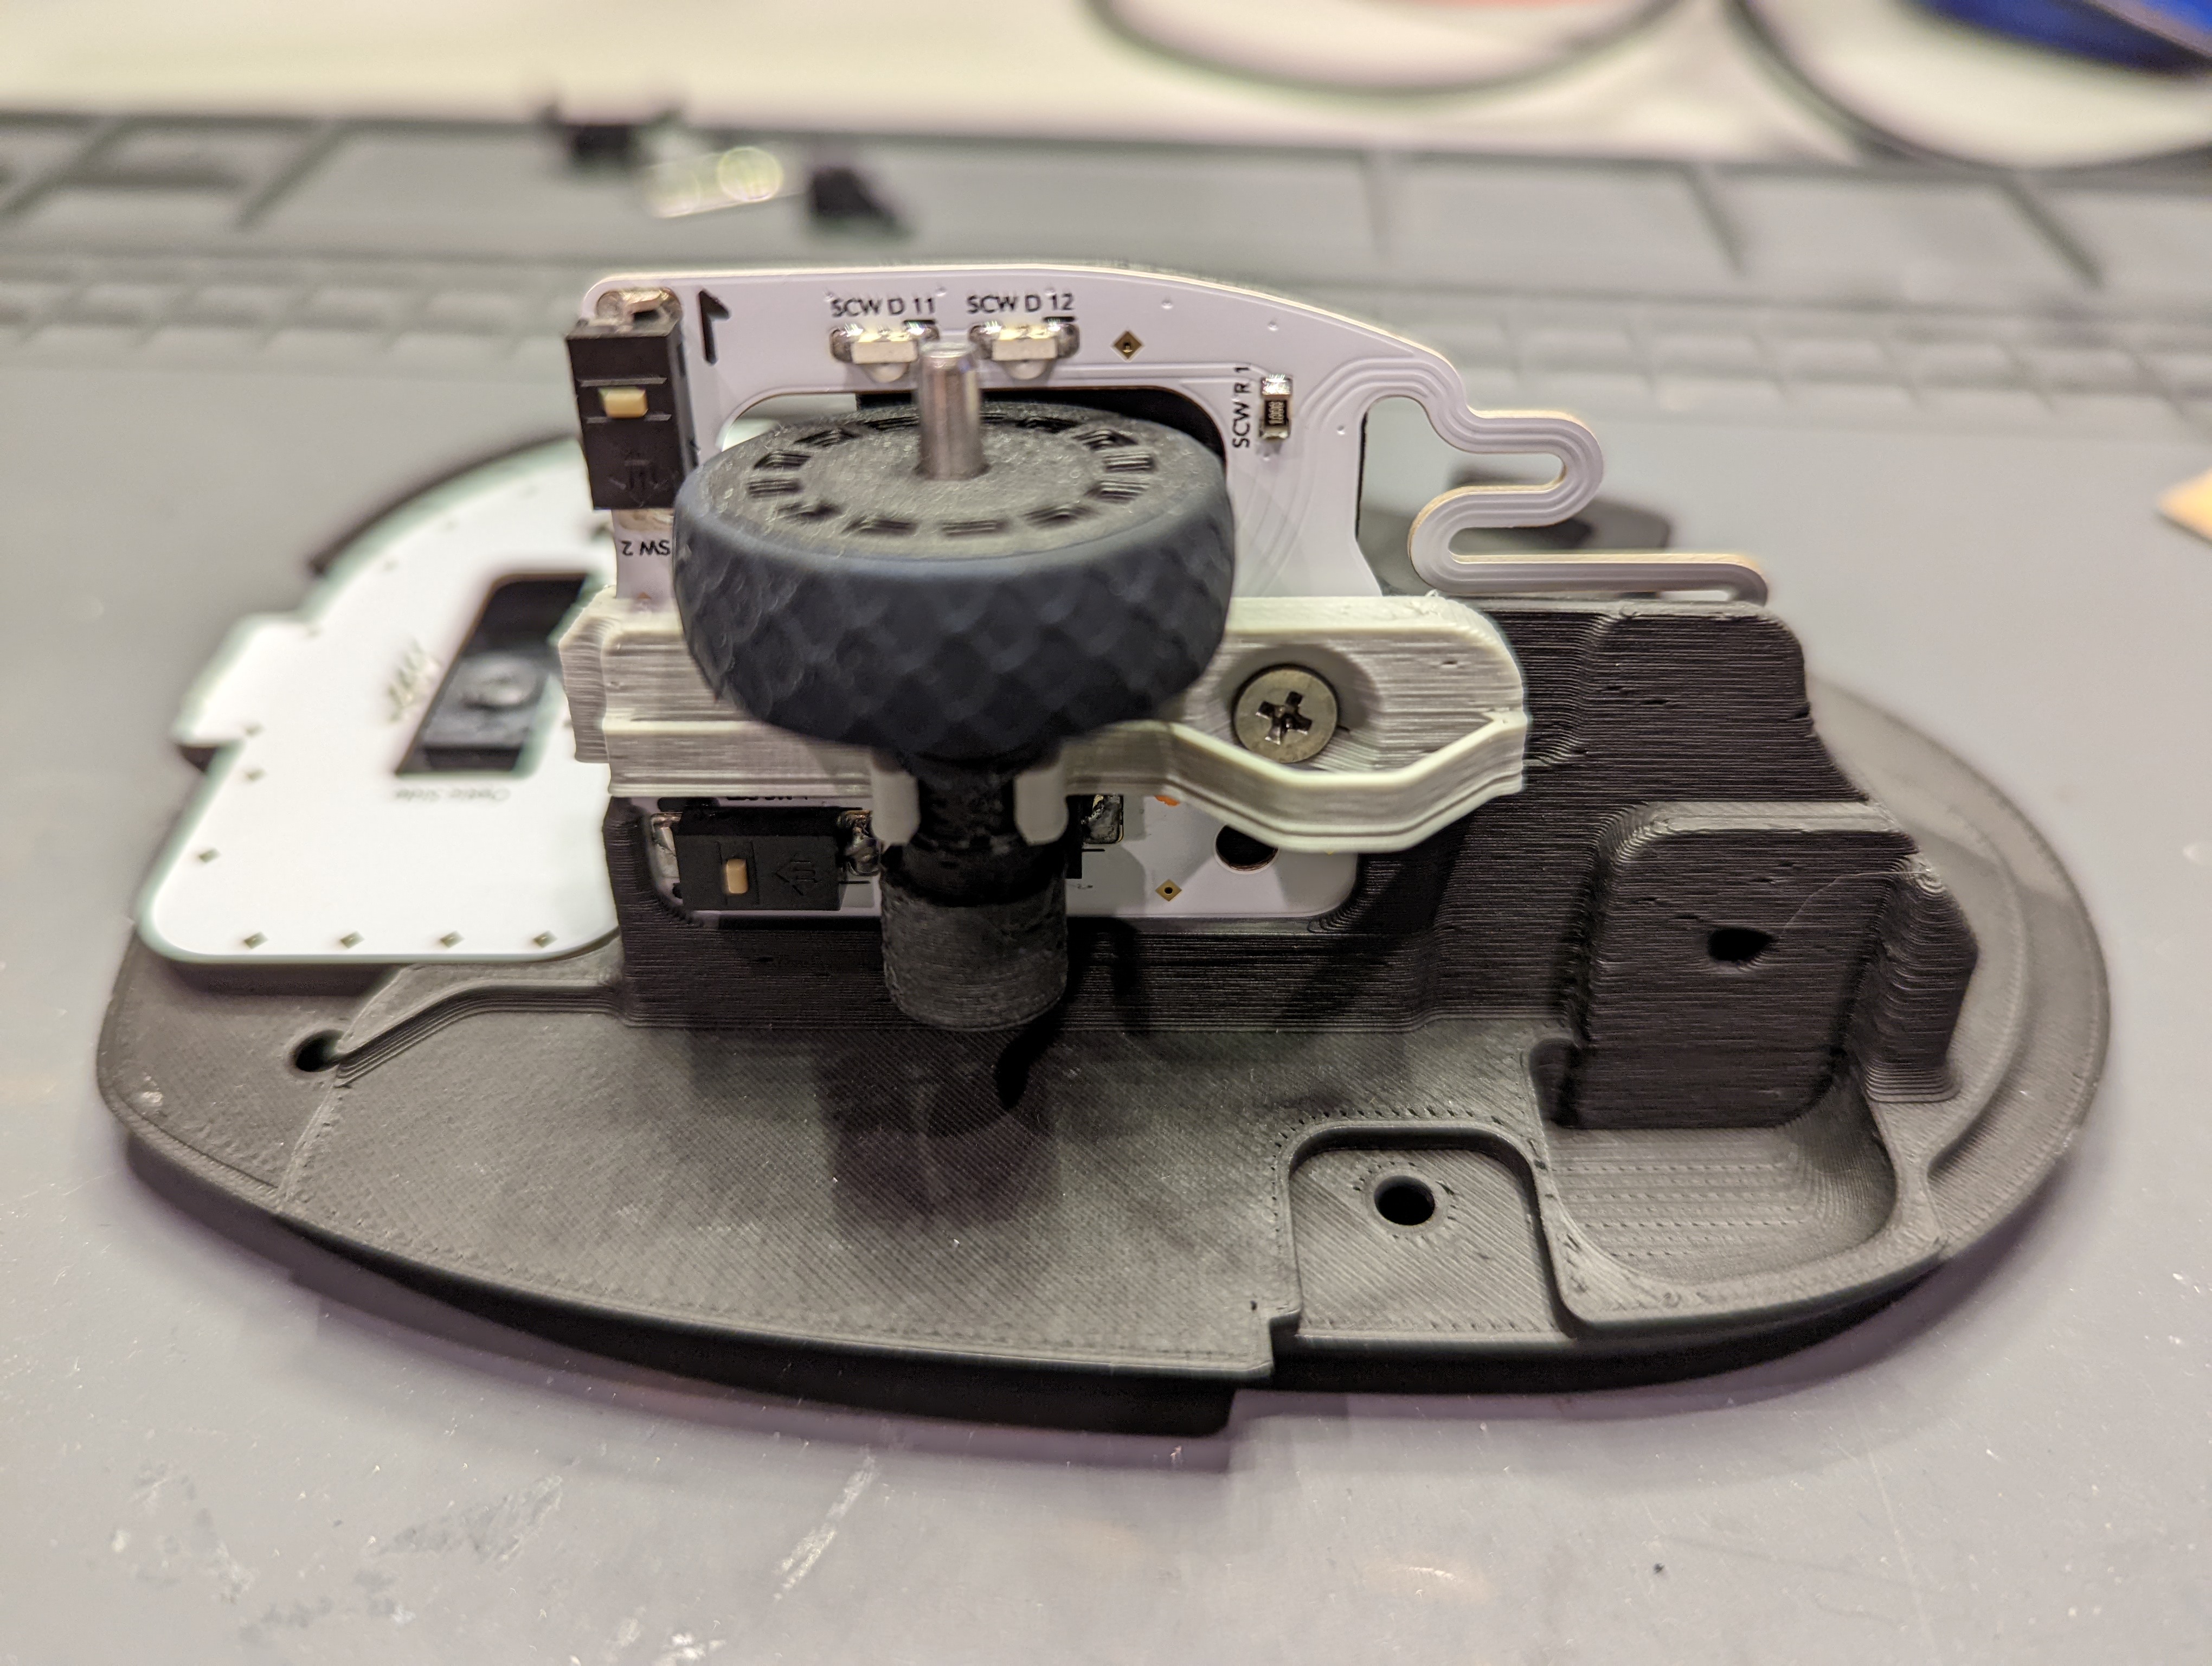
I placed the optic for the optical sensor. I wonder where he (the maker) sourced the optics, or if he designed them himself. If I had to guess, he probably had to source them from somewhere.
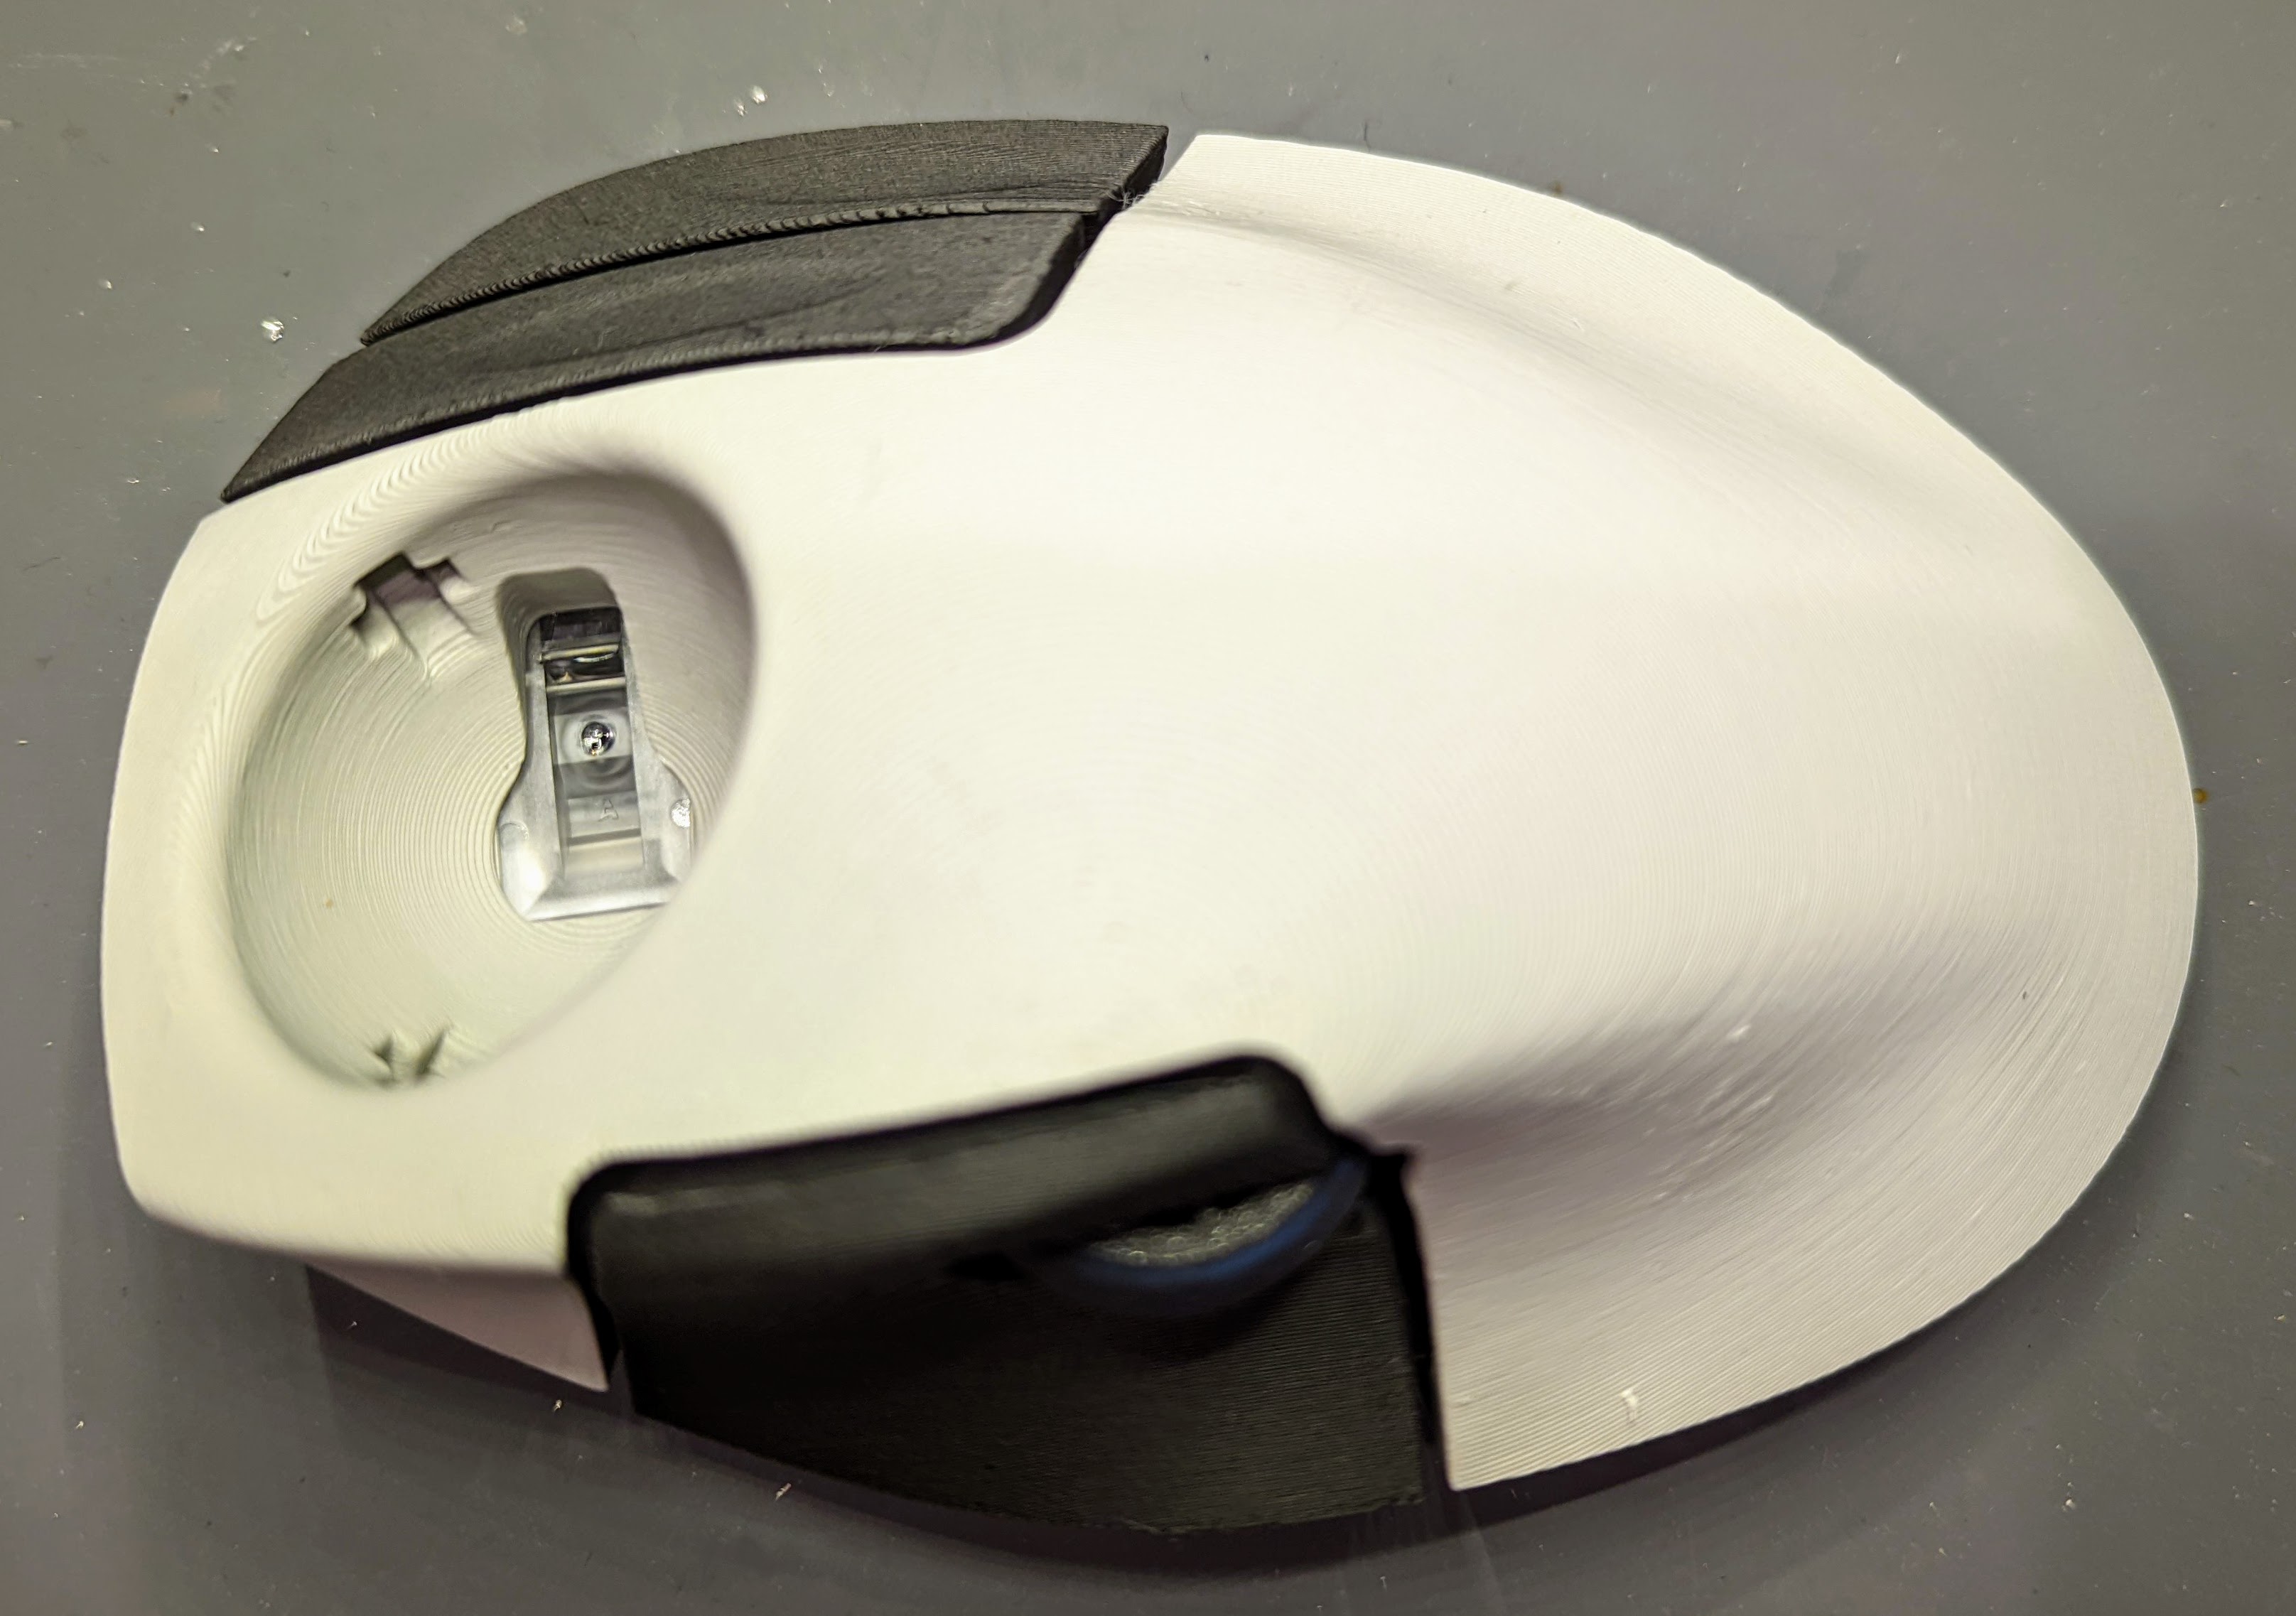
I then slipped the top cover on the assembly. This part was very satisfying. It felt nice to house everything in a tidy and perfectly fitting enclosure.
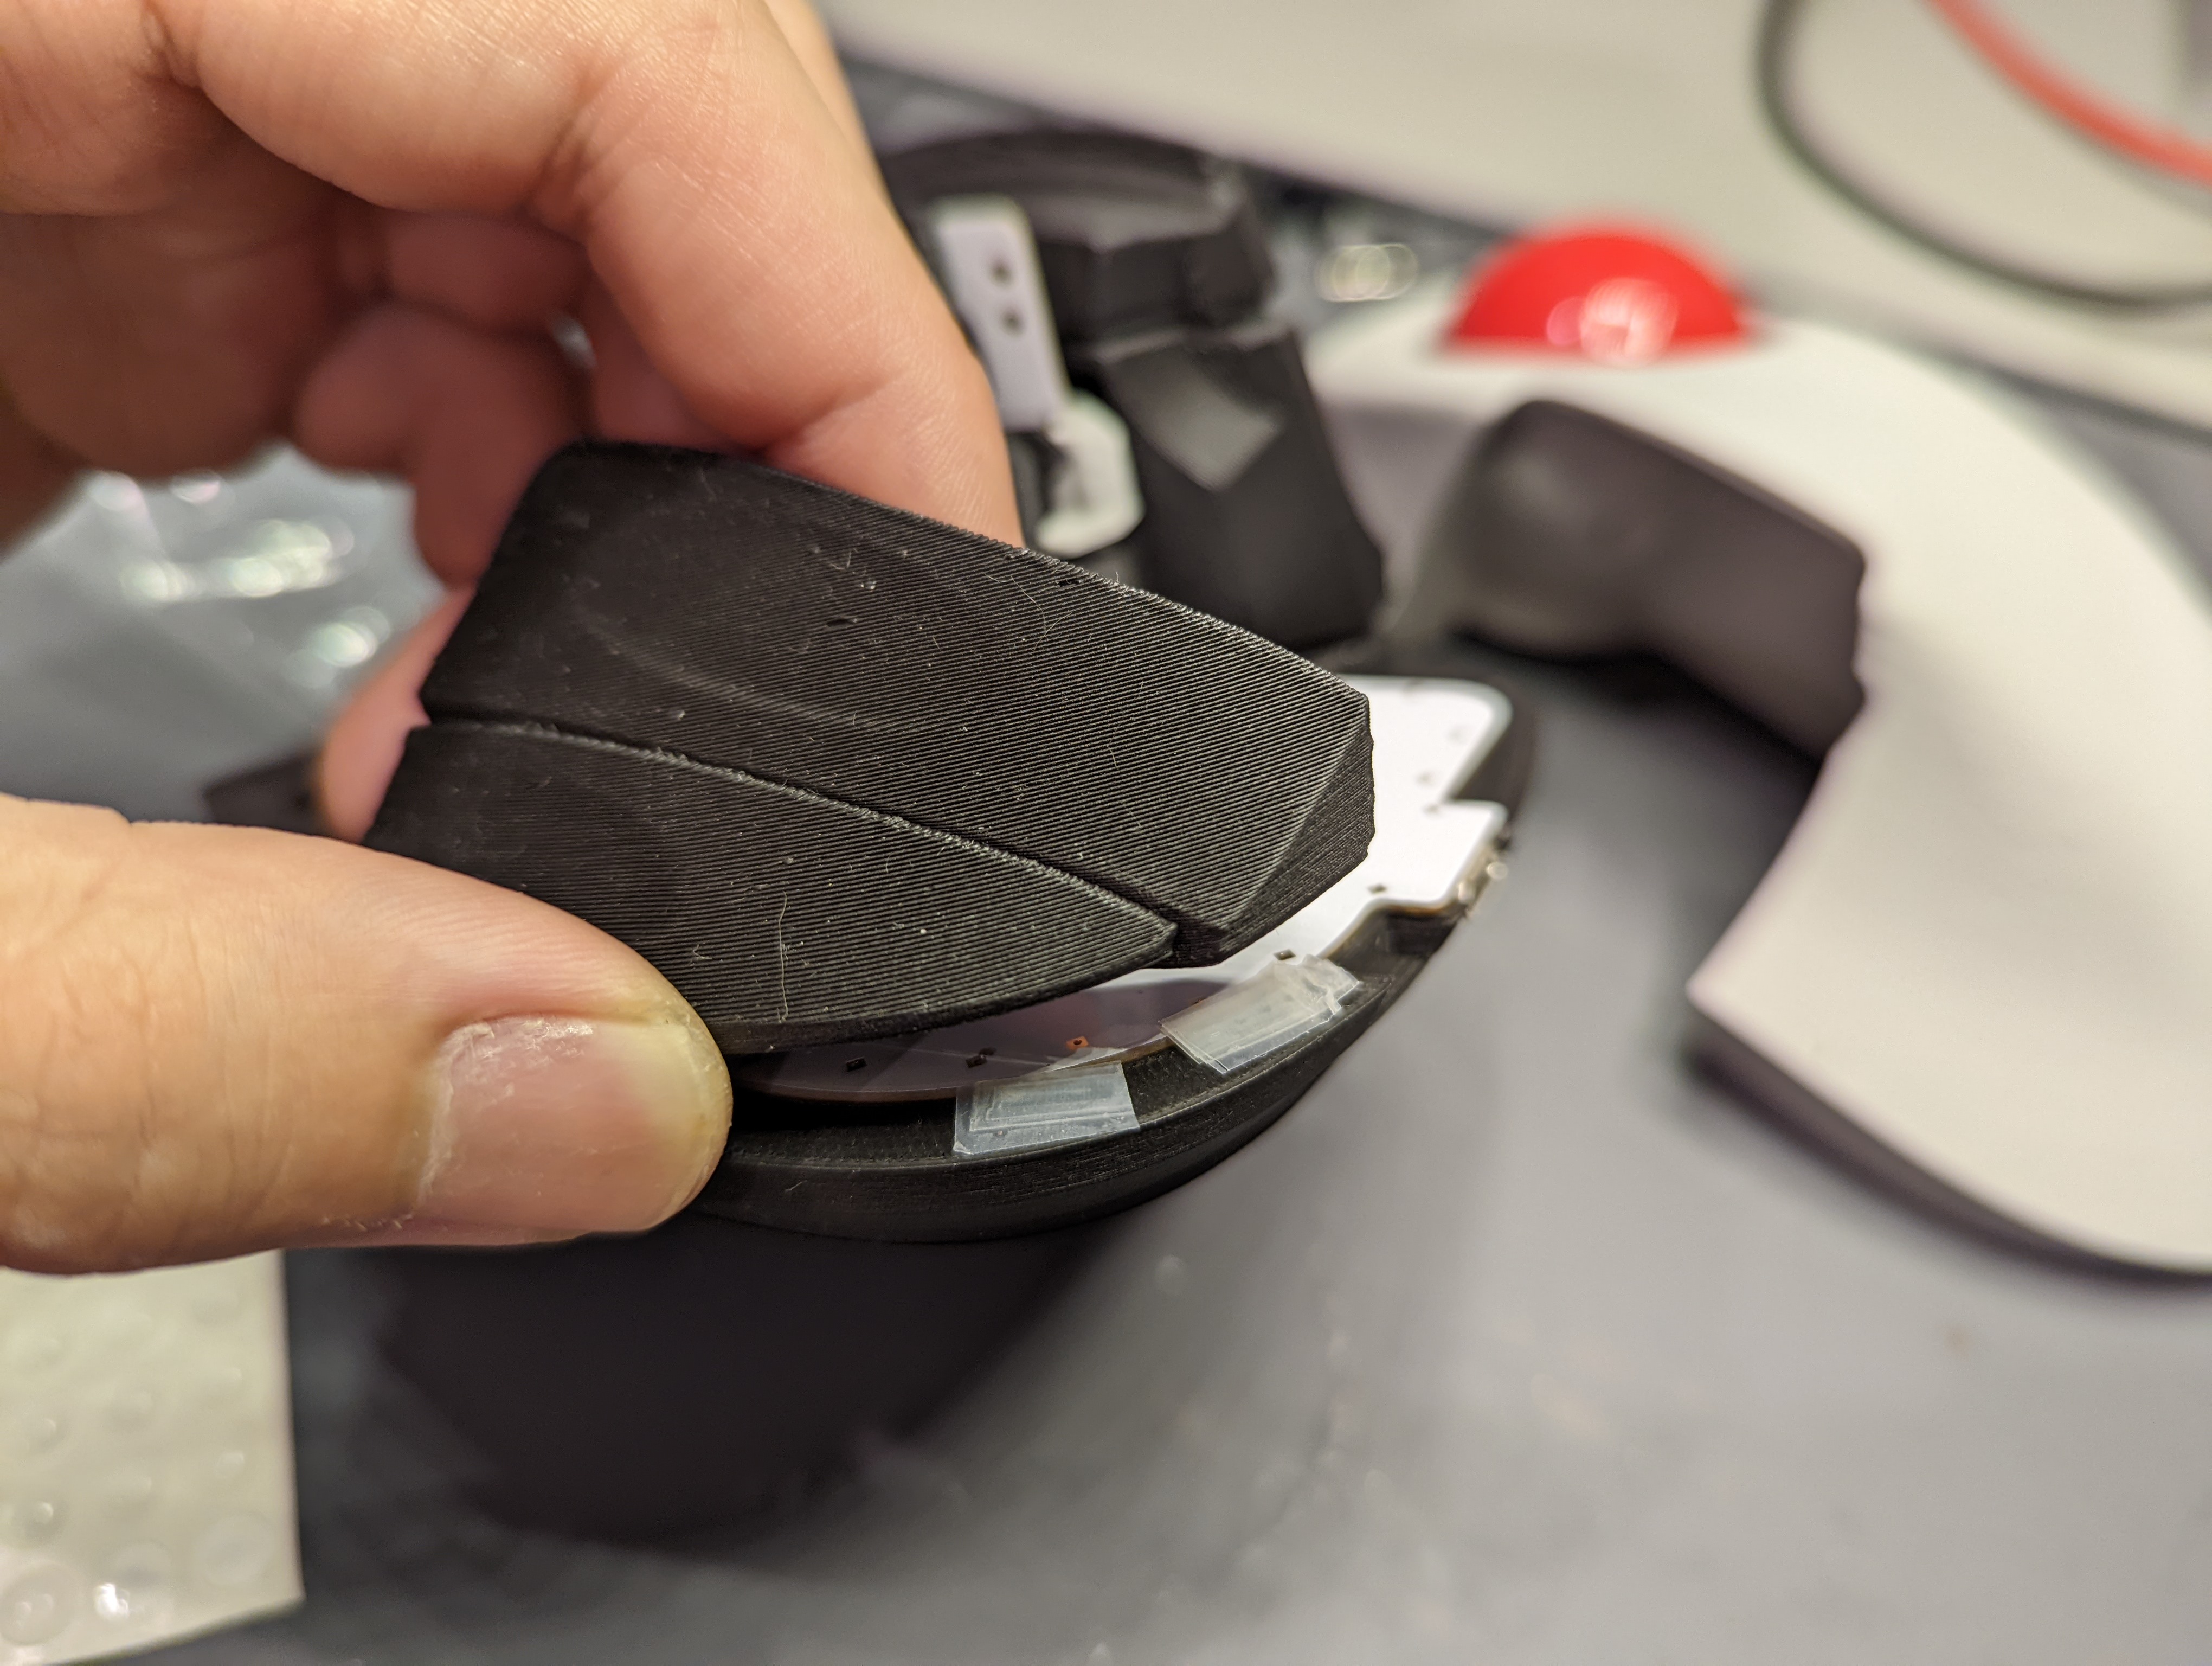
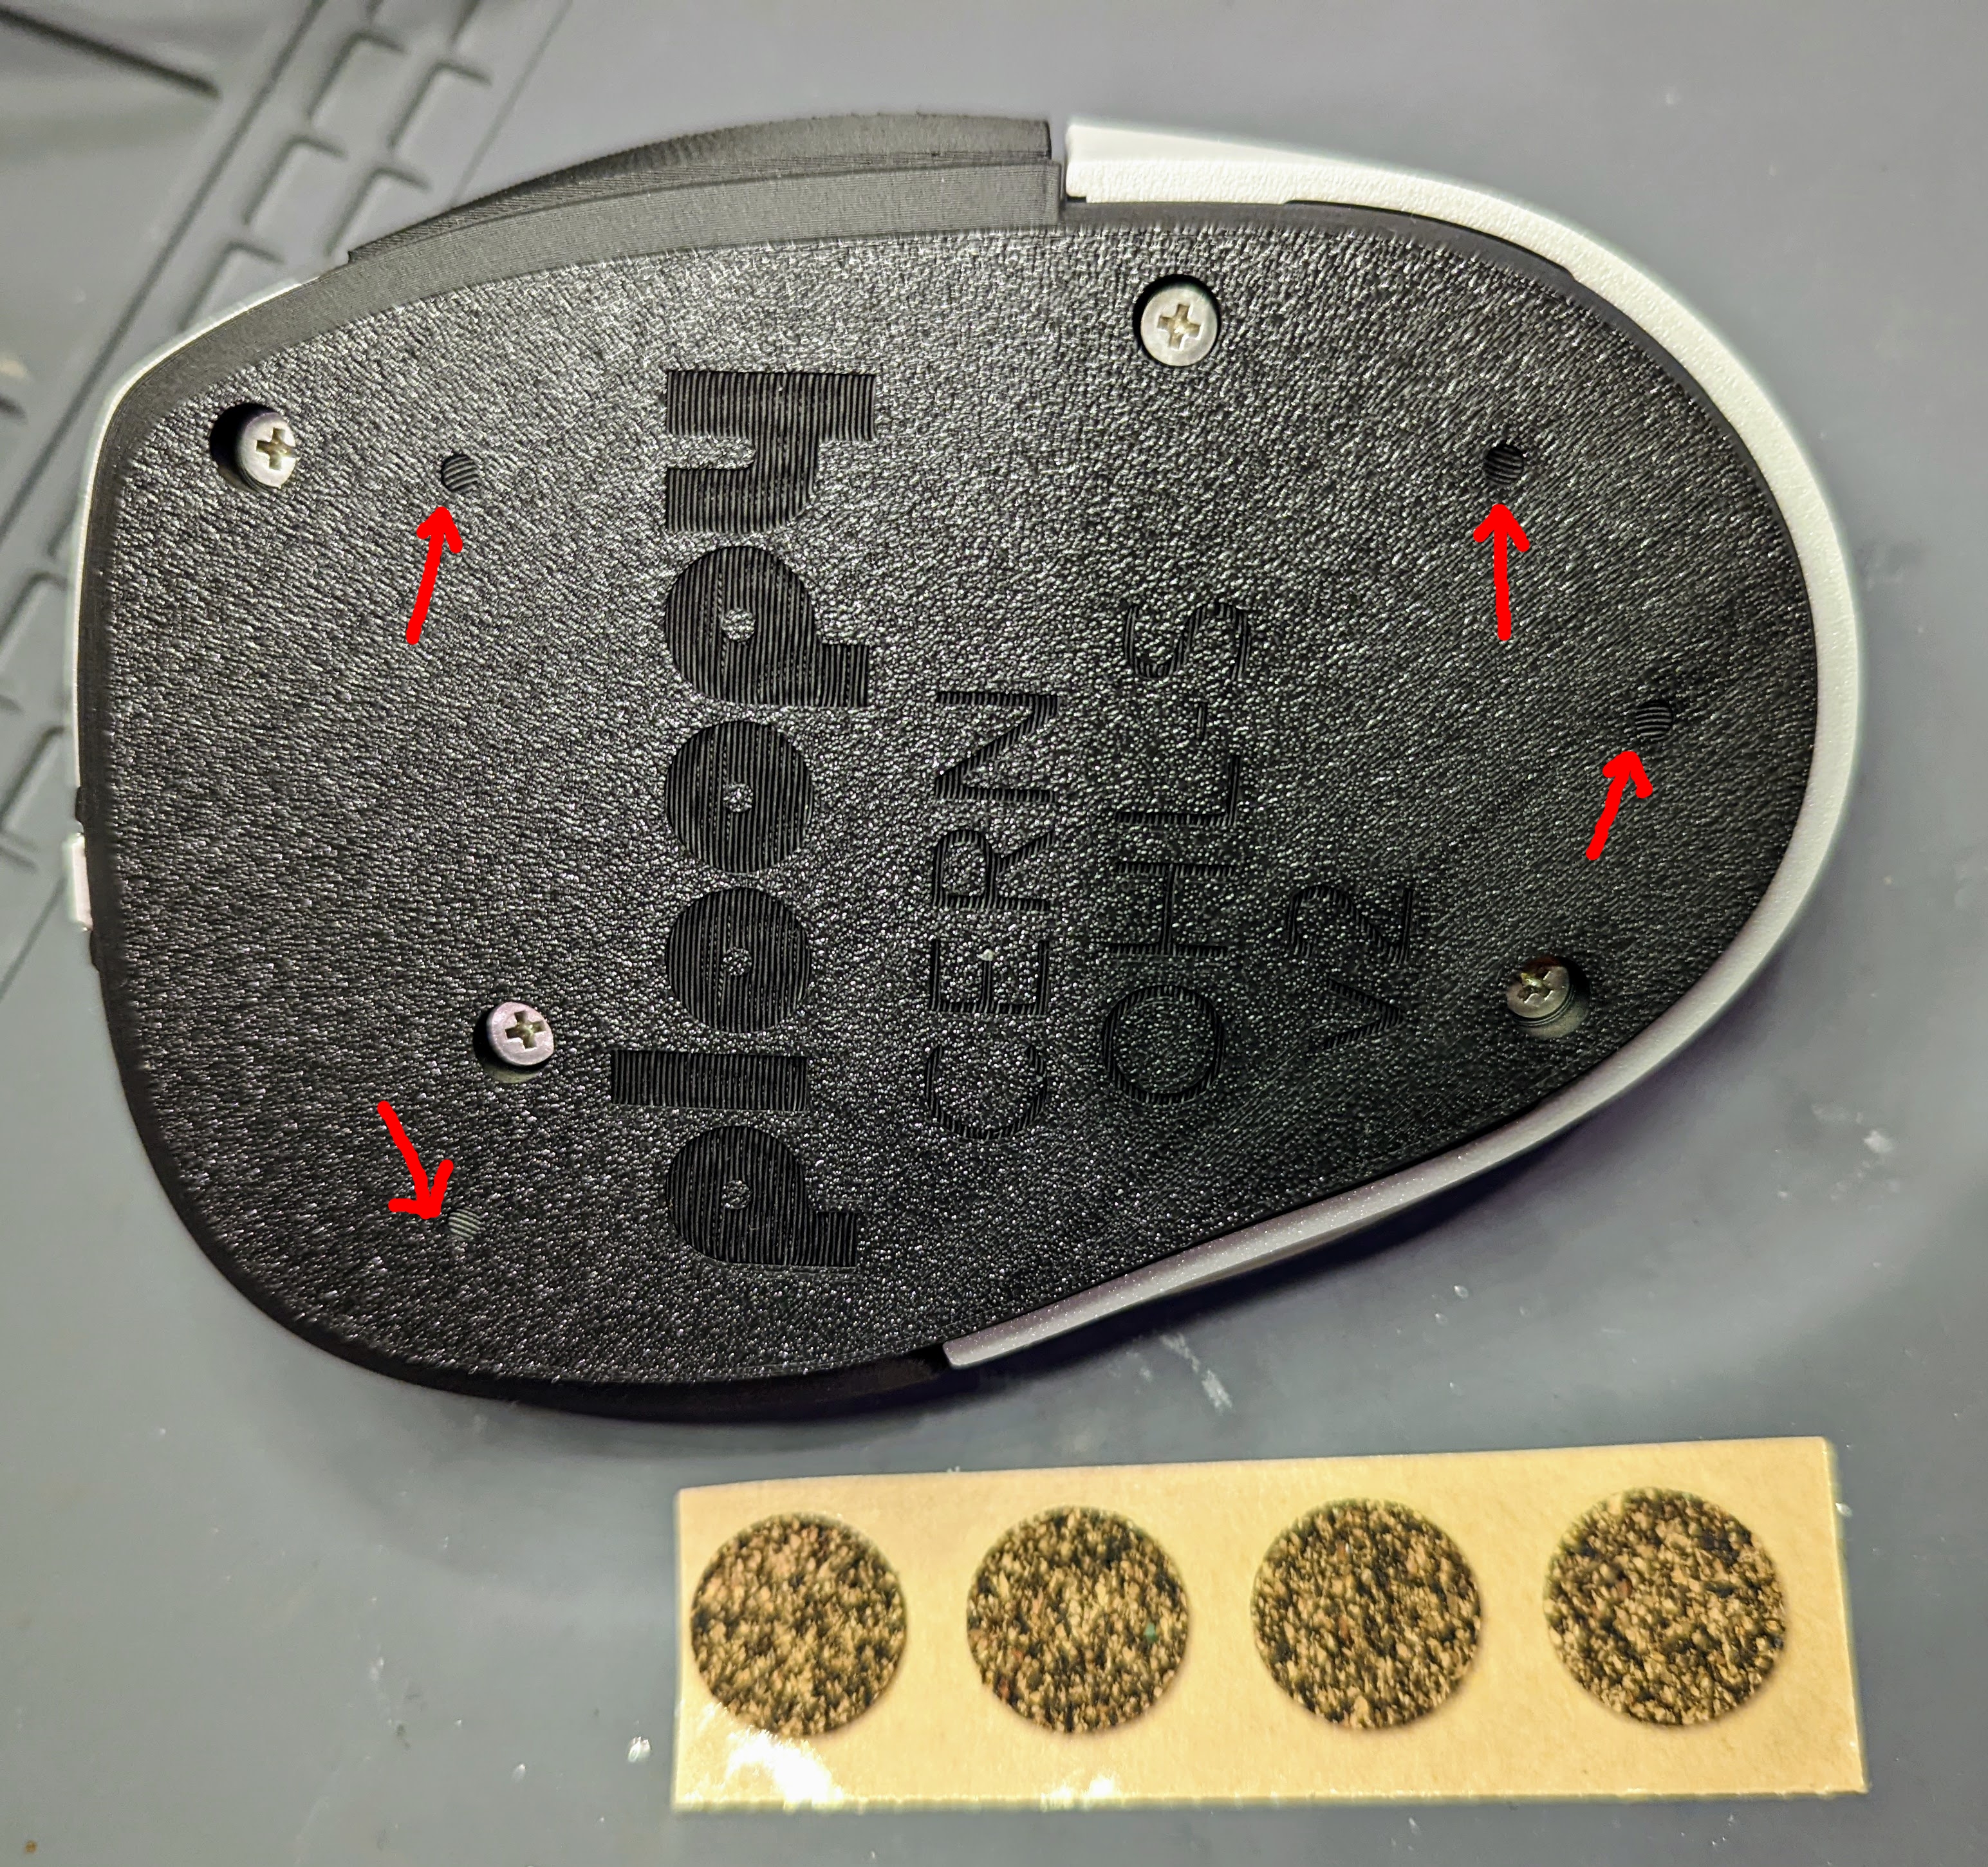
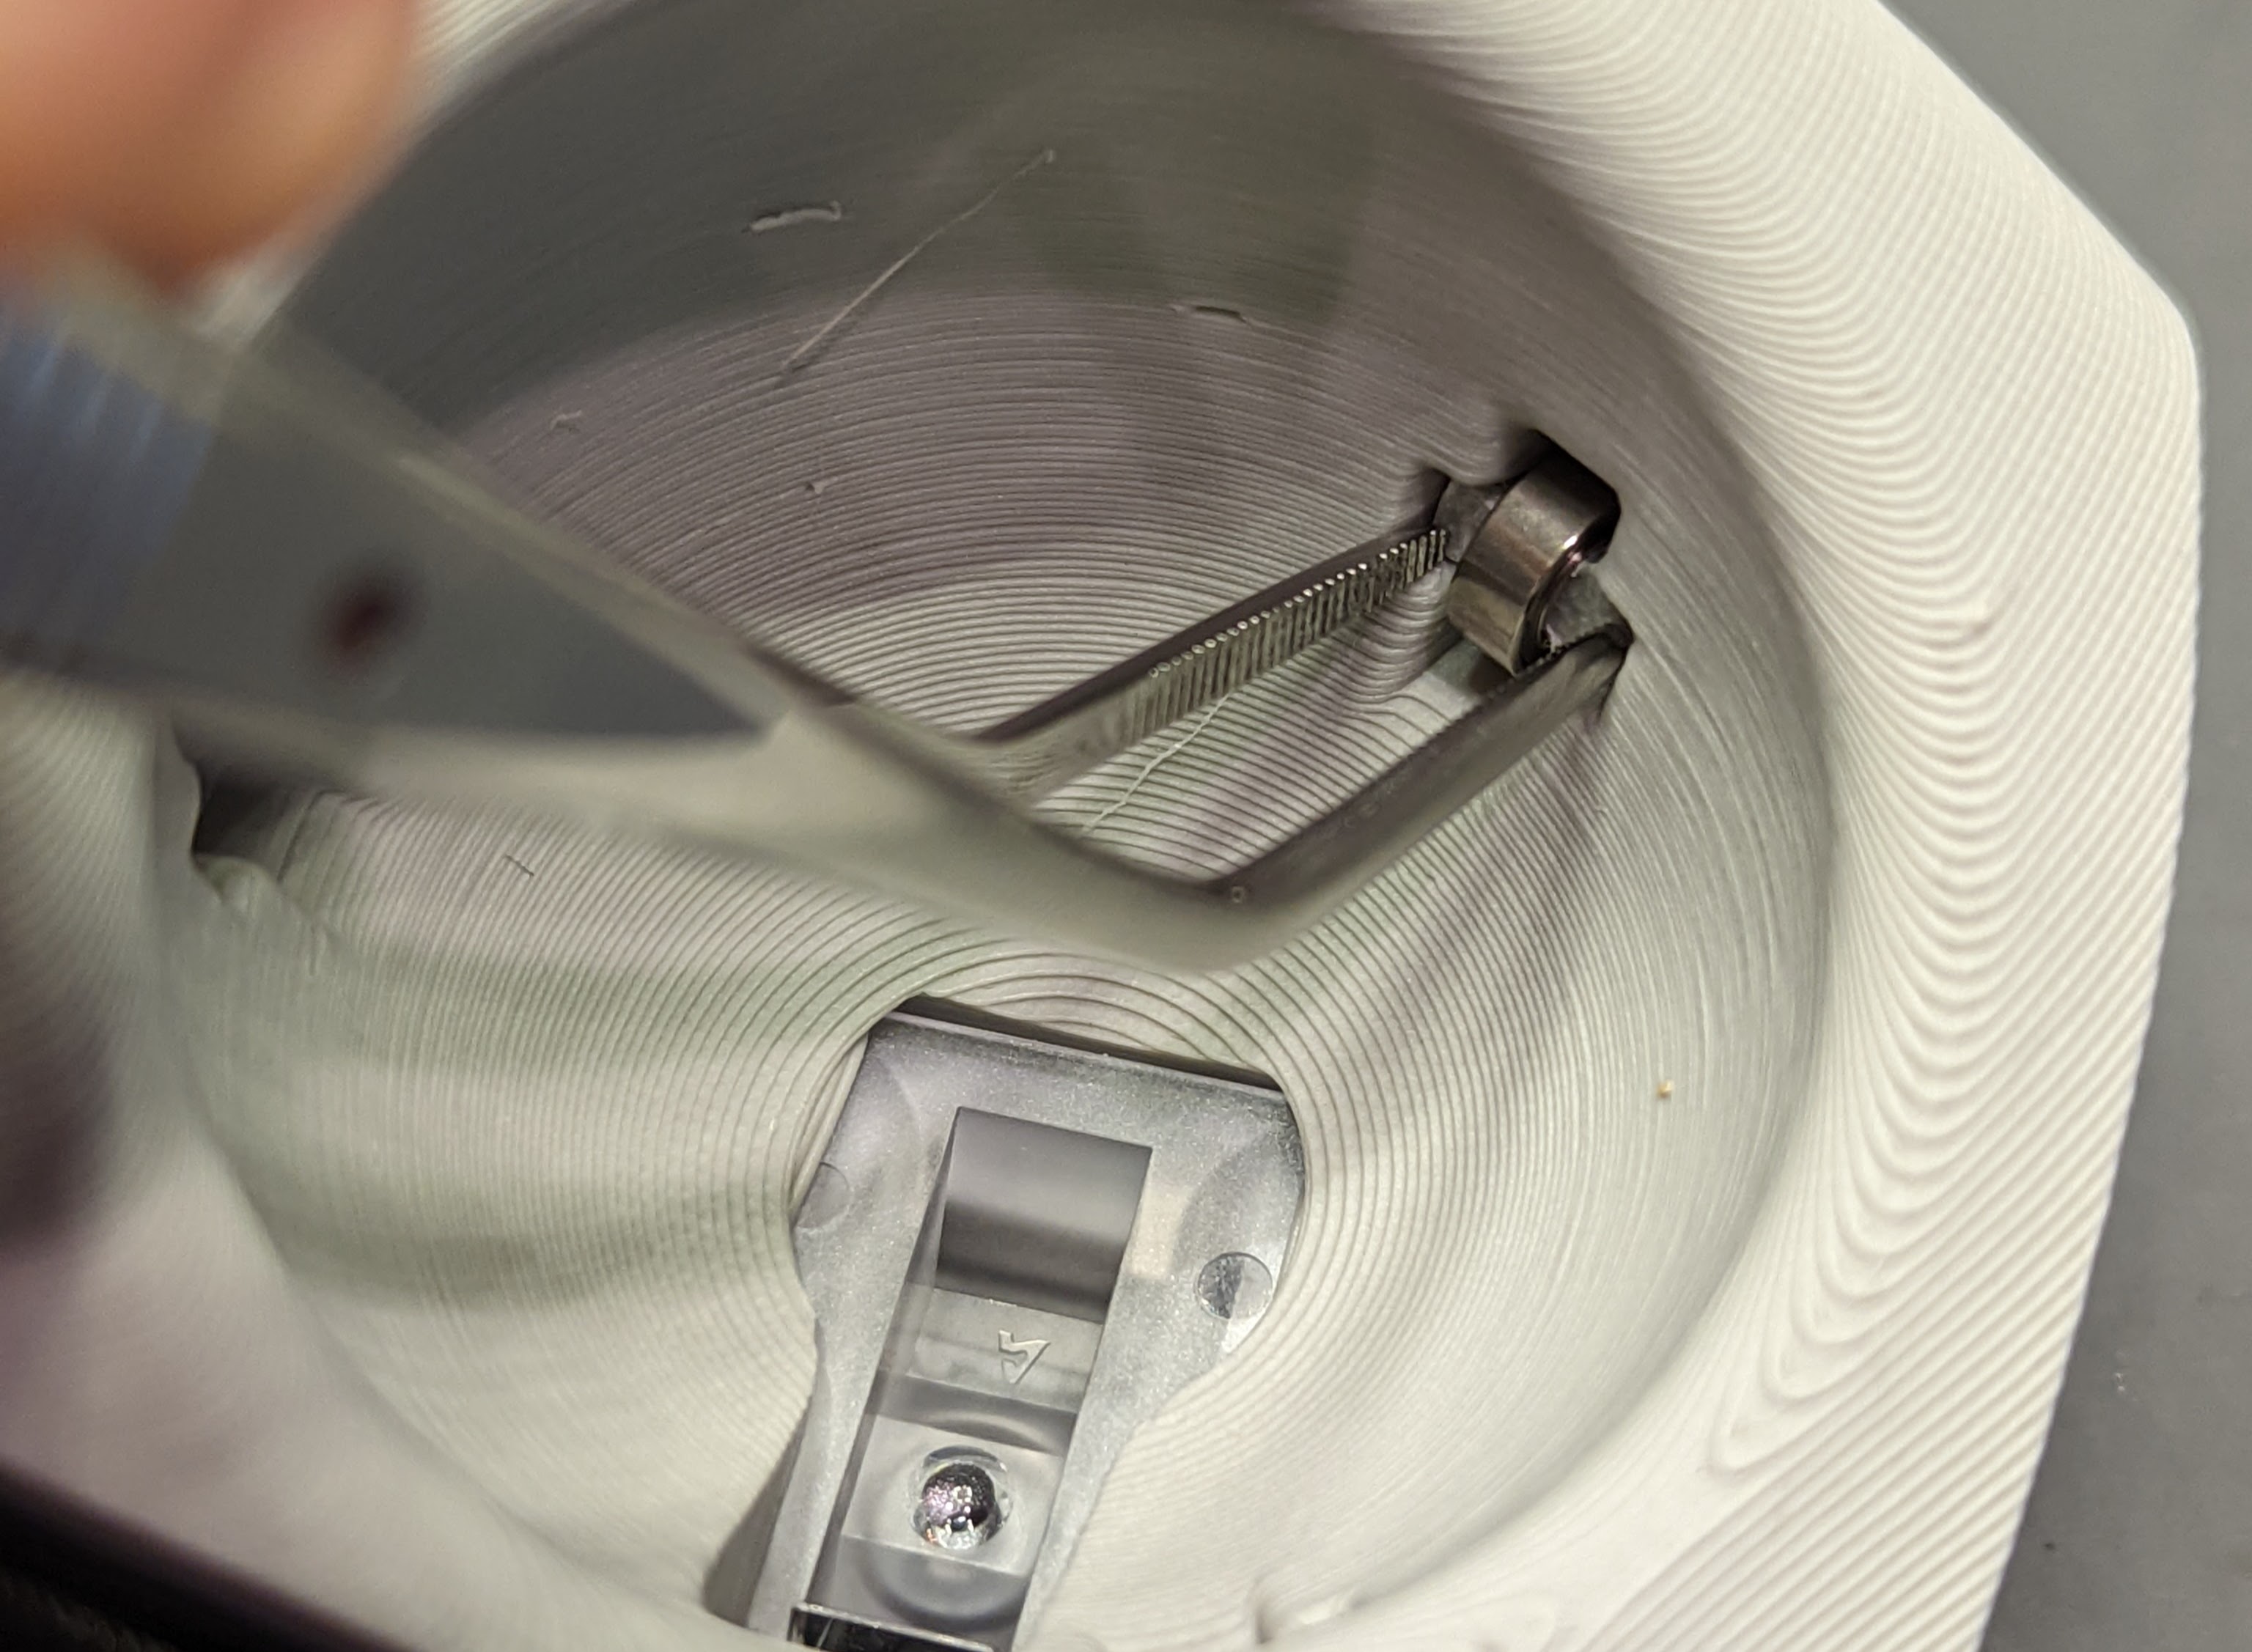
I flipped the trackball upside down, and screwed the the top cover into place. I also put on the friction pads. If you look carefully on the bottom side of the trackball, you’ll notice that there are four small scored circles. These circles indicate the approximate positions on which to install the friction pads. This design appears to be a recent change, because on the Ploopy installation instructions, the circular scores are actually large recesses that explicitly define the friction pads’ positions.
We now need to tend to the star of the show: the actual ball part of the trackball ![]() ! The parts come with a little 3D-printed jig for attaching each bearings to its axle. I thought the jig was a clever idea.
! The parts come with a little 3D-printed jig for attaching each bearings to its axle. I thought the jig was a clever idea.
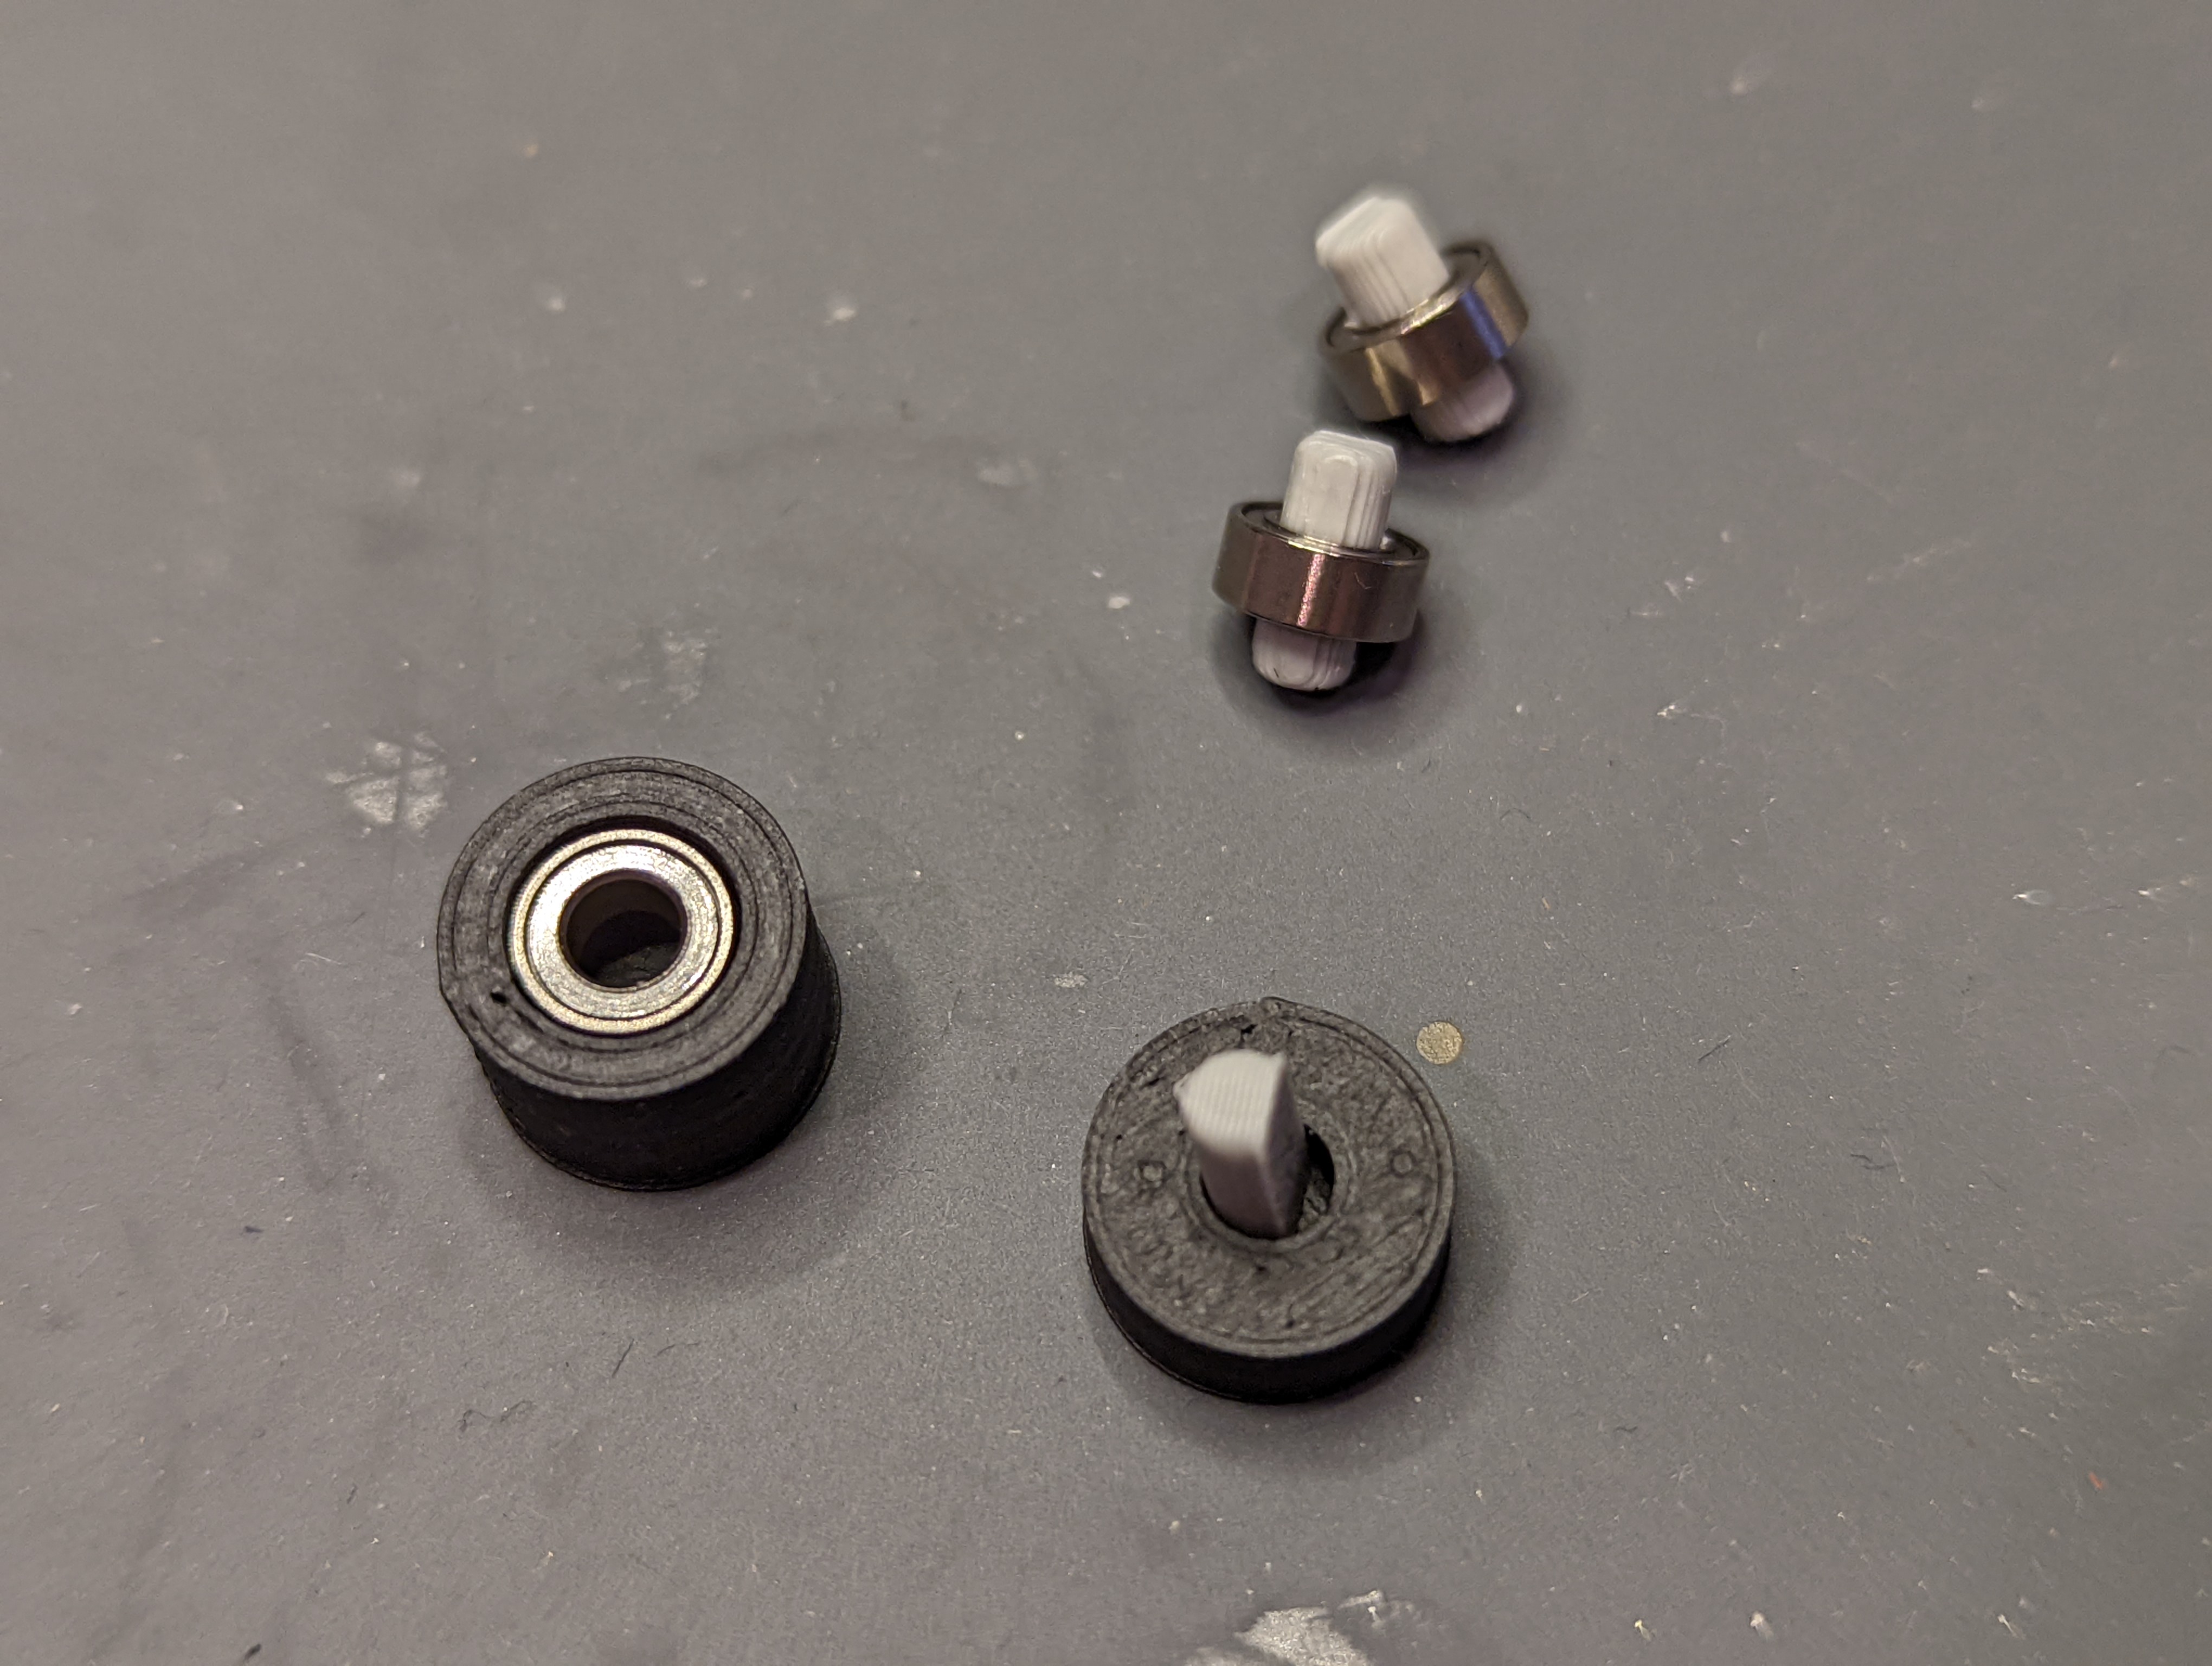
I used a pair of angled tweezers to click the bearings into place.
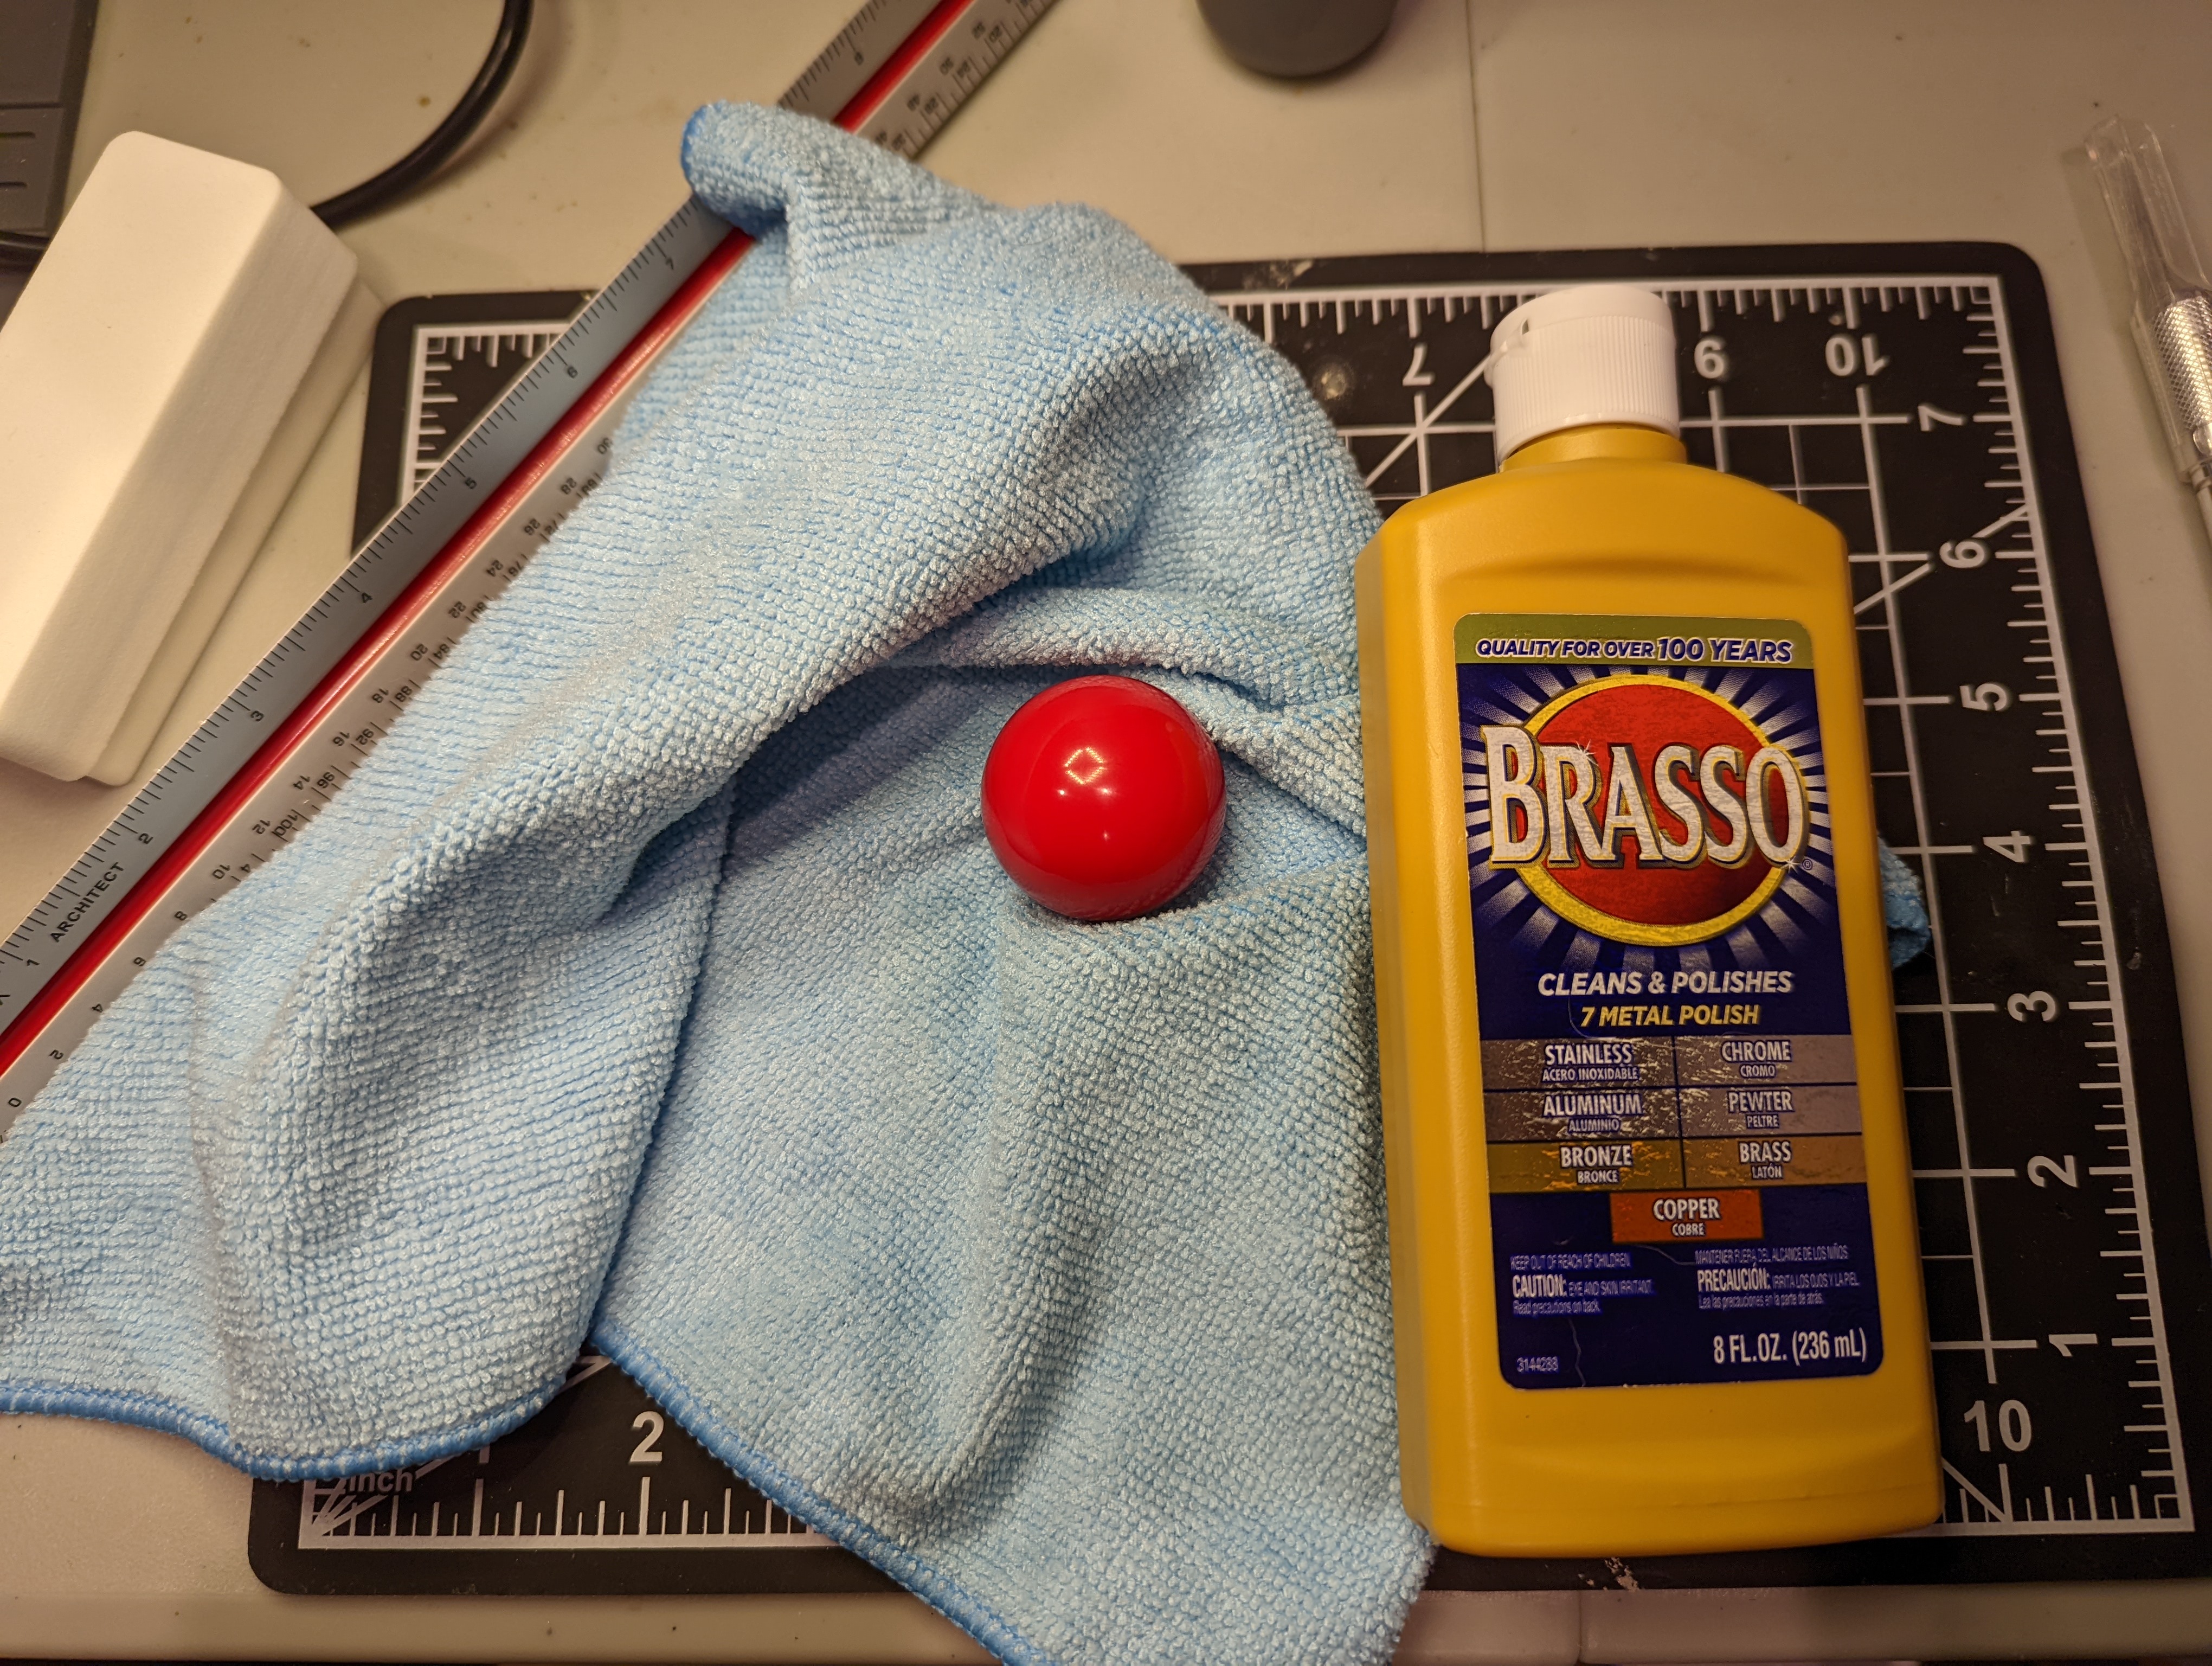
I remember reading from a blog that it helps a lot to polish the trackball with some “blue smurf poo” compound. I didn’t happen to have such unusually named compounds on hand, so I just polished the trackball with some Brasso. As far as I could tell, the Brasso helped a lot! The trackball felt a lot smoother. I know the Ploopy instructions warned about making the trackball ball too shiny … apparently too much shine will screw with the optical sensor’s reading.
And that’s the entire build!

One of the most awesome things about the Ploopy is that it’s QMK-programmable. By default, the left-side buttons, which are operated by the thumb, encode for classic ‘left’ and ‘right’ clicks that you’d find on a mouse. I think I’m going to leave those encodings be.
The opposite side of the trackball doesn’t come encoded with any functions, out of the box. I’m assuming that these buttons should encode for things I don’t use nearly as much as the the thumb buttons. I’m trying to think of functions that I might want to use very immediately before or after navigating with the ball of the trackball … I think maybe a printscreen function could be good, because I’m going to want to roll the ball around to define the screenshot ROI. So that’s a good function that will minimize the frequency of wrist translation. As for another function … maybe the shift key? That way it’s easier for me to select things en masse, as I drag the cursor around with the trackball.
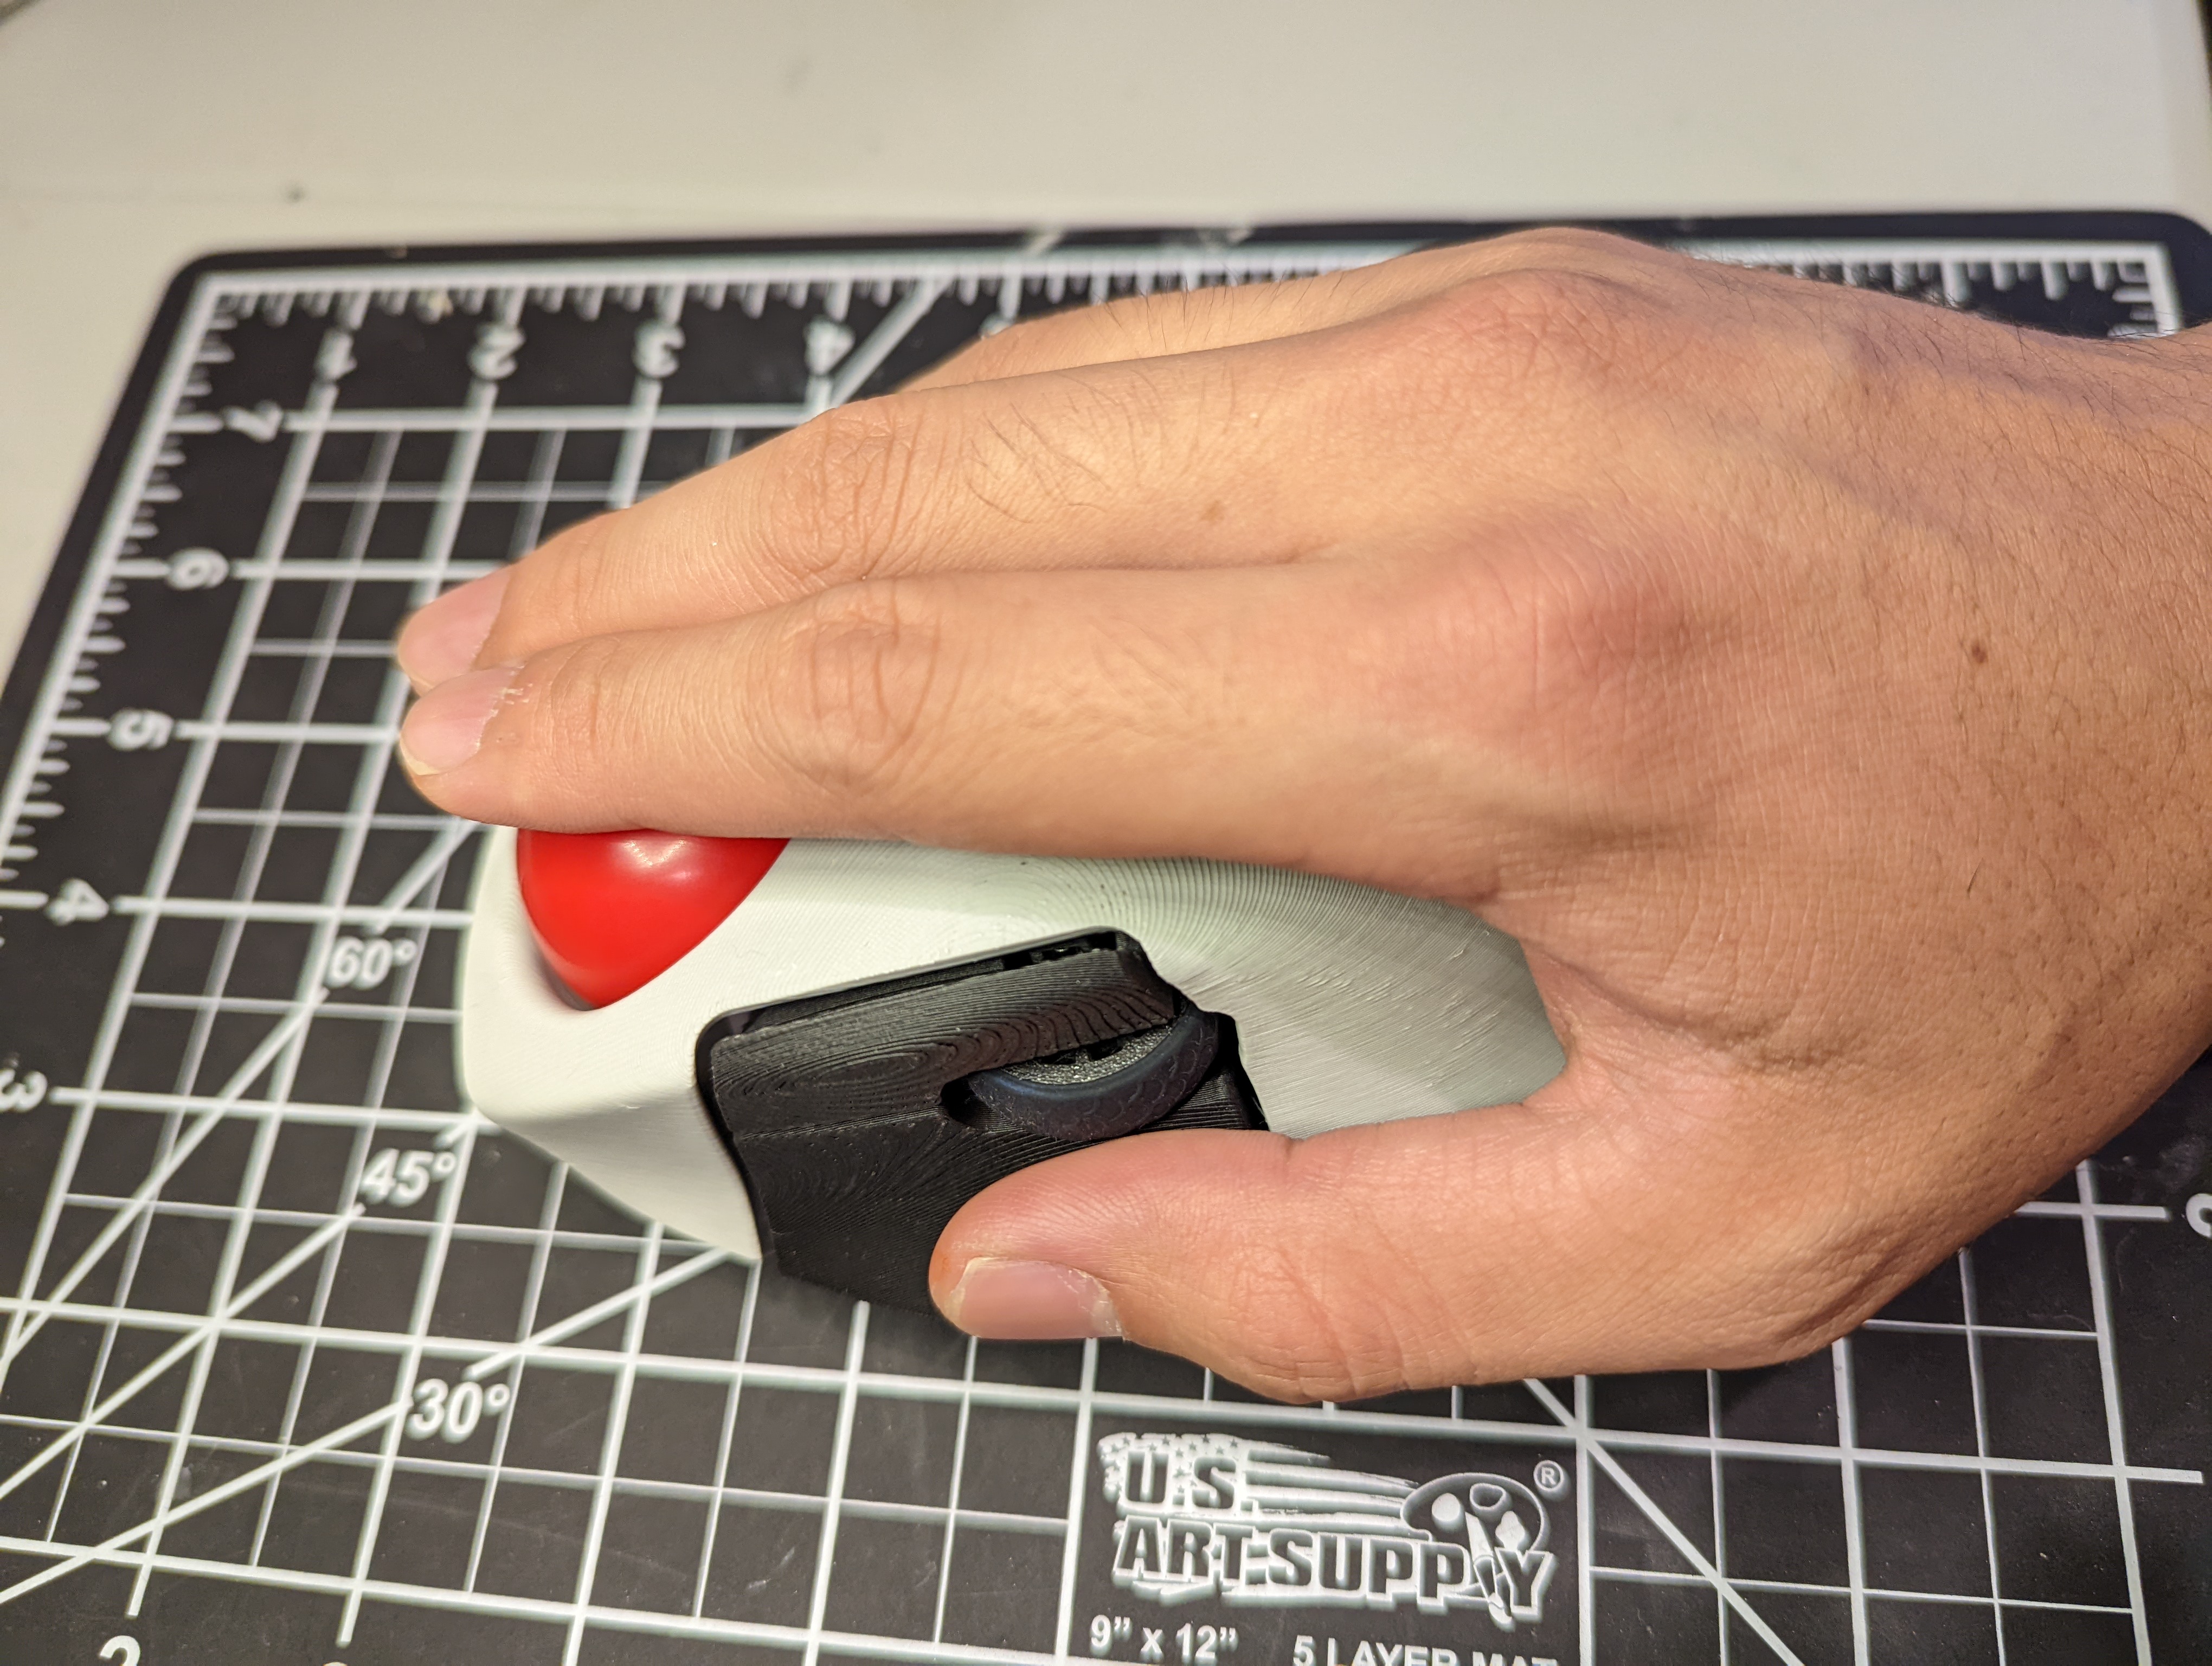
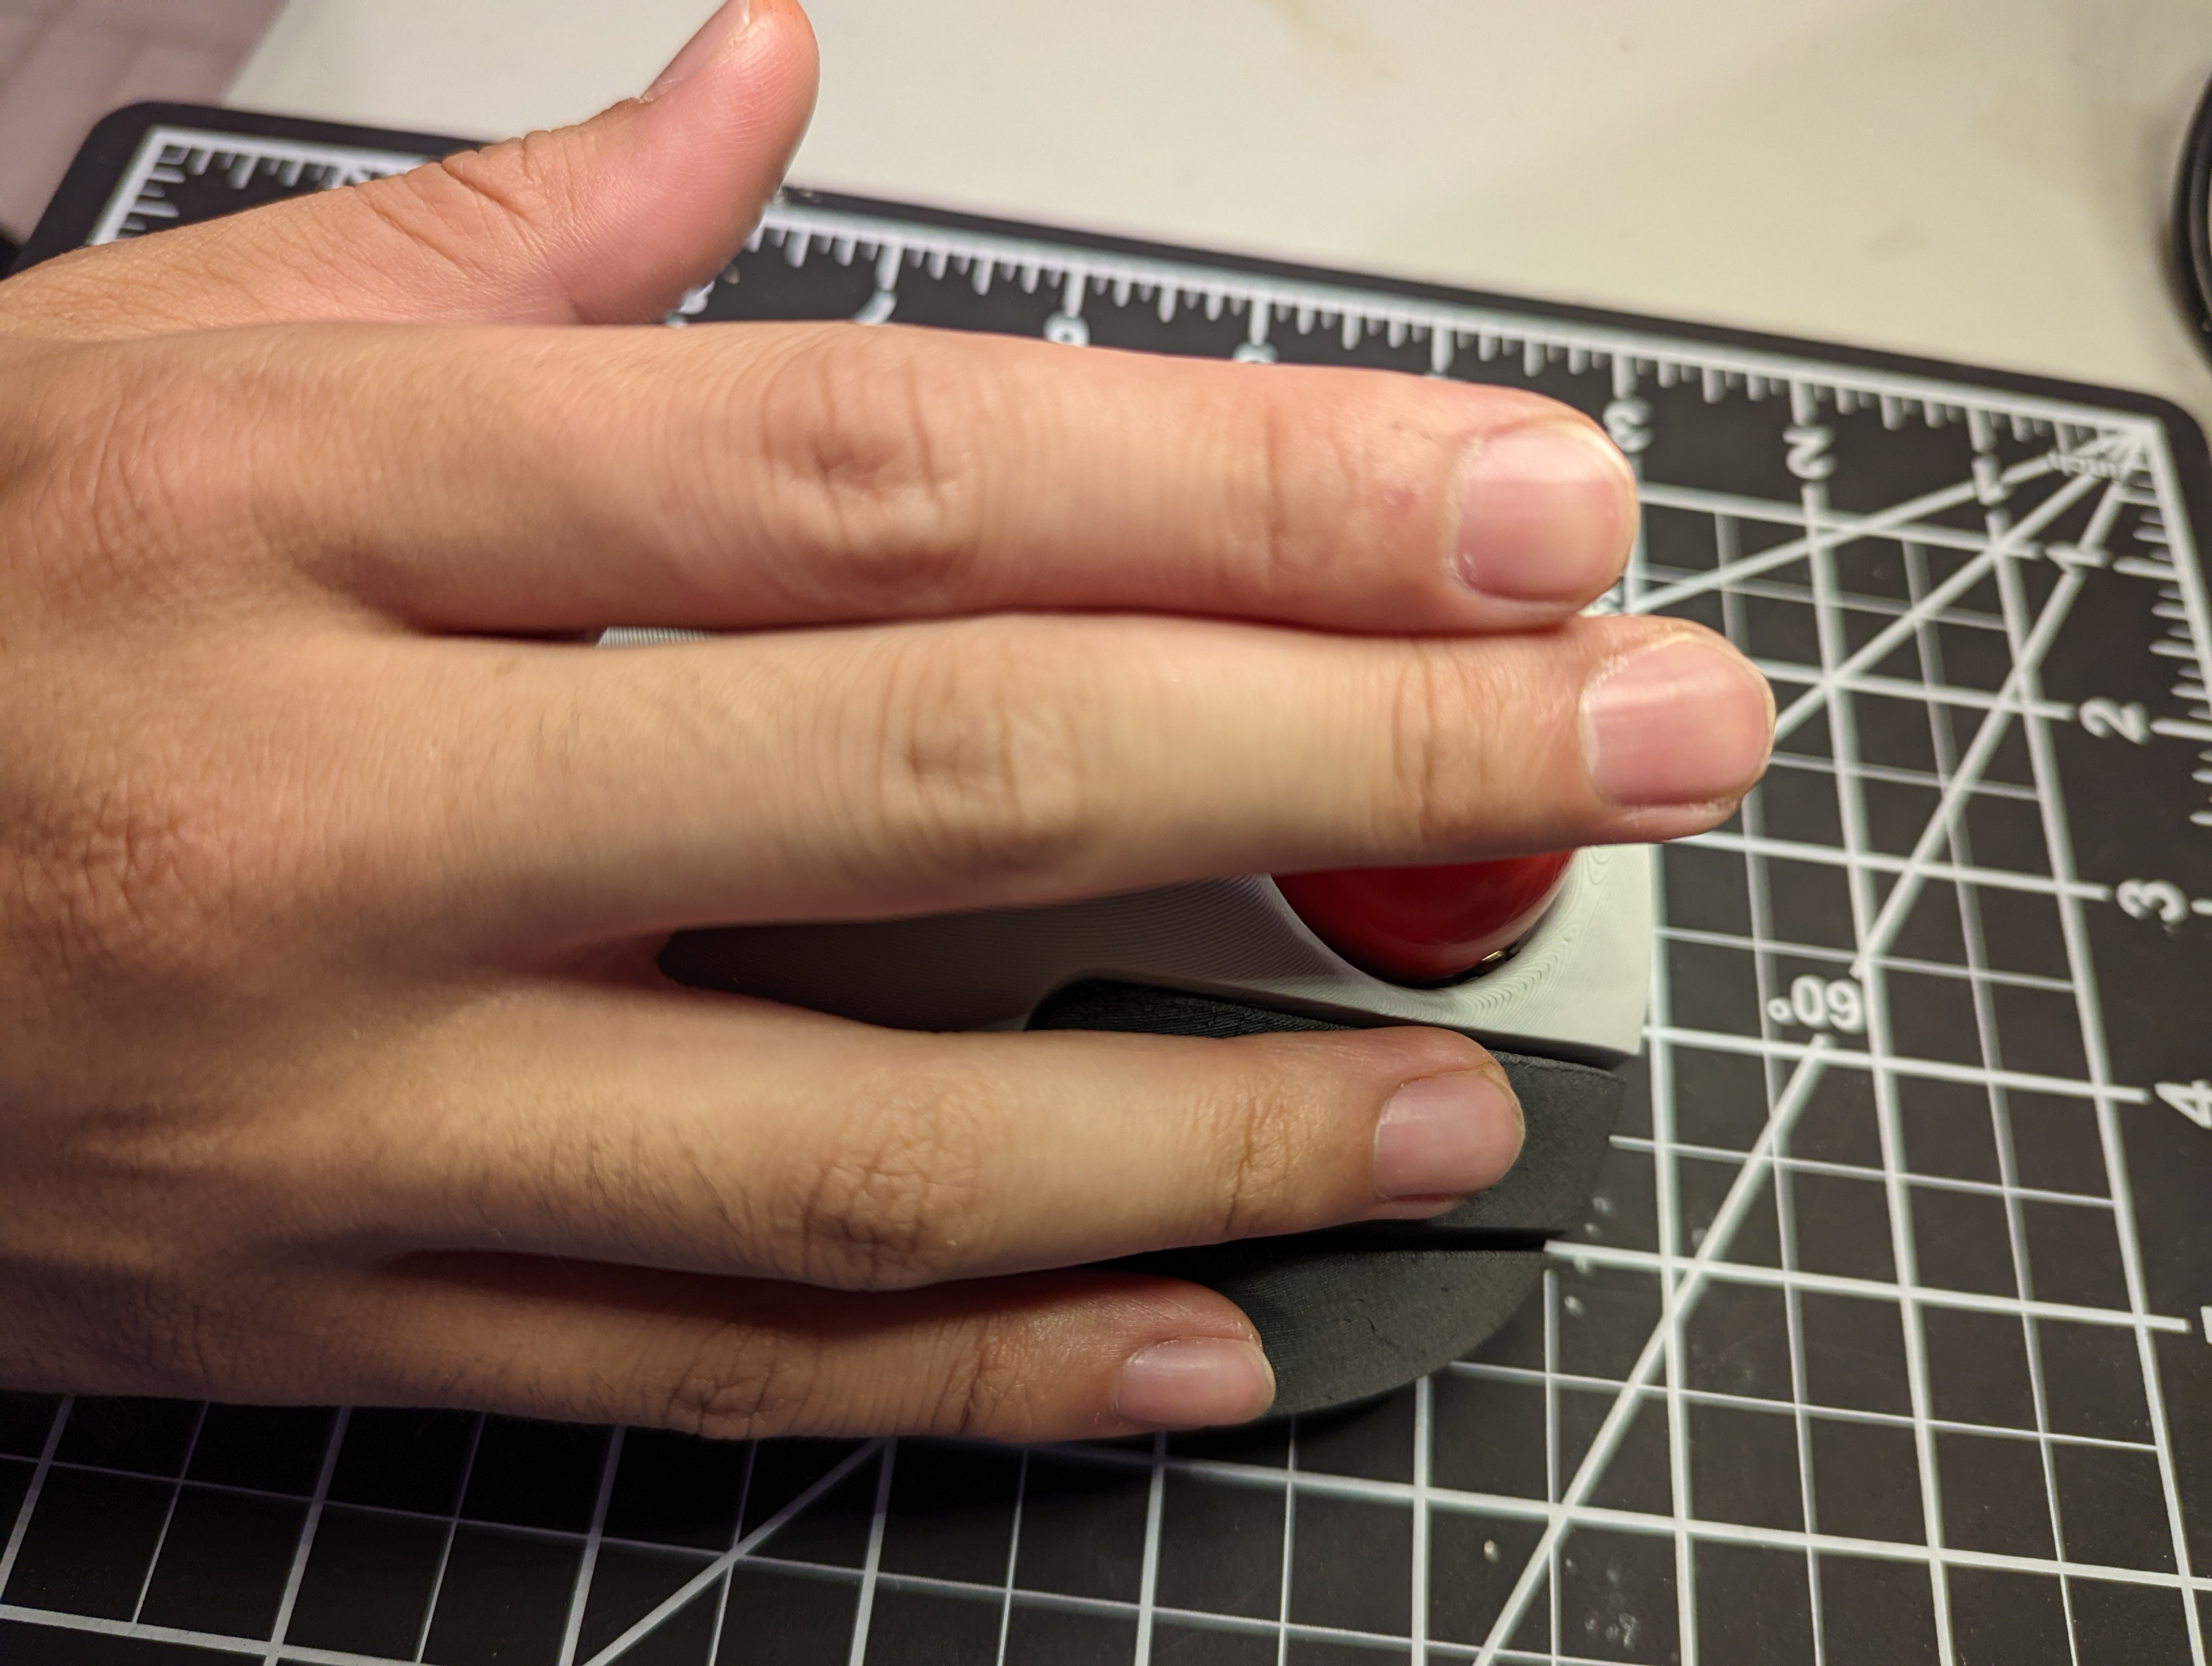
I think I’m meant to click the right-side buttons with my ring finger and pinky, which means that my index and middle finger will be rolling the physical trackball around, I suppose—because my thumb will be in charge of the left-side buttons.
In any case, I’m excited to program this trackball and give it some upgrades! The internet seems to strongly recommend that I replace the regular ball bearings with some kind of omnidirectional bearing. In particular, people seem to recommend ball transfer units (BTUs). A case that accommodates for BTUs already exists for the Ploopy Classic, but I don’t think it does yet for the Ploopy Mini. So that’s a fun project I can do for the (hopefully near) future!