
A good friend of mine is really into fighting games, like Tekken. Recently, he visited me from France, and told me that in the fighting game subculture, people always play with arcade controllers or as they’re called by the fandom, “fight sticks”. Apparently modern-day controllers, like those seen on an Xbox or a PlayStation, as well as regular keyboards, are shunned by the community. I didn’t read up on why fighting game enthusiasts are so pro-fight stick and so anti-non-fight stick, but perhaps there are some real reasons, because fight sticks can hit a sticker price of $250 ![]() . I have no idea how a game controller can be worth multiple hundreds of dollars, because I feel like the basic electronics of a HID are generally quite straightforward. So, I thought I would put my money where my thoughts are, and build one from scratch, and then gift the fight stick to my Tekken-loving French friend. I then actually wound up building another fight stick (a slightly different variant) for myself, so I could use it while playing with him. I also have a weakness for HIDs (which is pretty clear from this blog), so why not add another one to the collection
. I have no idea how a game controller can be worth multiple hundreds of dollars, because I feel like the basic electronics of a HID are generally quite straightforward. So, I thought I would put my money where my thoughts are, and build one from scratch, and then gift the fight stick to my Tekken-loving French friend. I then actually wound up building another fight stick (a slightly different variant) for myself, so I could use it while playing with him. I also have a weakness for HIDs (which is pretty clear from this blog), so why not add another one to the collection ![]() .
.
The “Slimbox”
I have a bunch of leftover Kailh low-profile choc v1 switches, from the many keyboards I’ve built. I found some .stls on Thingiverse for a fight stick enclosure that’s built around low profile Kailh switches. The designer named it the “Slimbox”. The Thingiverse project also includes .stls of circular keycaps for the Kailh switches, in order to complete the vintage arcade-style look. I printed the enclosure and the keycaps in PETG, and I popped some switches into the printed enclosure. I used Kailh silvers for the movement buttons (linear, 40 g) and Kailh browns for the action and menu buttons (tactile, 60 g).
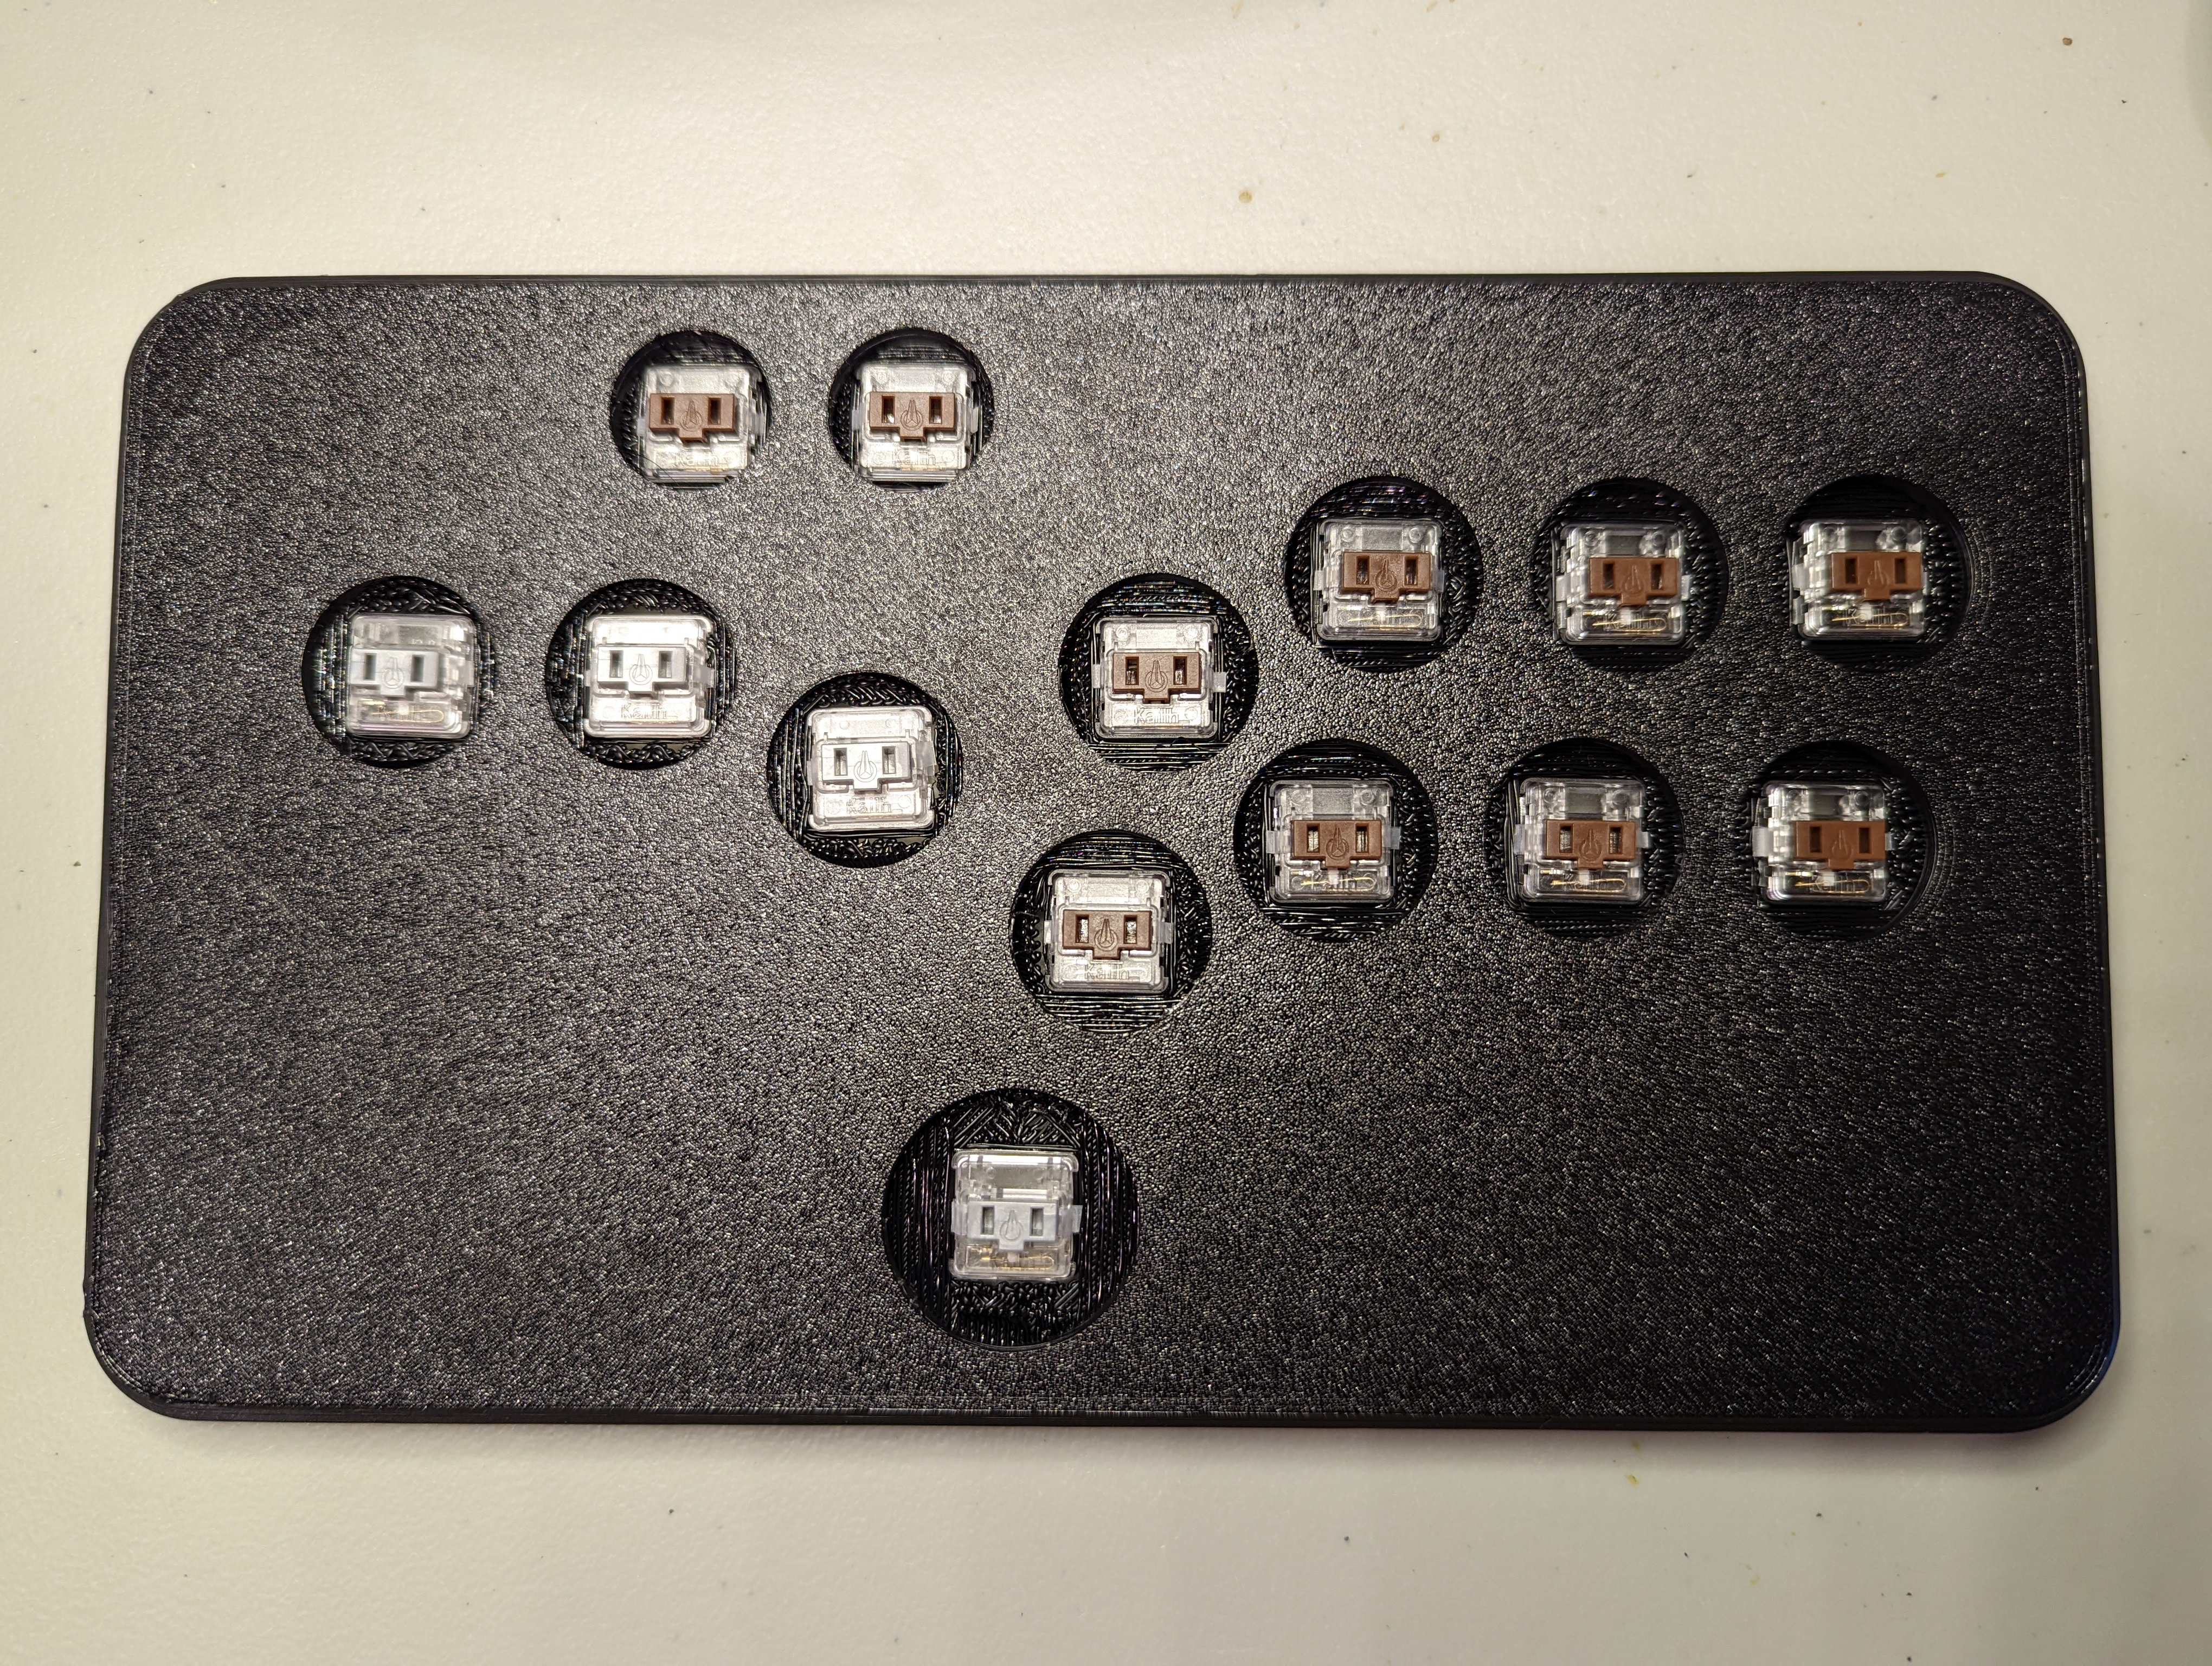
I then tried to press in the circular keycaps onto the switches, but the stems of the printed keycaps were too thick. I found that I had to file down the stems for all the keycaps.
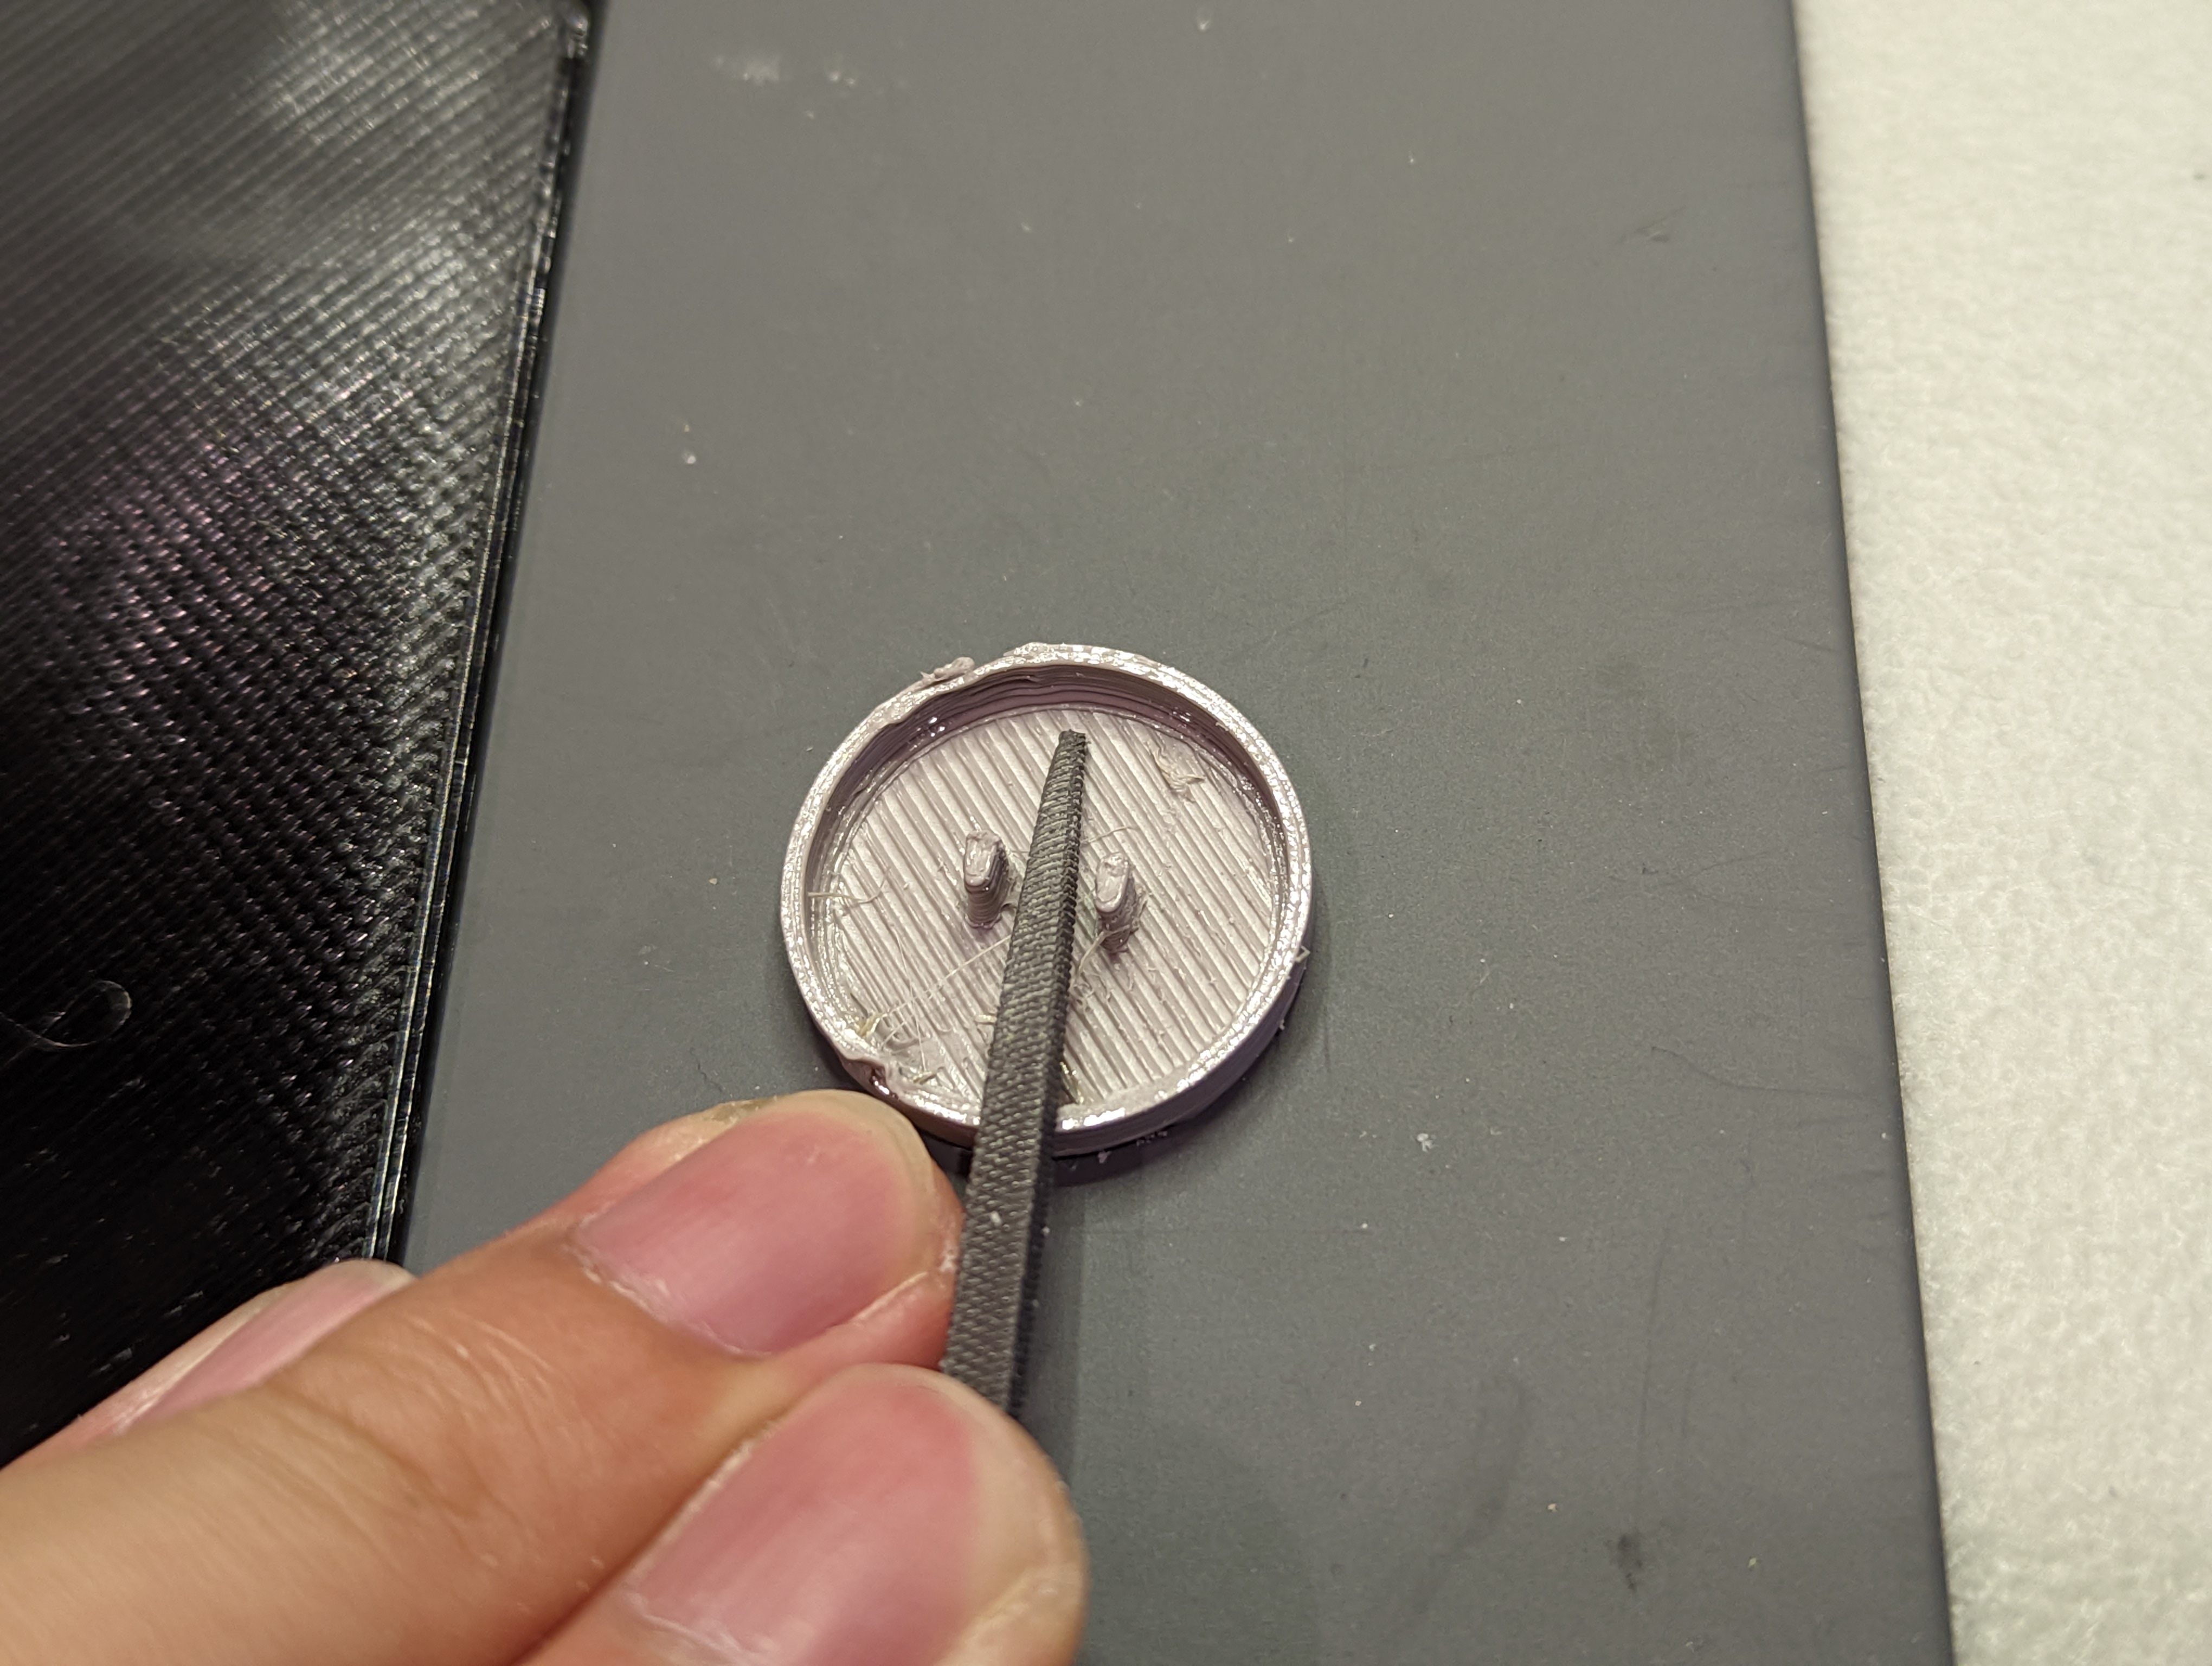
I noticed that the switches were not fitting super snugly in place, into the enclosure. This was not unexpected, given that PETG does not print bridges and overhangs nearly as well as PLA, and the part of the enclosure that’s socketed for the switches is comprised entirely of bridges and overhangs. To rectify the loose fitting, I used hot glue to secure the switches into place.
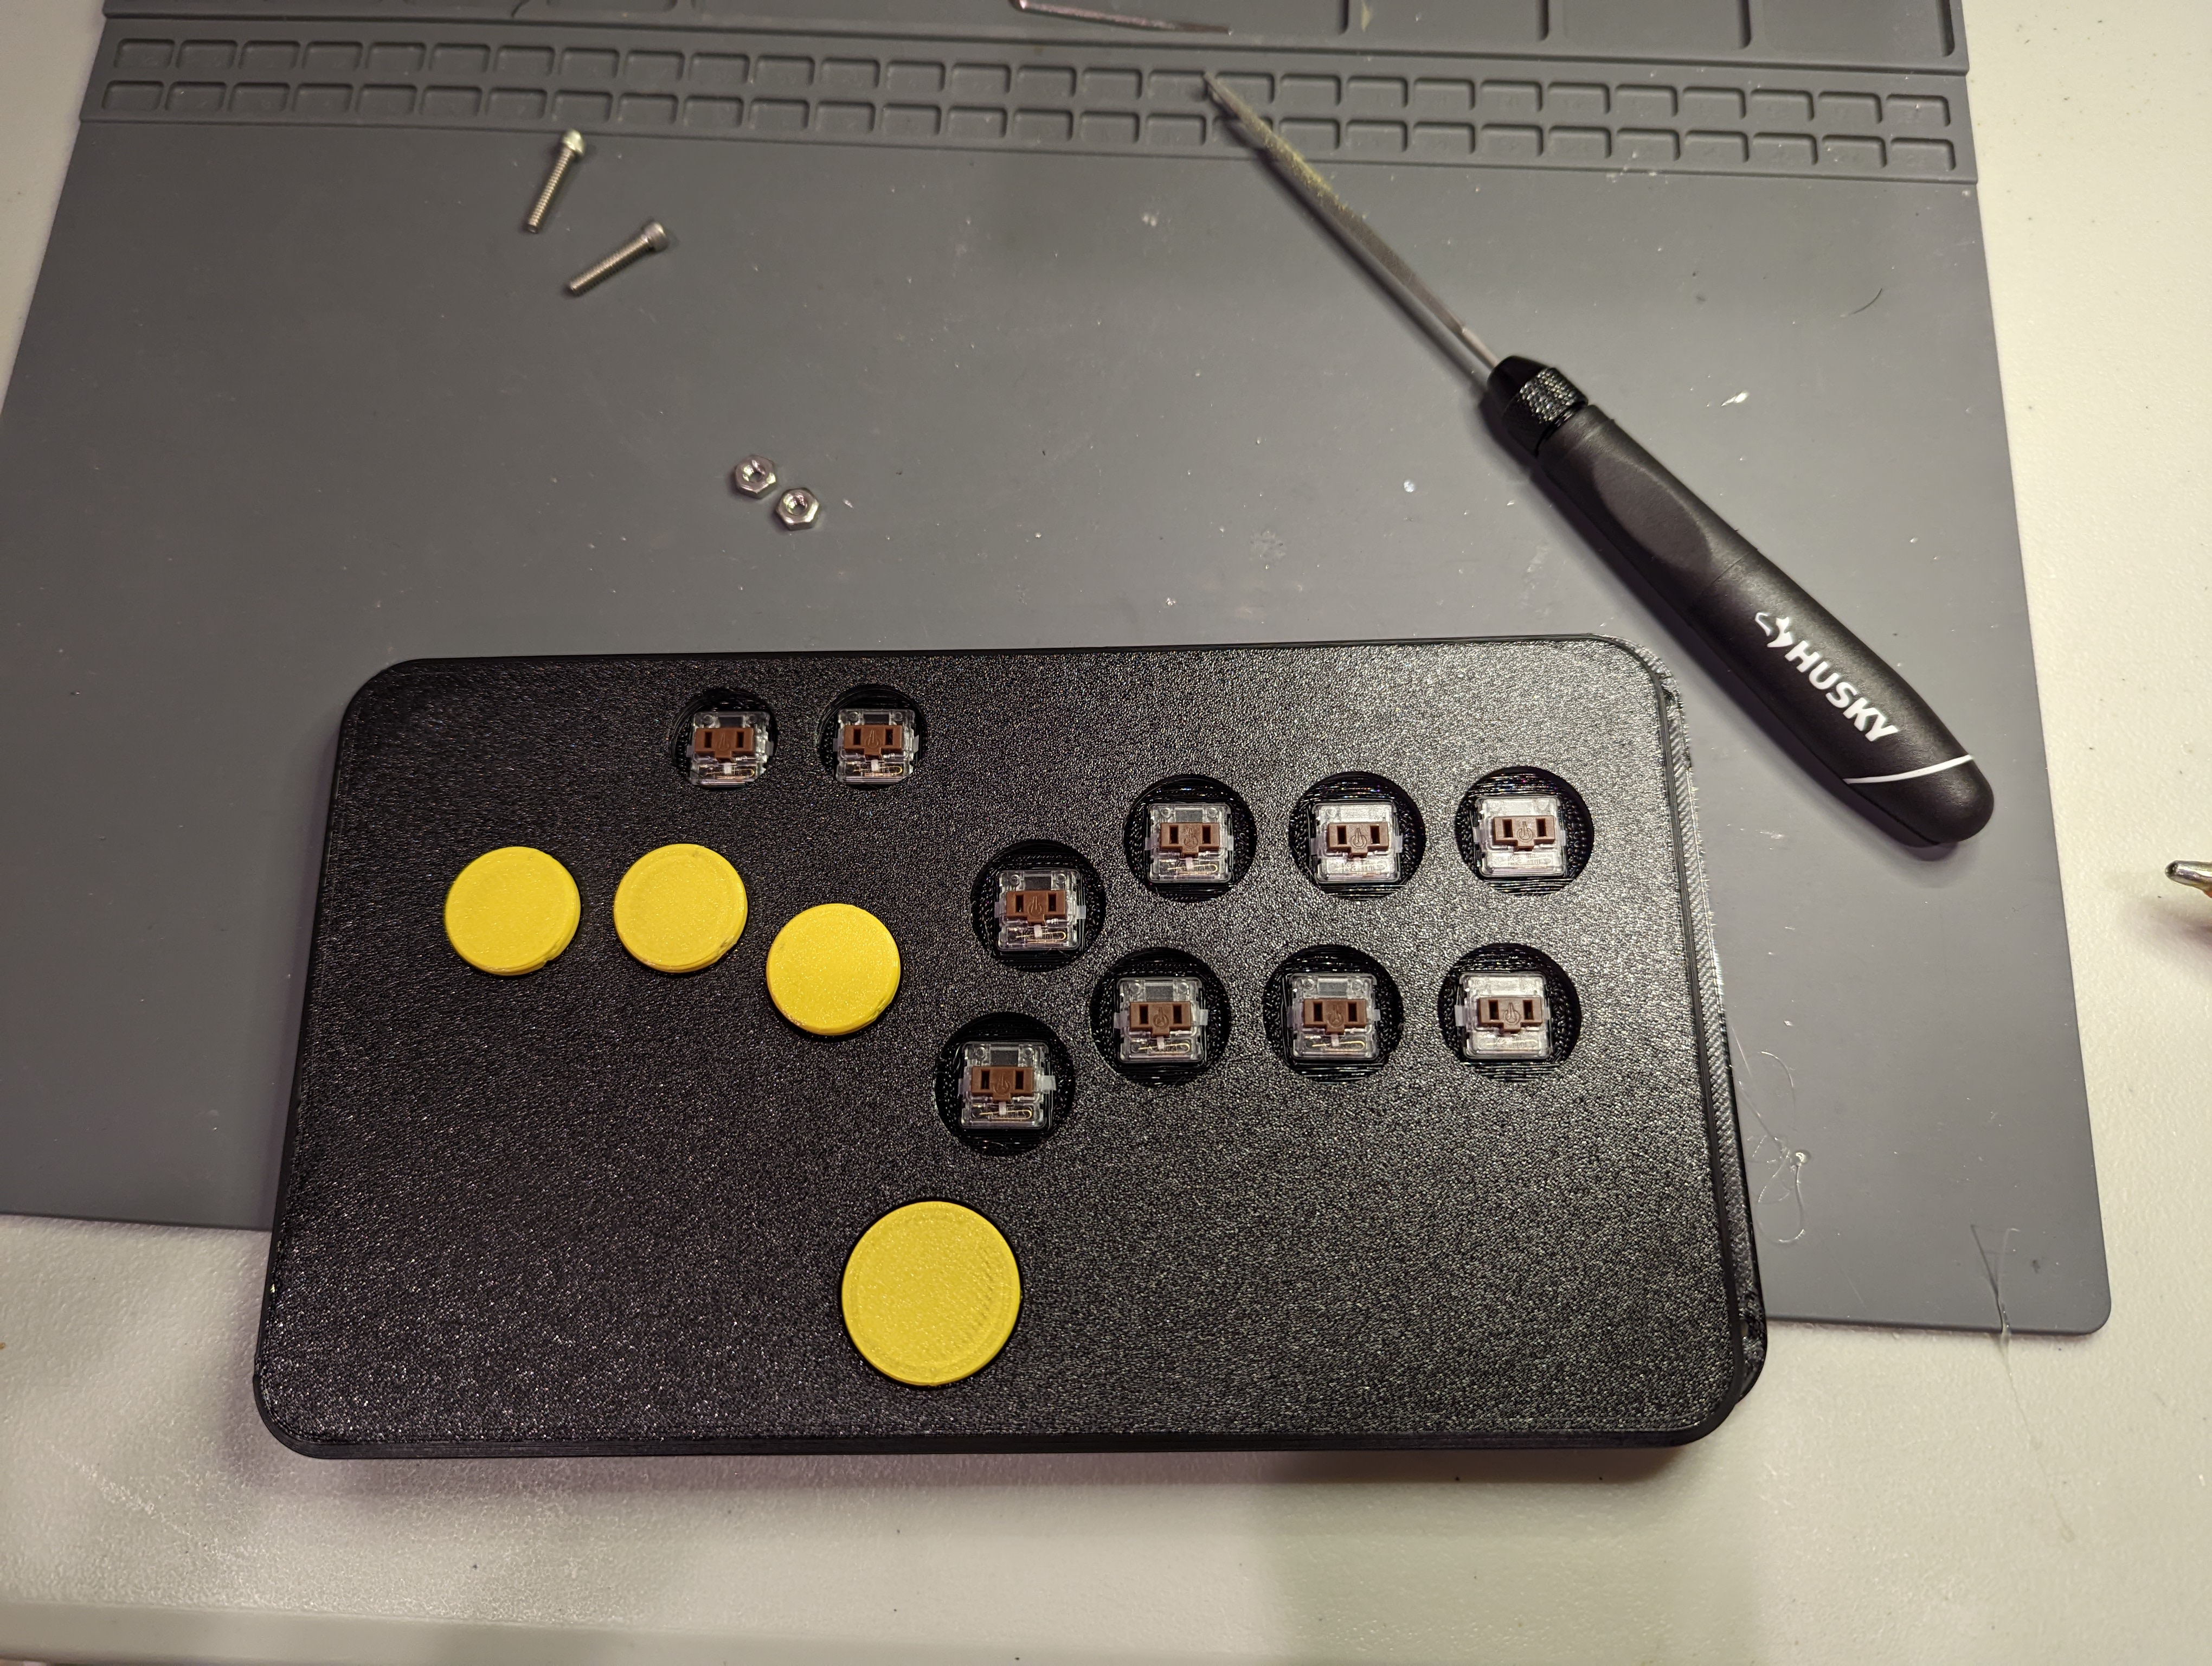
After much filing of keycap stems, I finally managed to pop all the keycaps into the switches, except for the dedicated smaller keycaps meant for the “start” and “select” buttons. I noticed that these keycaps printed a little too wide, and so they wouldn’t fit into the enclosure’s cavity. I also found their surface to be a little too flimsy. To address these problems, I adjusted in Prusa Slicer, the x and y scaling to 98%, and the z scaling to 200%. Doubling the z scaling resulted in some very tall keycap stems, and so I just clipped those to size with a pair of flush cutters.
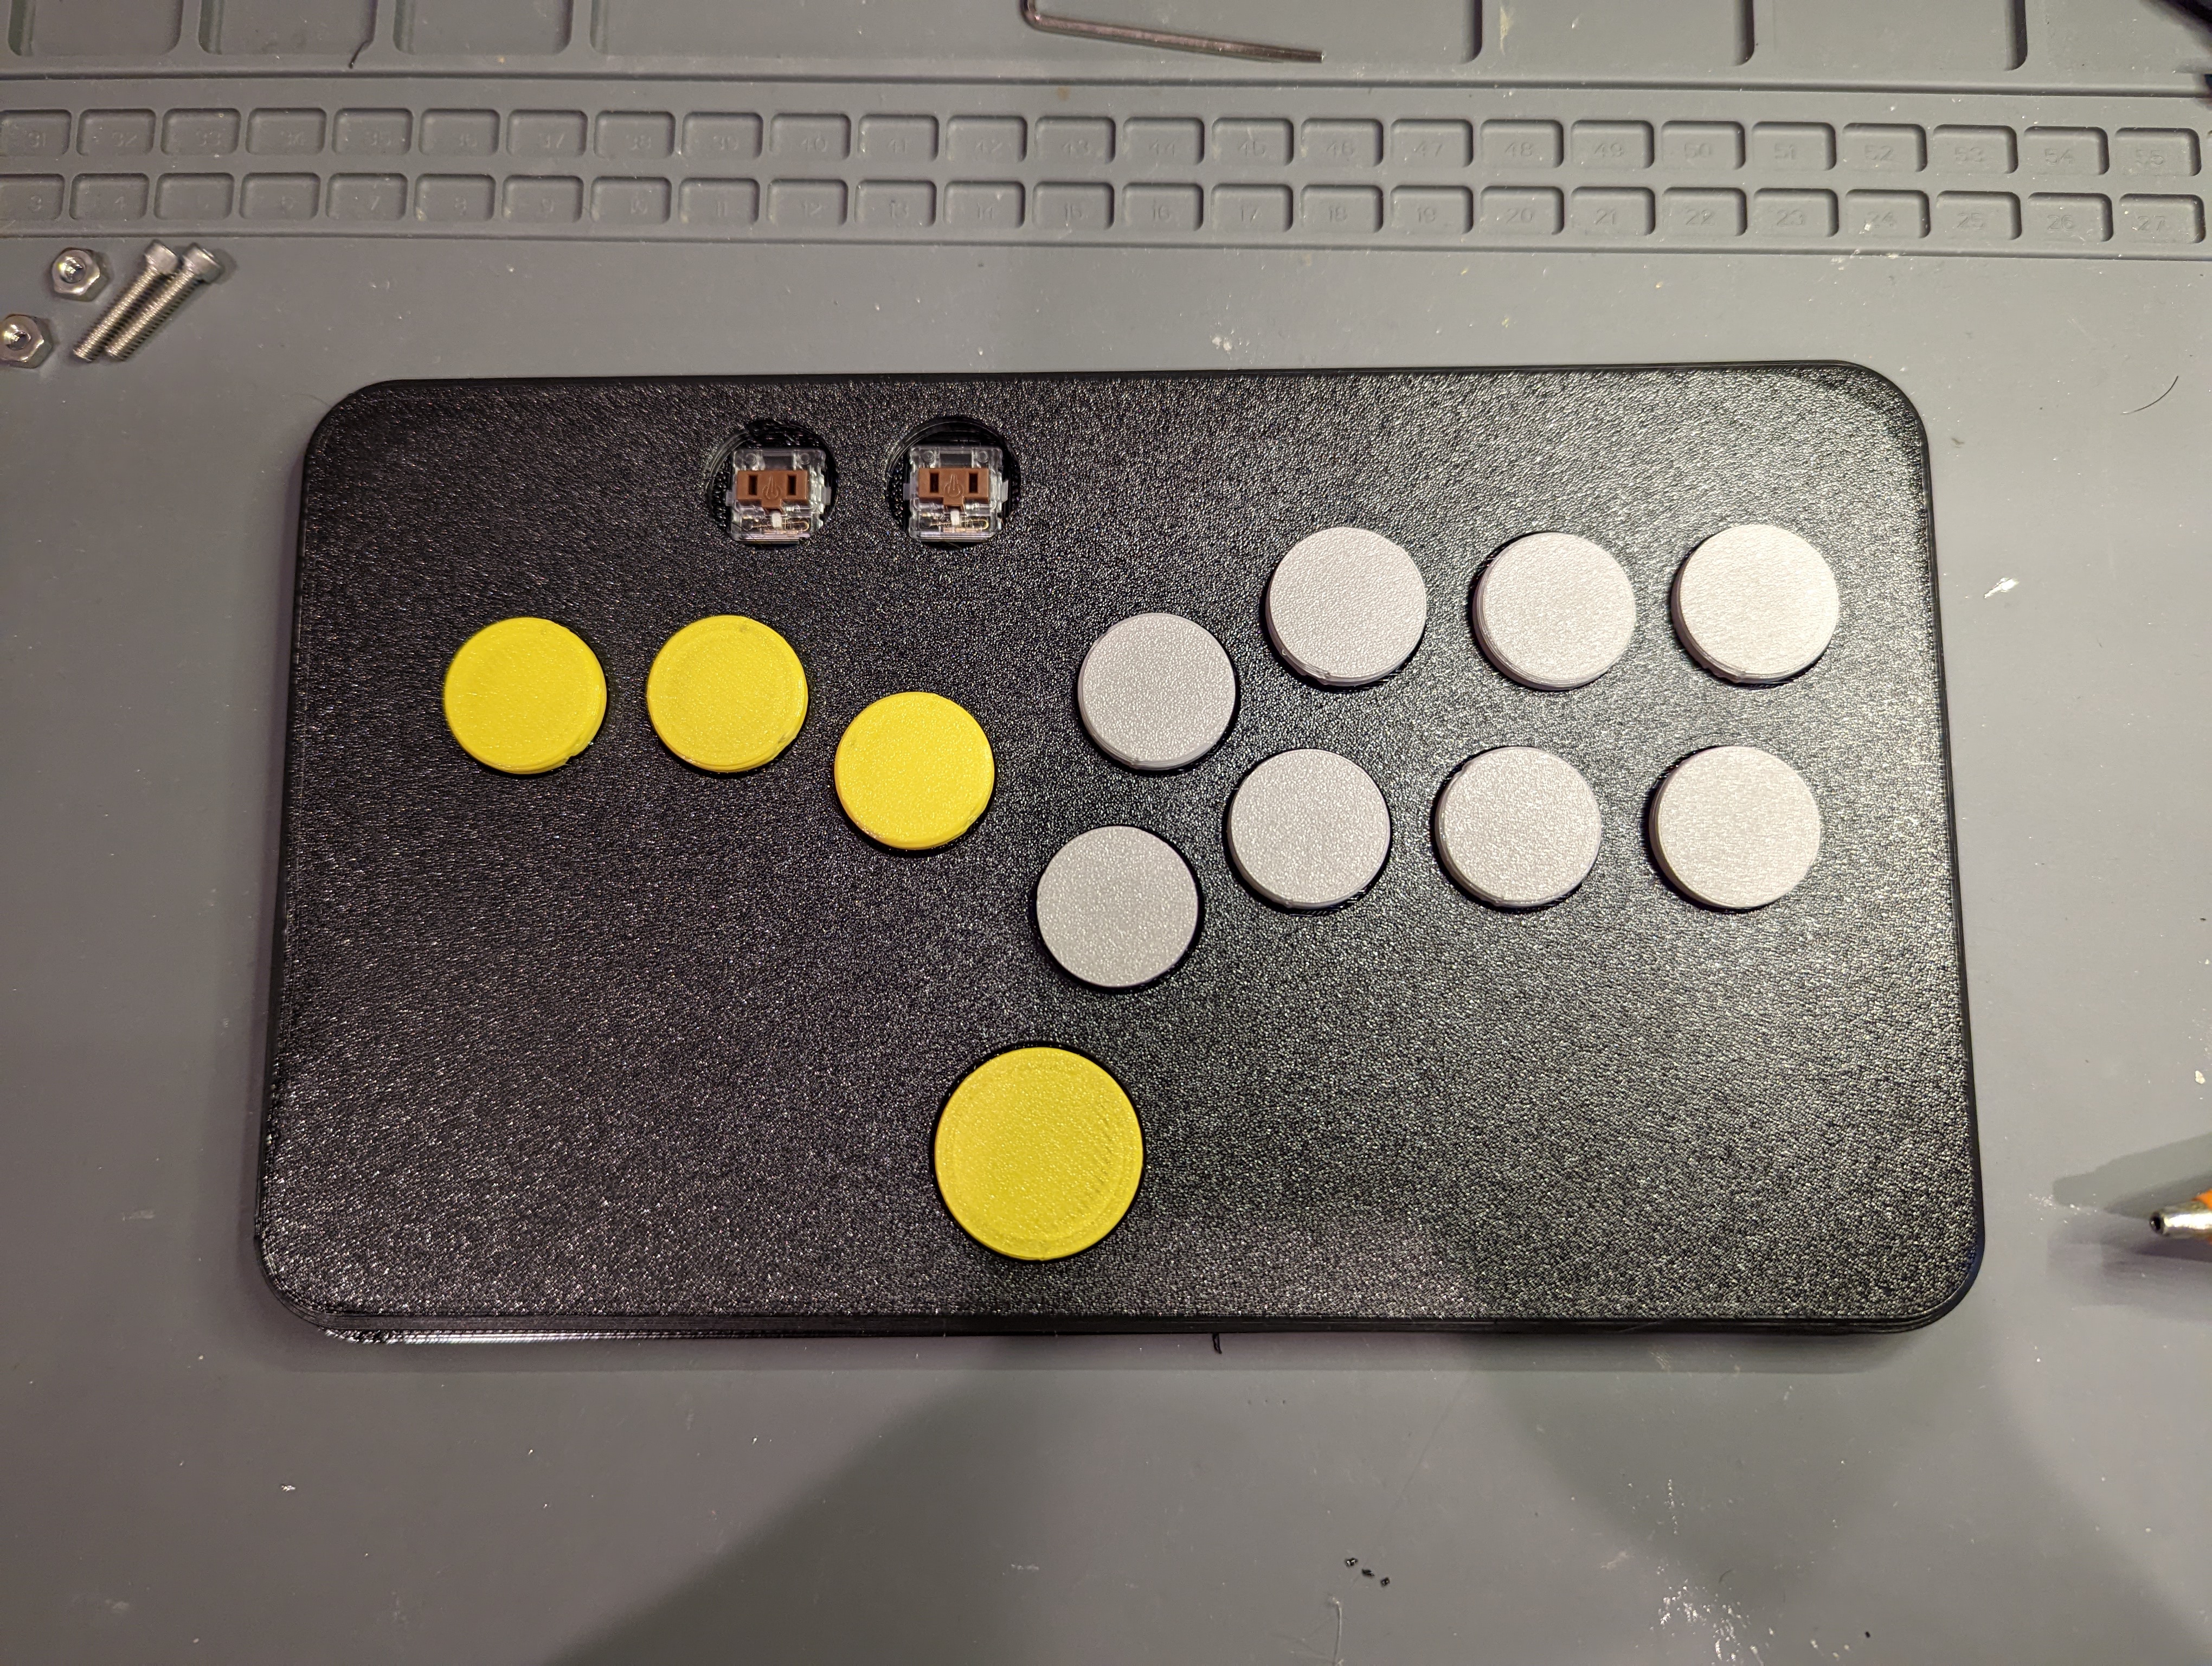
With the keycaps secured into the switches, and the switches secured into the enclosure, I tried pressing the Slimbox’s buttons a few times, just to see how the buttons felt and sounded. They feel very nice and they sound very nice.
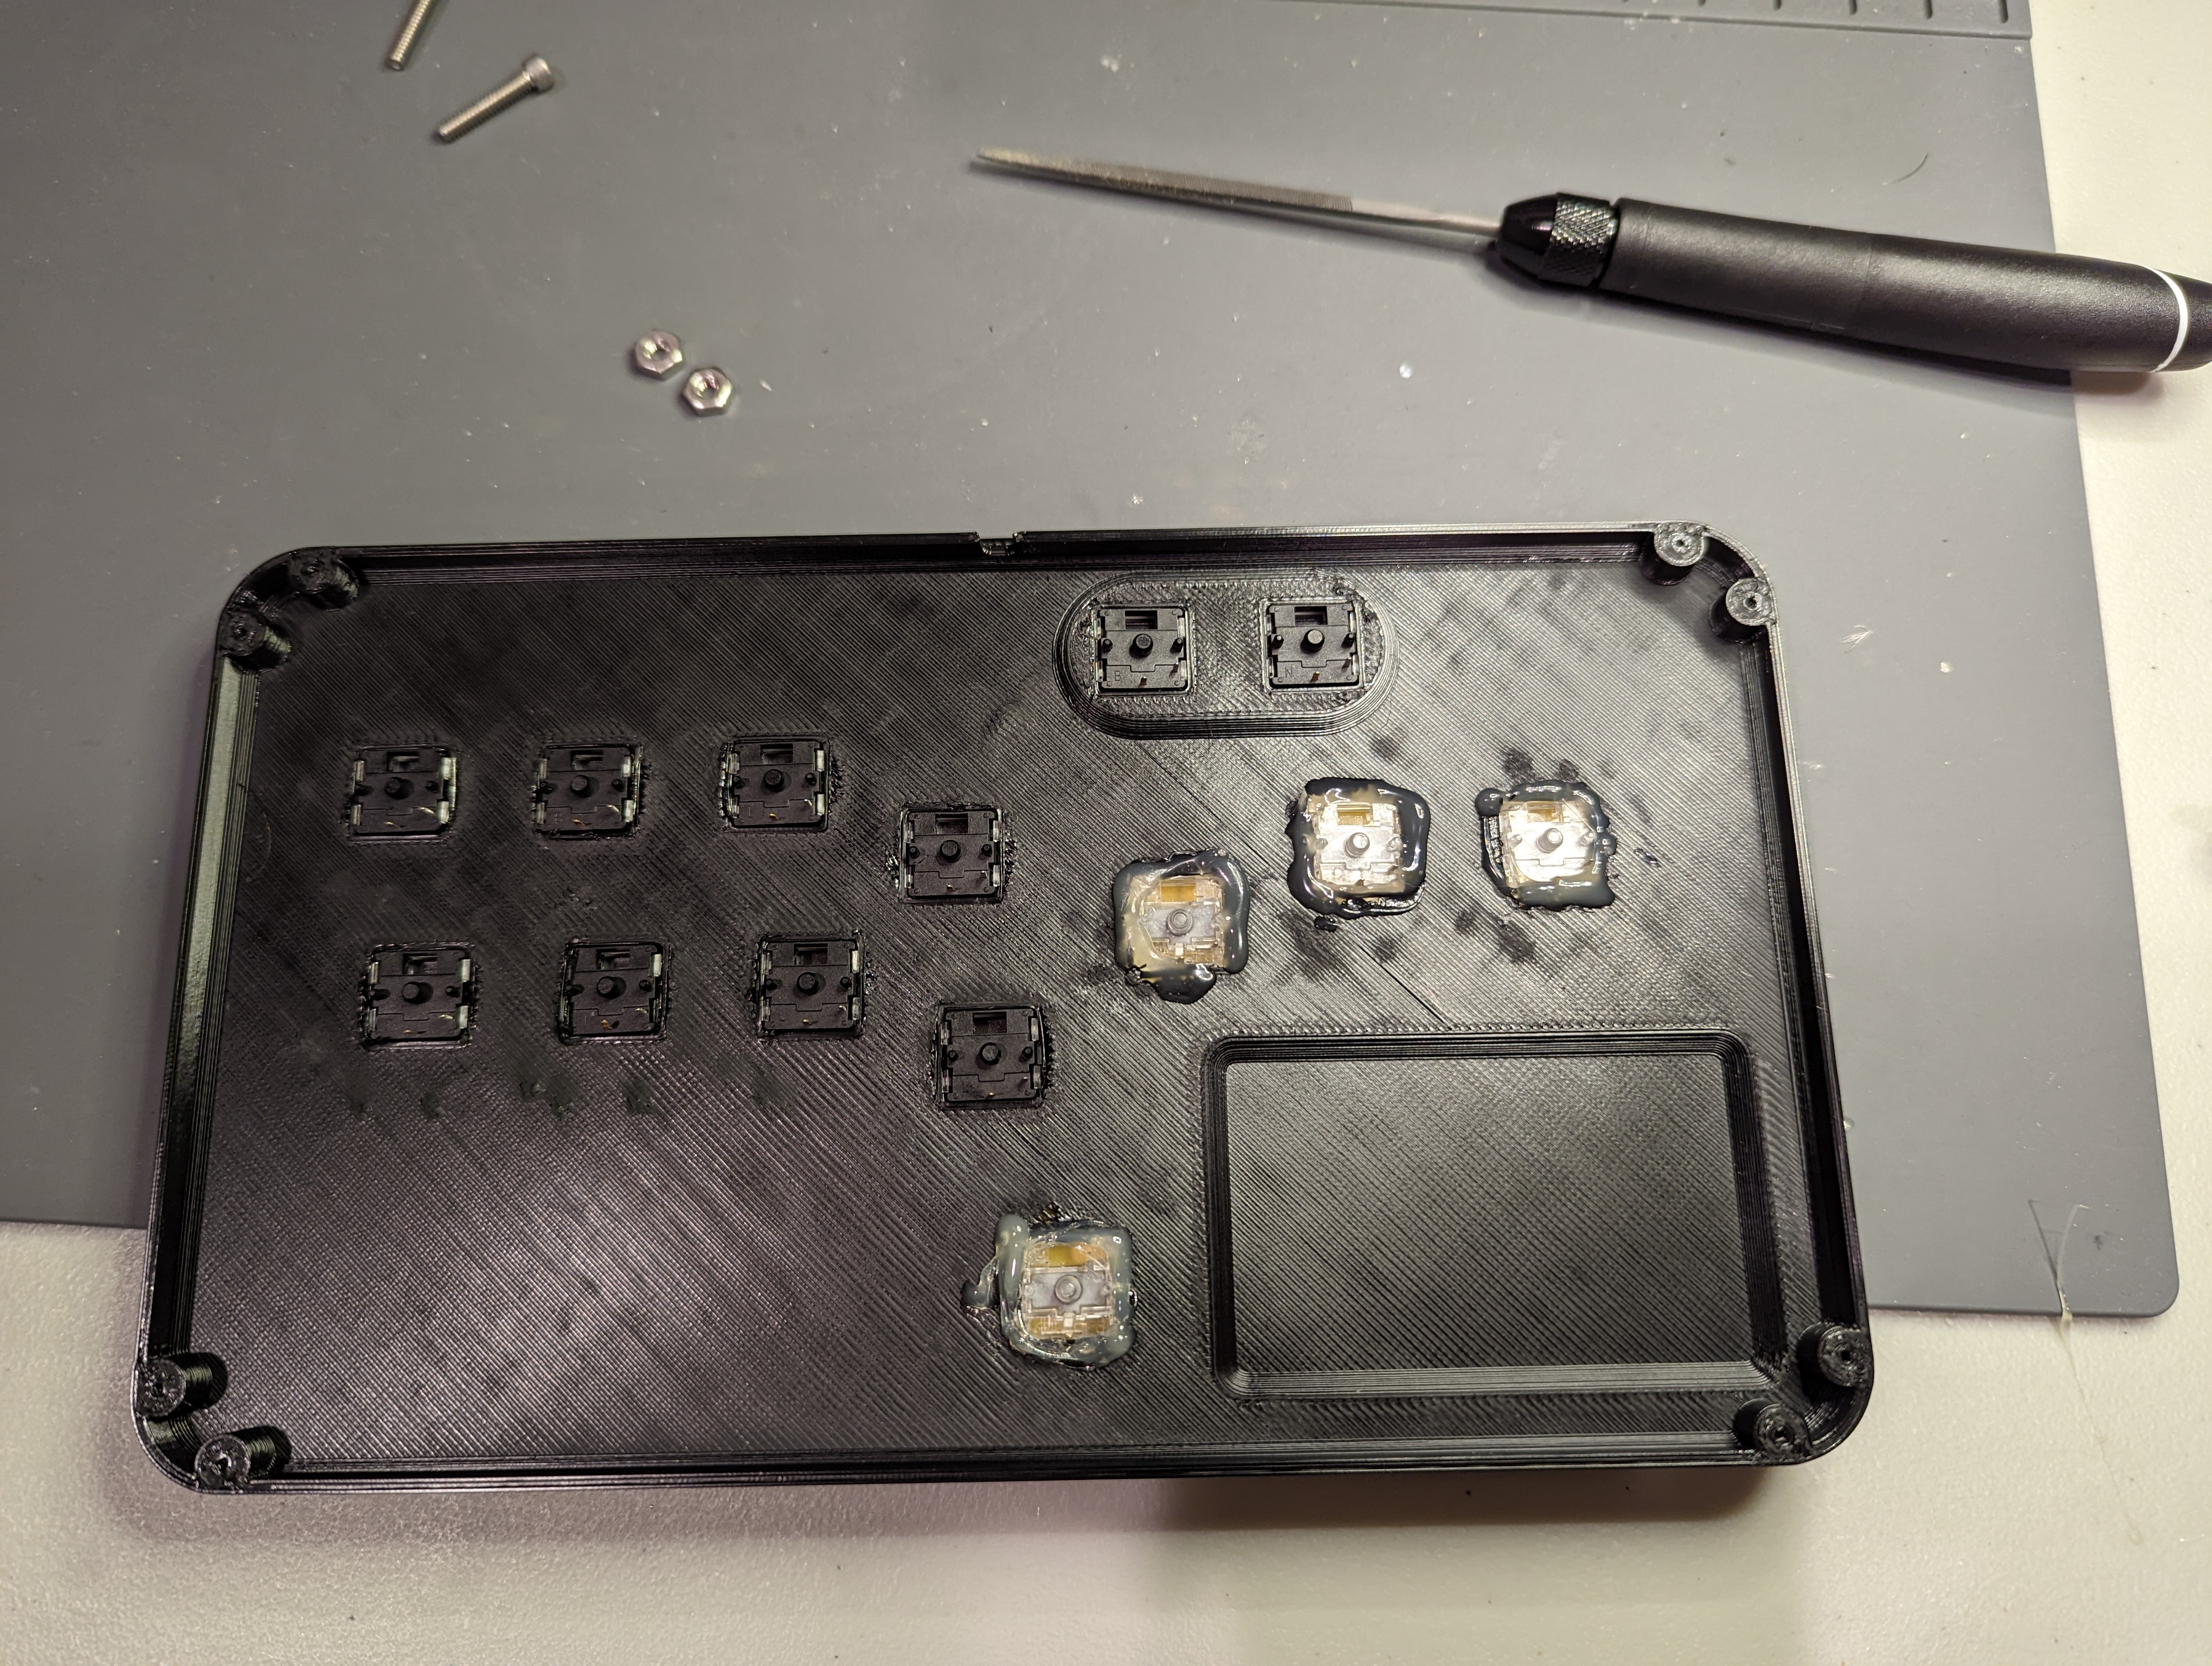
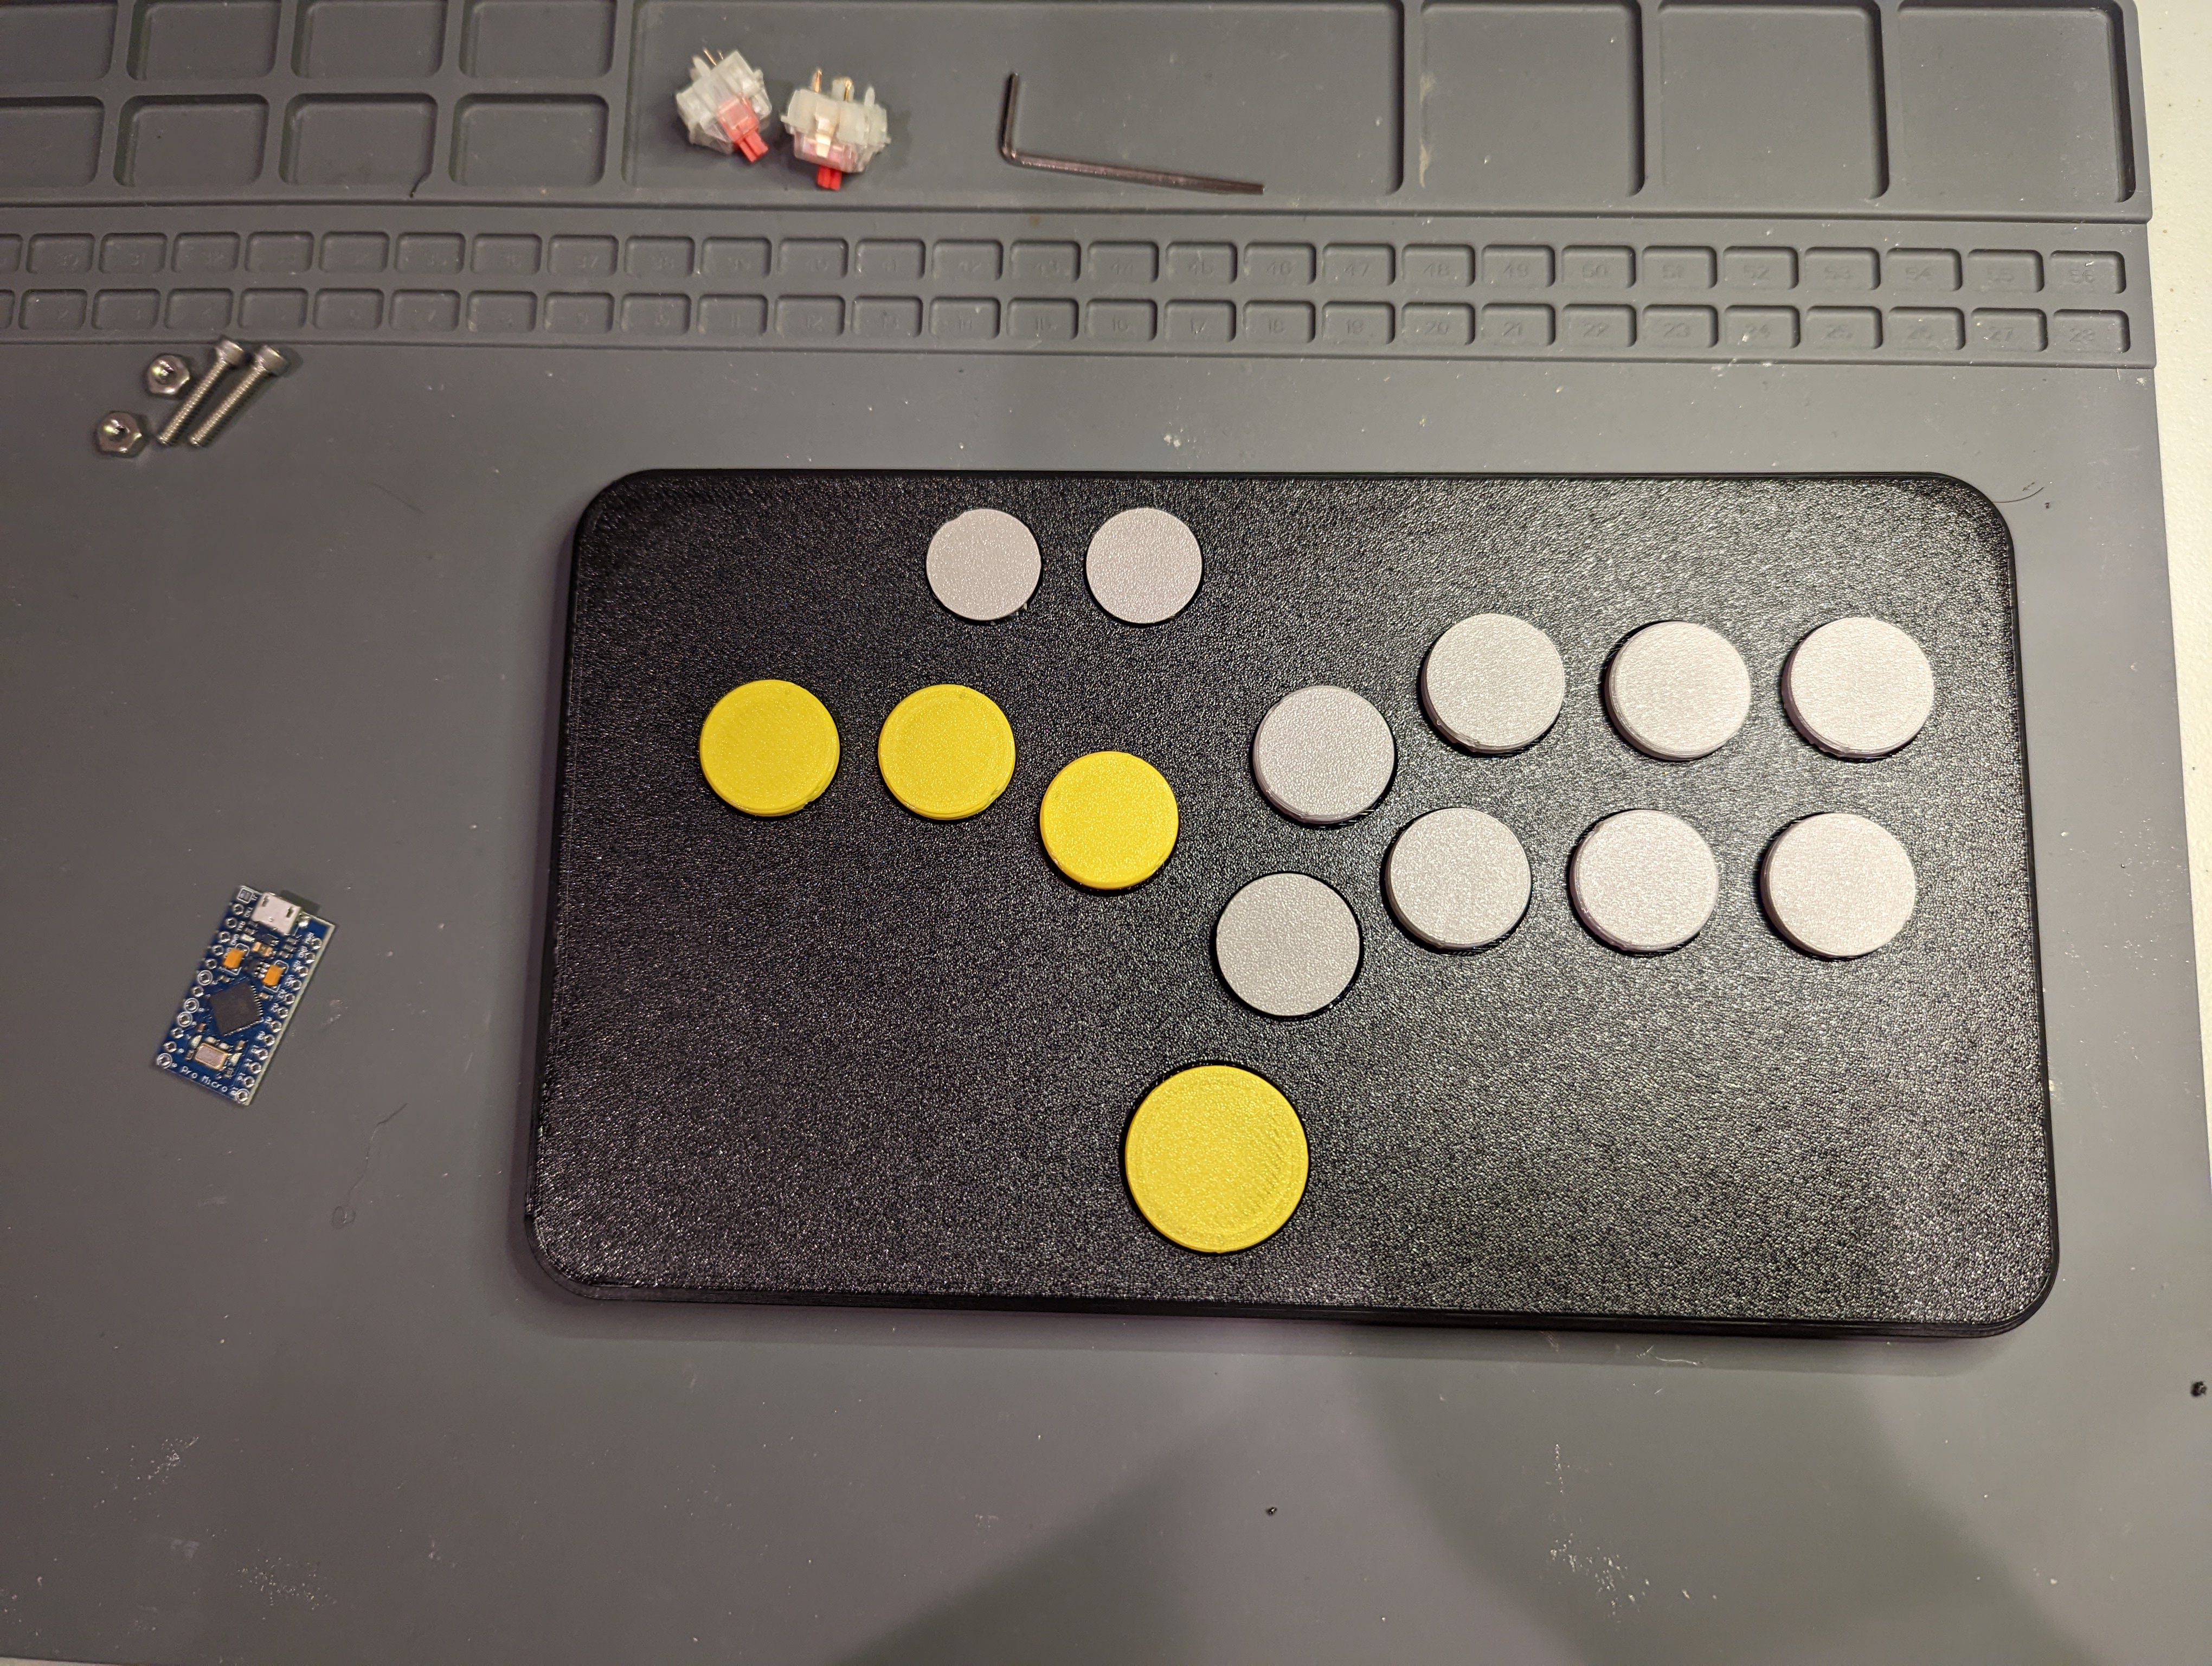
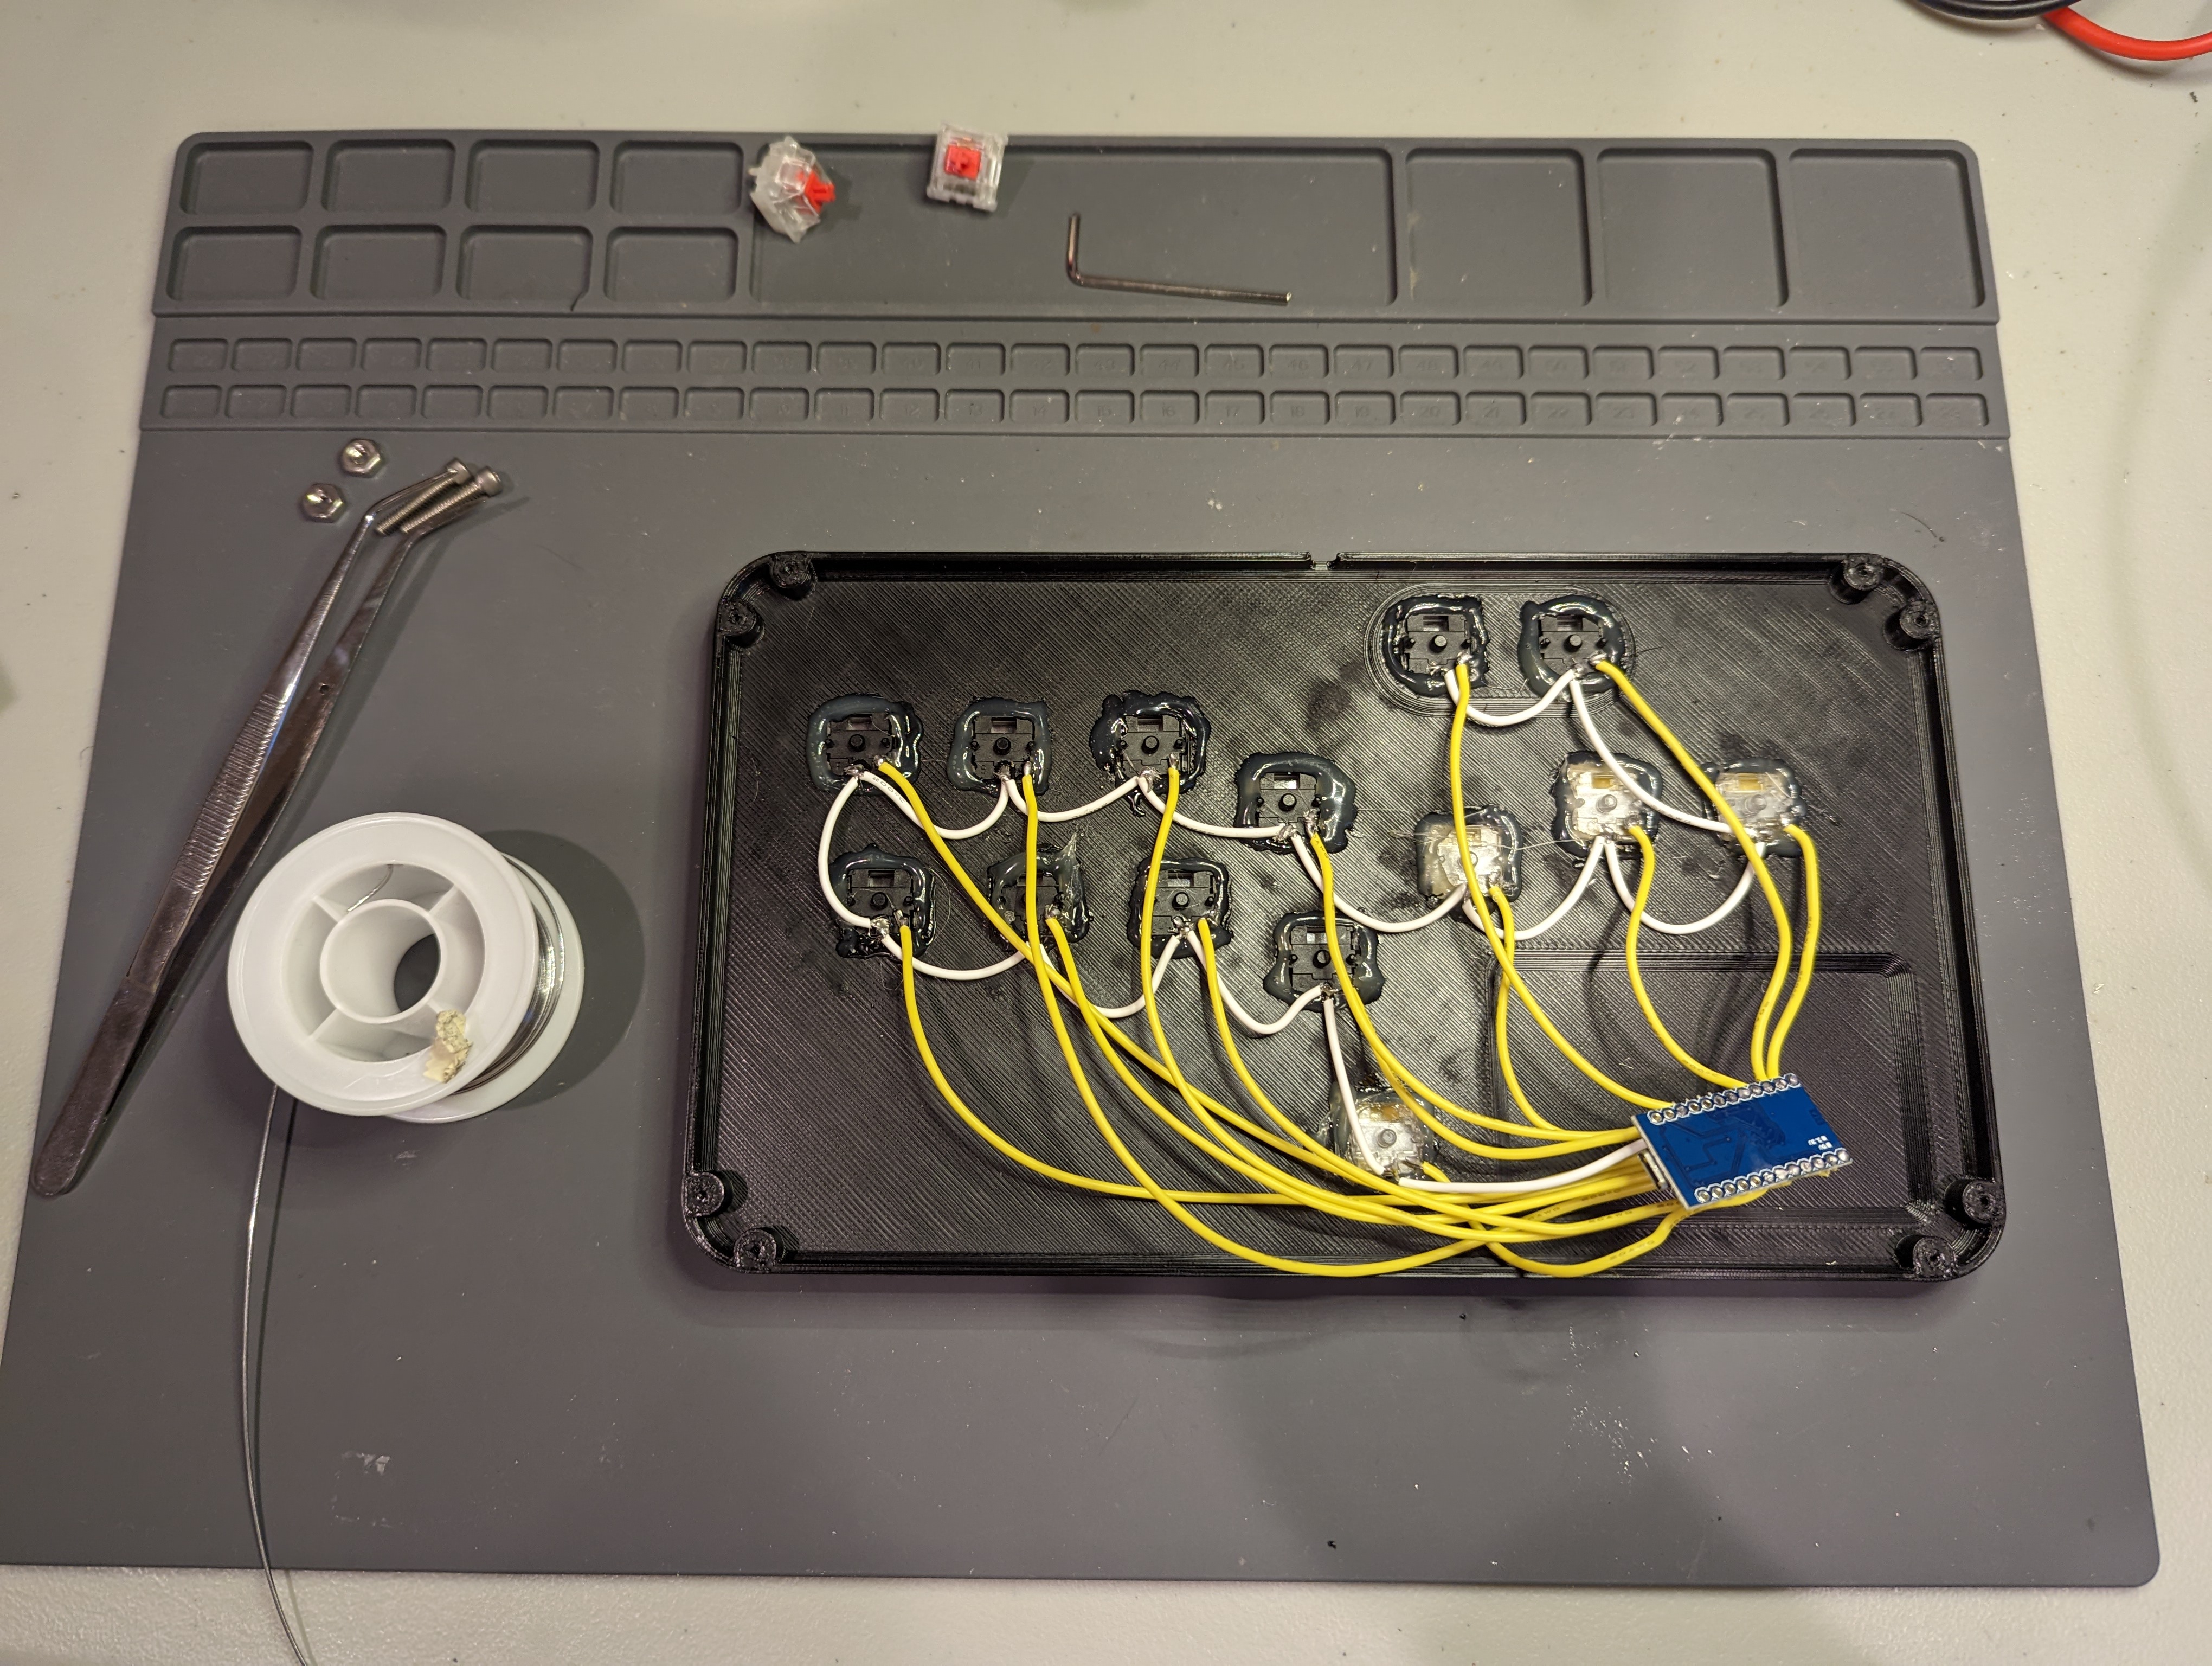
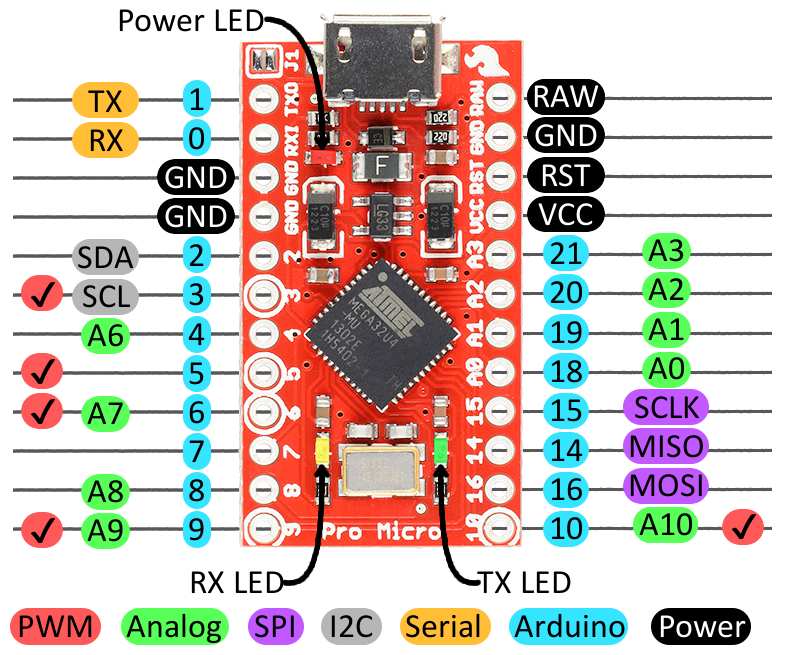
I then wired the electronics up. The hook ups for momentary switch-based HIDs are generally quite simple, One lead of the switch goes into the common GND of the µC, and the other lead of each switch goes to a dedicated digital pin on the µC. I use a cheap Arduino Pro Micro clone as my µC.
The firmware for button-only game controllers is pretty straightforward. Notably, the firmware doesn’t trick the host PC into thinking that it’s a keyboard. Rather it tells the PC that it’s an actual game controller. I had to adjust the code a little bit, just so that the pin-function mappings on lines 9-22 match the µC pins that I hooked up each button to. The Arduino pin numbers for the Arduino Pro Micro can be found here, and are highlighted in blue. So, for example, the silkscreened “A3” pin on the Pro Micro PCB should be defined as 21 in the firmware. So if the button that you want to program as “up” is connected to “A3” on the Pro Micro, you should change line 9 in the firmware, so that instead of pin 2, it’s pin 21.
After mapping the button functions in the firmware, I plugged in a USB cable, and connected the controller to a computer, to see if everything would work properly! And it does!
The “Hitbox”
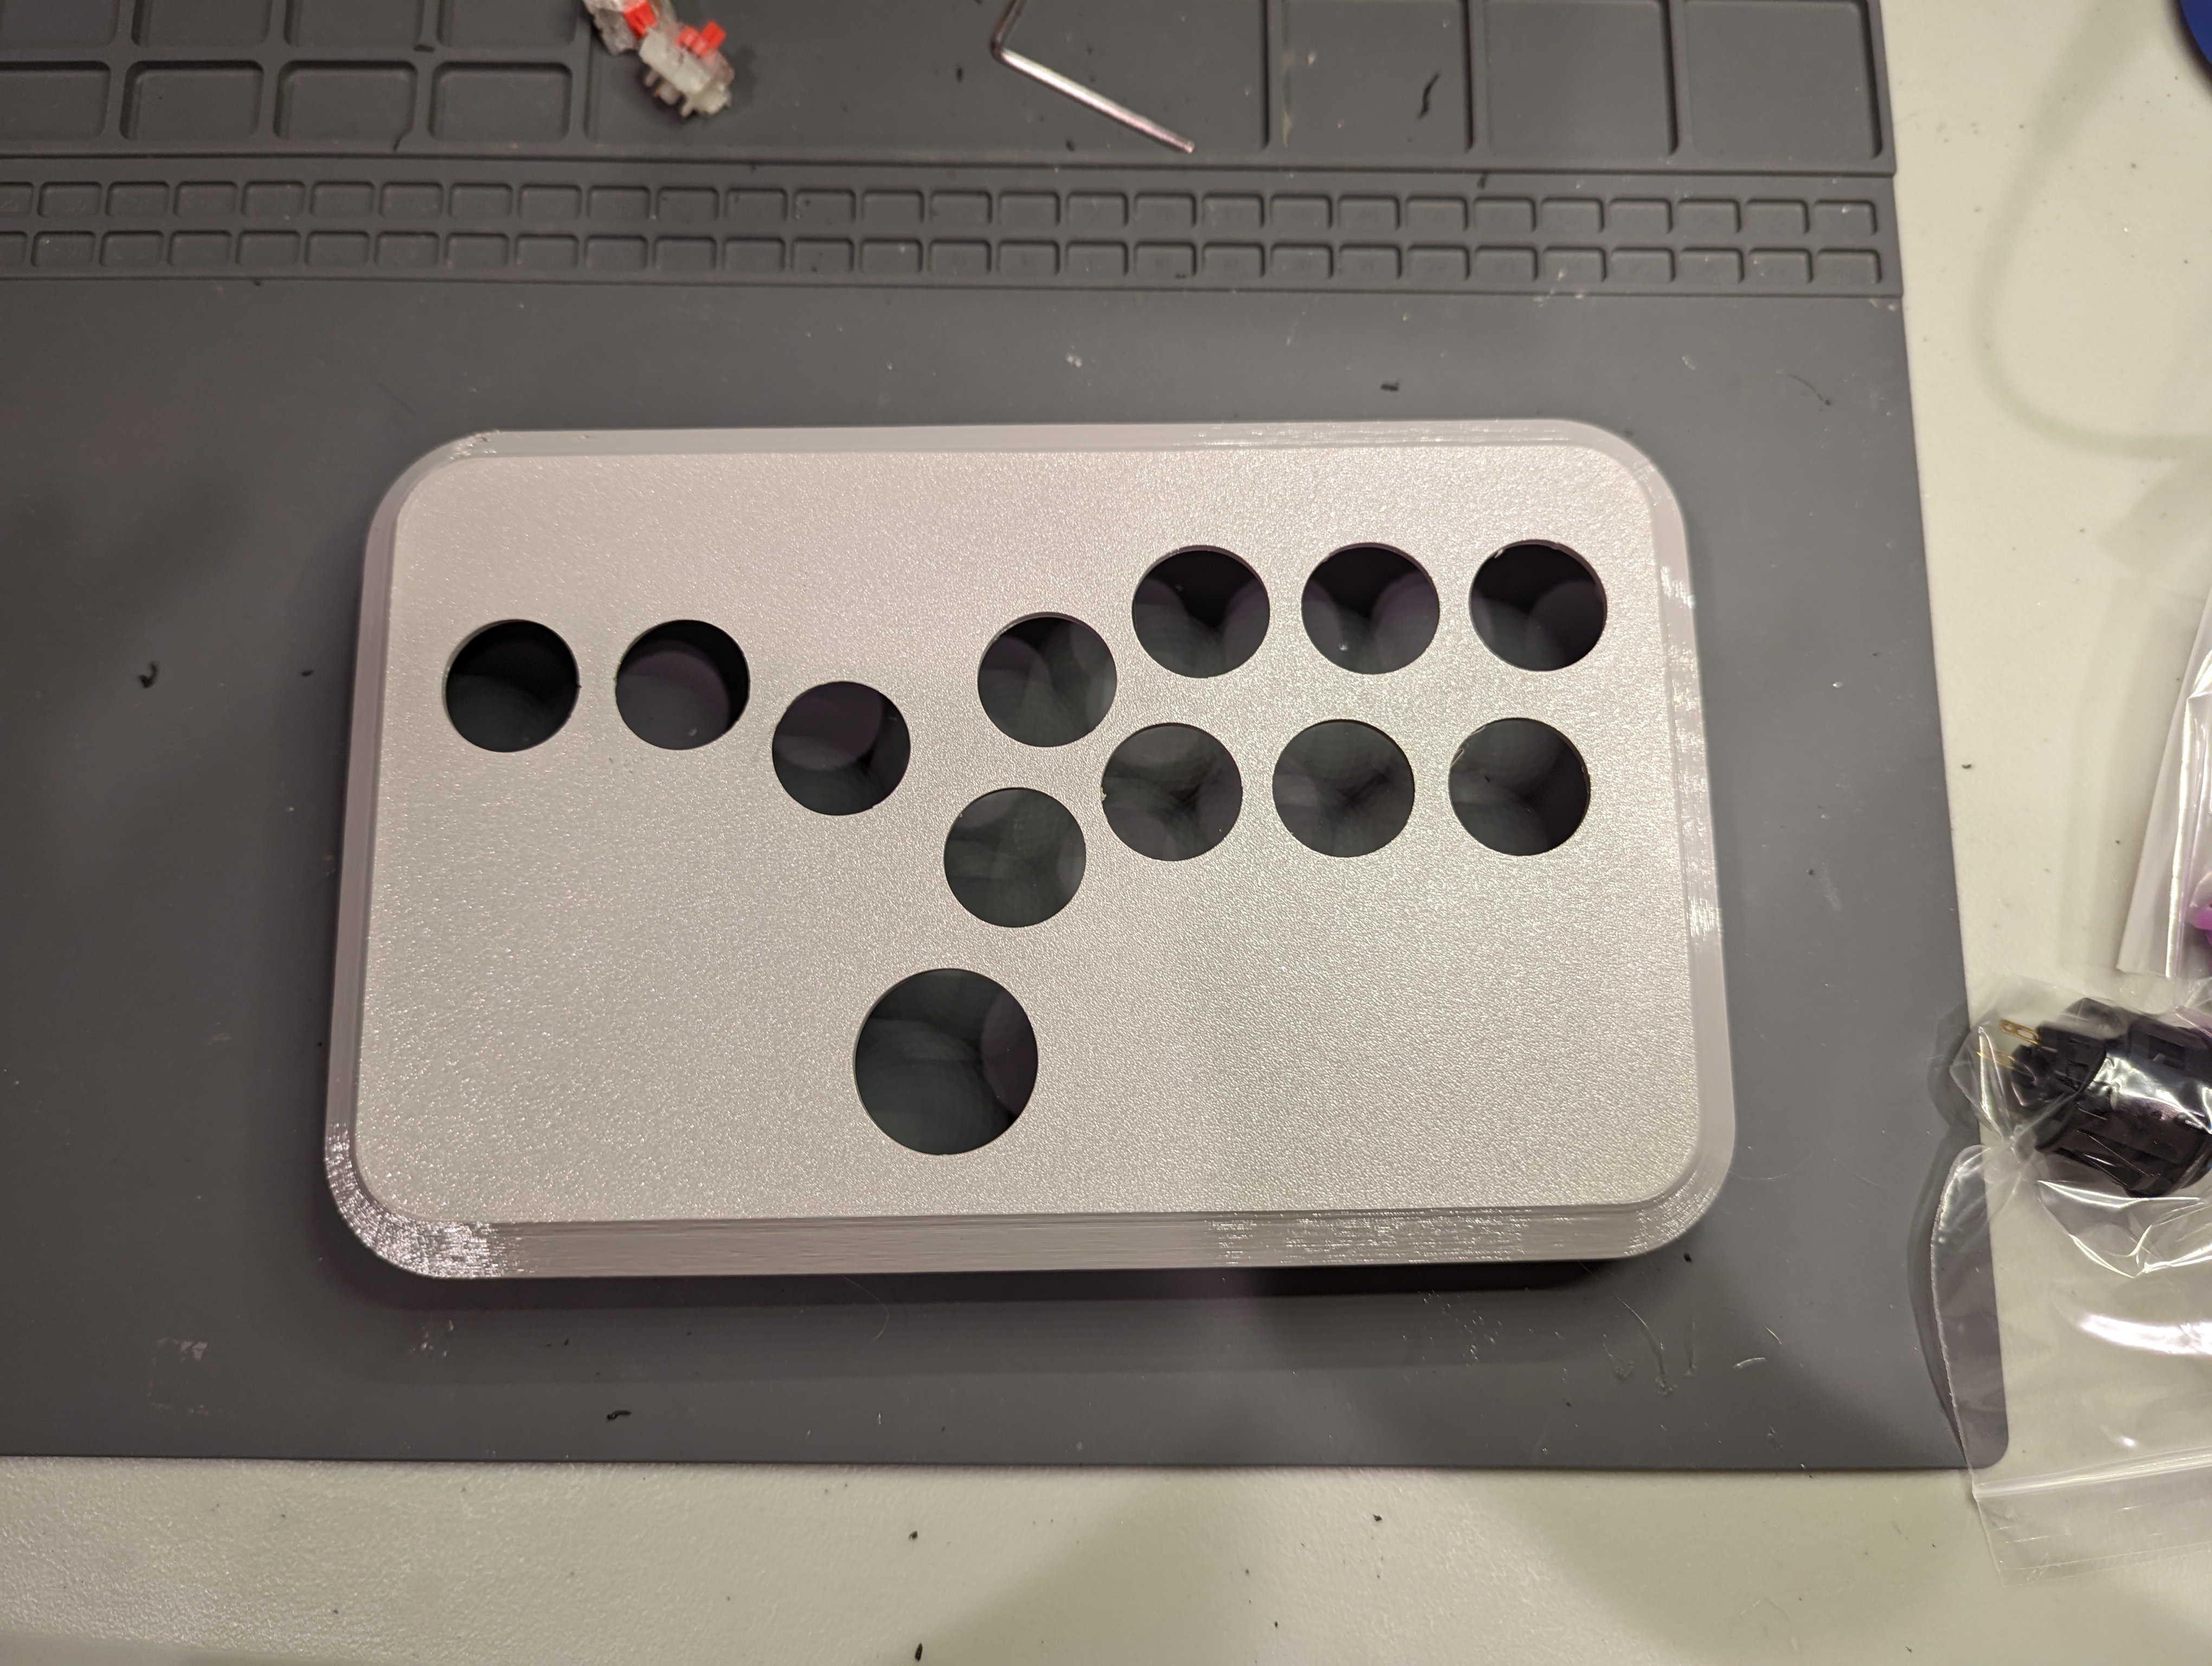
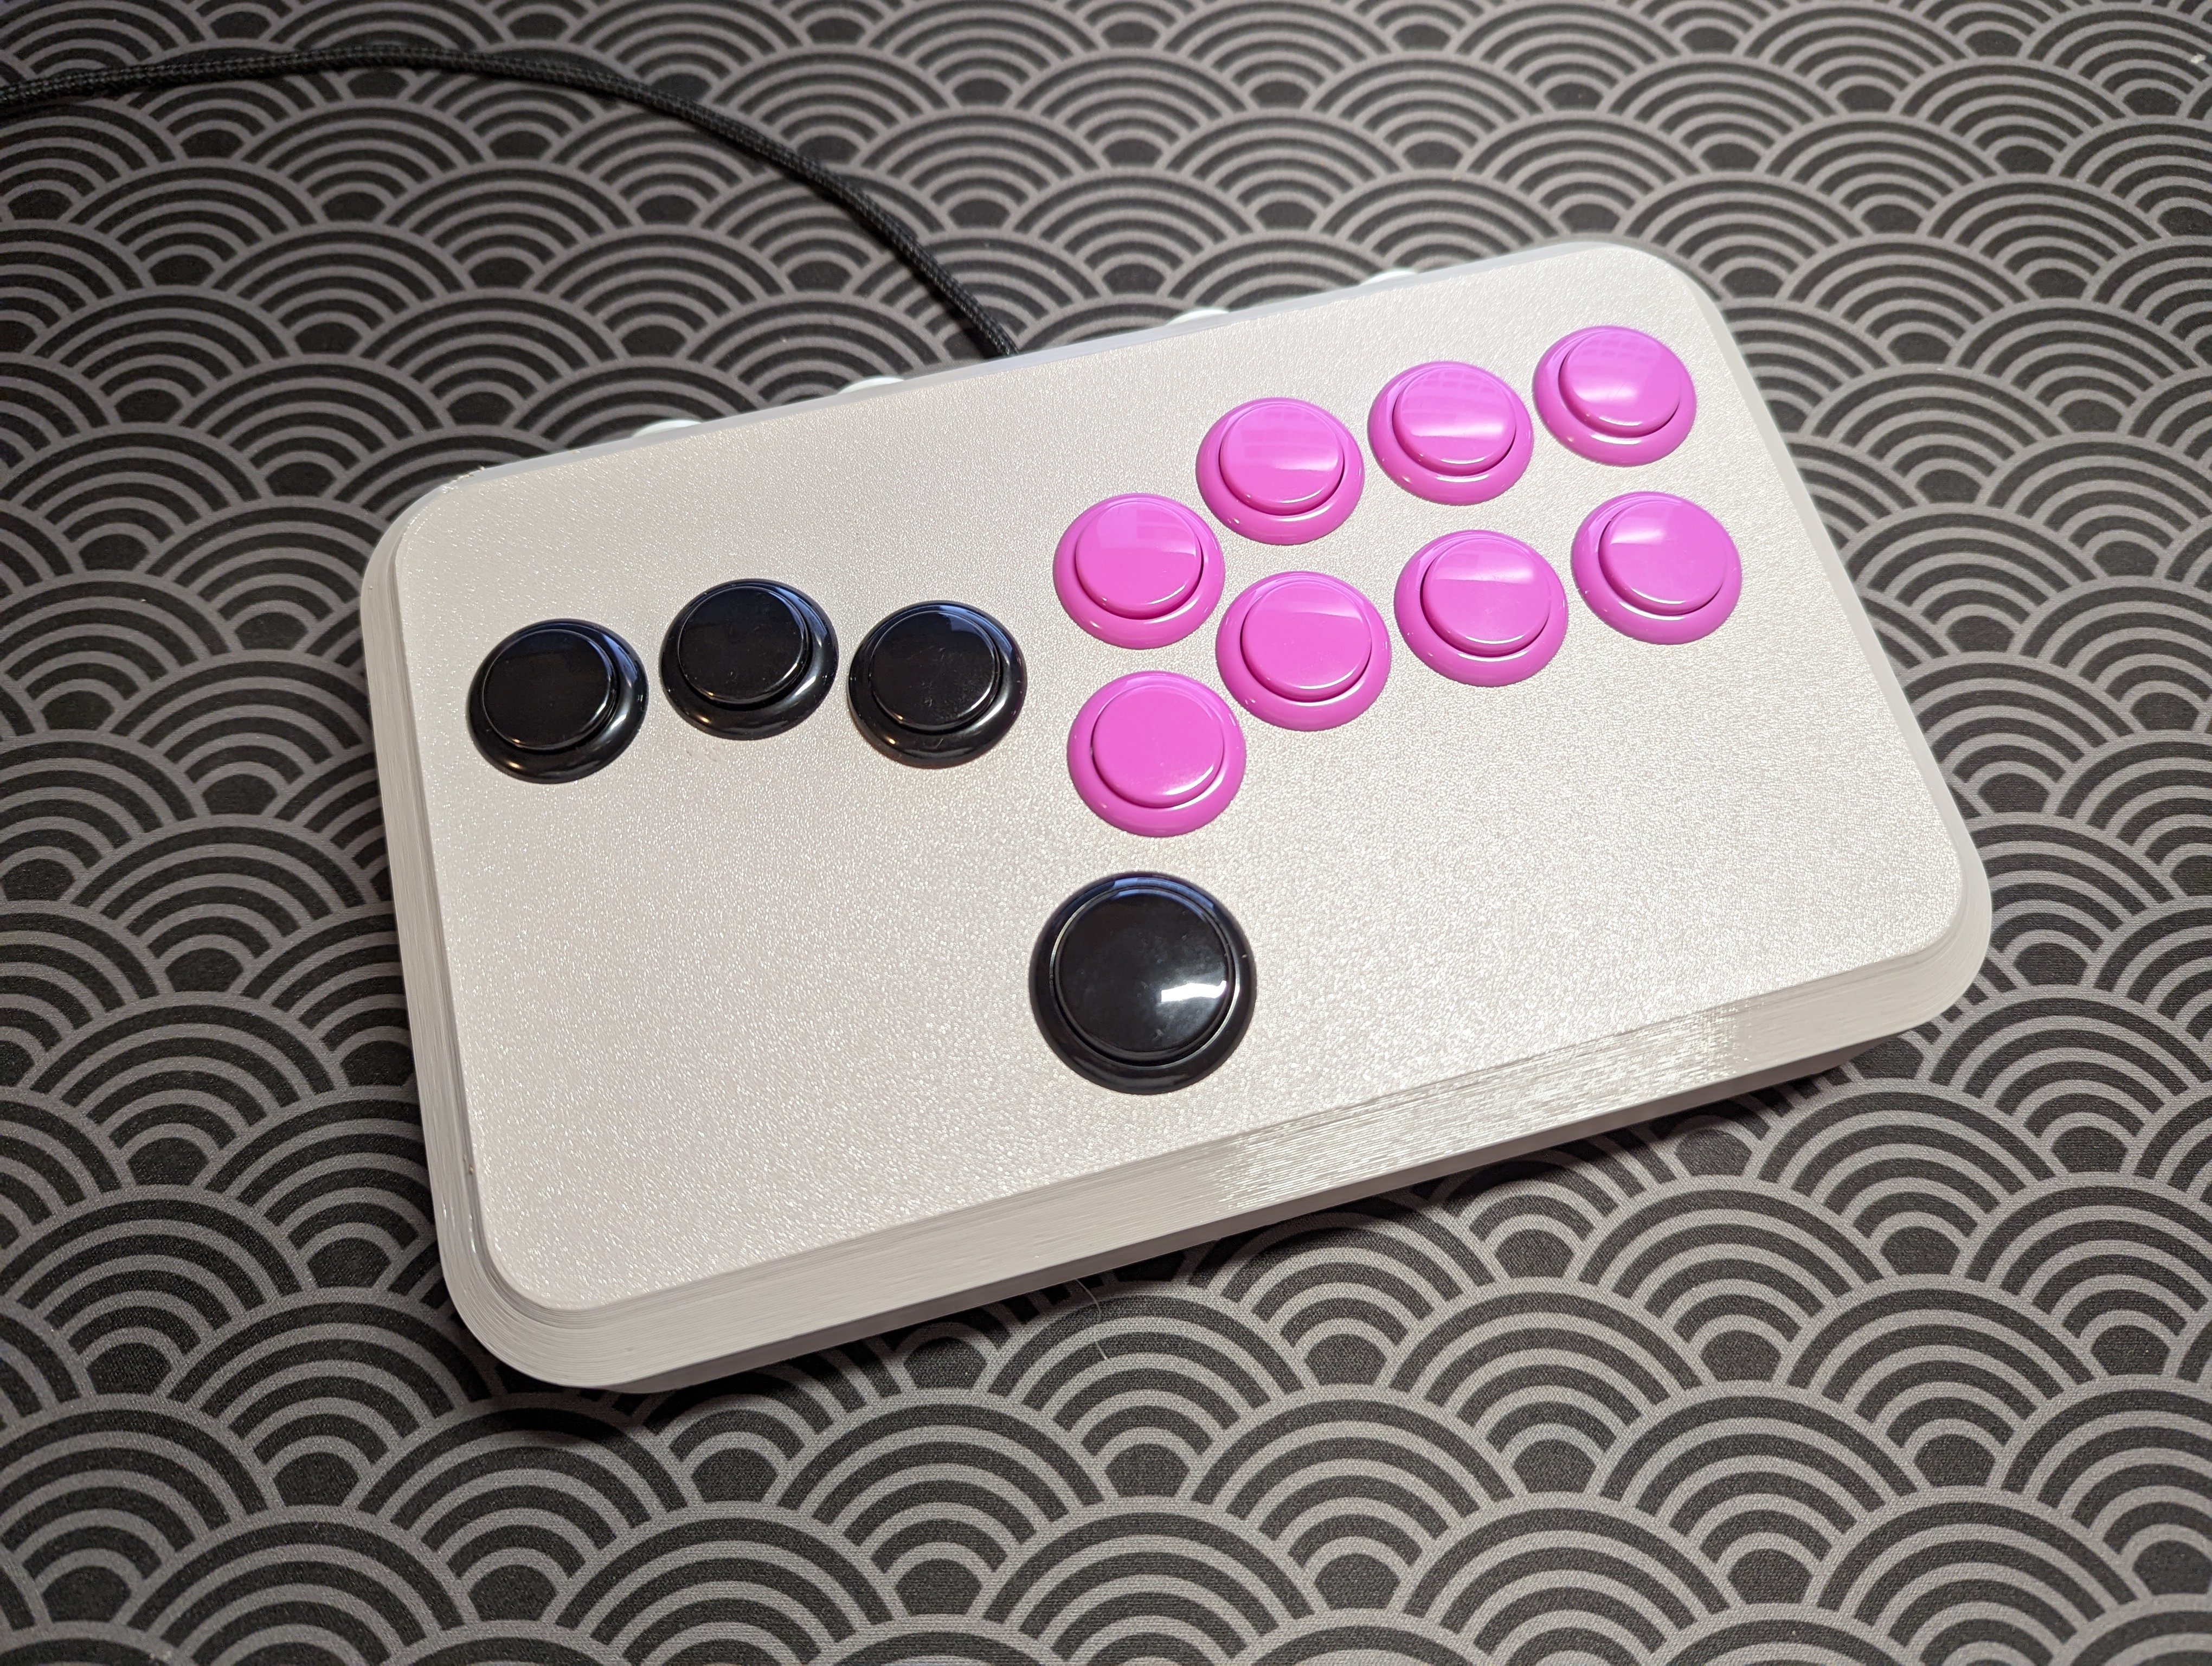
I had so much fun building my friend’s “Slimbox” fight stick, that I decided to build my own. I opted for a slightly different version, however, that doesn’t use mechanical keyboard switches. Rather it uses classic round arcade-style buttons, and is dubbed a “Hitbox”-style controller (presumably because it has the same layout as this super expensive fight stick called a Hitbox). I printed the enclosure from some Thingiverse .stls in grey PETG.
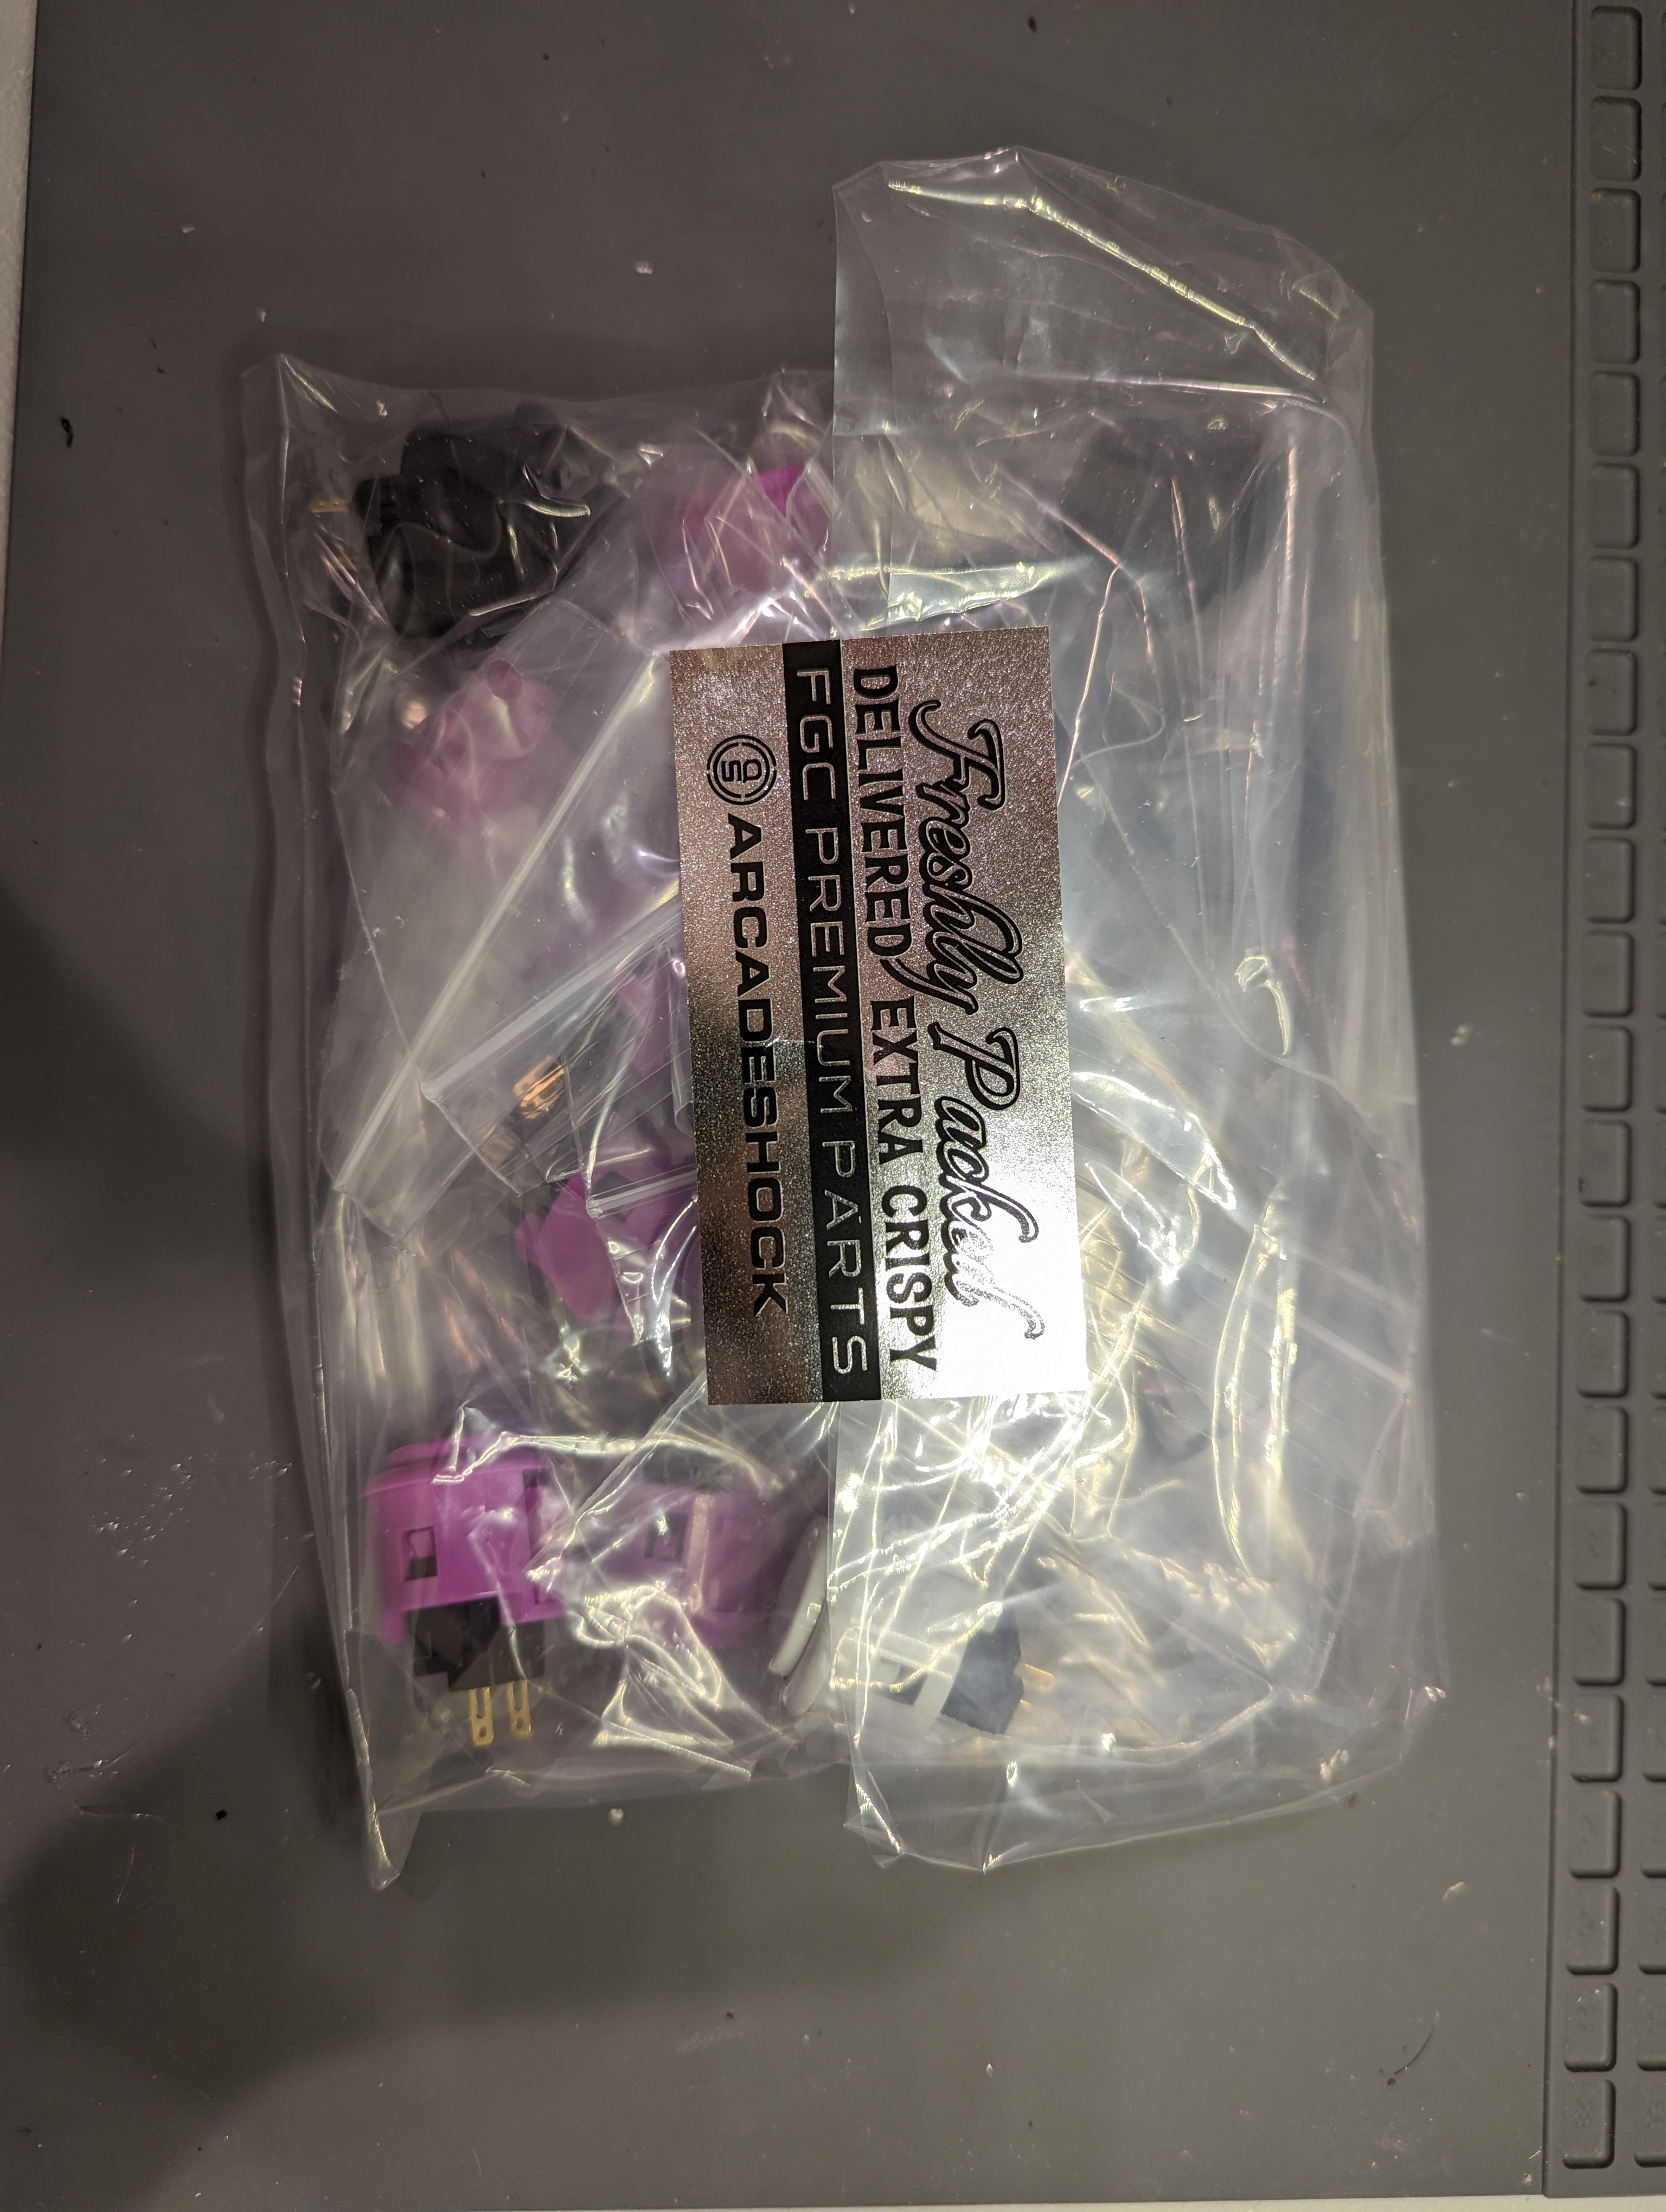
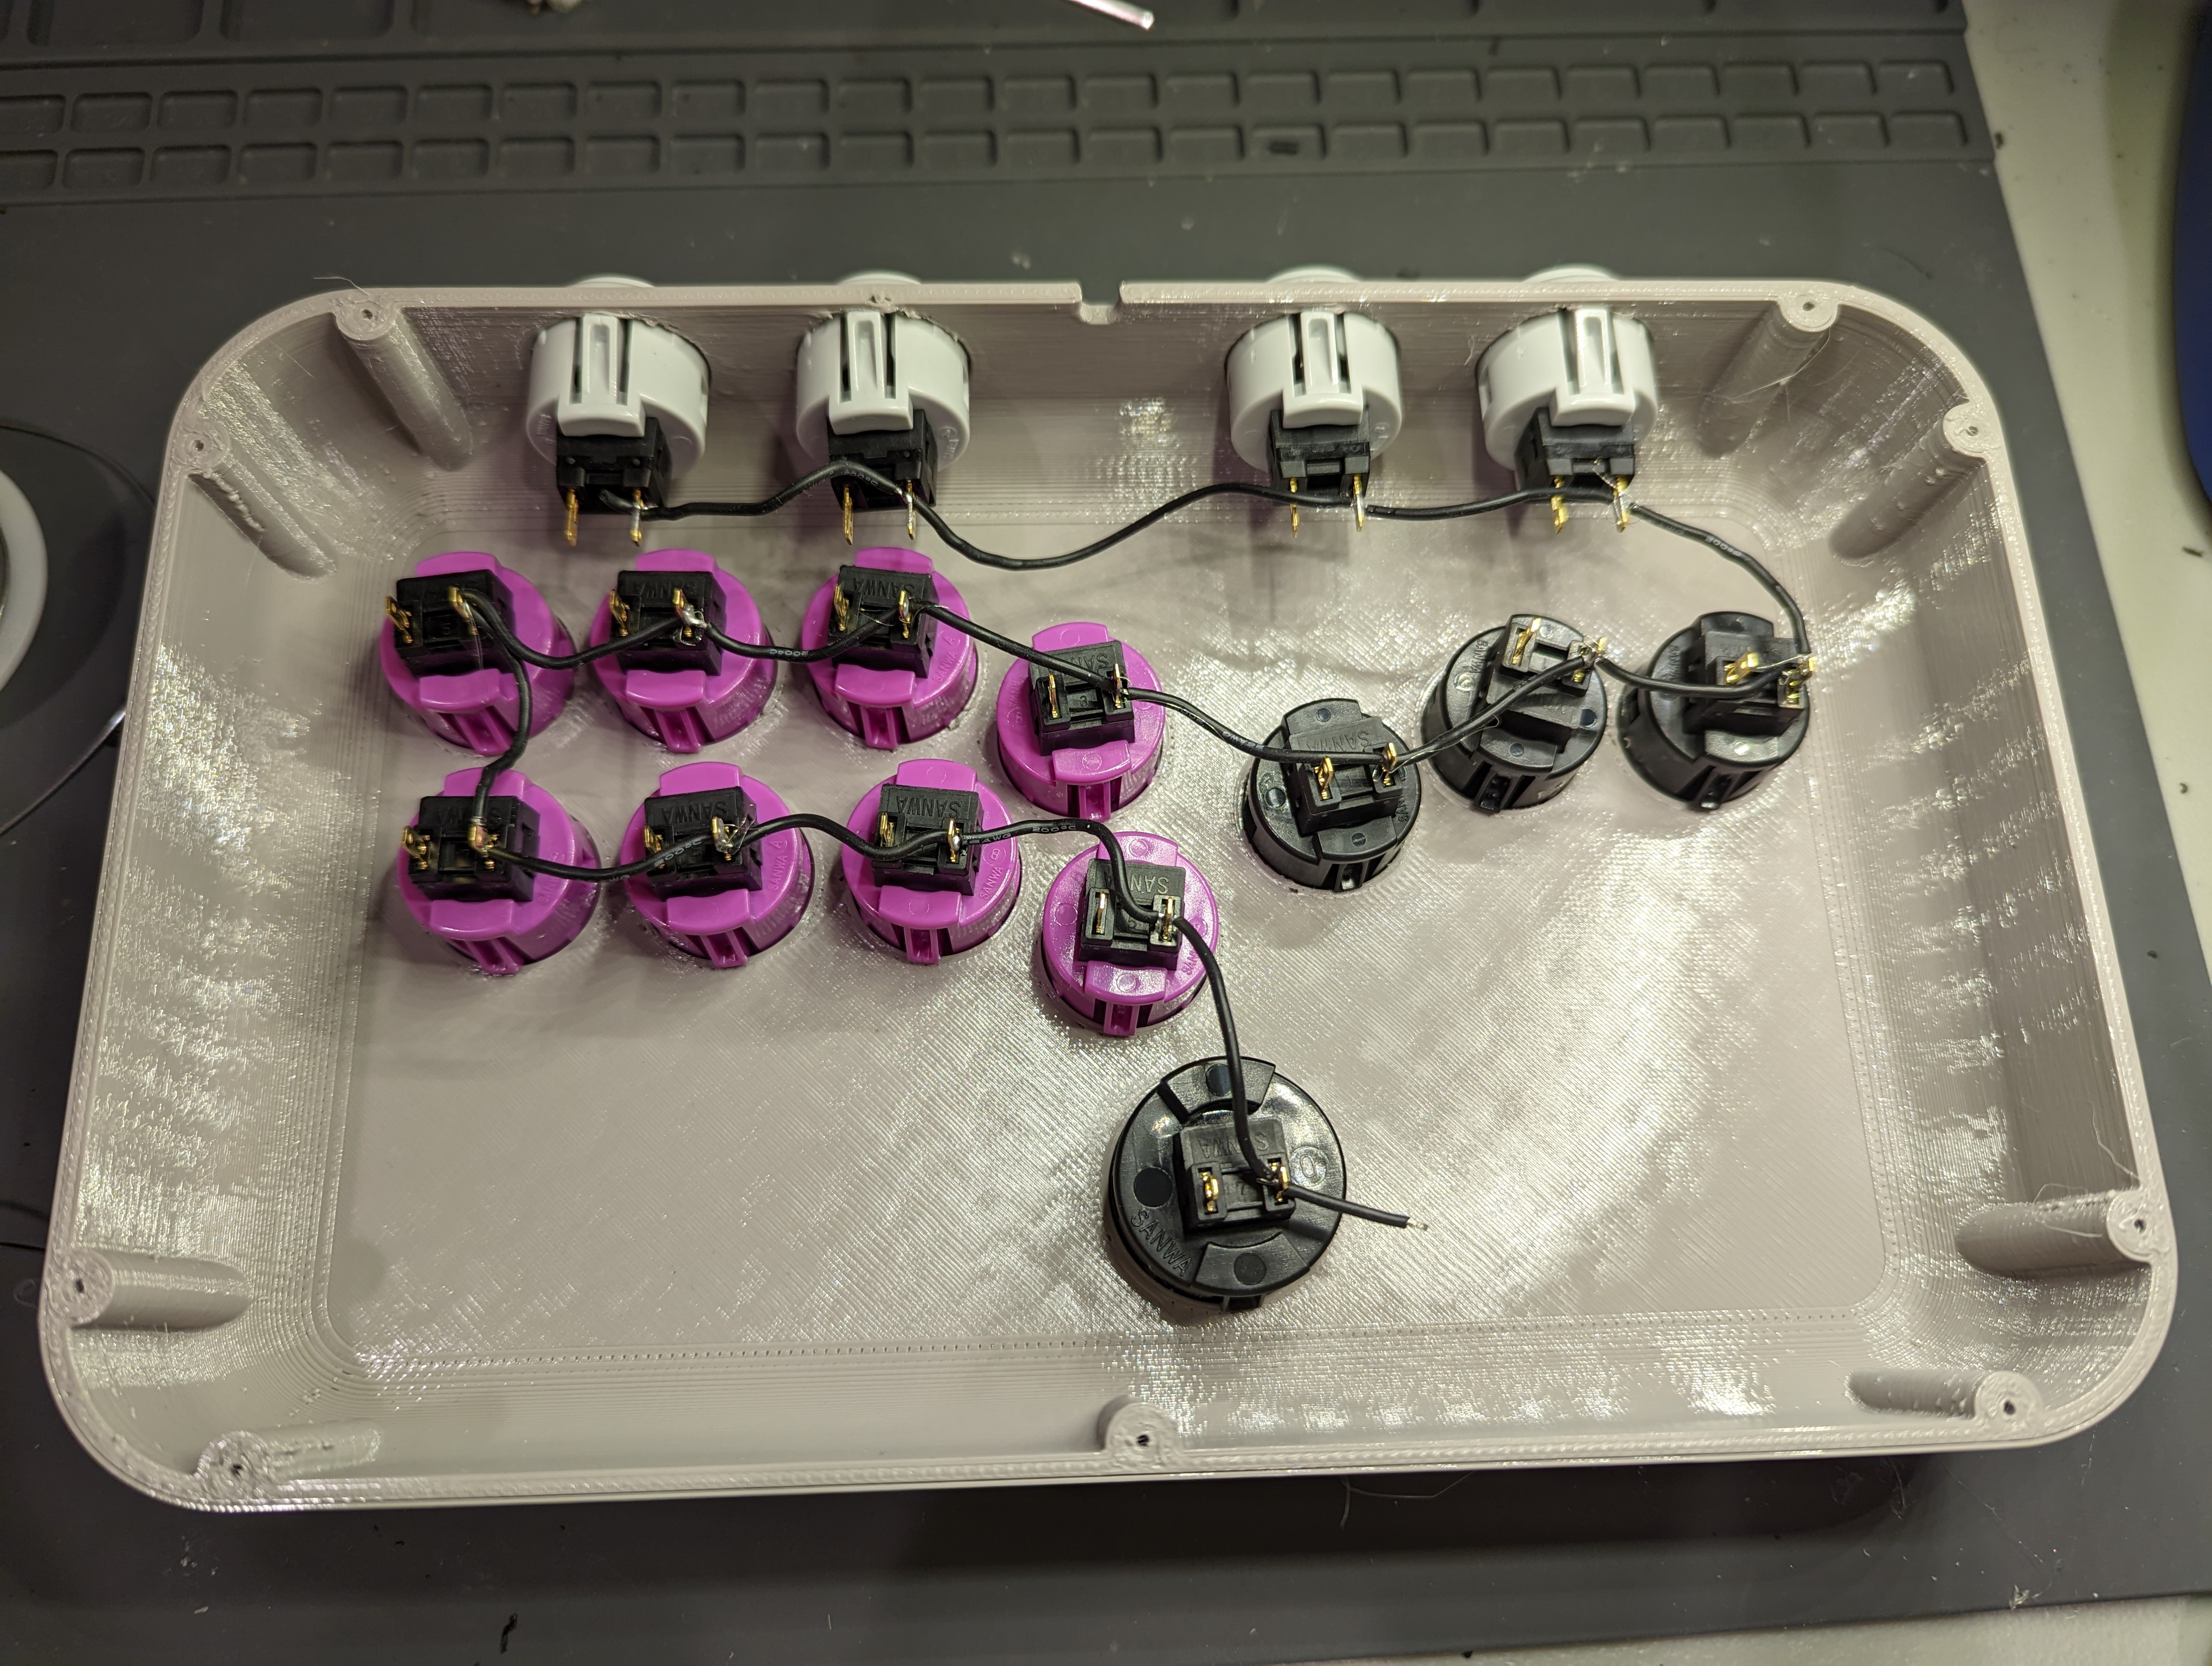
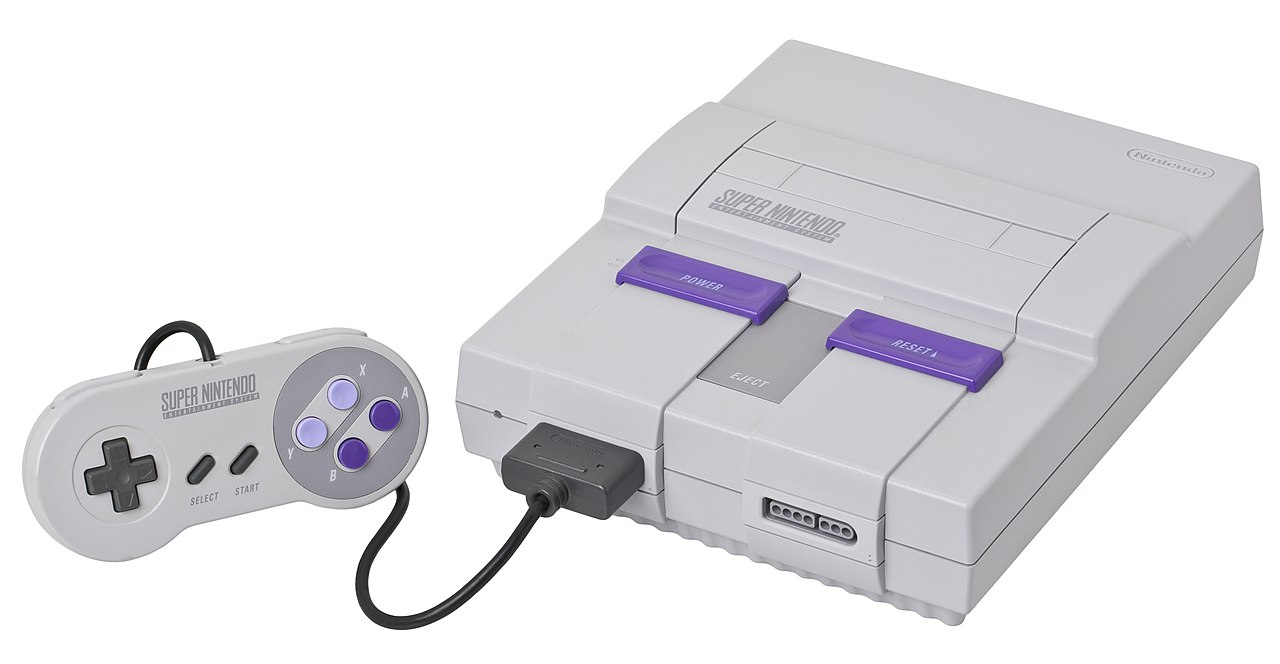
The grey PETG gave me some strong Super Nintendo vibes, so I thought maybe I could build my Hitbox with a similar colour scheme. I decided to order some grey, purple, and black Sanwa brand buttons from Acade Shock. Supposedly, Sanwa buttons are the best in the business, but I am just parroting the internet—I know nothing about this subculture ![]() .
.
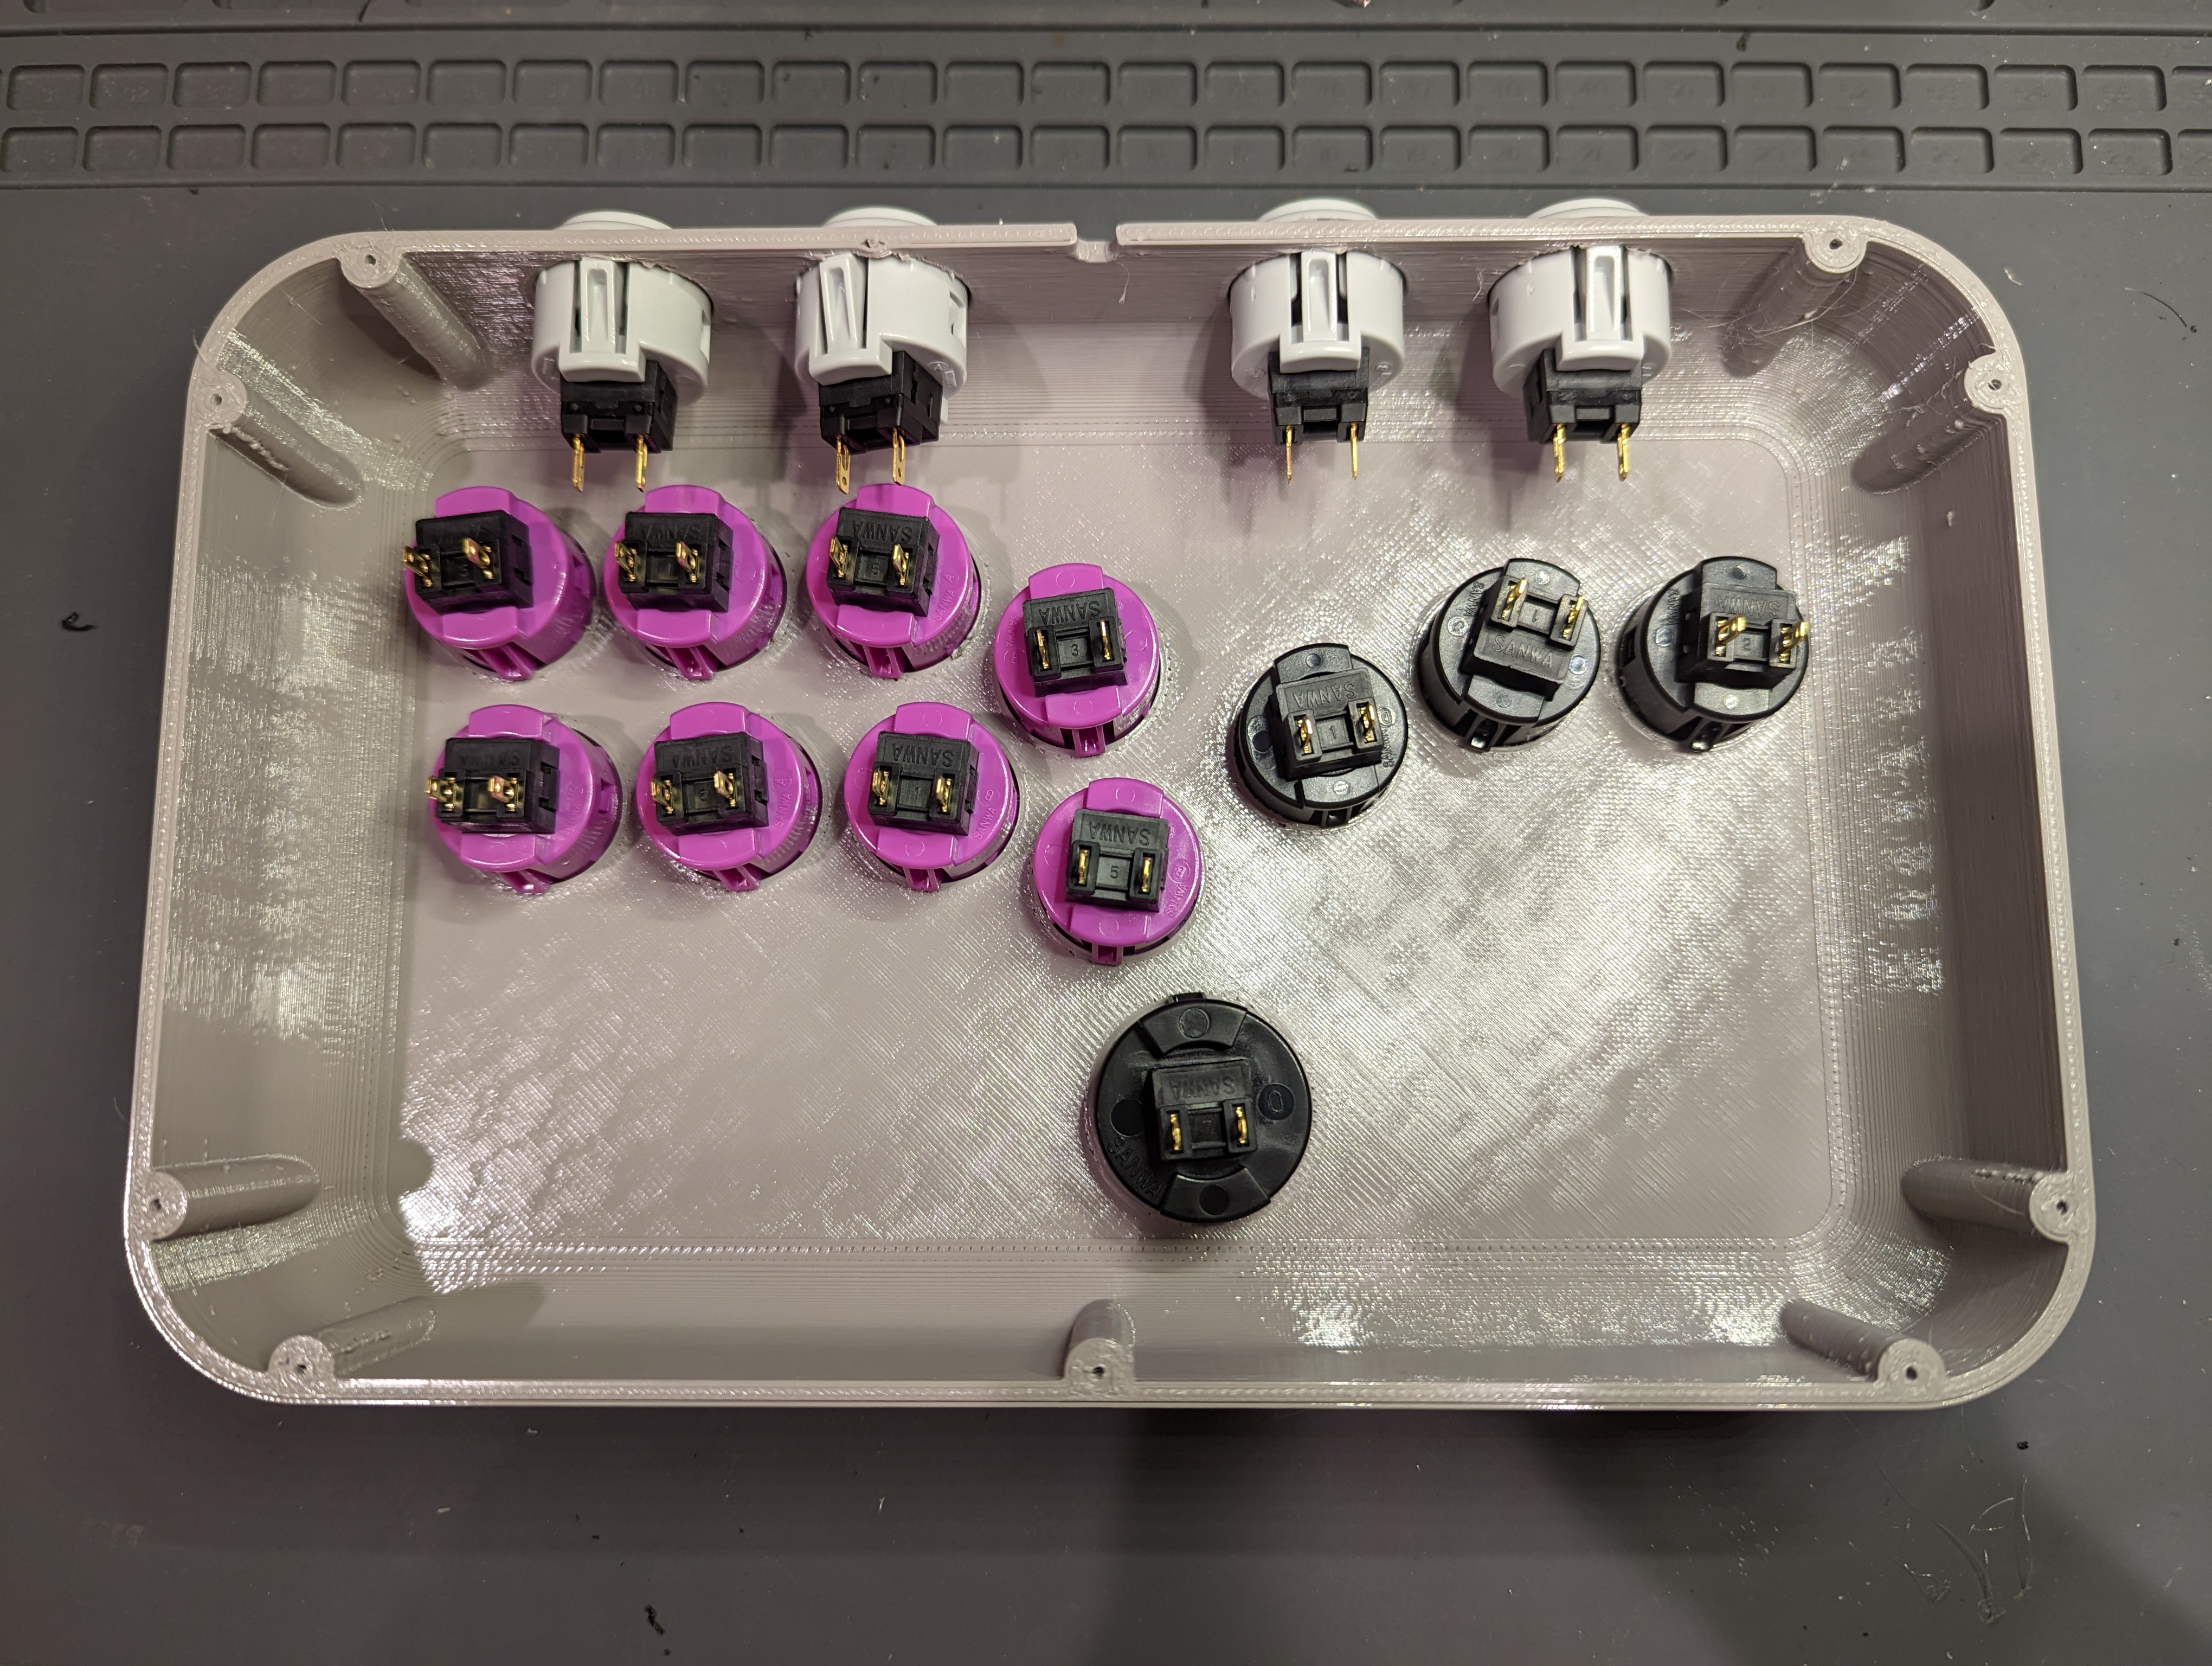
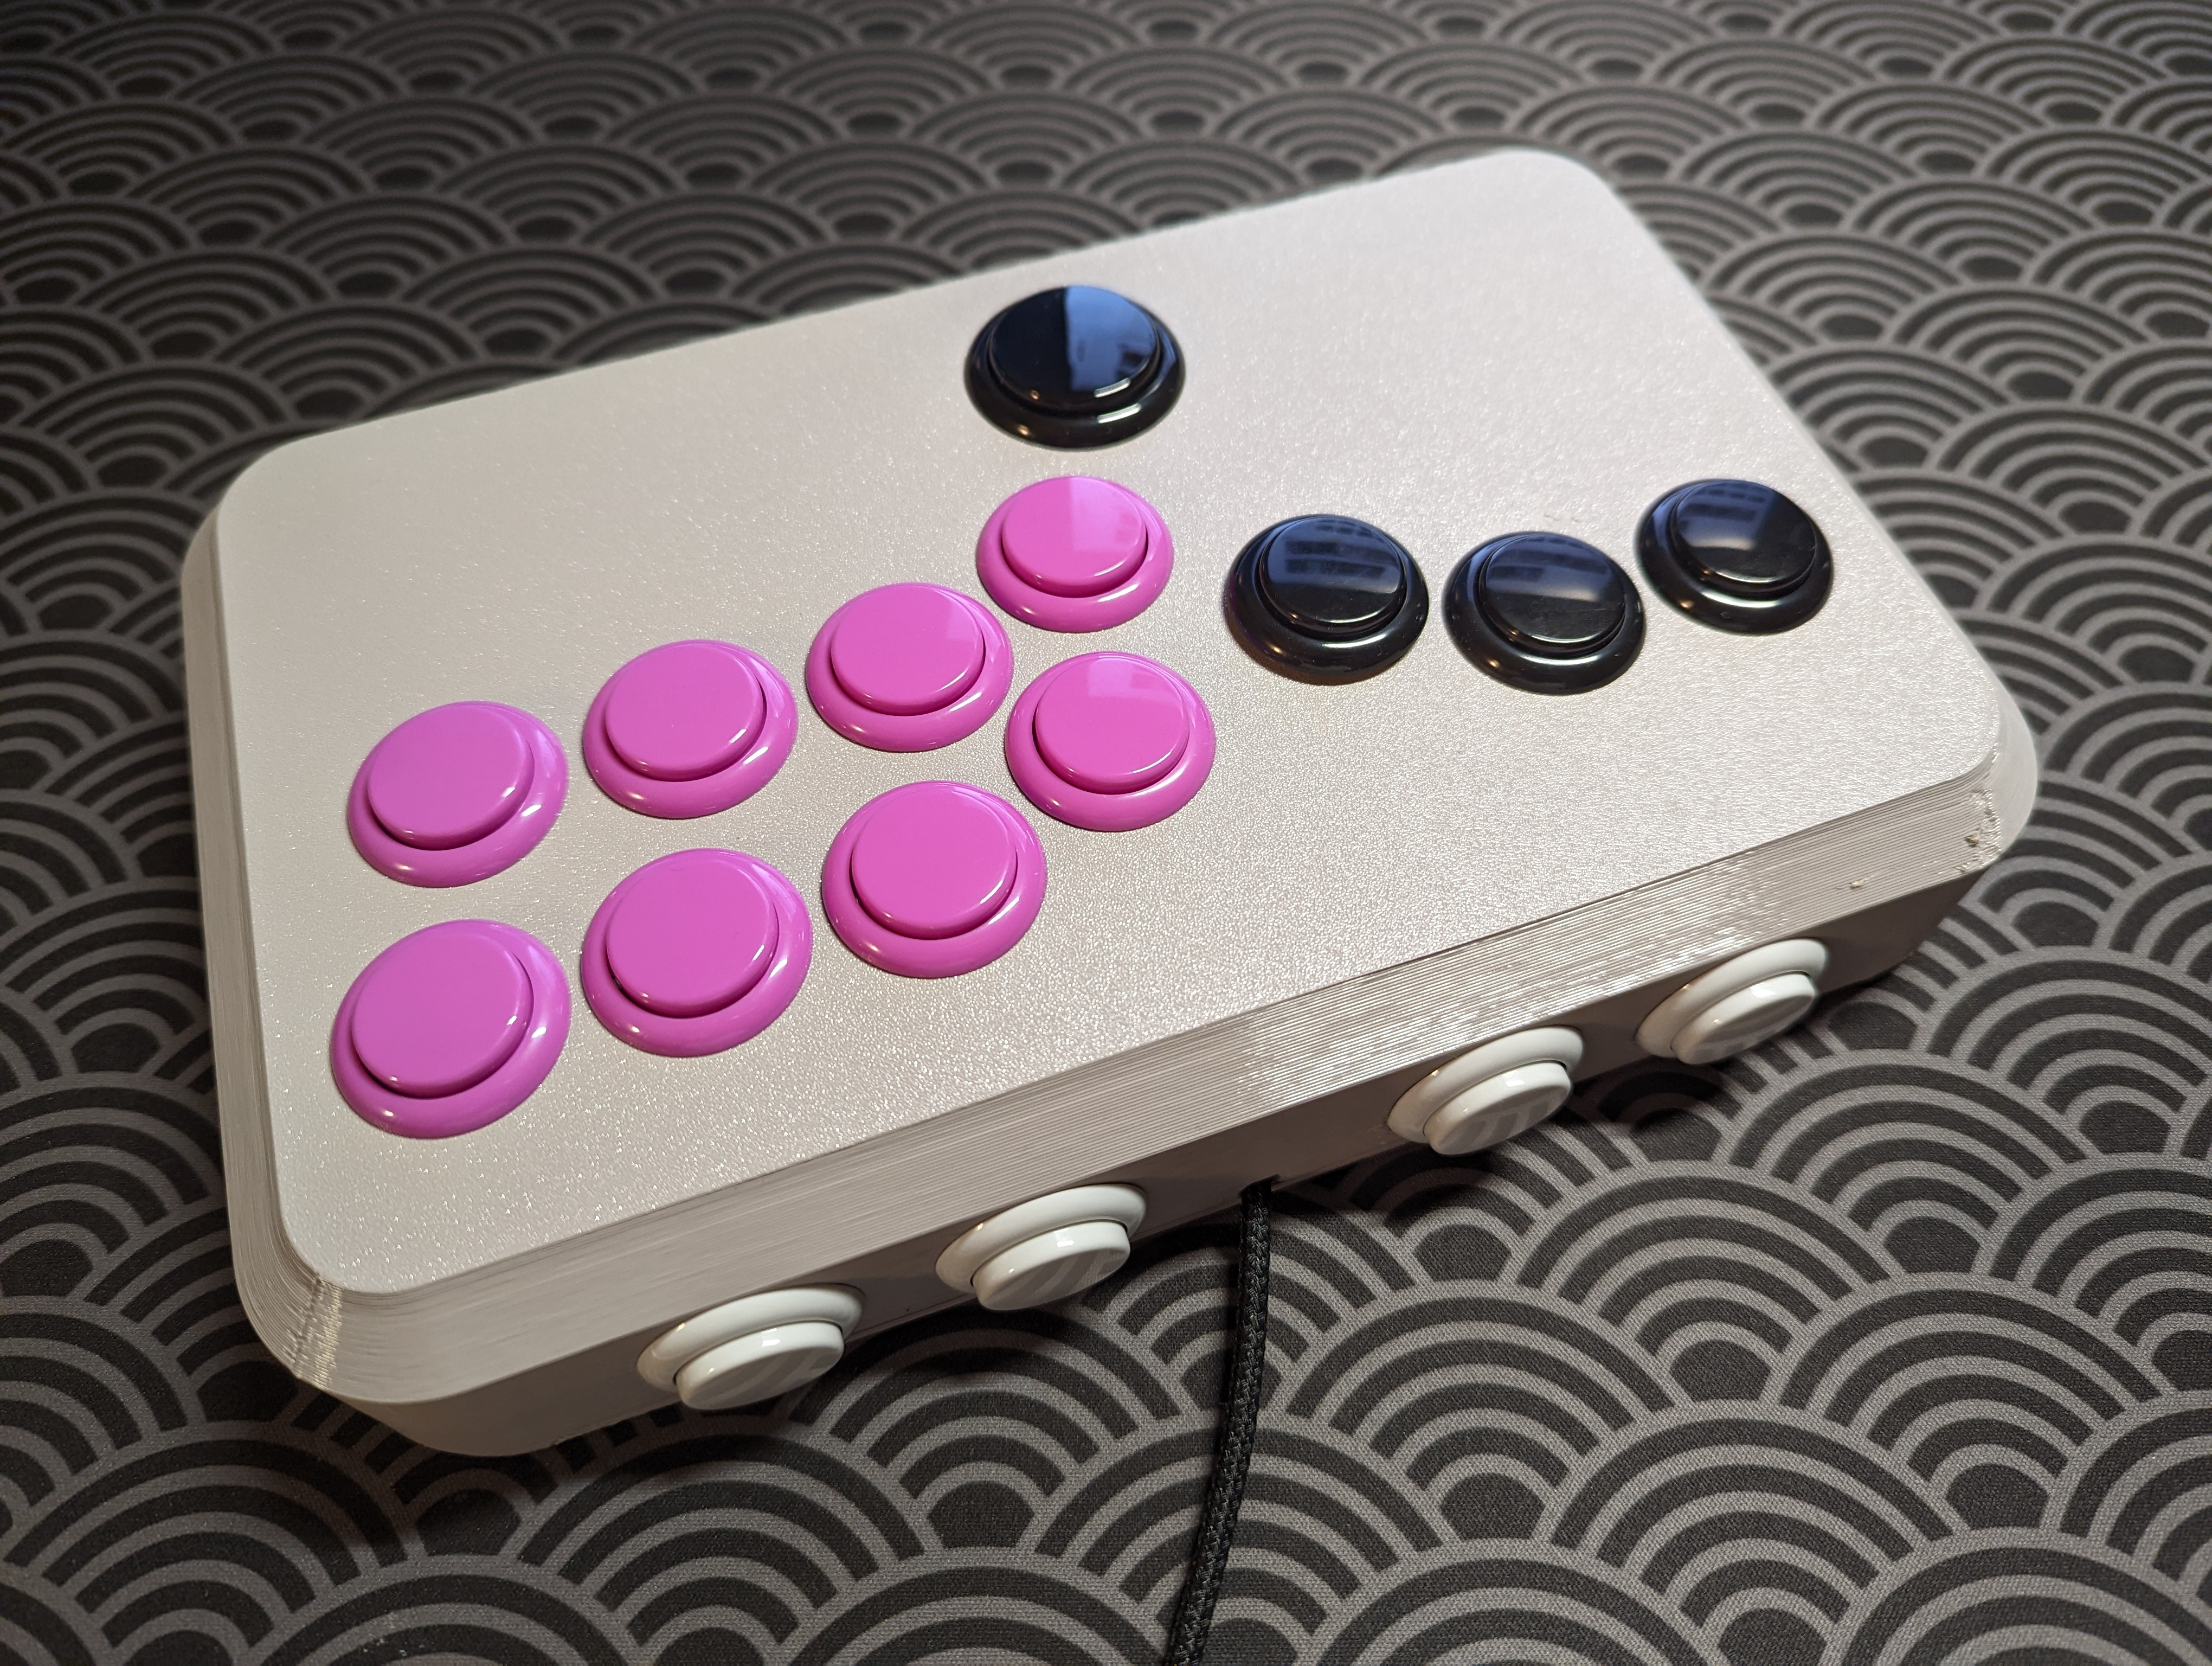
I then pushed the buttons into the enclosure cut-outs, and they snapped into place in a very satisfying manner.
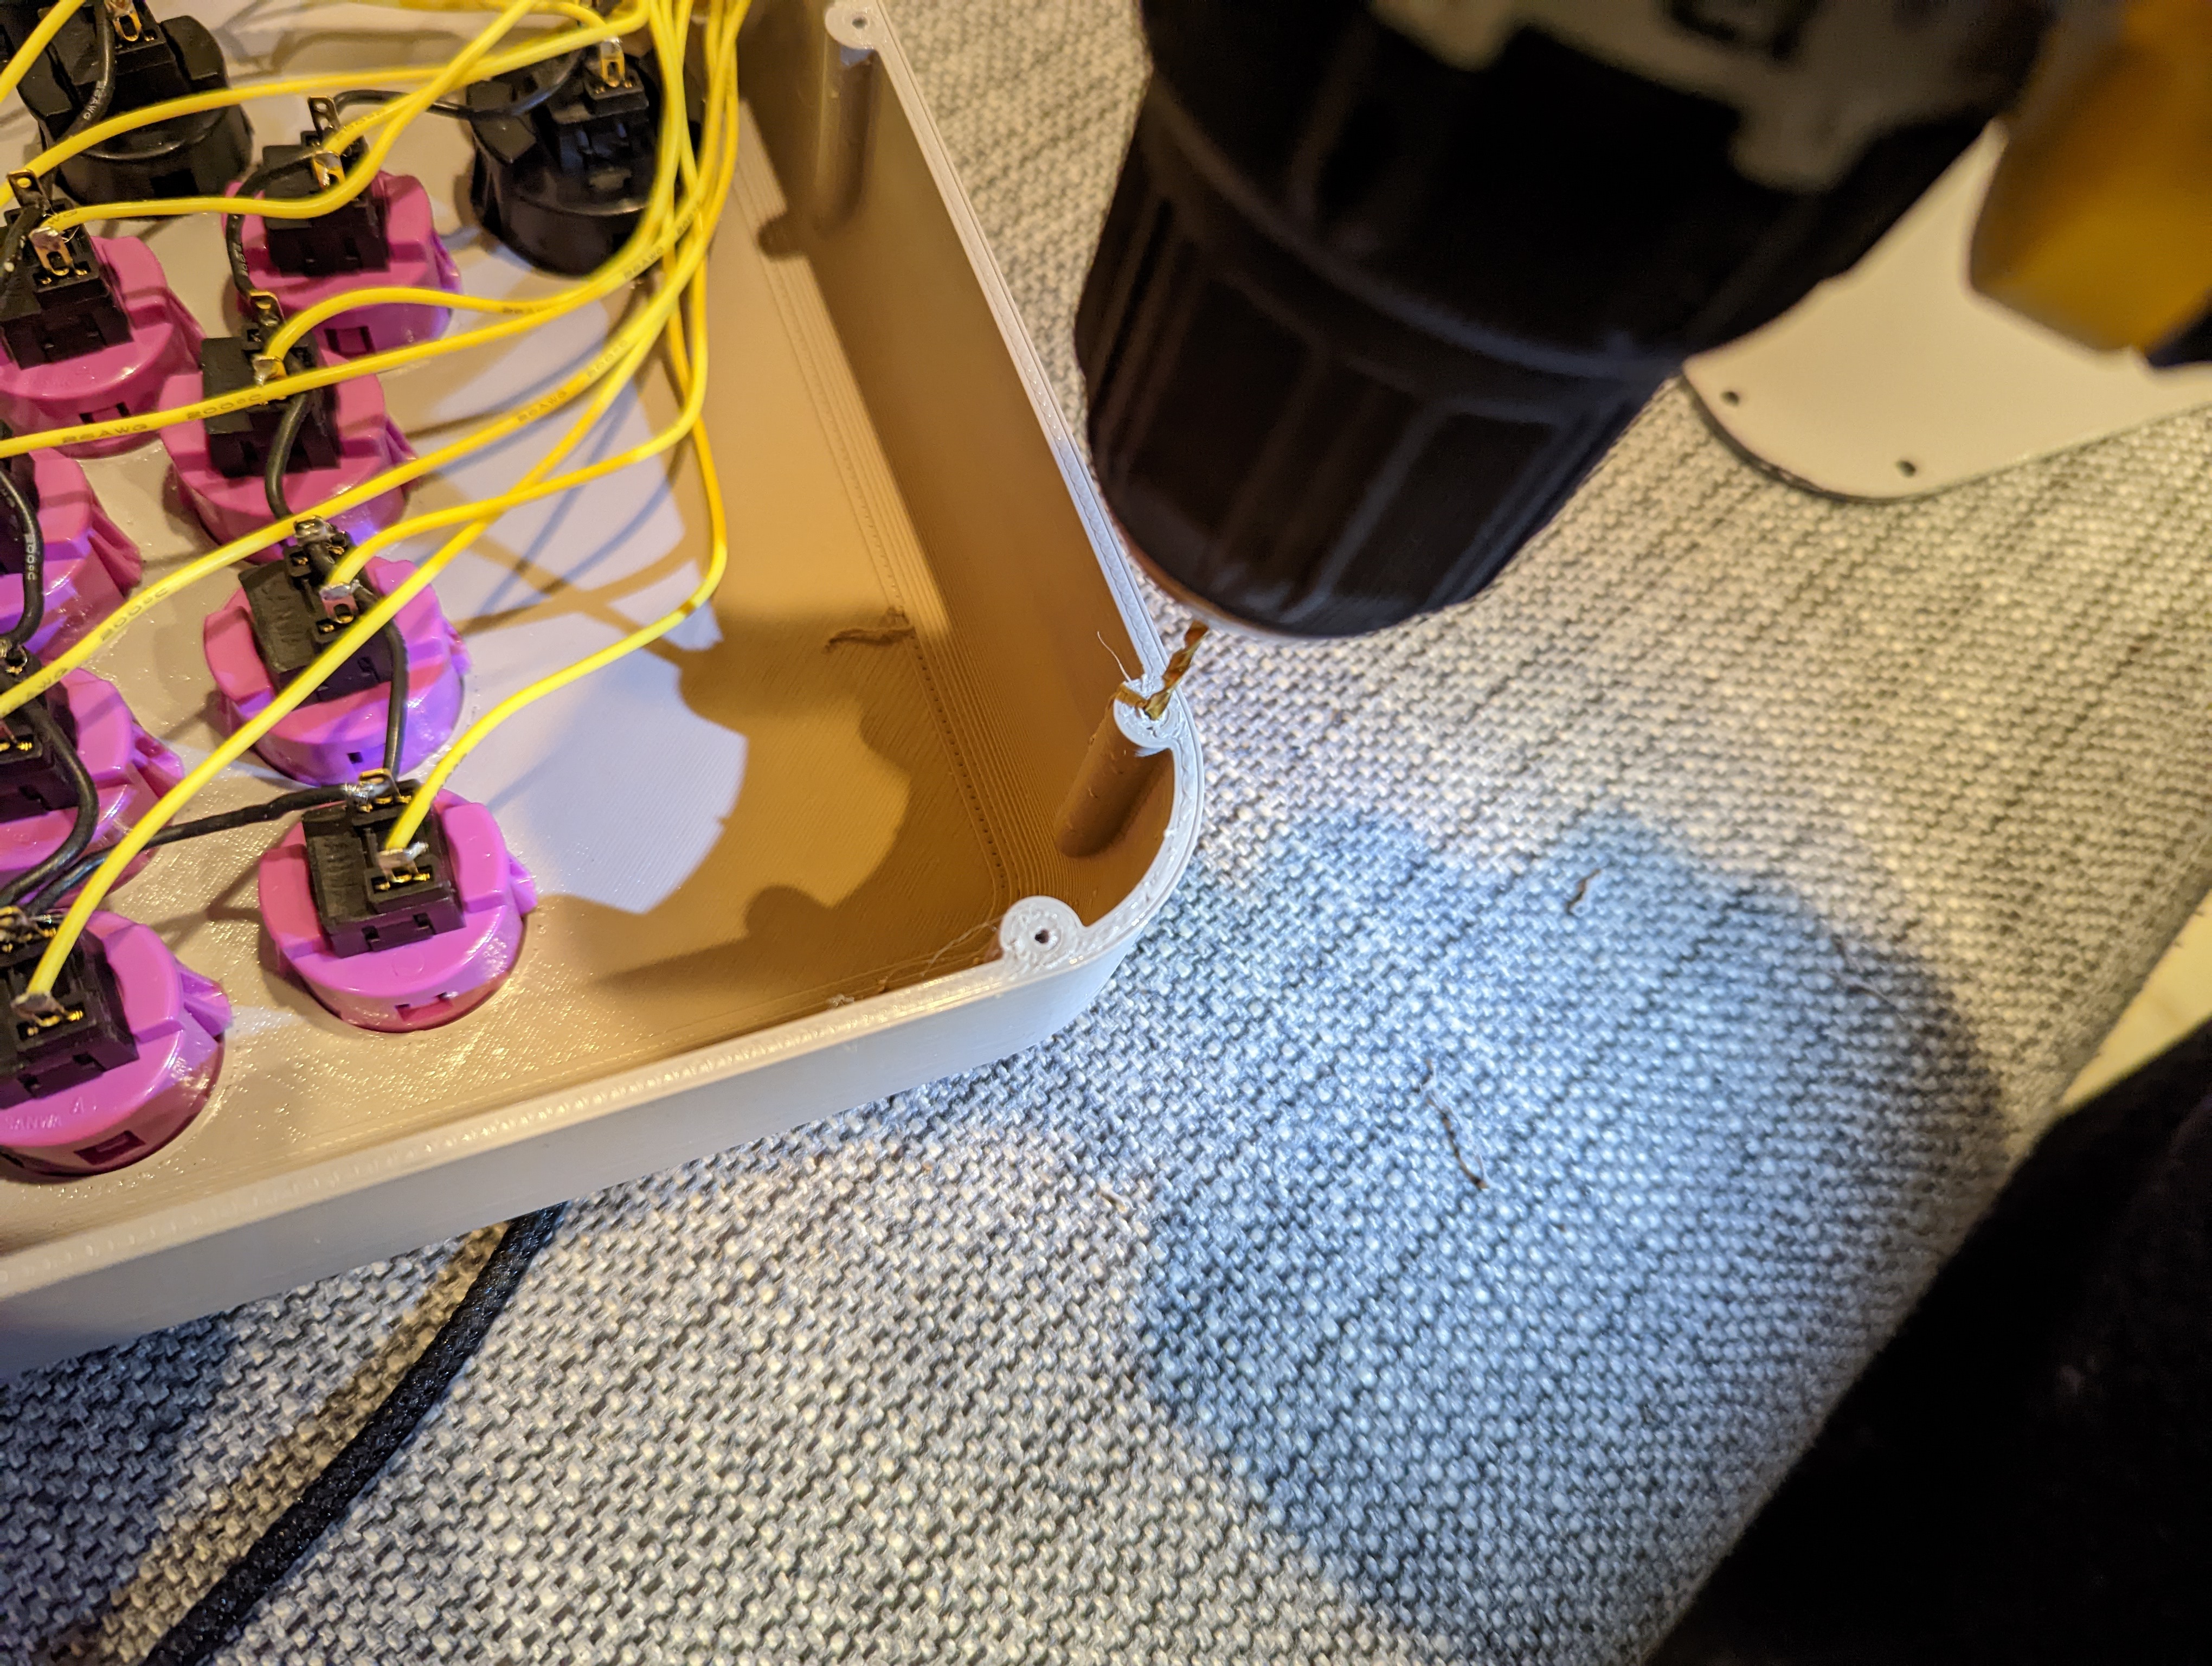
I then moved onto the electronics hook-up. The hook-up for the Hitbox is identical to the Slimbox: a common GND wire and a wire that maps a single button to a single pin on the µC.

I use the exact same firmware for the Hitbox that I used with the Slimbox. Again, I adjust the pin-function mappings on lines 9-22, just like I did with the Slimbox.
I then sealed up the enclosure. Just like with the Slimbox, there’s a backplate that screws into the bottom of the main enclosure. The problem though is that the enclosure screw holes are a little too small. So I just took a drill to each printed screw hole to widen the holes. I then tapped the holes with 4-40 threads.
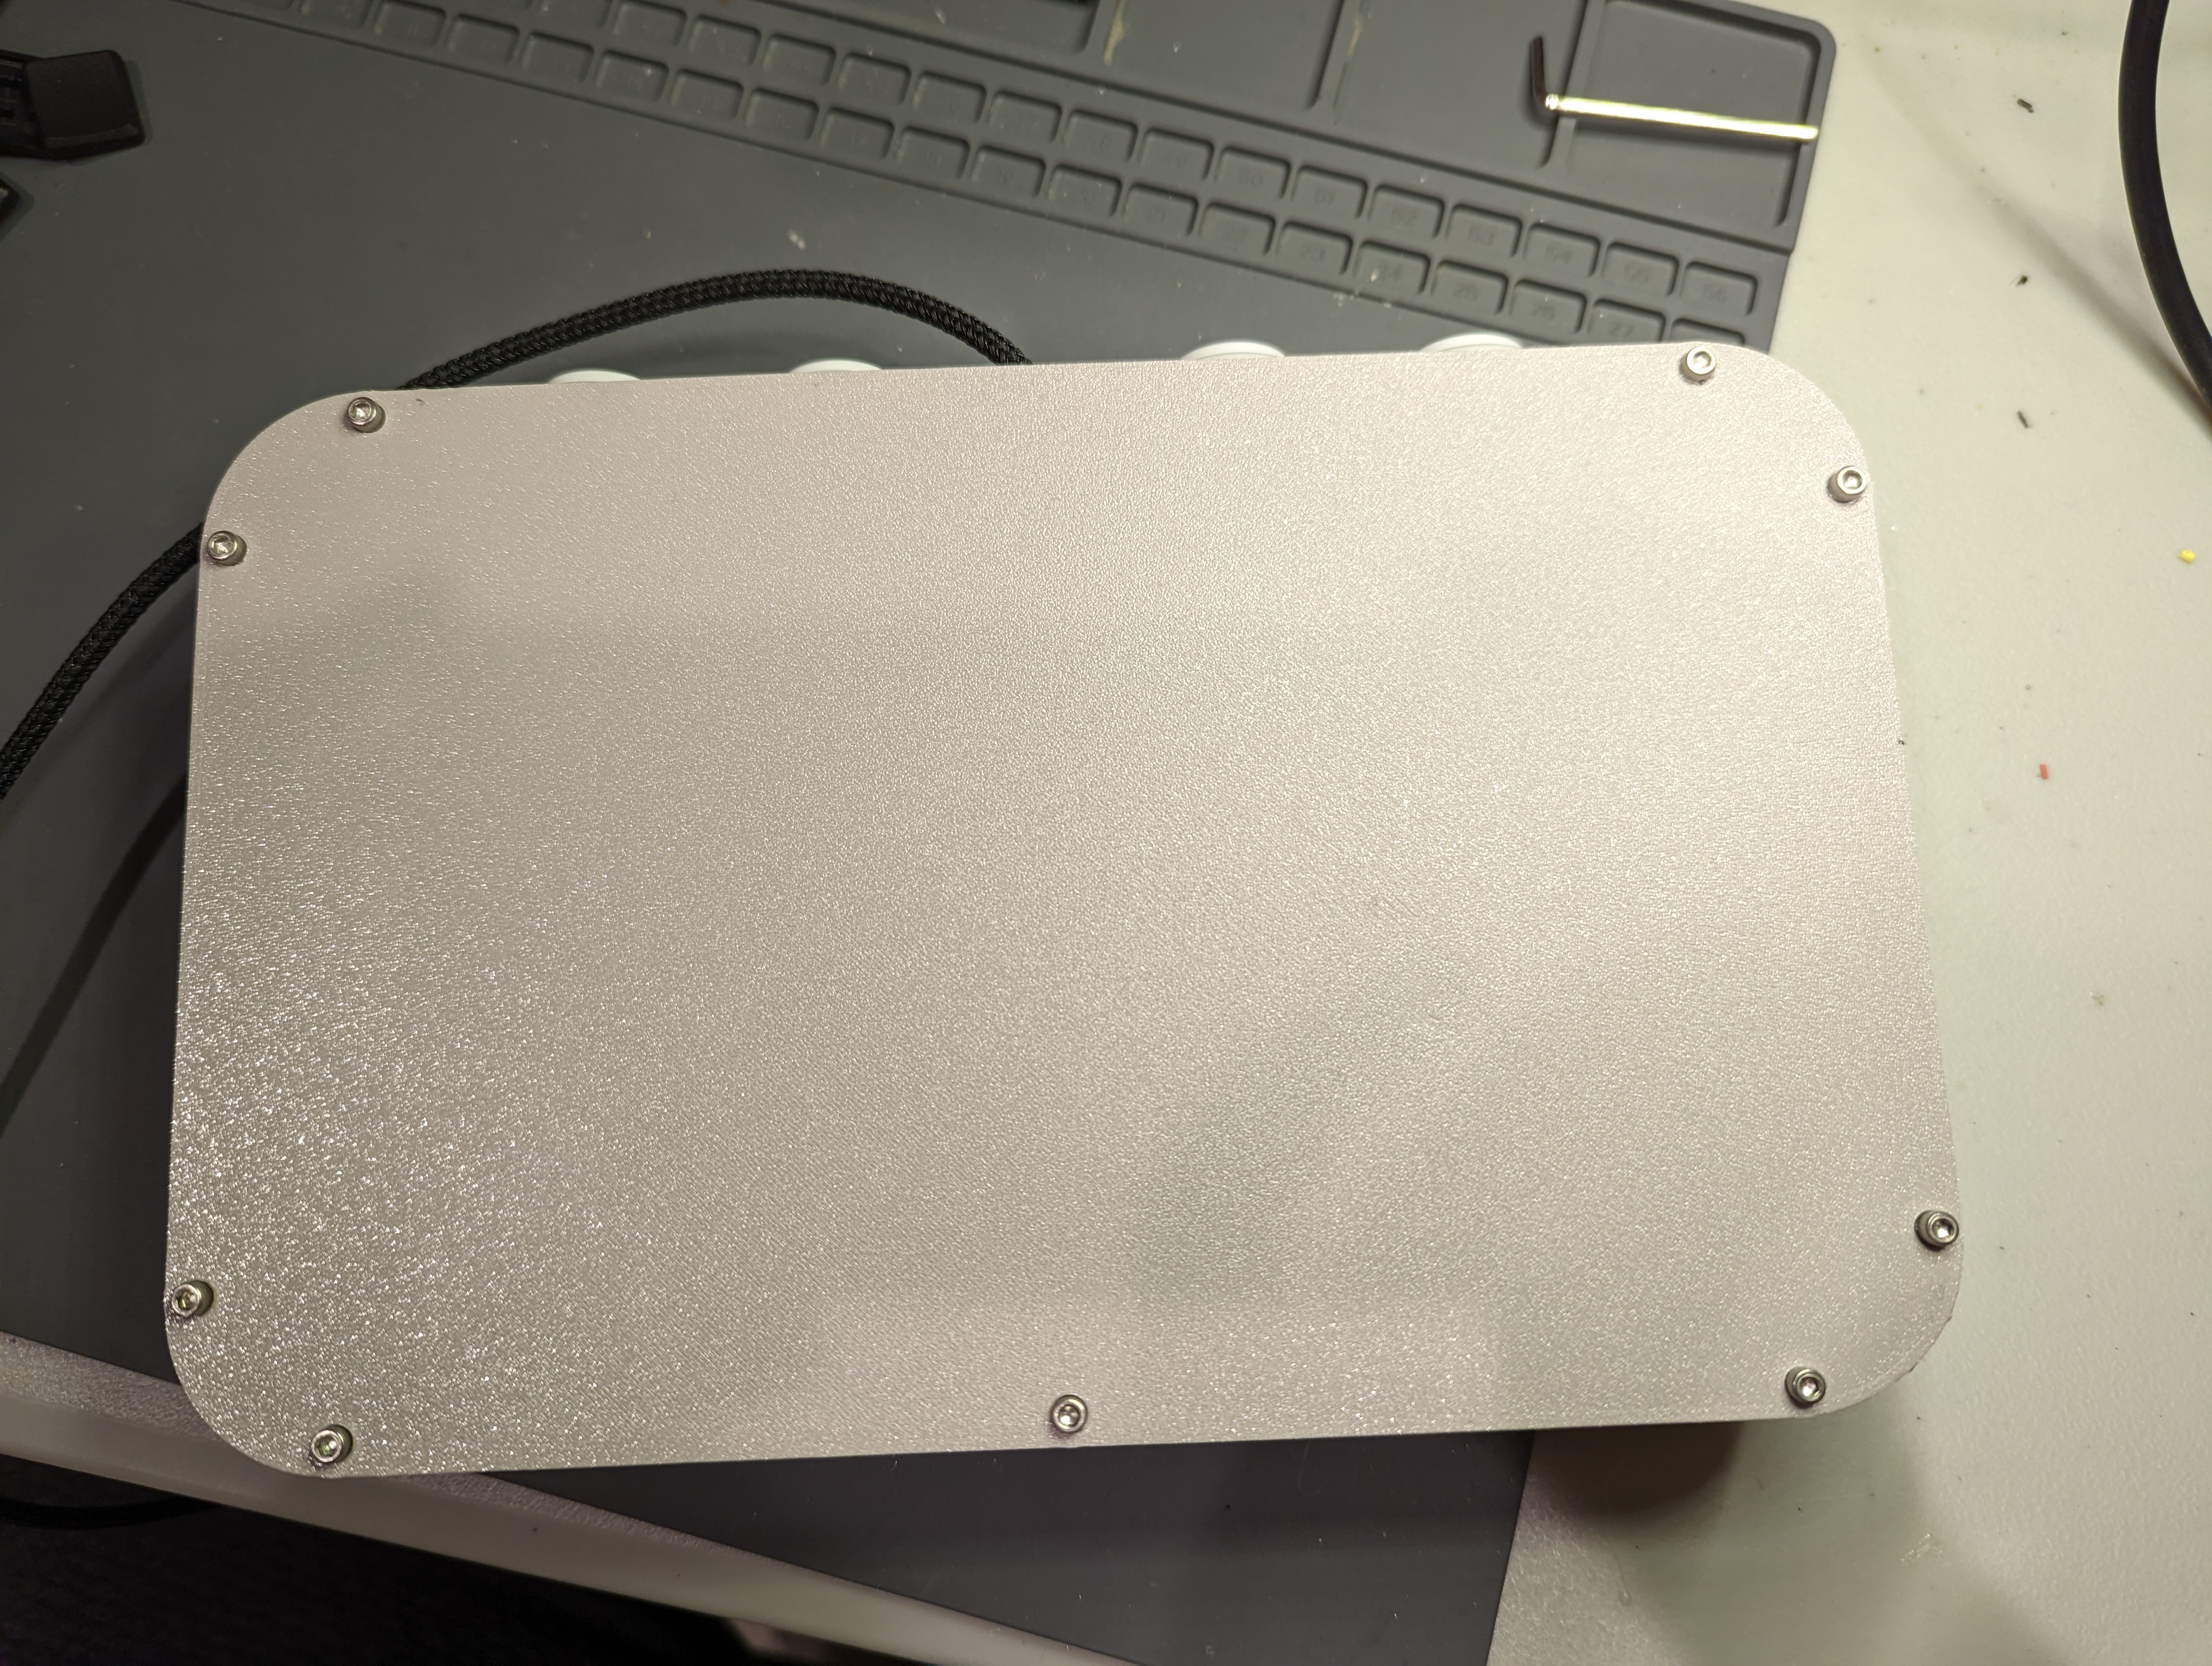
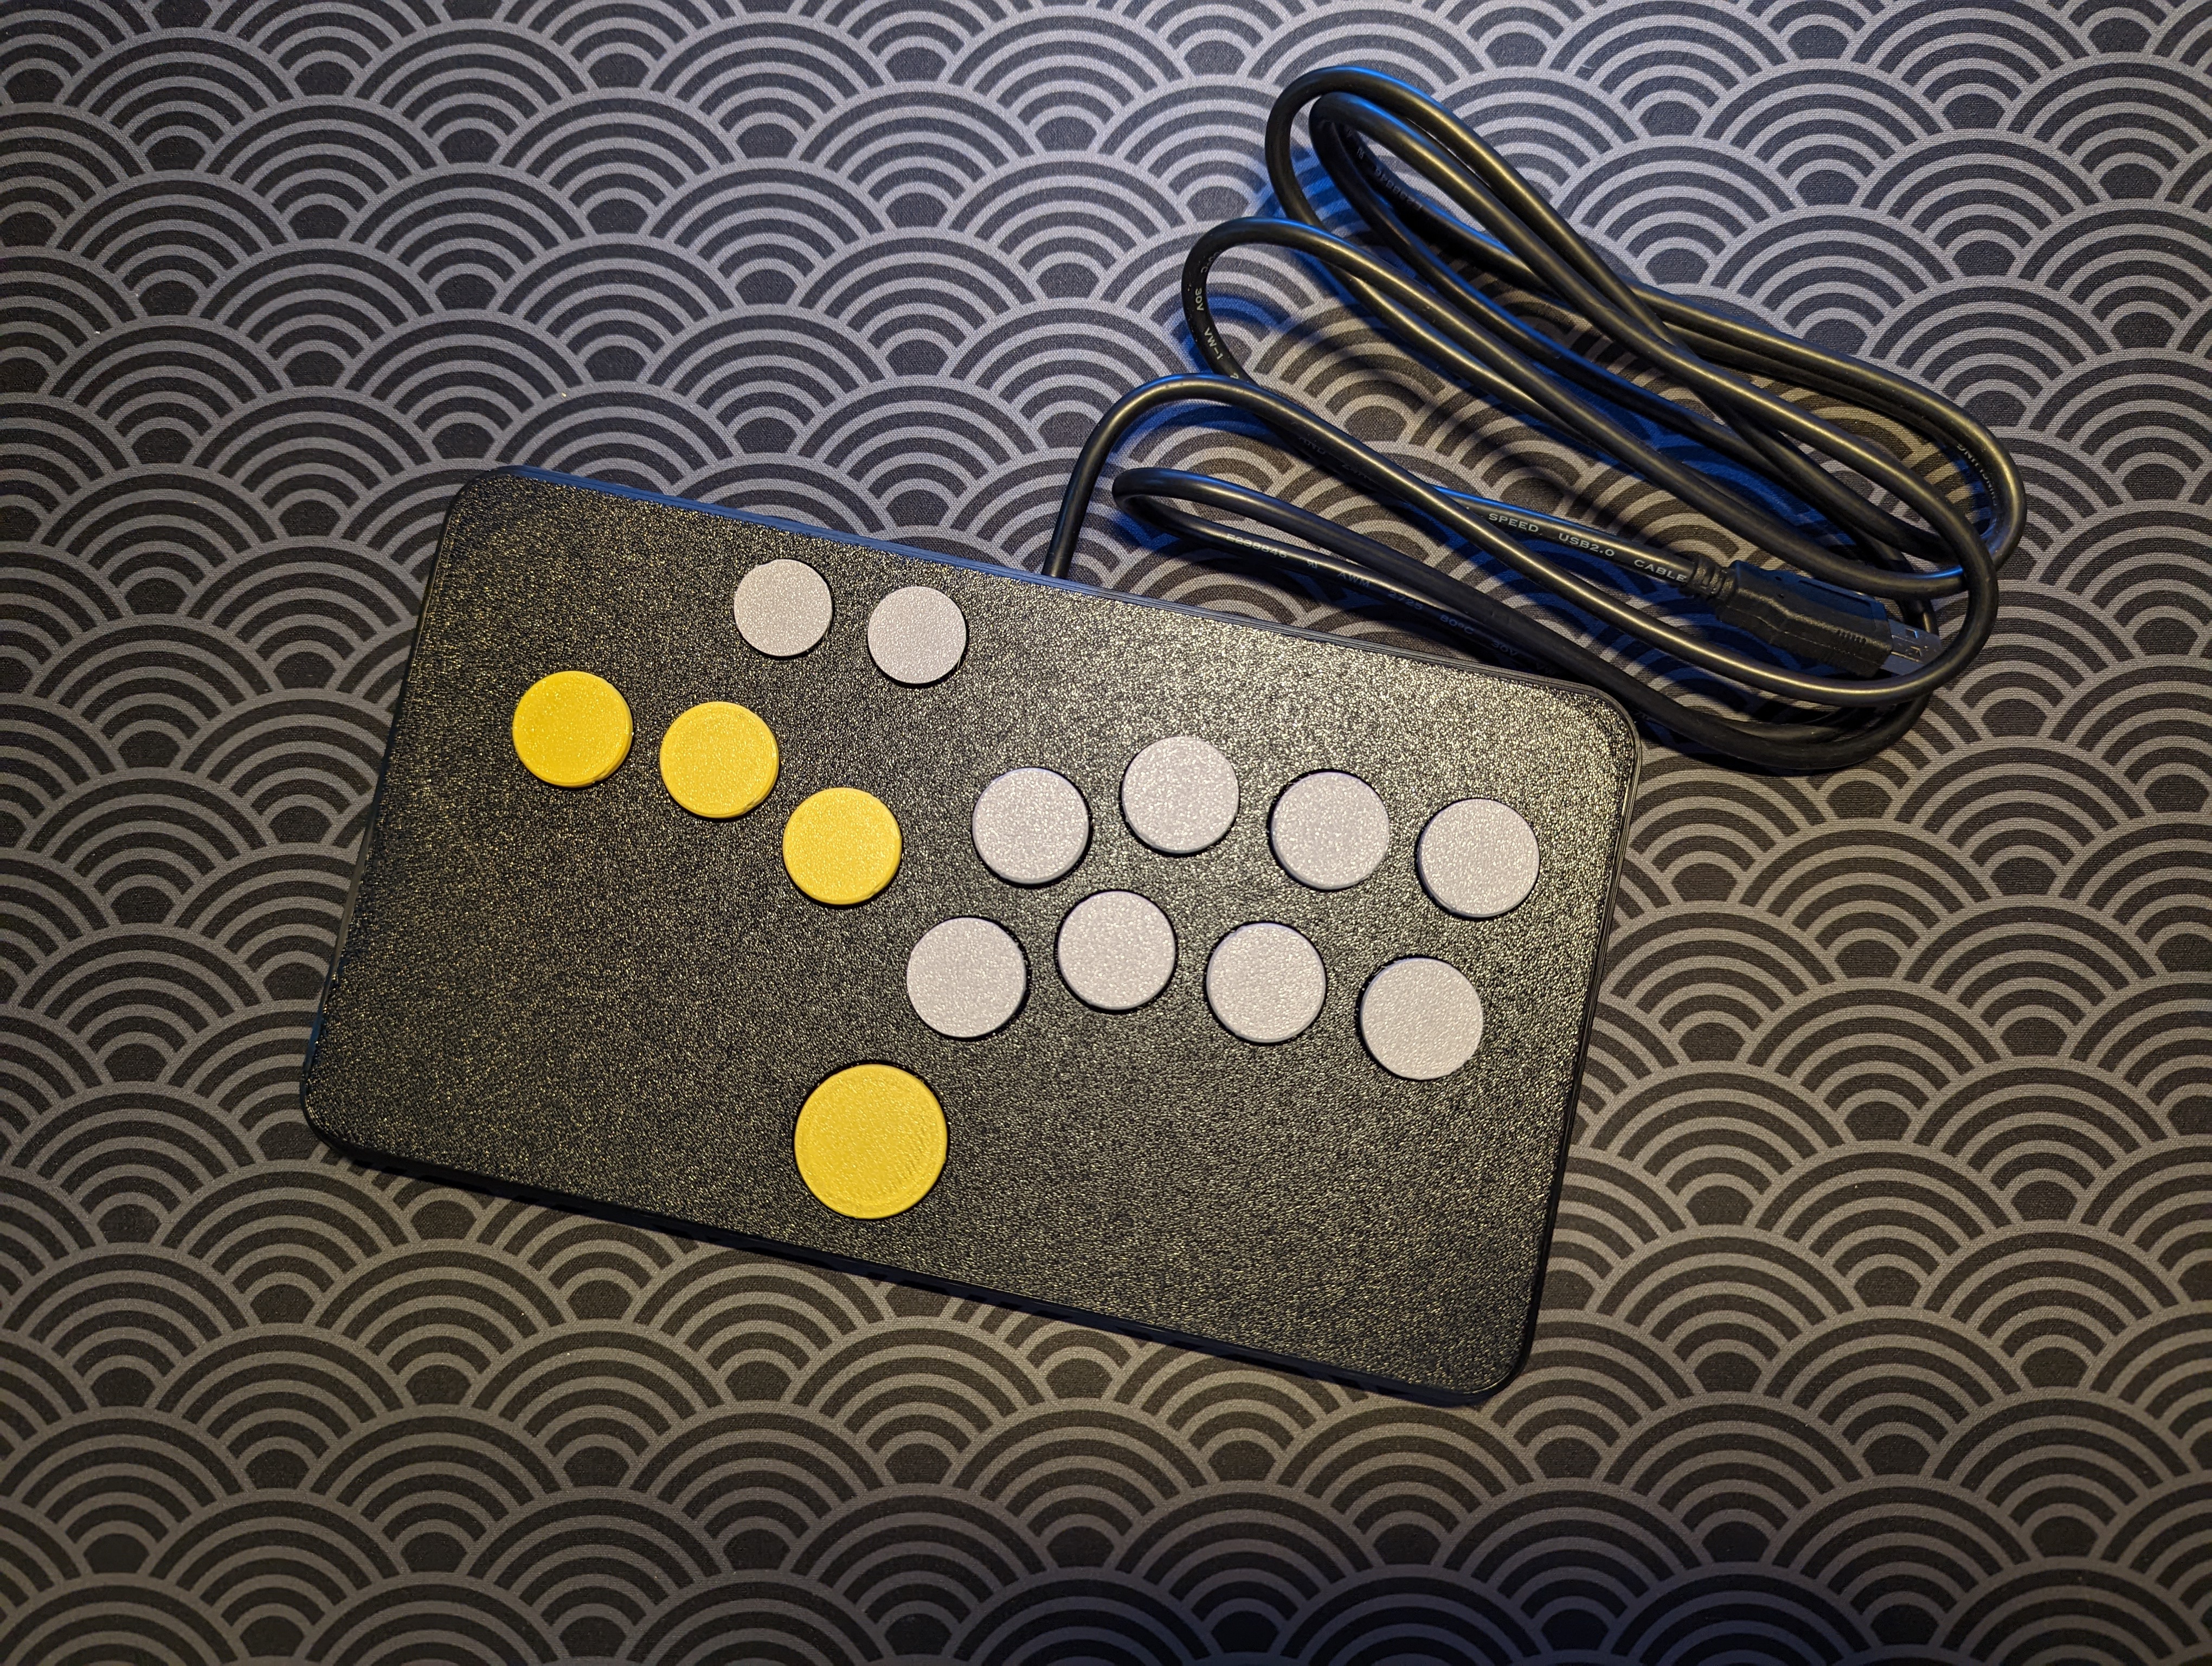
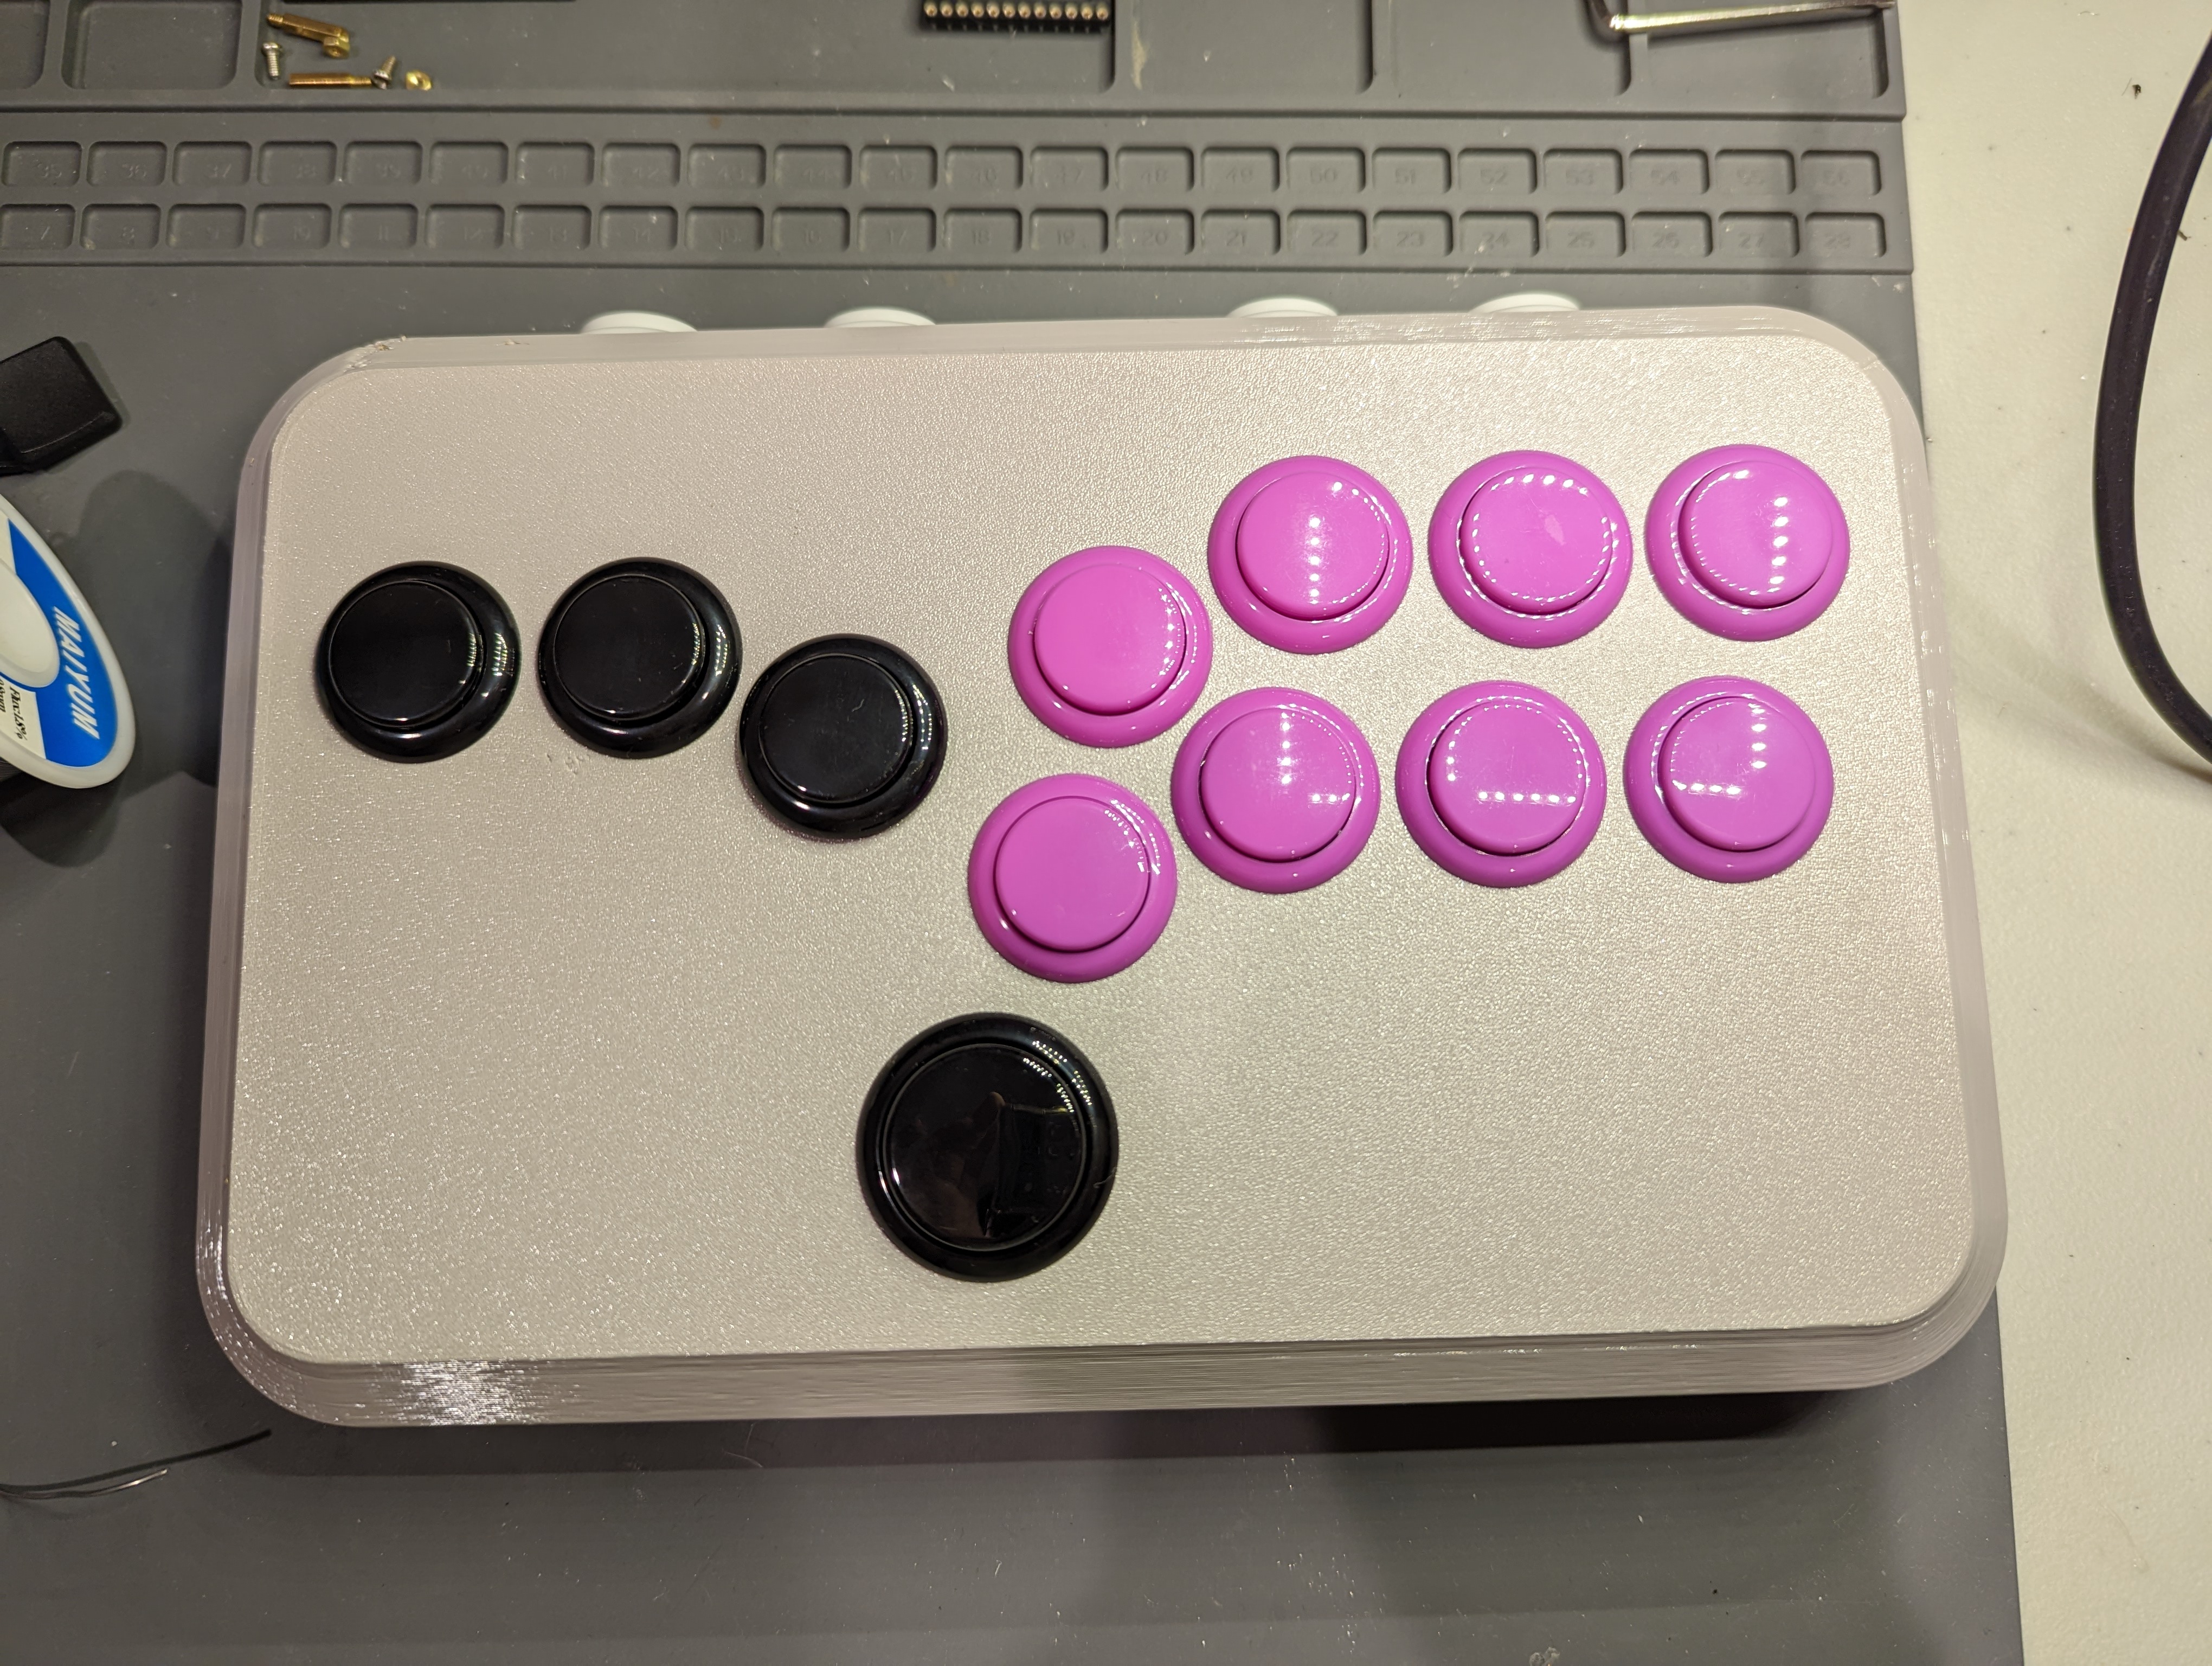
The Hitbox works great! These Sanwa buttons provide a lovely retro arcade feel.
I enjoy the colour scheme of the finished product as well. It doesn’t exactly match the Super Nintendo vibe I was going for, but I think it’s a reasonable approximation! In either case, I like it! ![]()


