I very recently built a SFFPC, on which I installed Windows. I use that machine primarily for video games, CAD work, and 3D rendering. I wanted to build another machine, however, that runs Linux (Ubuntu), so I can use it for development work. Although Windows machines can definitely be used for programming, I find everything about Linux OS systems superior in regards to development work. Linux machines are also extremely customizable, and I enjoy learning about new ways to personalize one’s workflow and settings. Most importantly, Linux provides an actual terminal that uses Unix commands, as opposed to the Power Shell, which I understand is supposedly powerful, but … I just don’t want to touch it1.
I have been using a Macbook for a long time, in order to access a Unix-style terminal, but I very recently sold my Apple machine. I like Apple products, but I find them overpriced, and so using a Macbook was a super expensive way to access a terminal console. Just as importantly, I’m annoyed with how difficult the upgrade and repair process is with Apple products. Apple products use so many proprietary things, that pretty much any kind of maintenace requires that I either give in a hefty fee to the Apple “Genius Bar” folks, or that I buy from Apple some exclusive overpriced part that I can’get from any kind of cheaper third party vendor. So, I thought I could use the money I got from selling my Macbook towards building a SFFPC that runs the latest version of Ubuntu (22.04, at the time of writing). I recently saw an Optimum Tech video, where the host builds an insanely small (< 4 L) computer. I thought it was the coolest thing. In addition, the super small computer still had a discrete graphics card! I still wanted a discrete GPU in my development-oriented (gaming-free) build, because I want to be able to play around with some deep learning models, without having to use an expensive cloud service like AWS. With these goals in mind, I ordered some parts and built my super small GPU+ Linux machine ![]() .
.
The Case
As is the case (hurhur) with any SFFPC build, the heart of the build is the PC case. I am using the A39 (formerly called the K39), as featured on Optimum Tech.
The case is pretty much always available on AliExpress, and it’s super affordable at around 60 bucks! The ready availbility and cheap pricing is a real contrast to most SFFPC cases. This case is also mega small. Like I mention above, it’s only 3.9 L in volume.

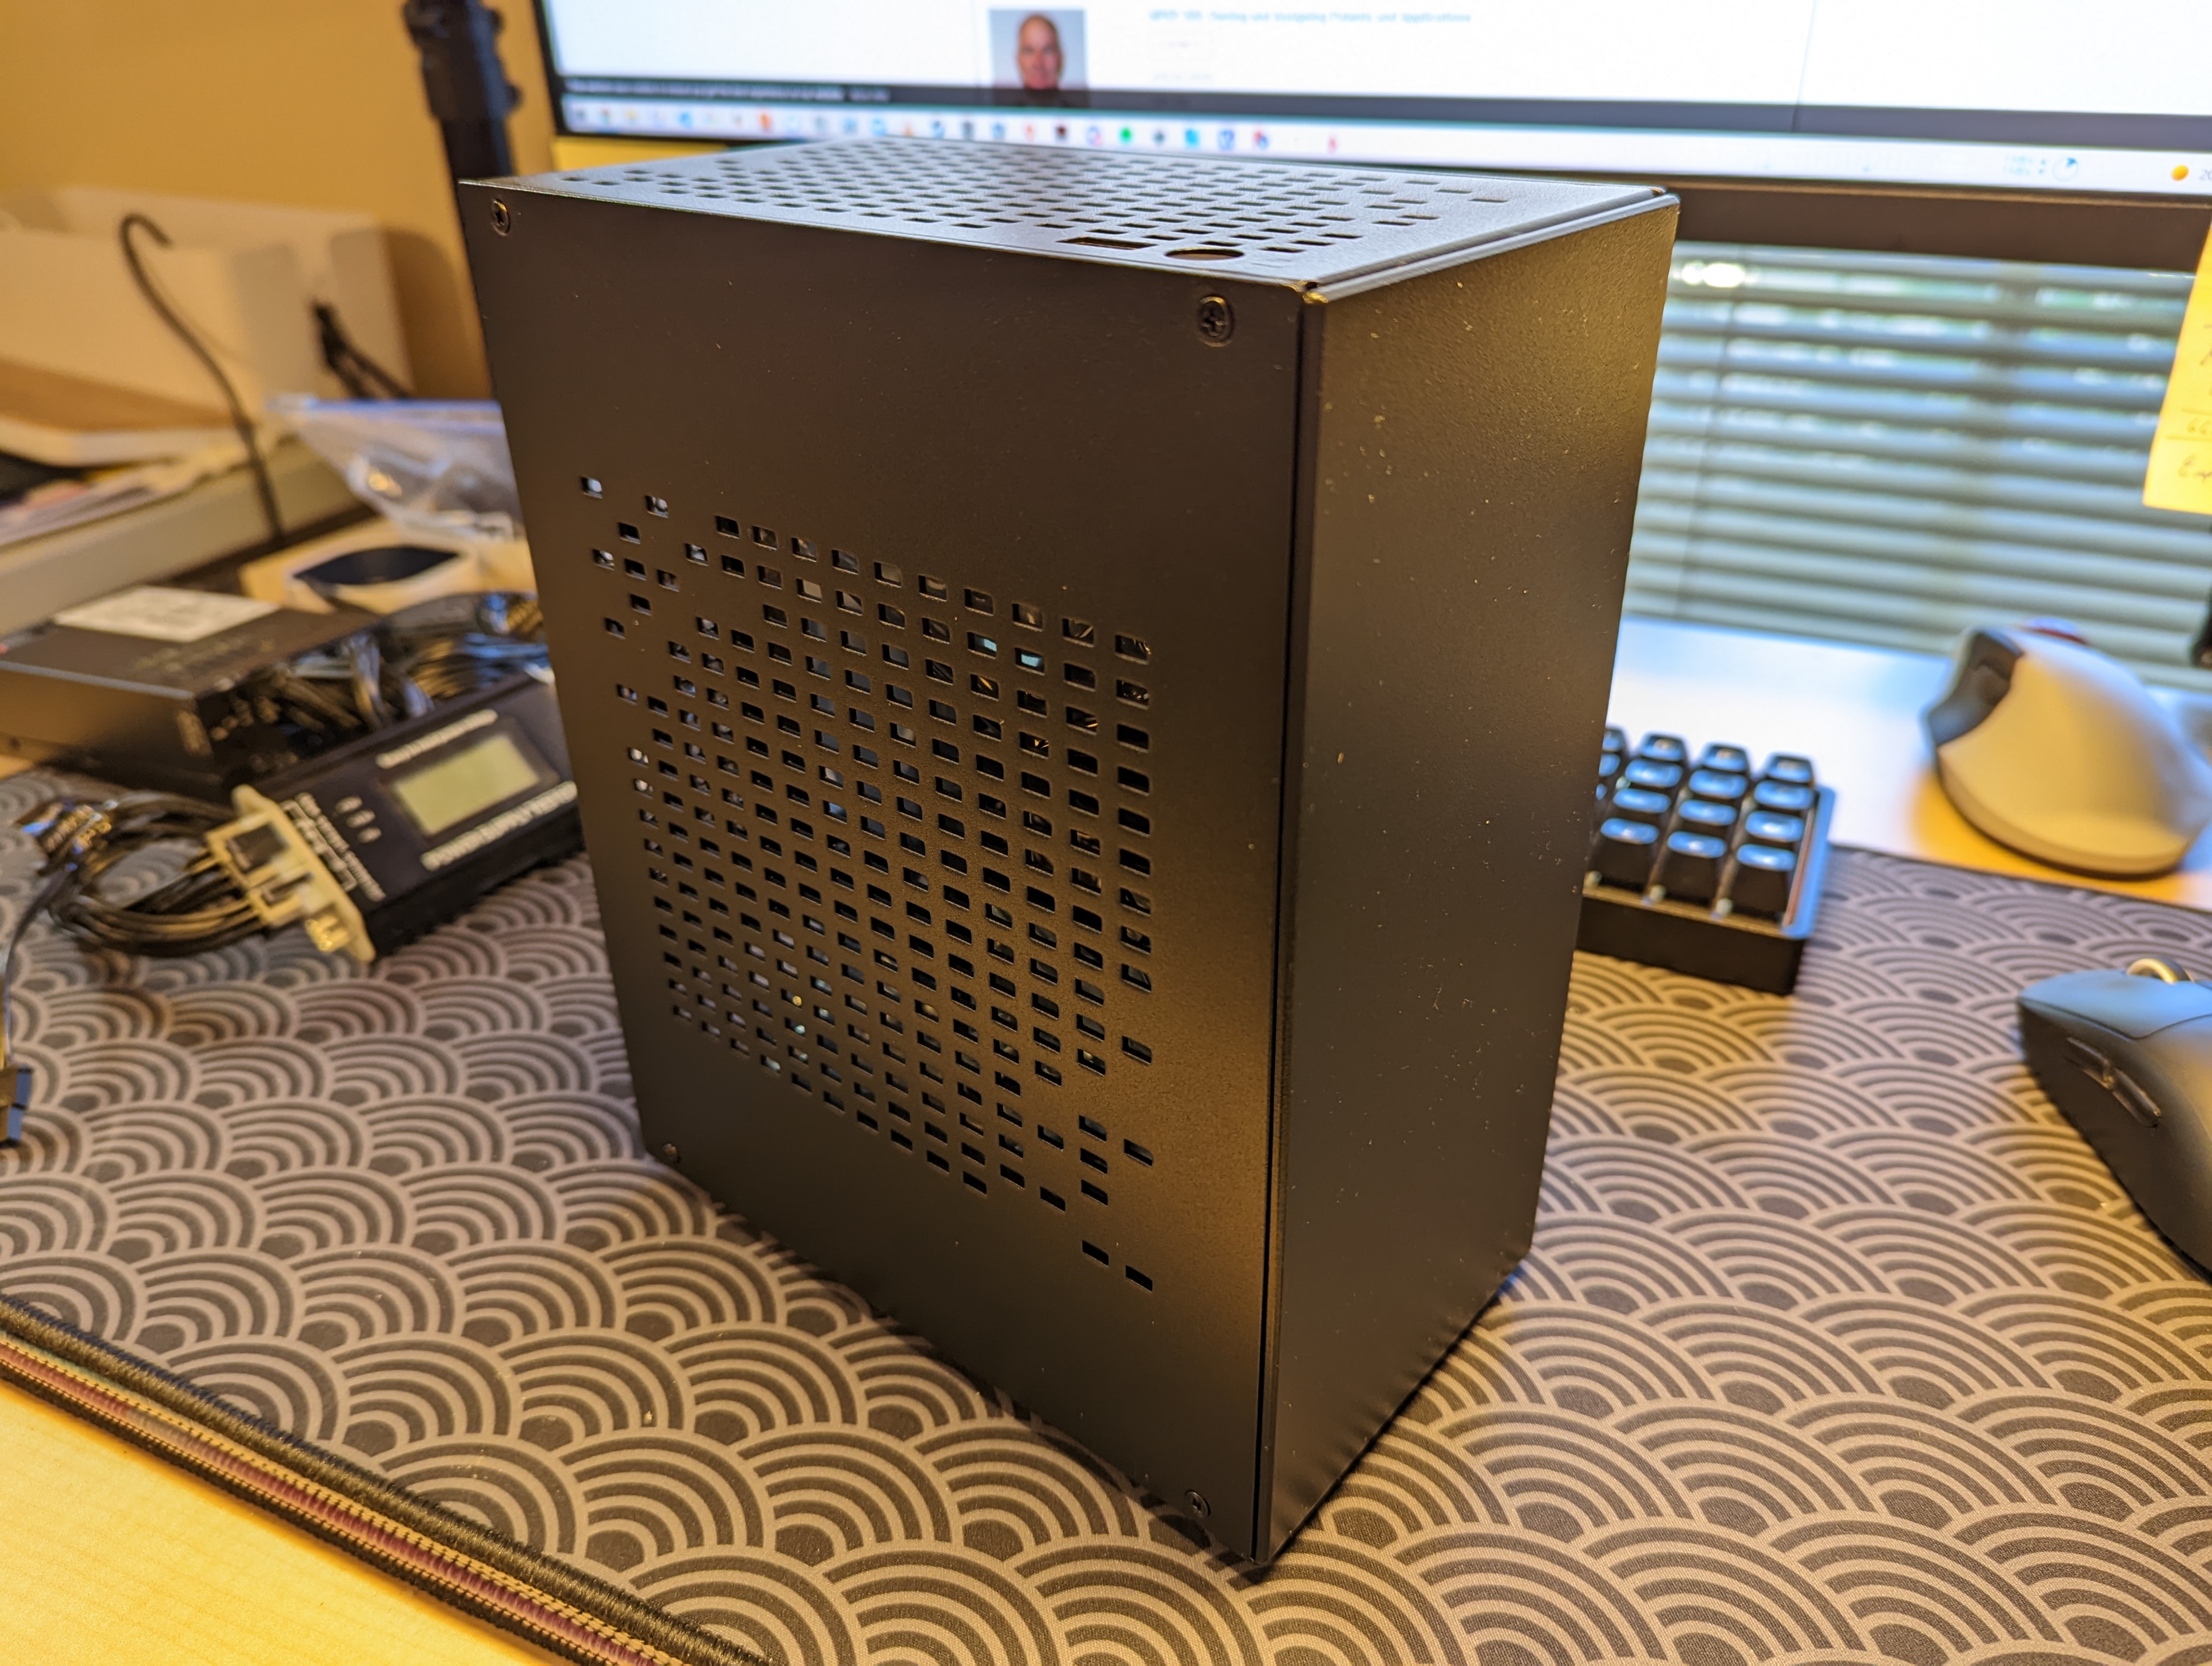
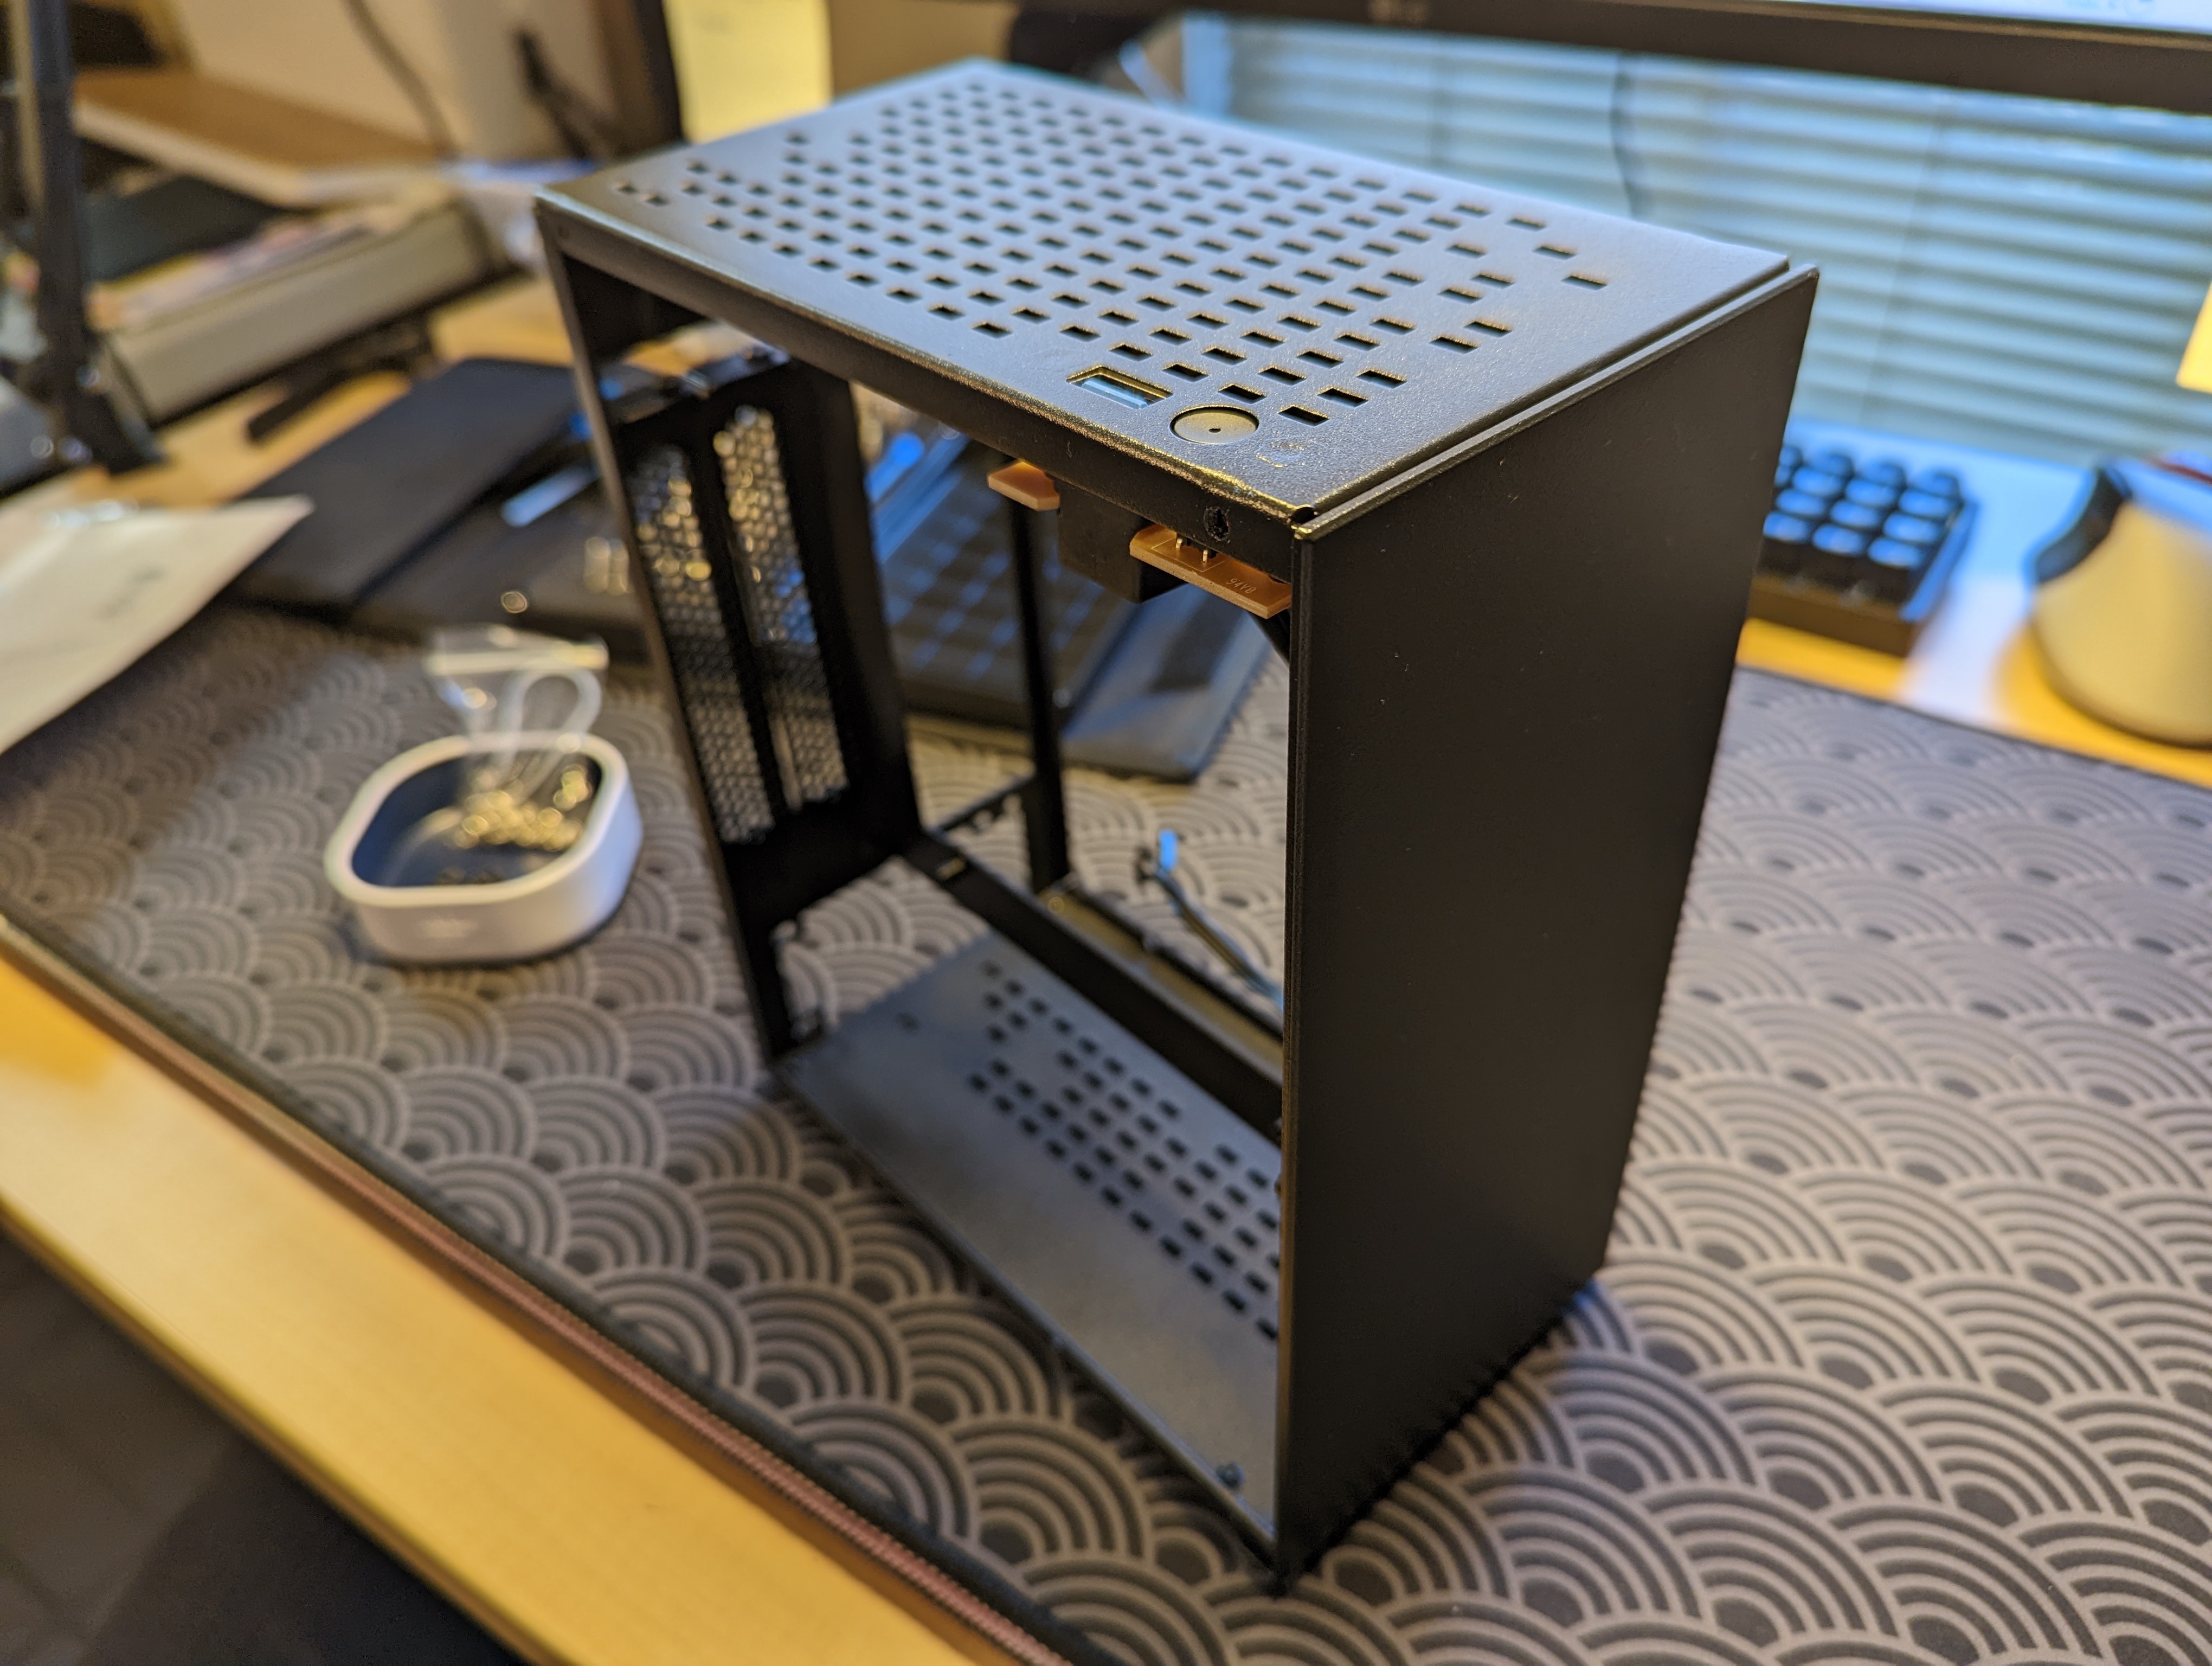
The case supports only flex PSUs (so no units from the Corsair SF PSU series), but given that high quality 600 W Flex PSUs exist, we actually have quite a lot of options.
Testing the Power Supply
I’m using a 600 W ENP-7660B flex PSU from Enhance. This PSU is non-modular, so I’m going to have to cut some unnecessary cables, down the road. For now, however, I’m leaving all the cables intact.
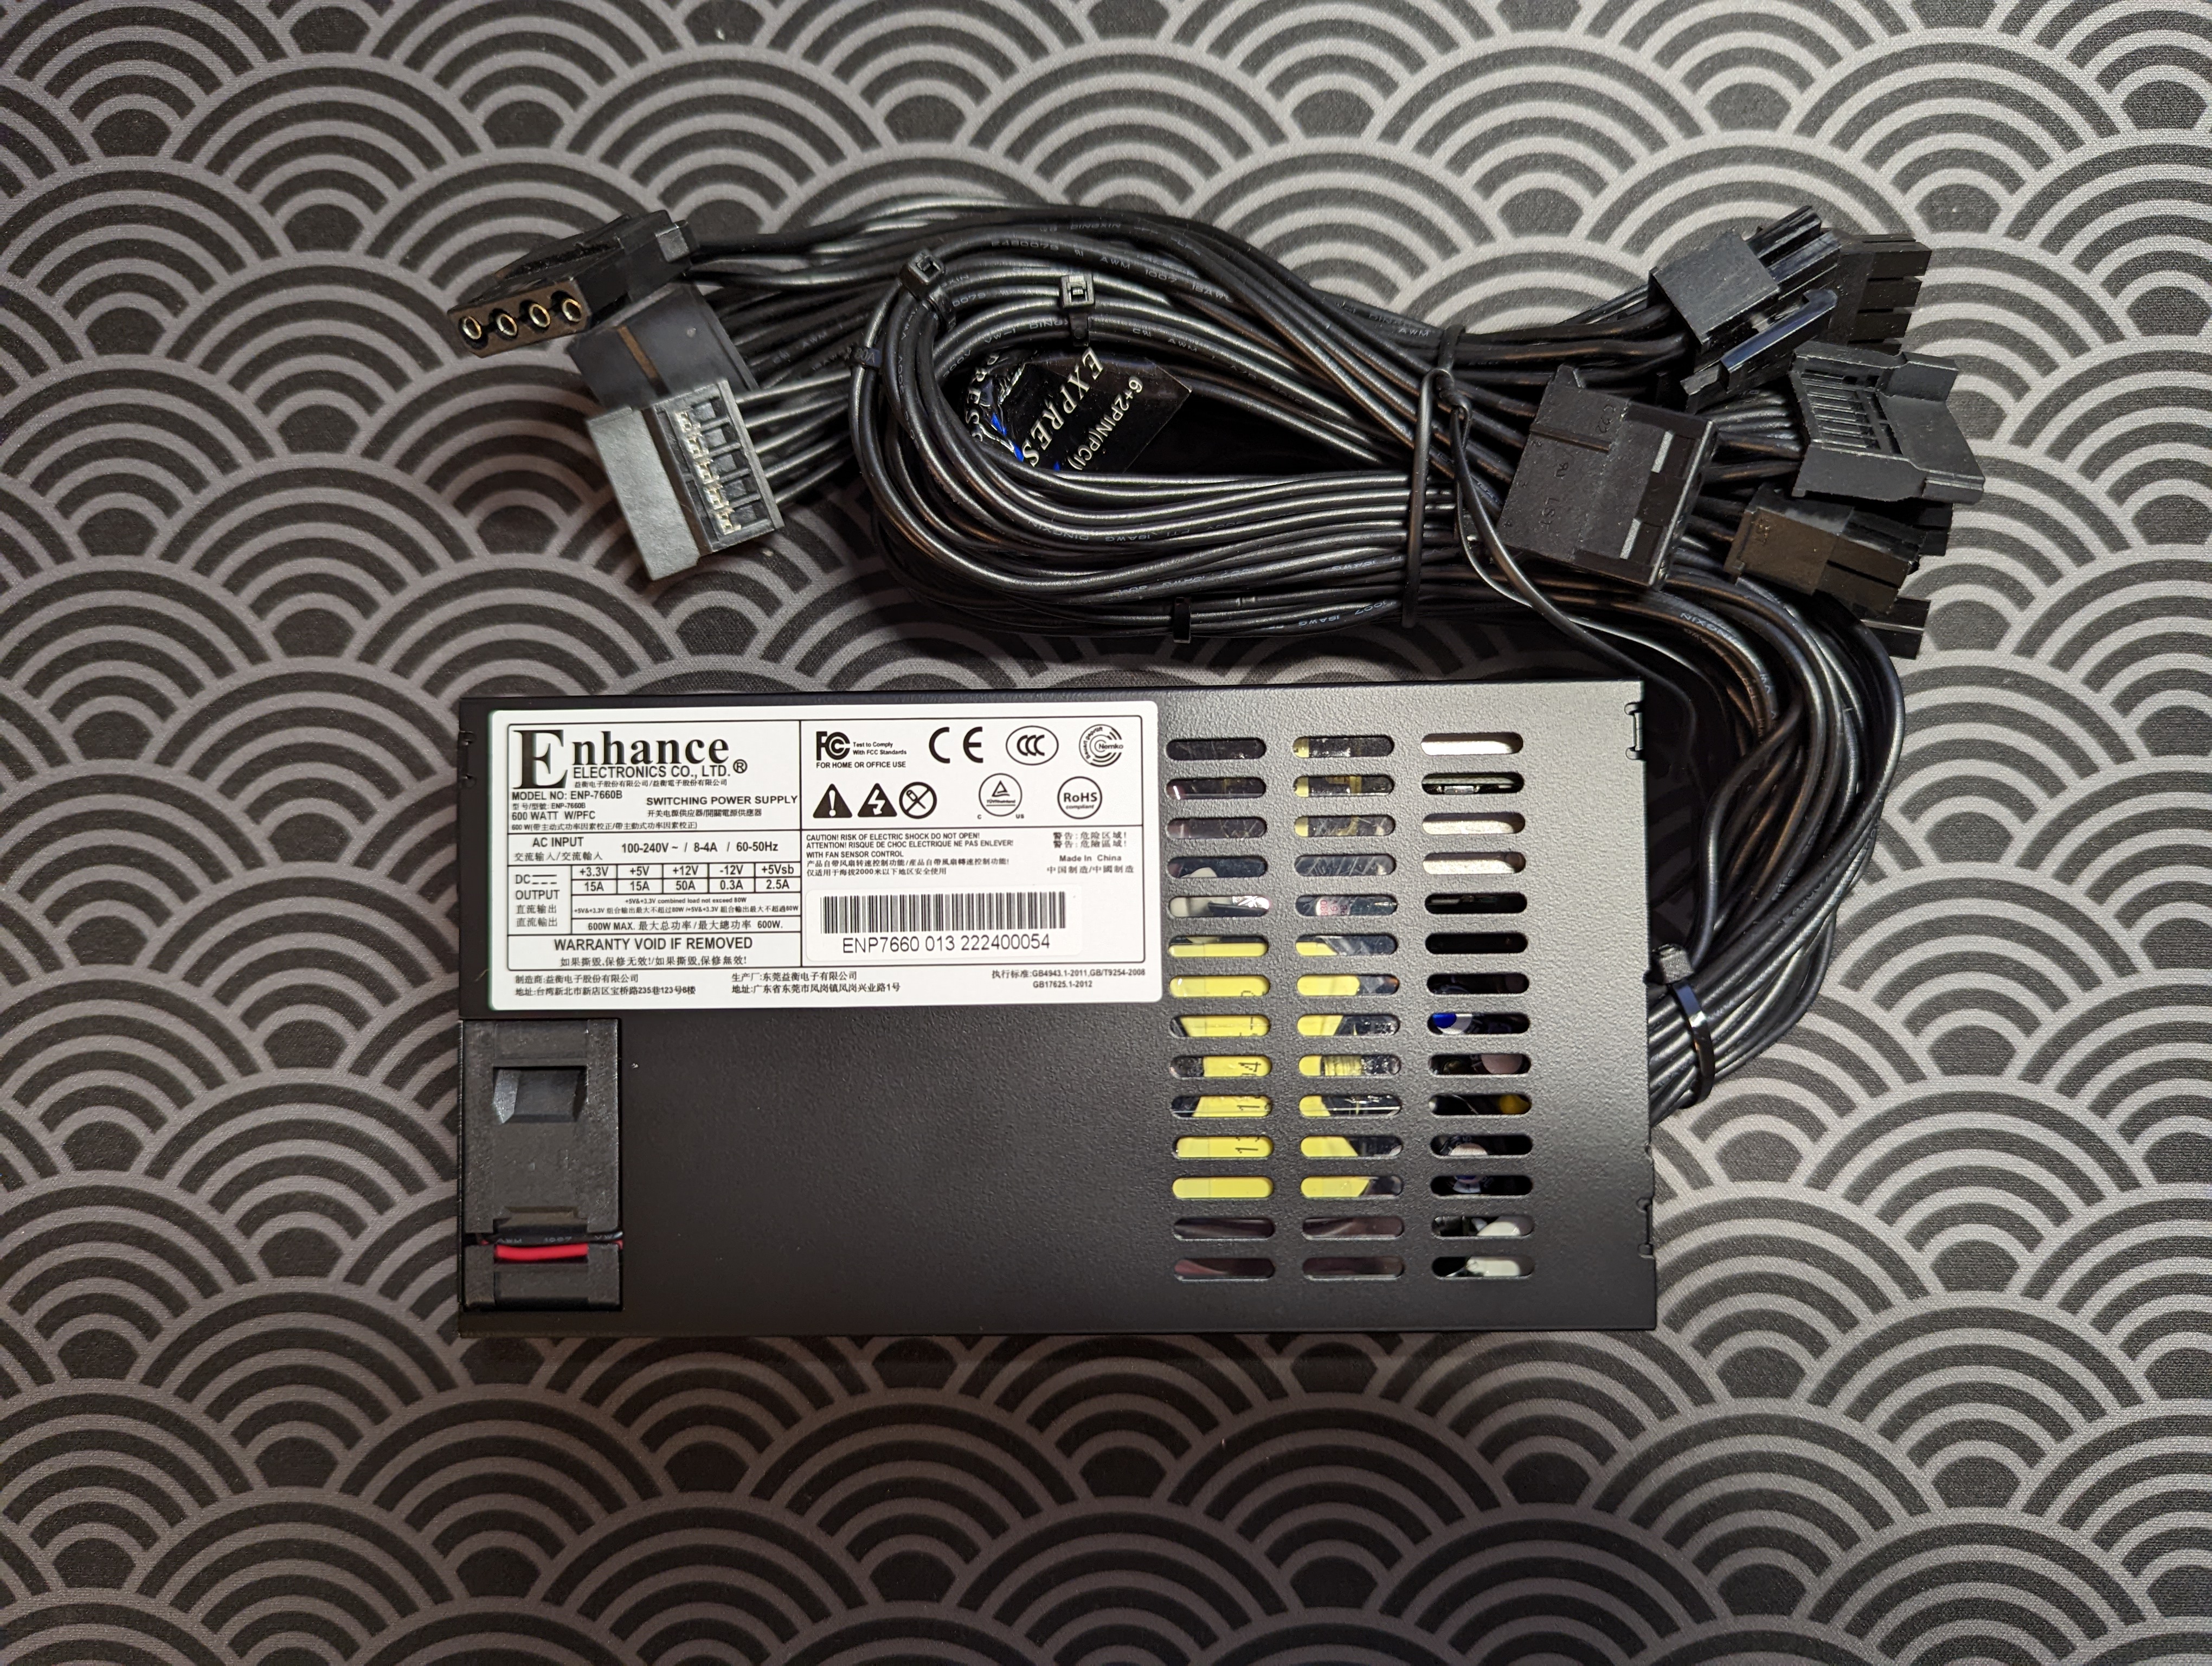
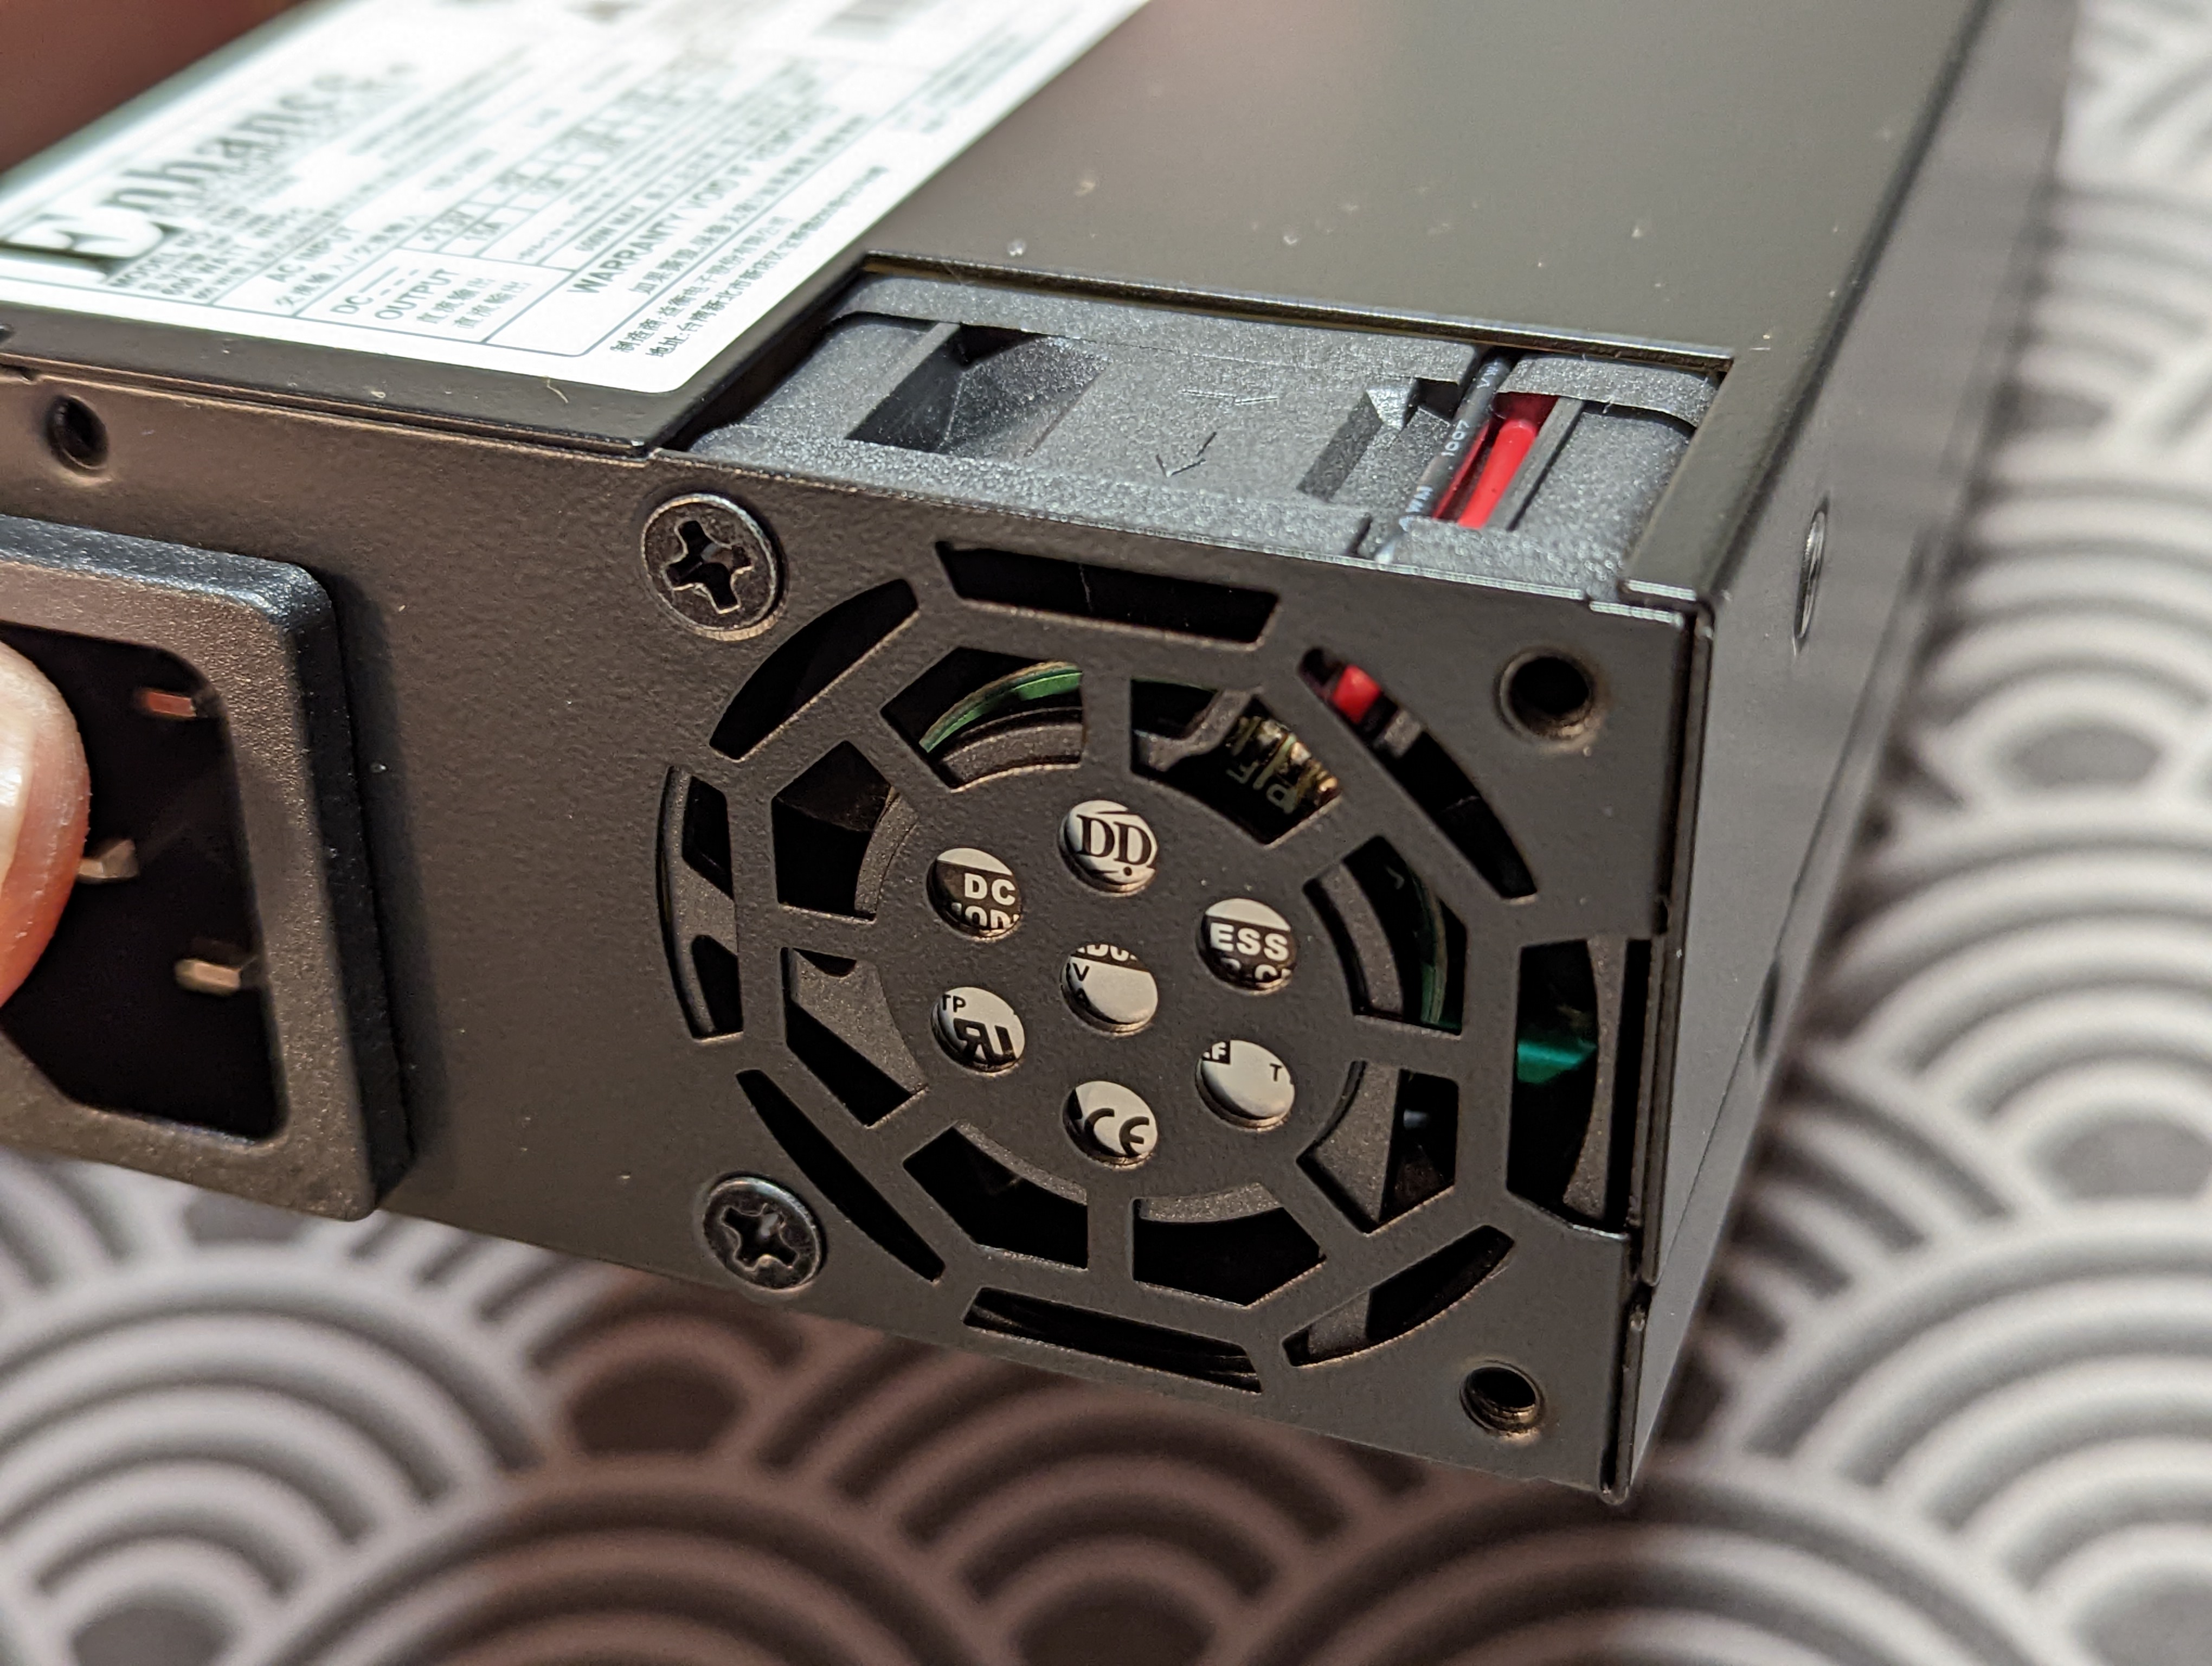
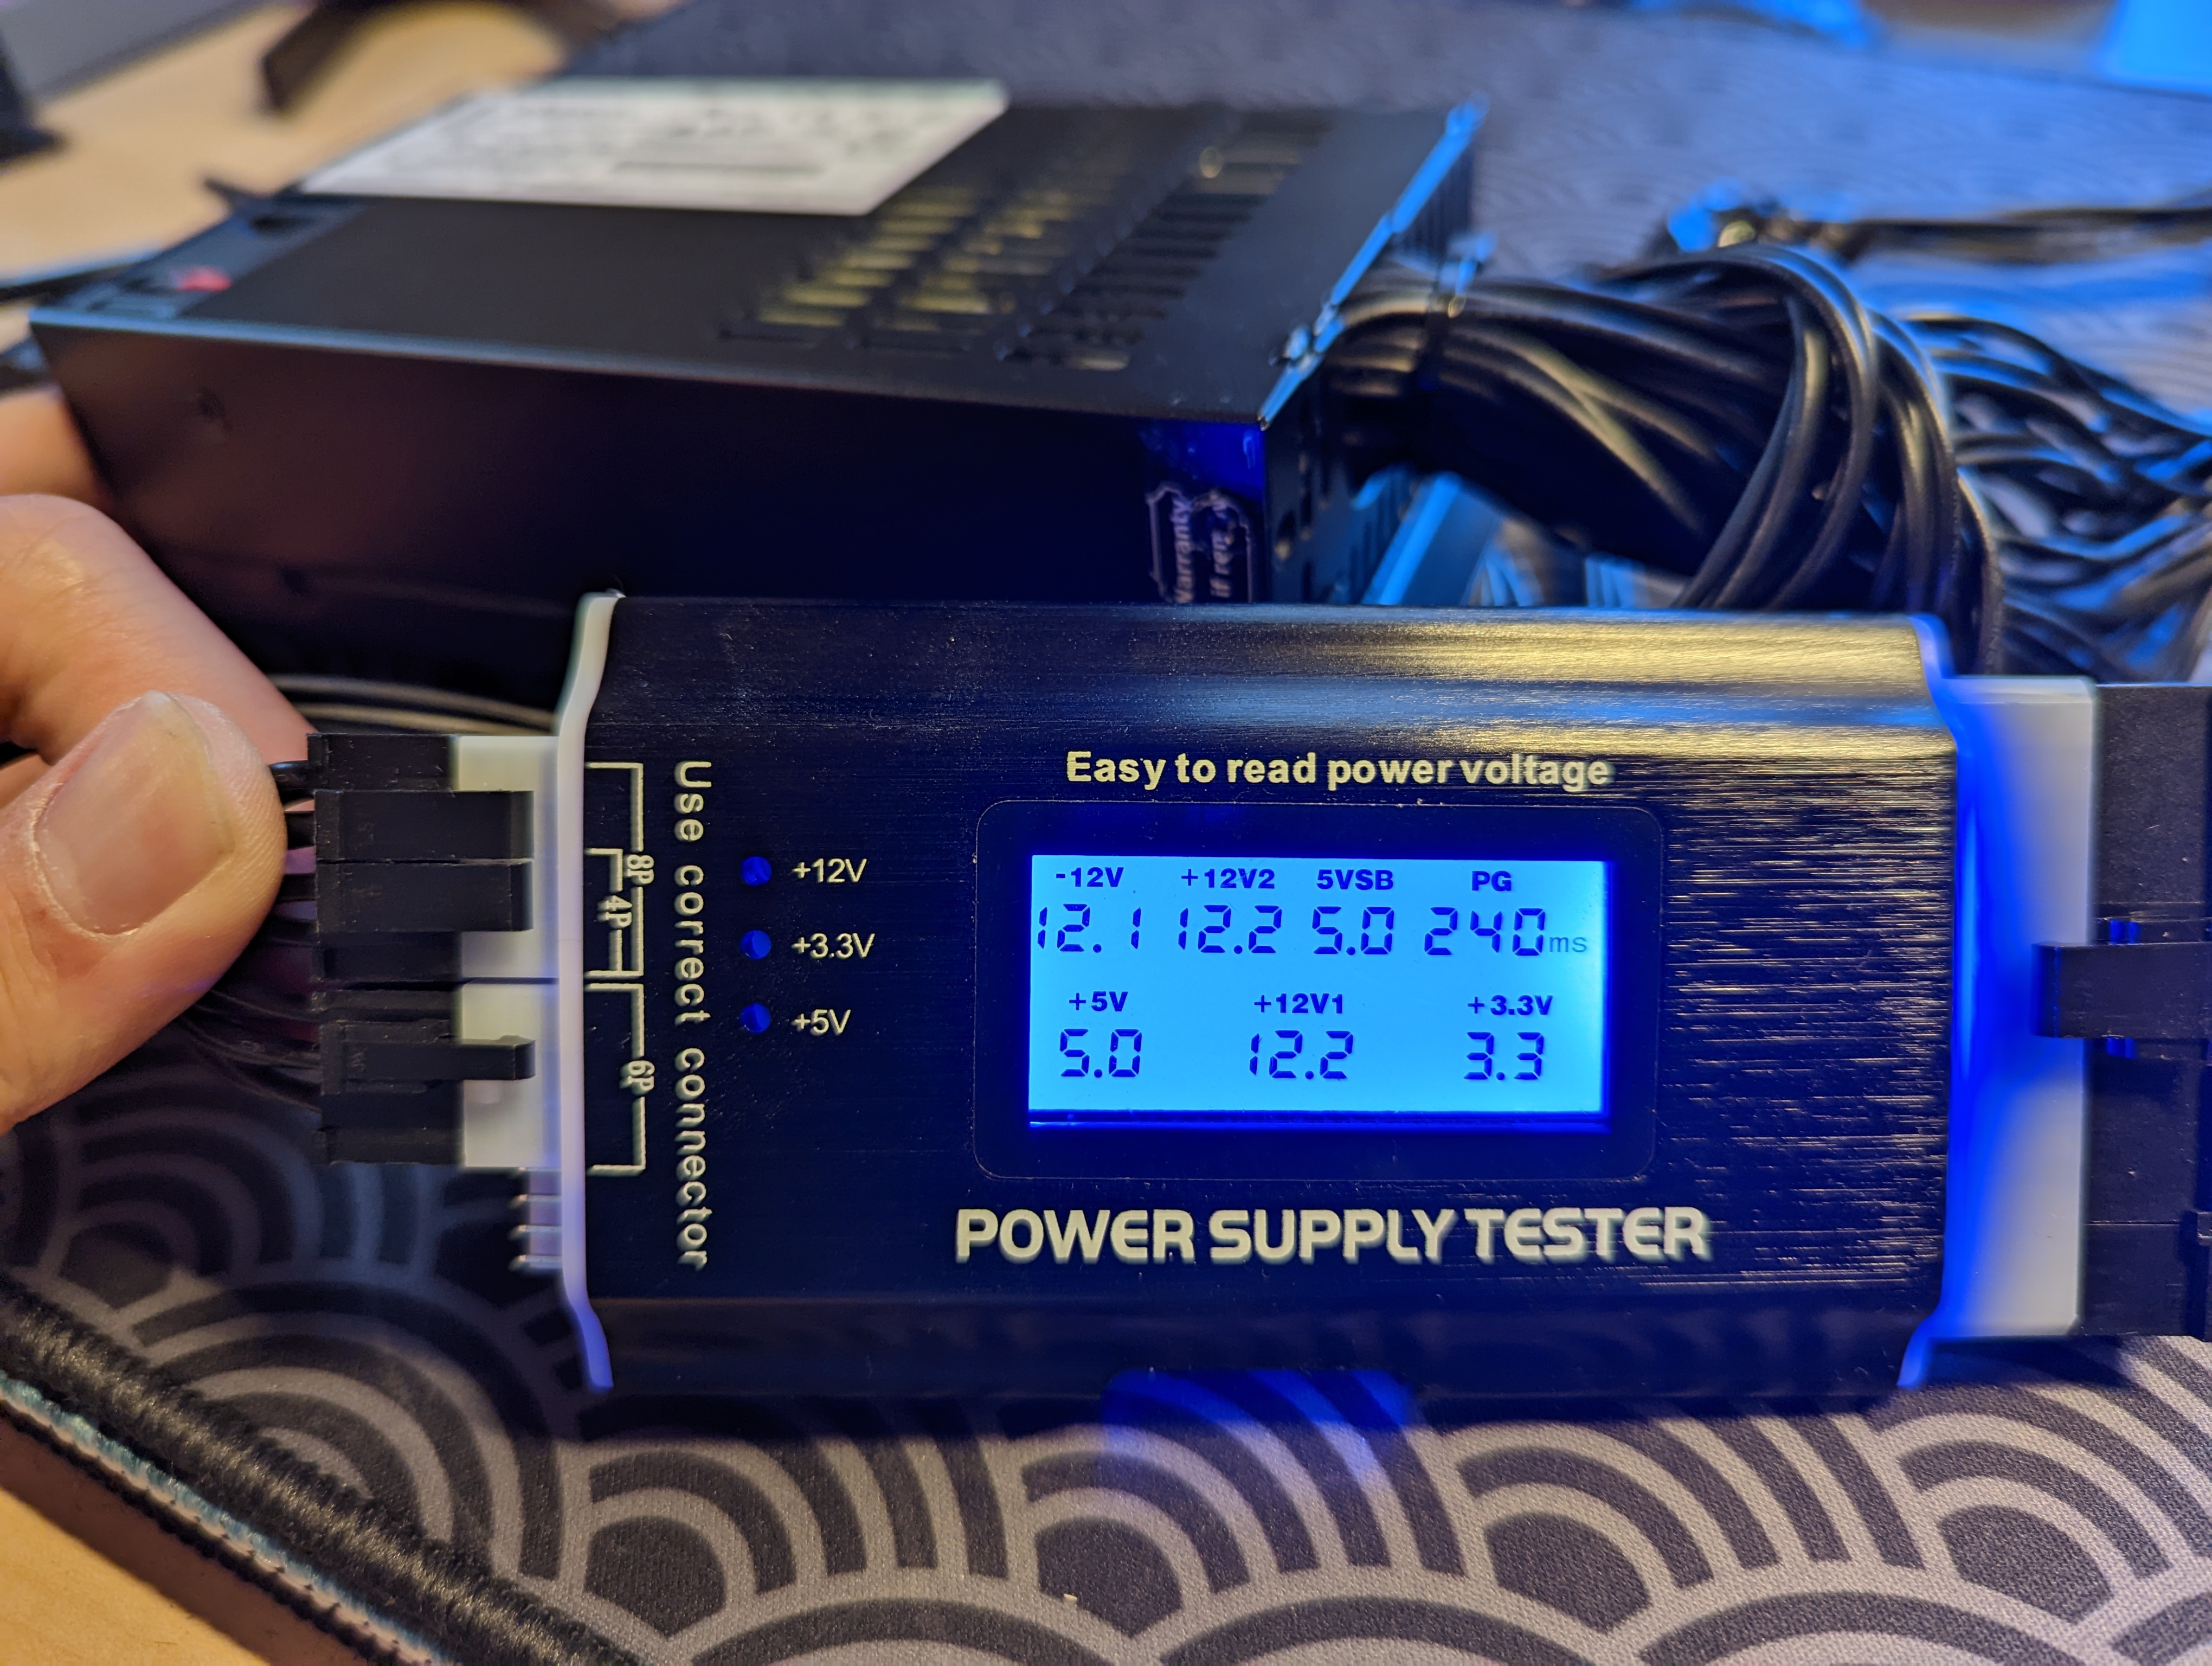
Like with my last build, I start by testing the functionality of the power supply. I plug in a cheap power supply tester, and check that all the voltage readings are as expected.
Assembling the Motherboard
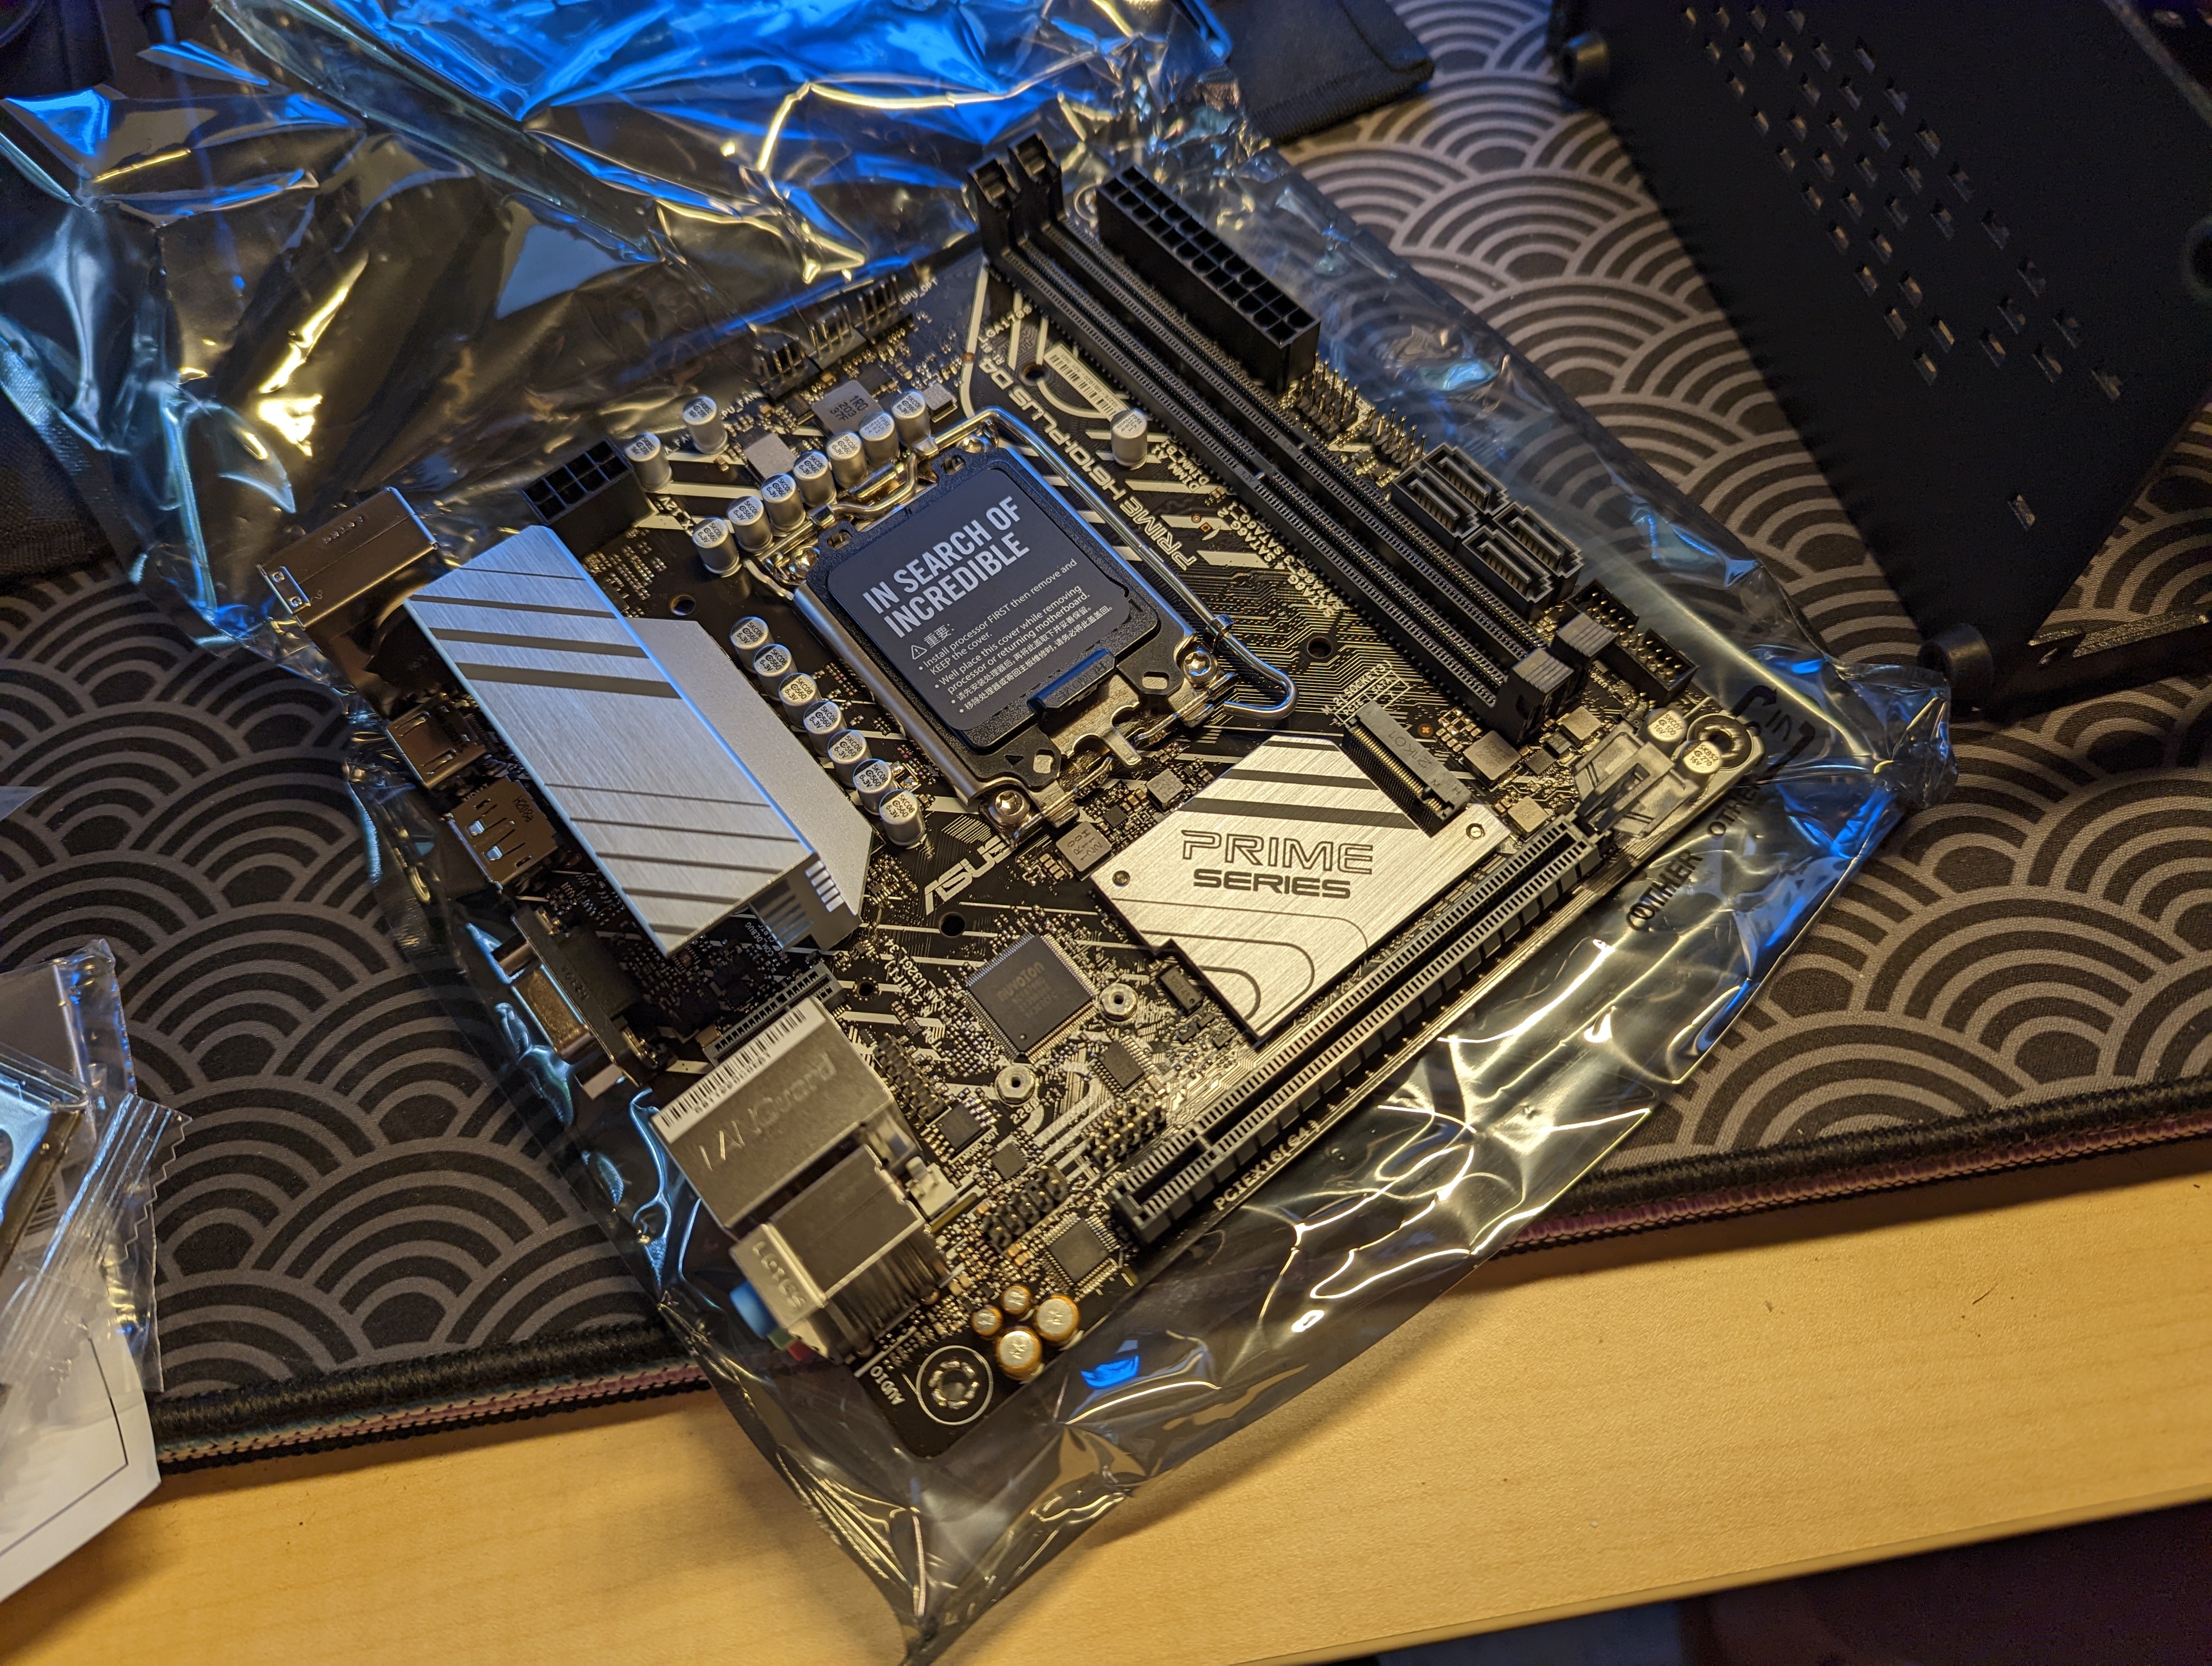
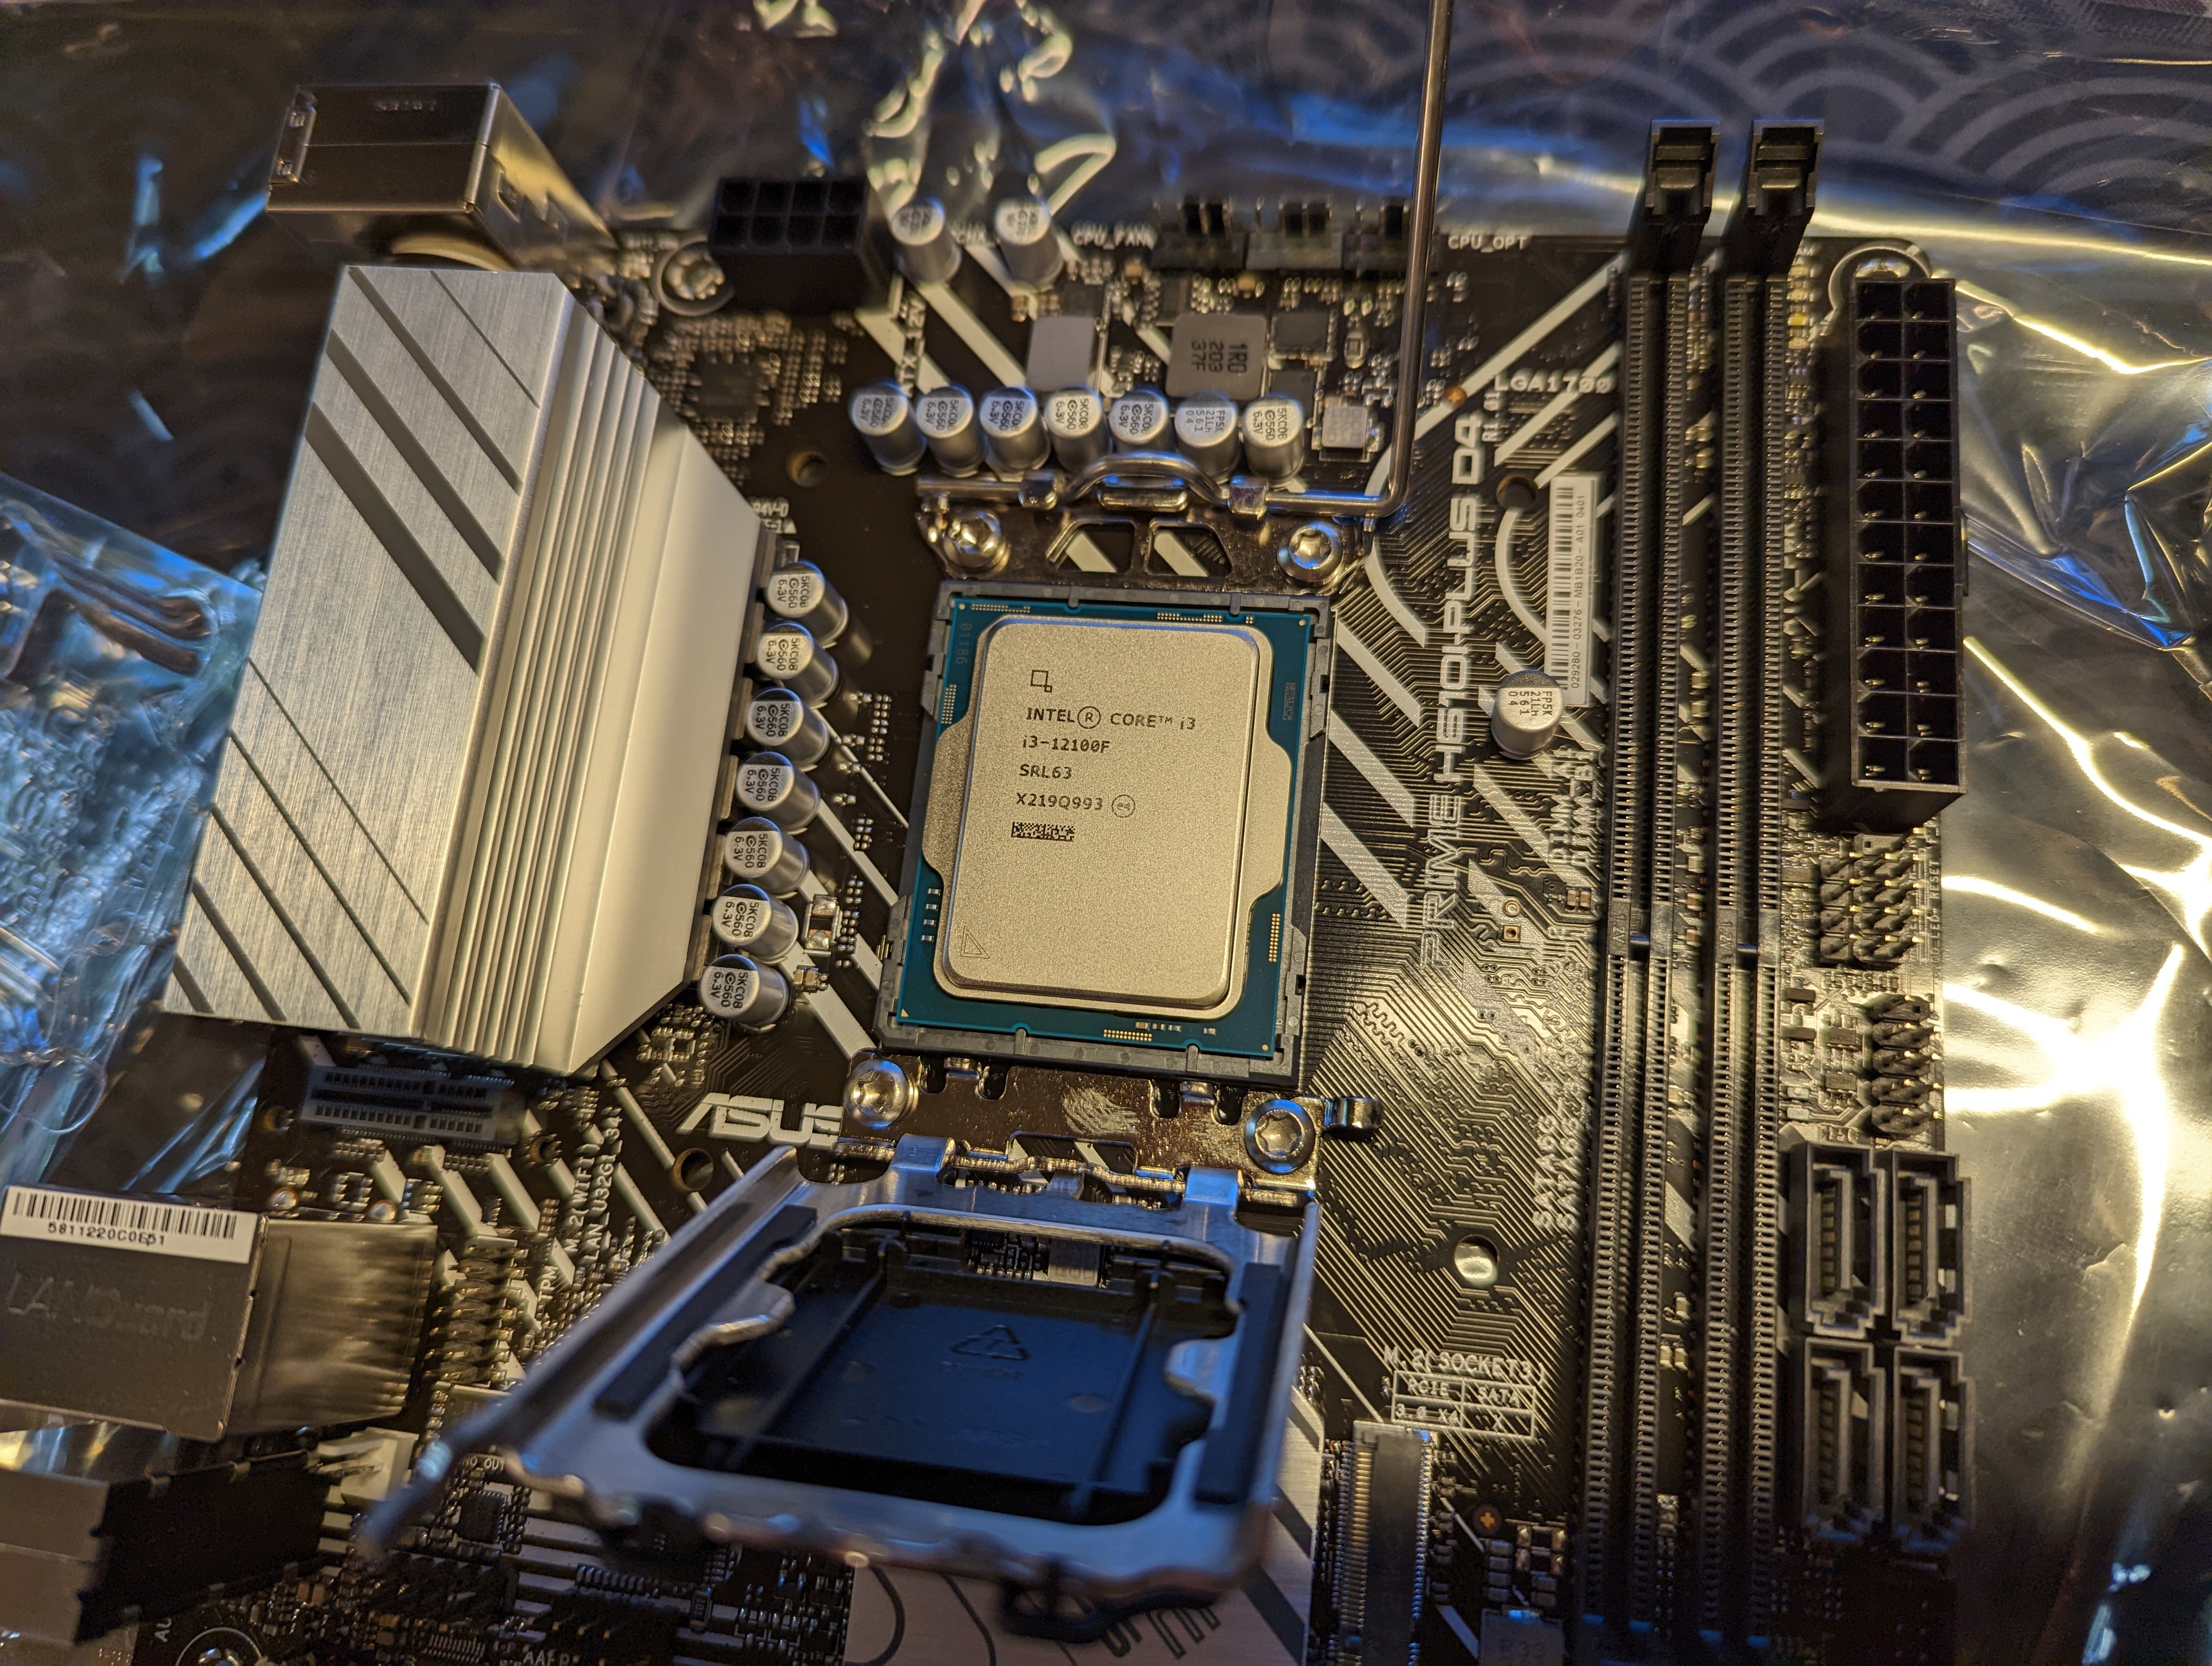
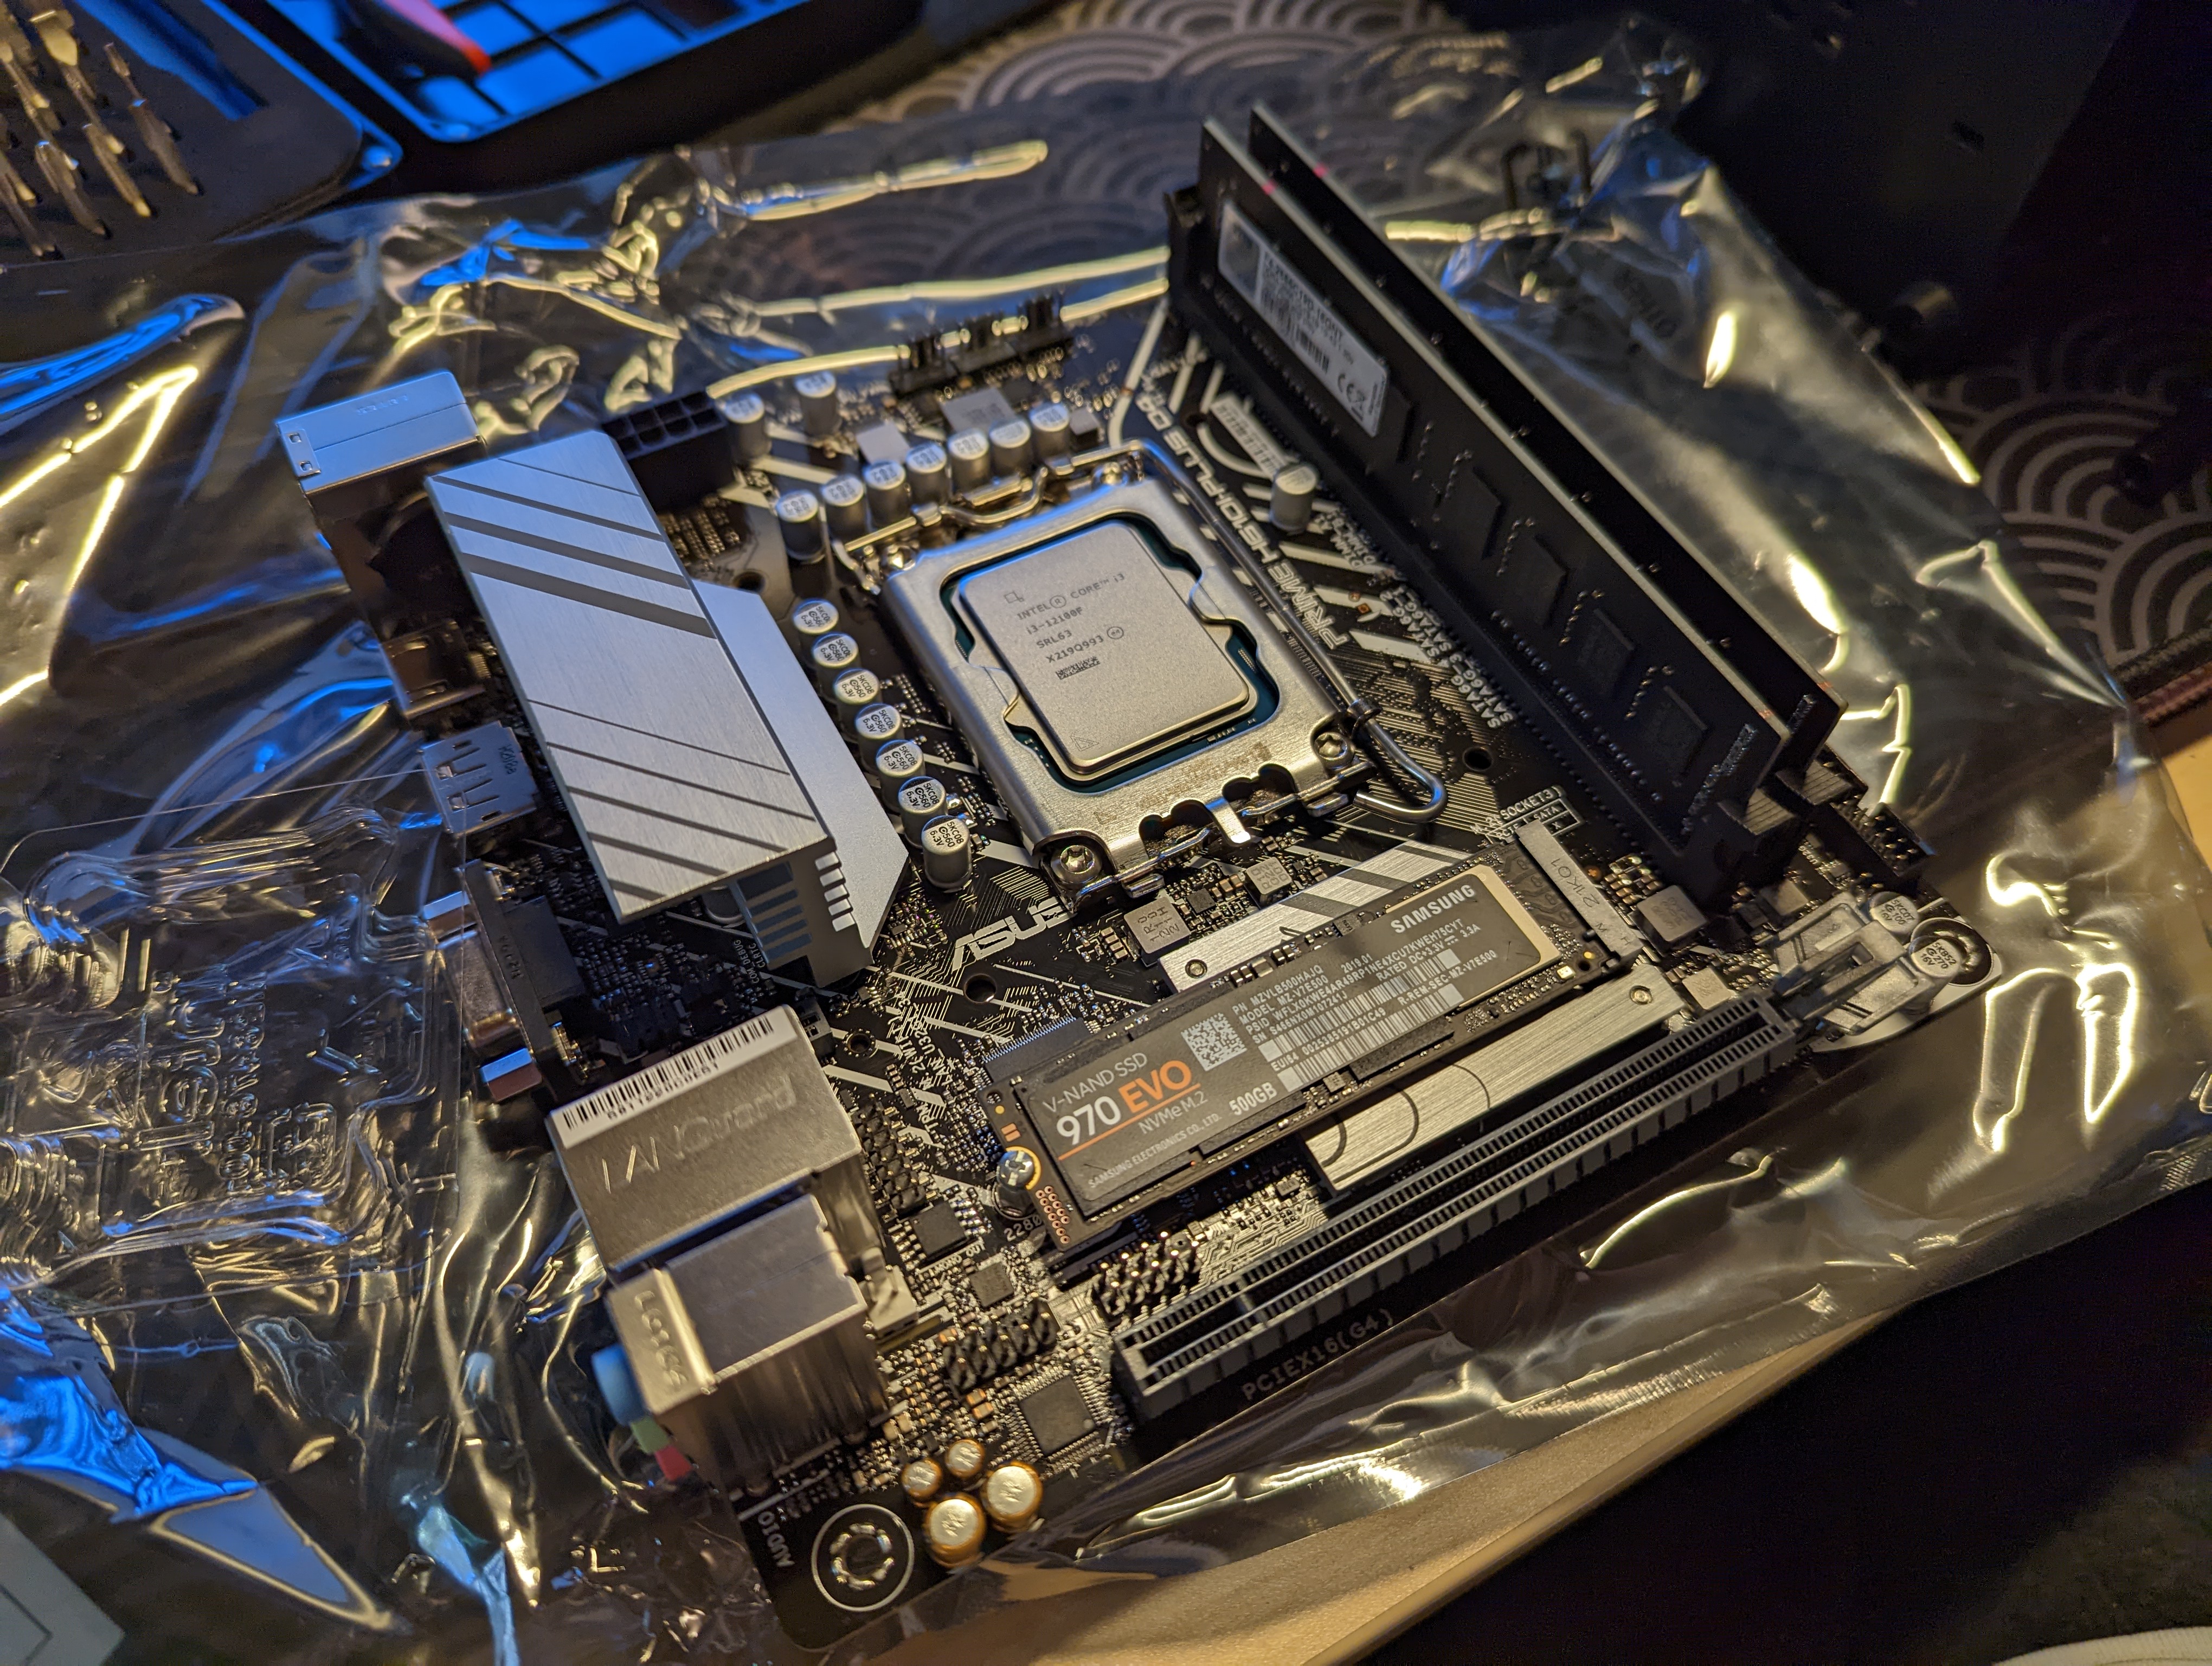
For my motherboard, I’m using an Asus Prime H610I-Plus D4-CSM mini ITX motherboard with an LGA 1700 Intel socket. Accordingly, I’m using a 12th Gen Alder Lake Intel i3-12100F (3.3 GHz). Although an i3 is on the lower end, the 12th Gen series of Intel CPUs is already quite shredded. It should have more than enough horsepower for my needs.
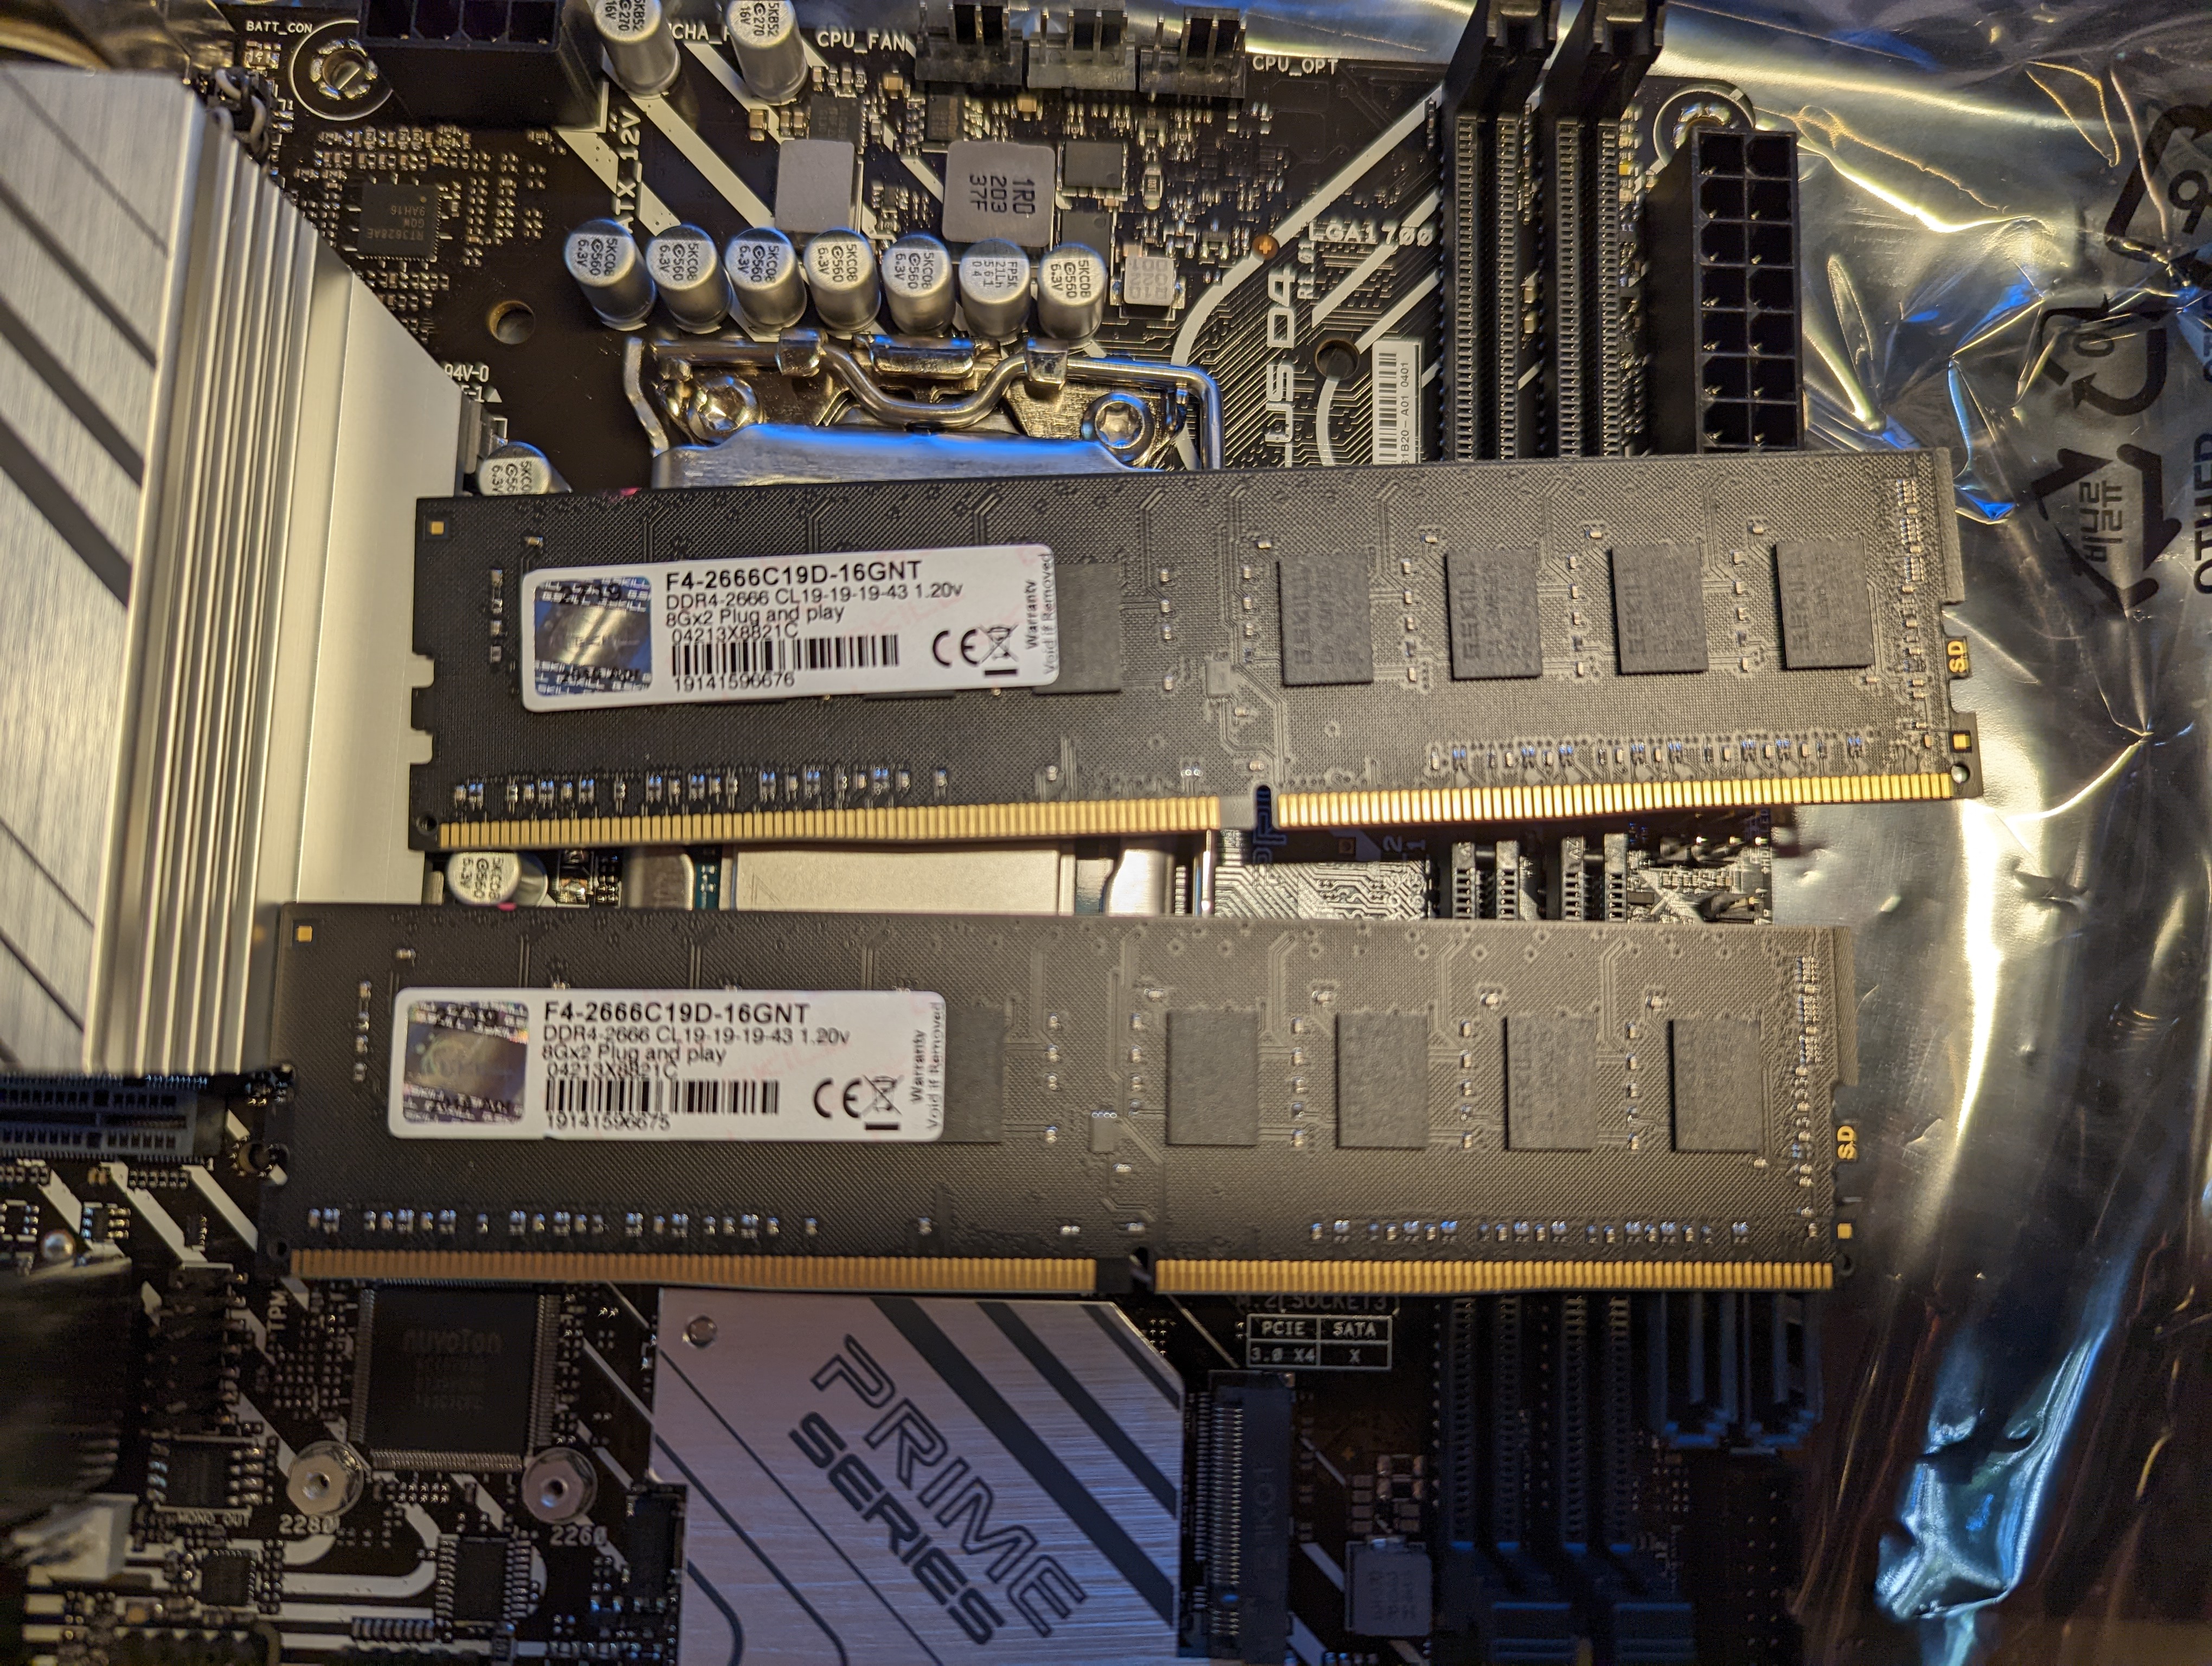
I’m recycling some old RAM and an old SSD that I had laying around. These parts weren’t even being used in some prior rig—they were just sitting in a box—so I thought I should put them to good use. The RAM admittedly isn’t great, but they’re easy enough to replace, if I wanted to. I’m using 2 x 8 GB of Gskill DDR4 2666 MHz. In the future, I’d probalby swap the RAM out for 2 x 16 GB of 3200 MHz, for cheap. The SSD I’m using is also on the smaller end, but again, it’s what I had laying around—a m.2 Samsung 500 GB 970 EVO.
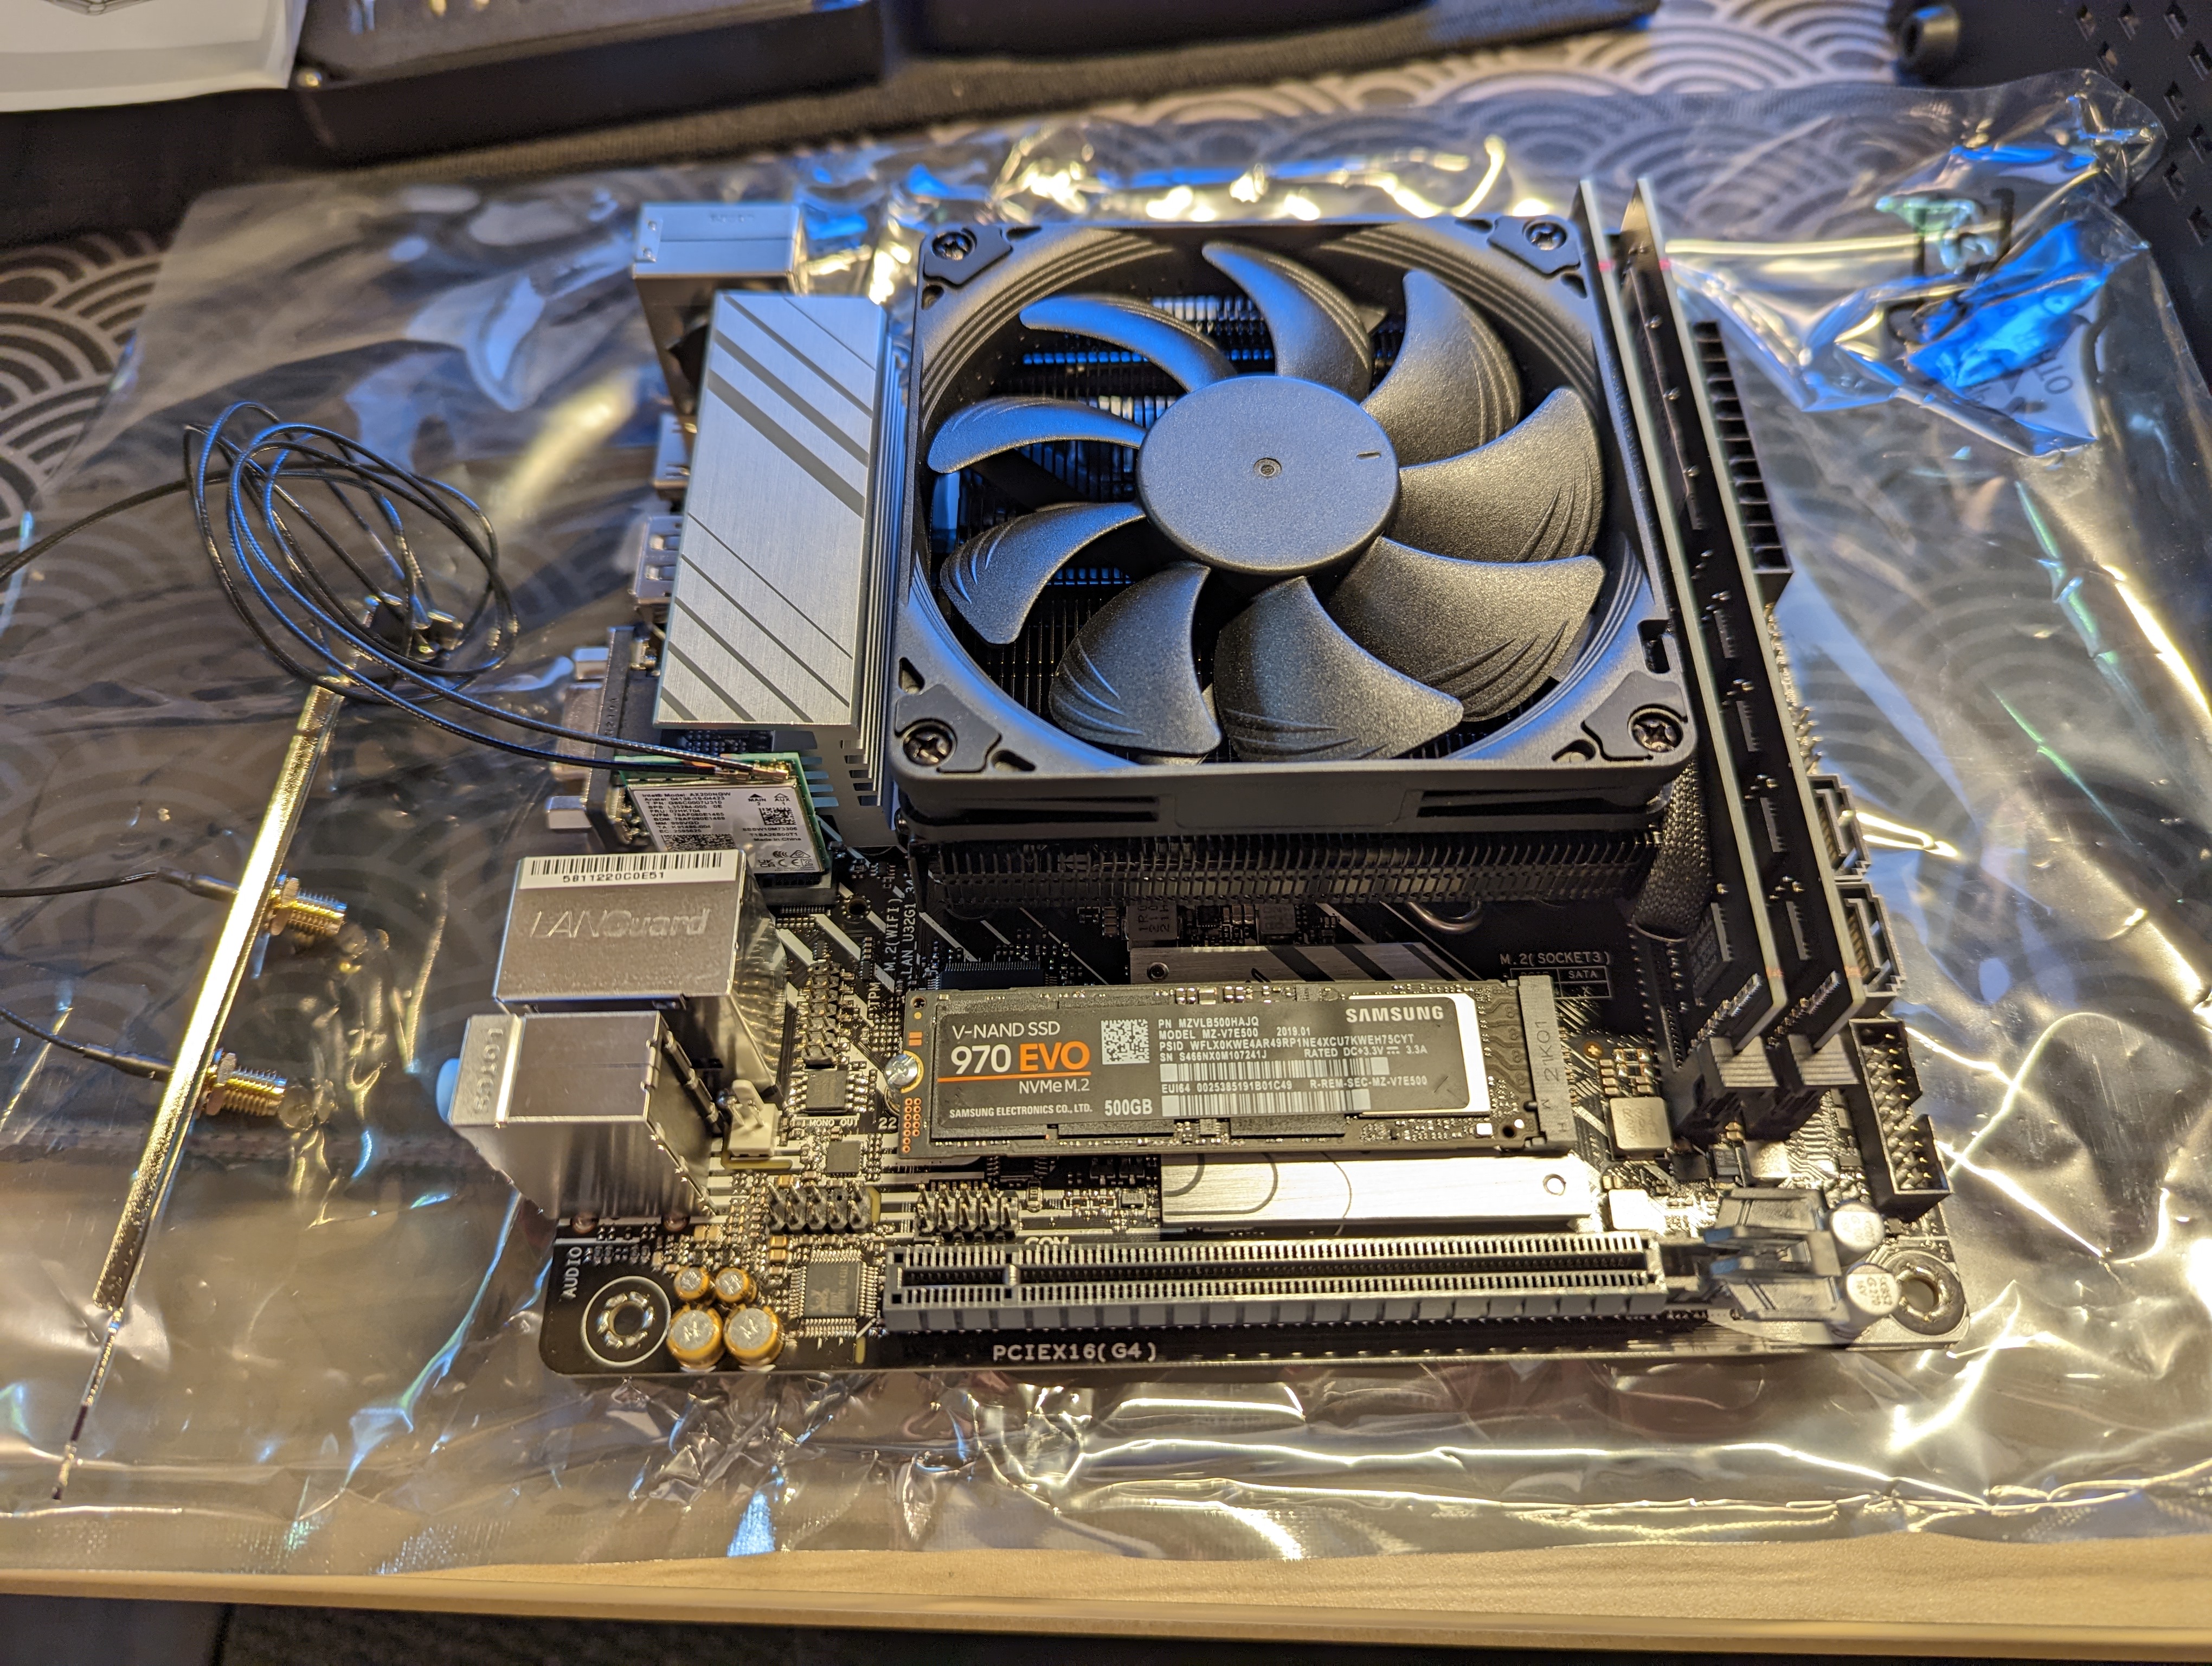
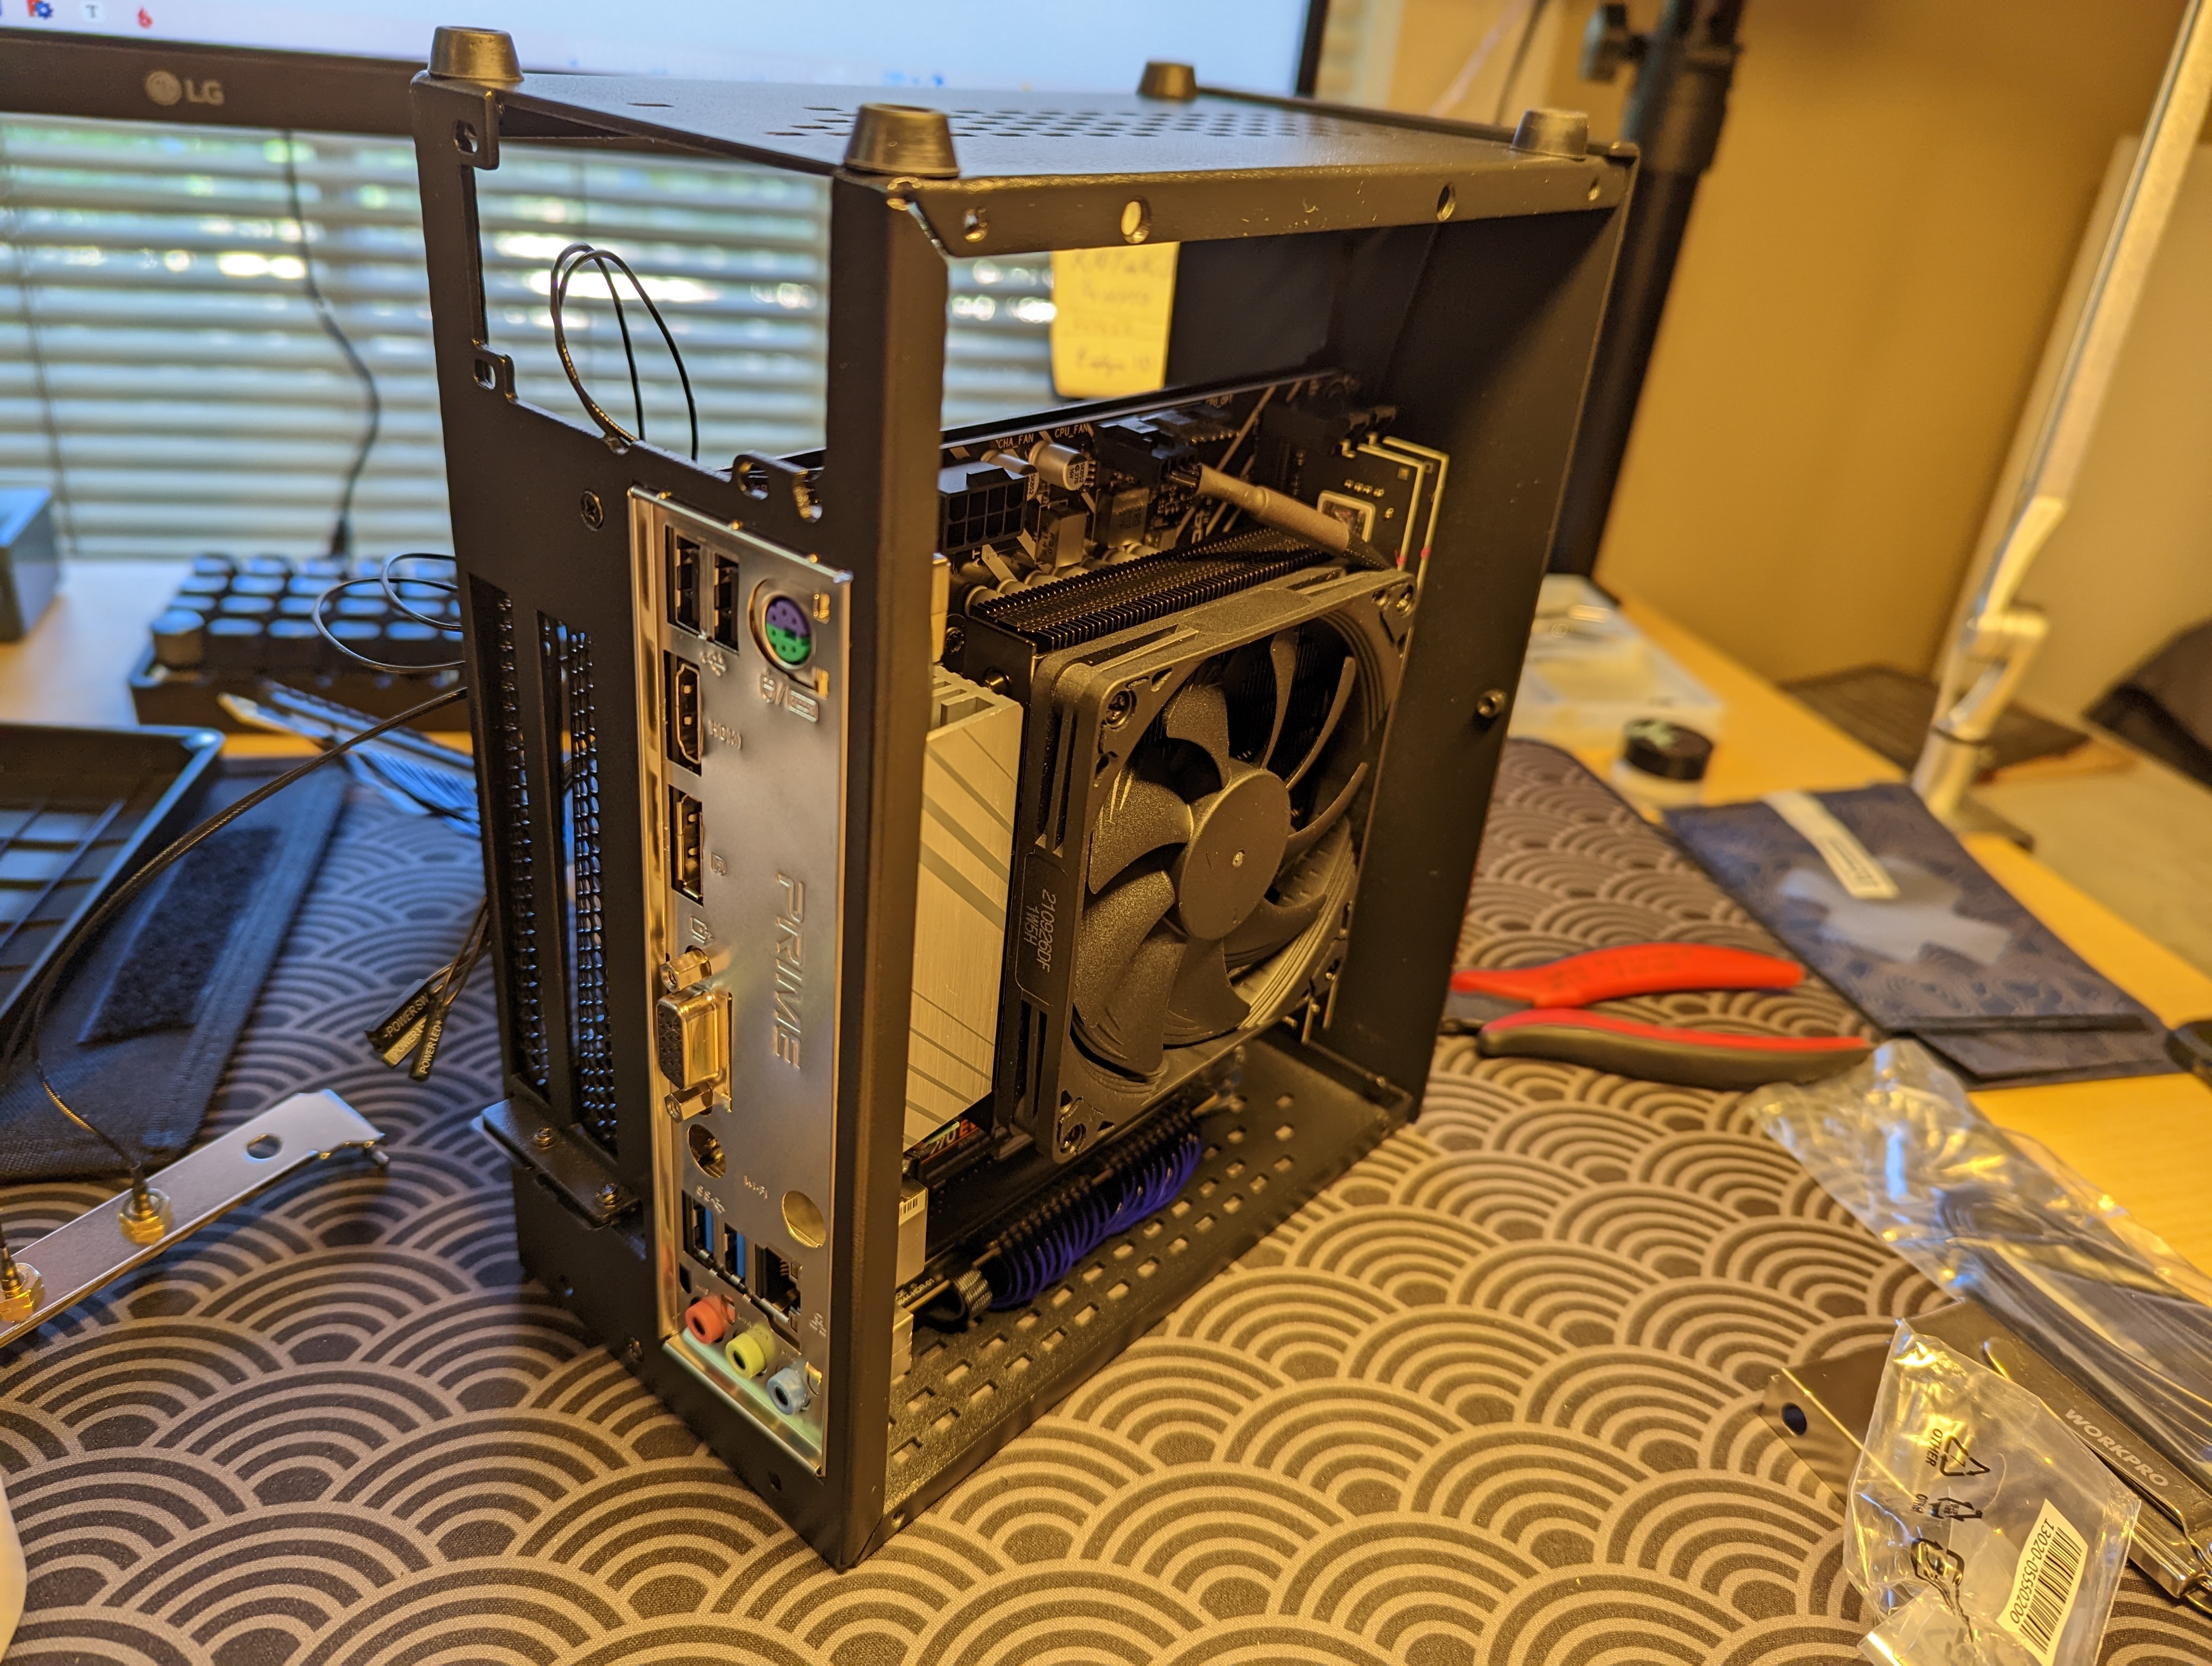
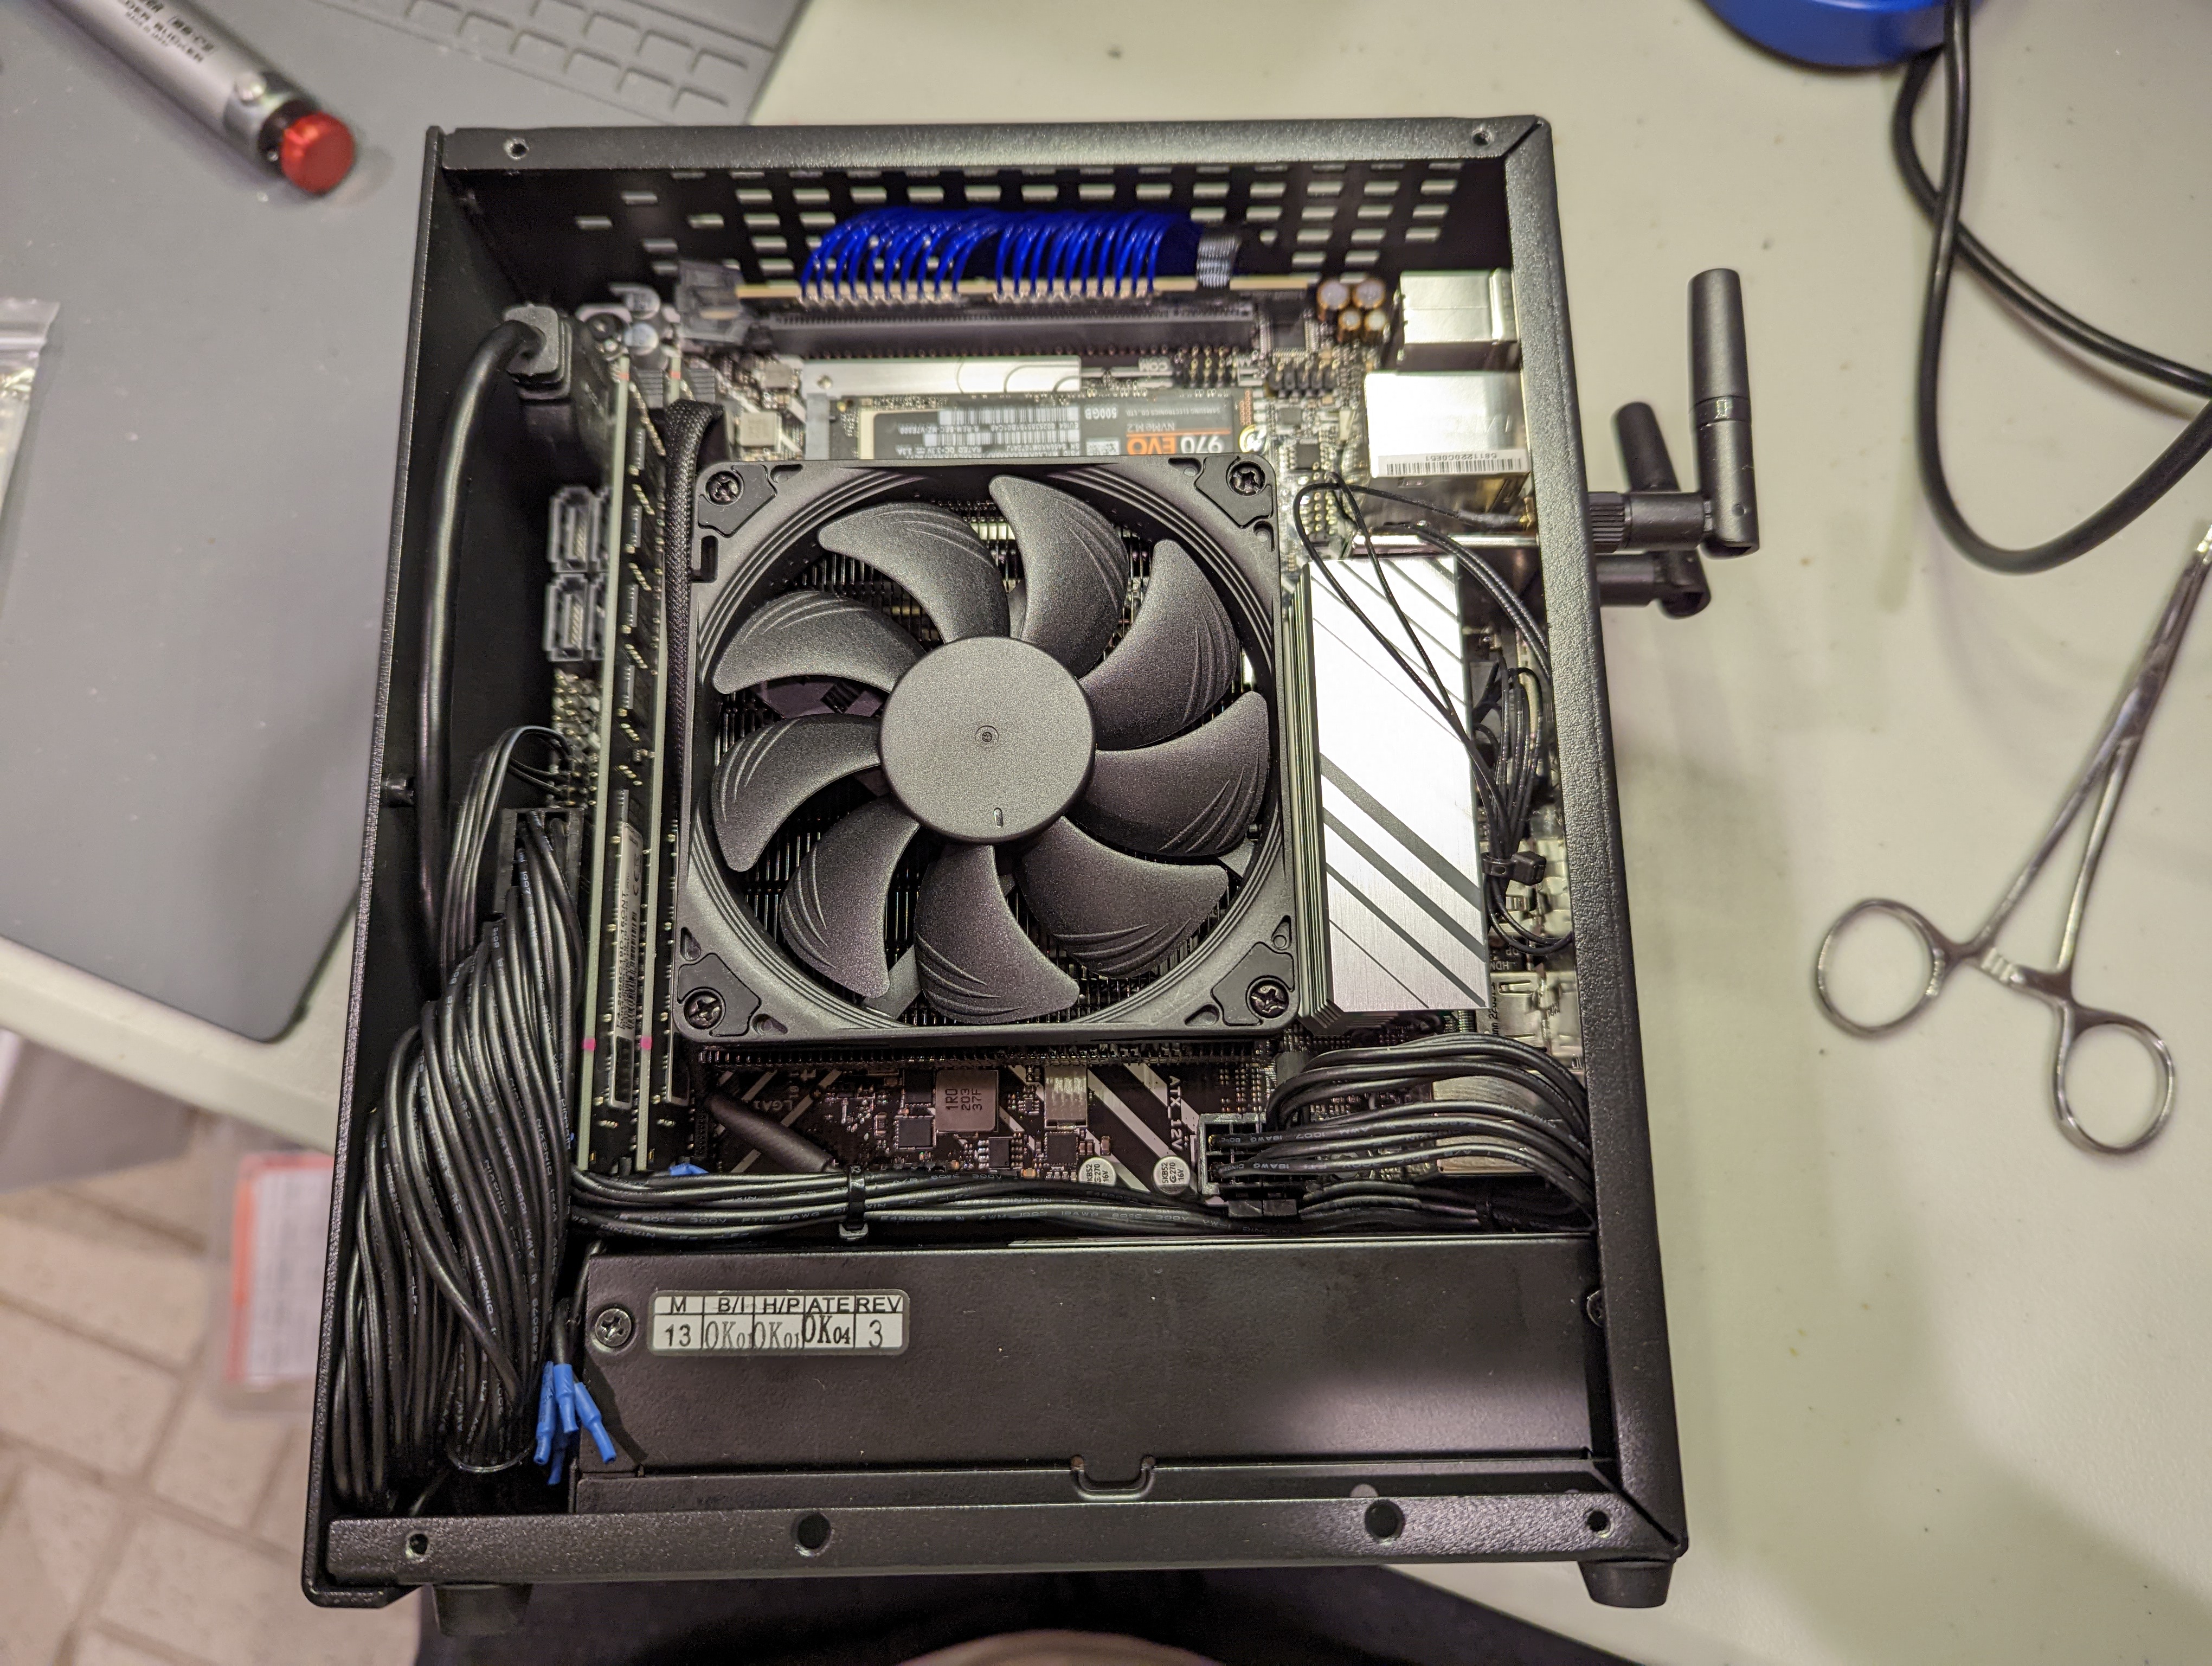
Next, I install the CPU cooler and the PCIe riser cable. For the CPU cooler, I’m using a Noctua NH-L9i-17xx chromax.black. This CPU cooler is super quiet and low-profile, and even though it’s considered a lighter CPU cooler, it should be more than enough for the 12th gen i3 CPU. I apply a conservative amount of CPU cooling paste on the CPU. Given that both my motherboard and my GPU support PCIe 4.0, I am using a Louqe Cobalt Gen4 PCIe 4.0 cable.
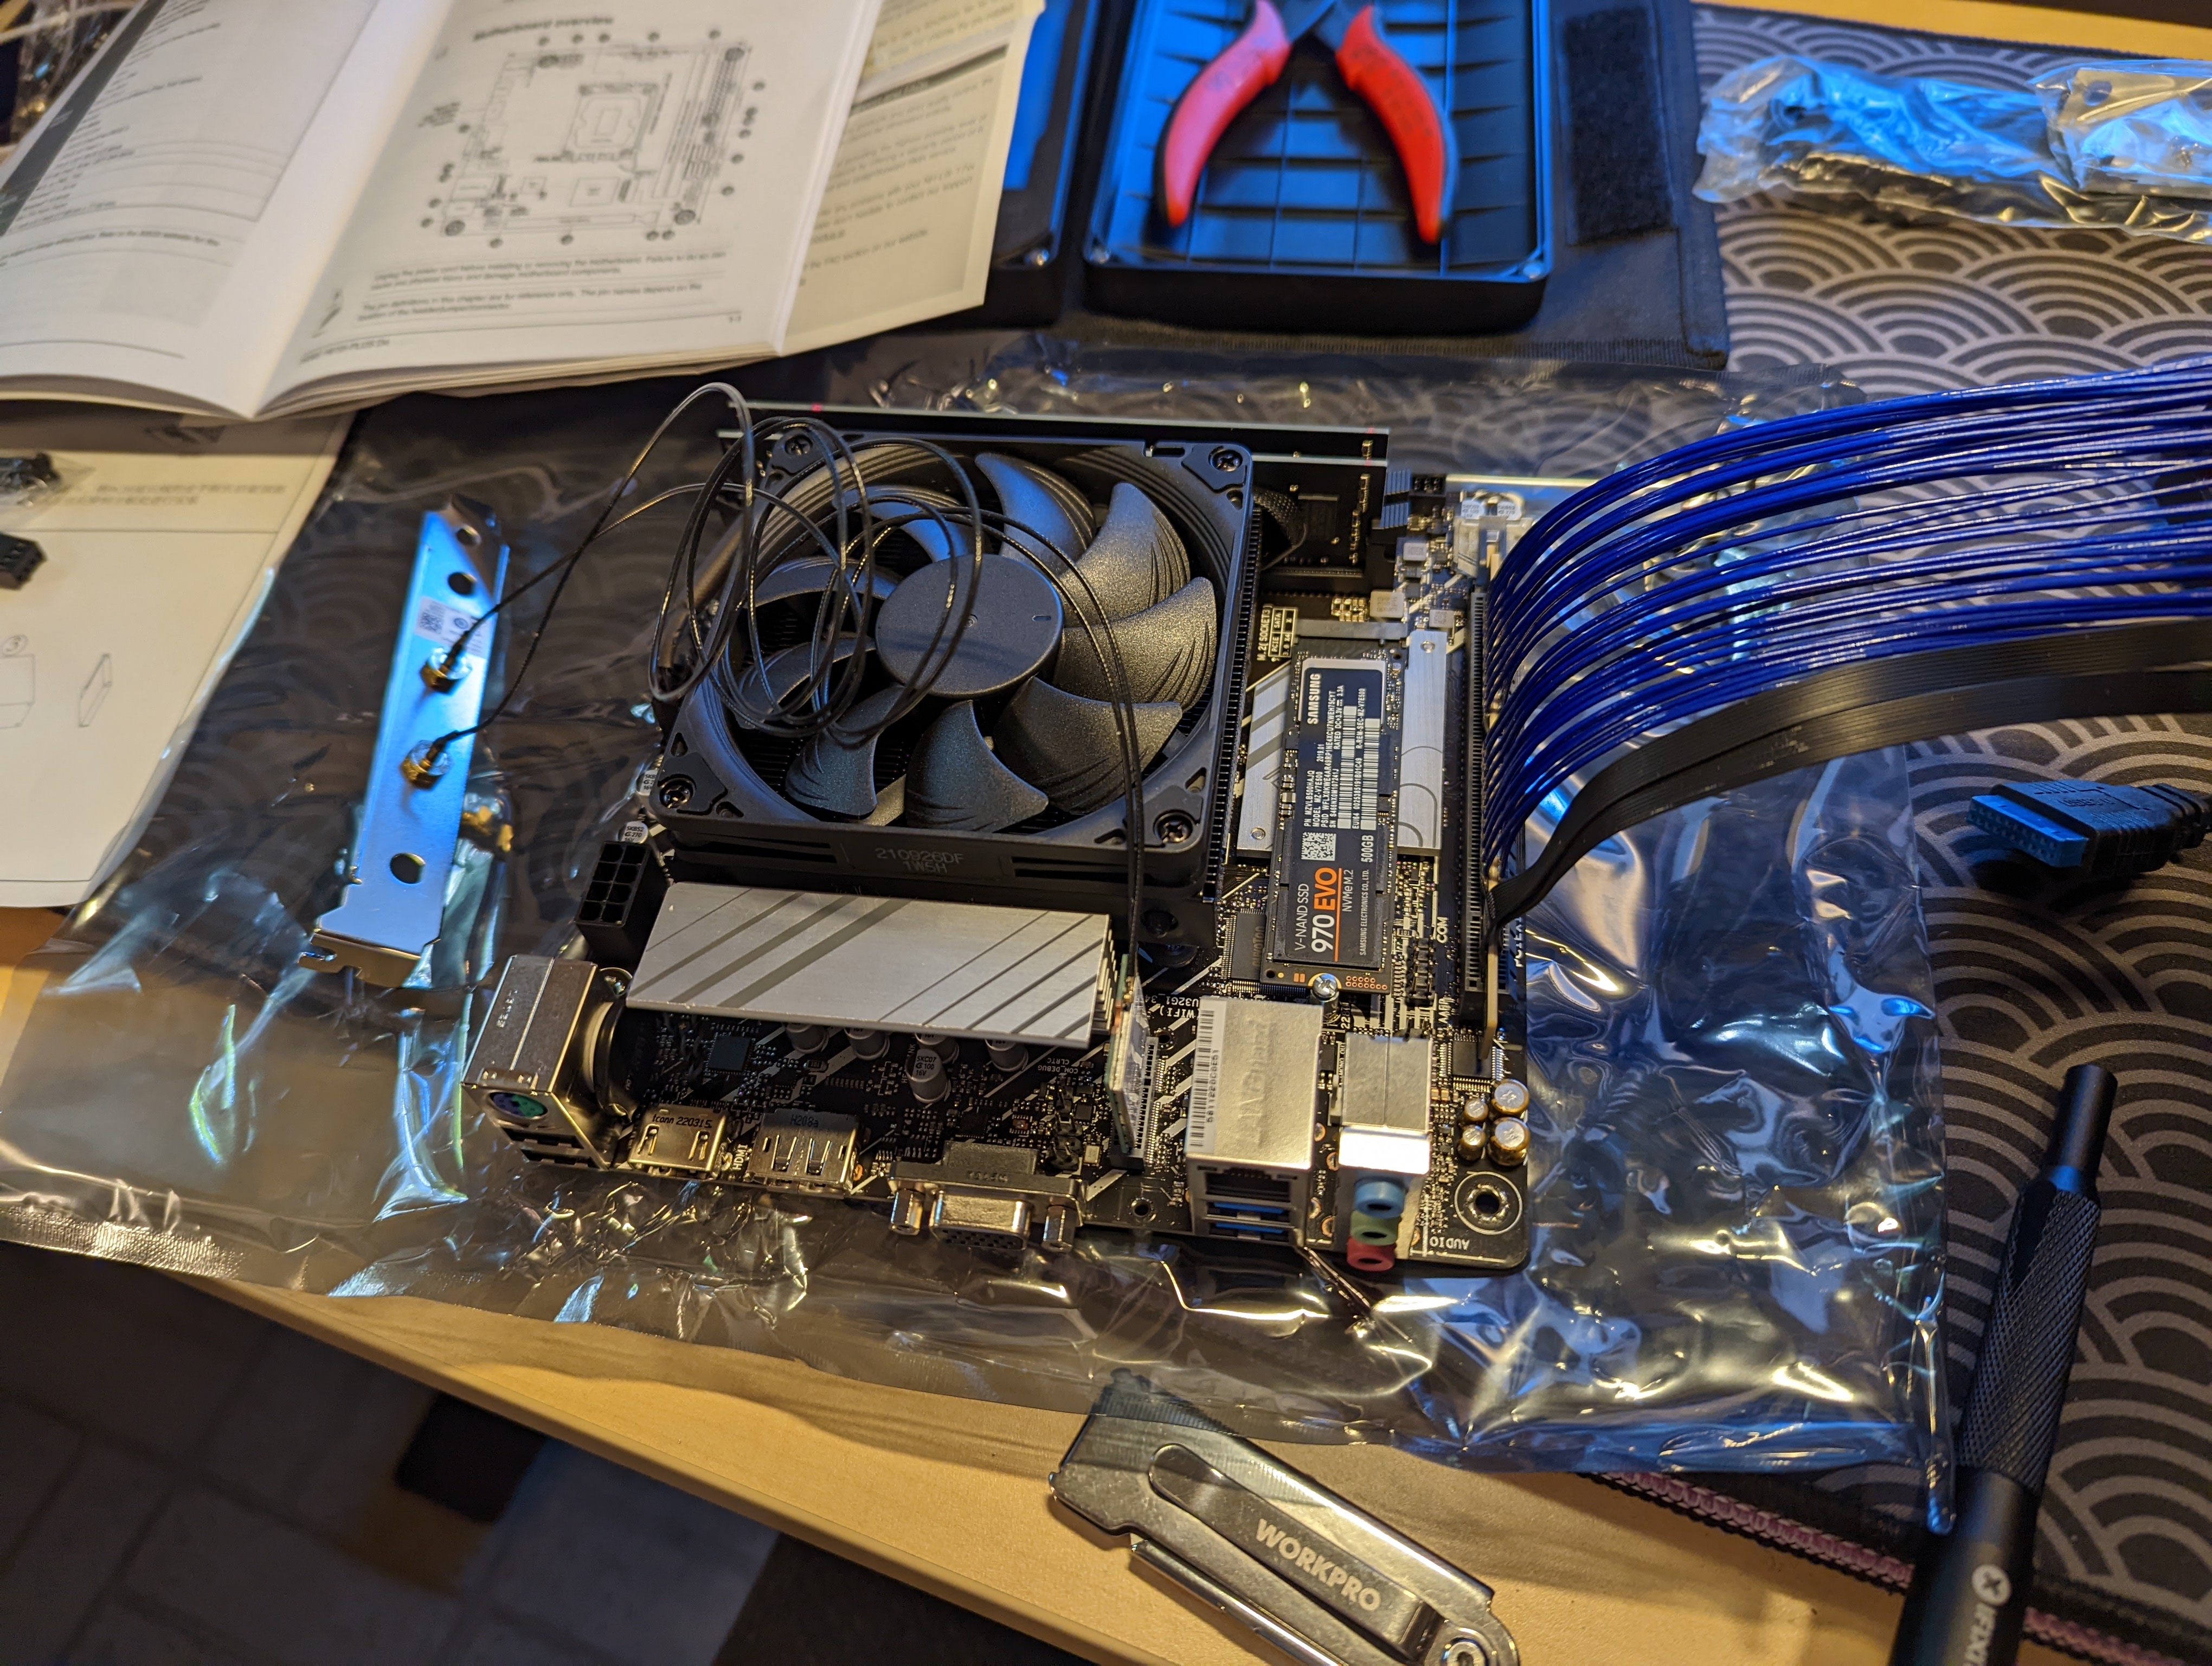
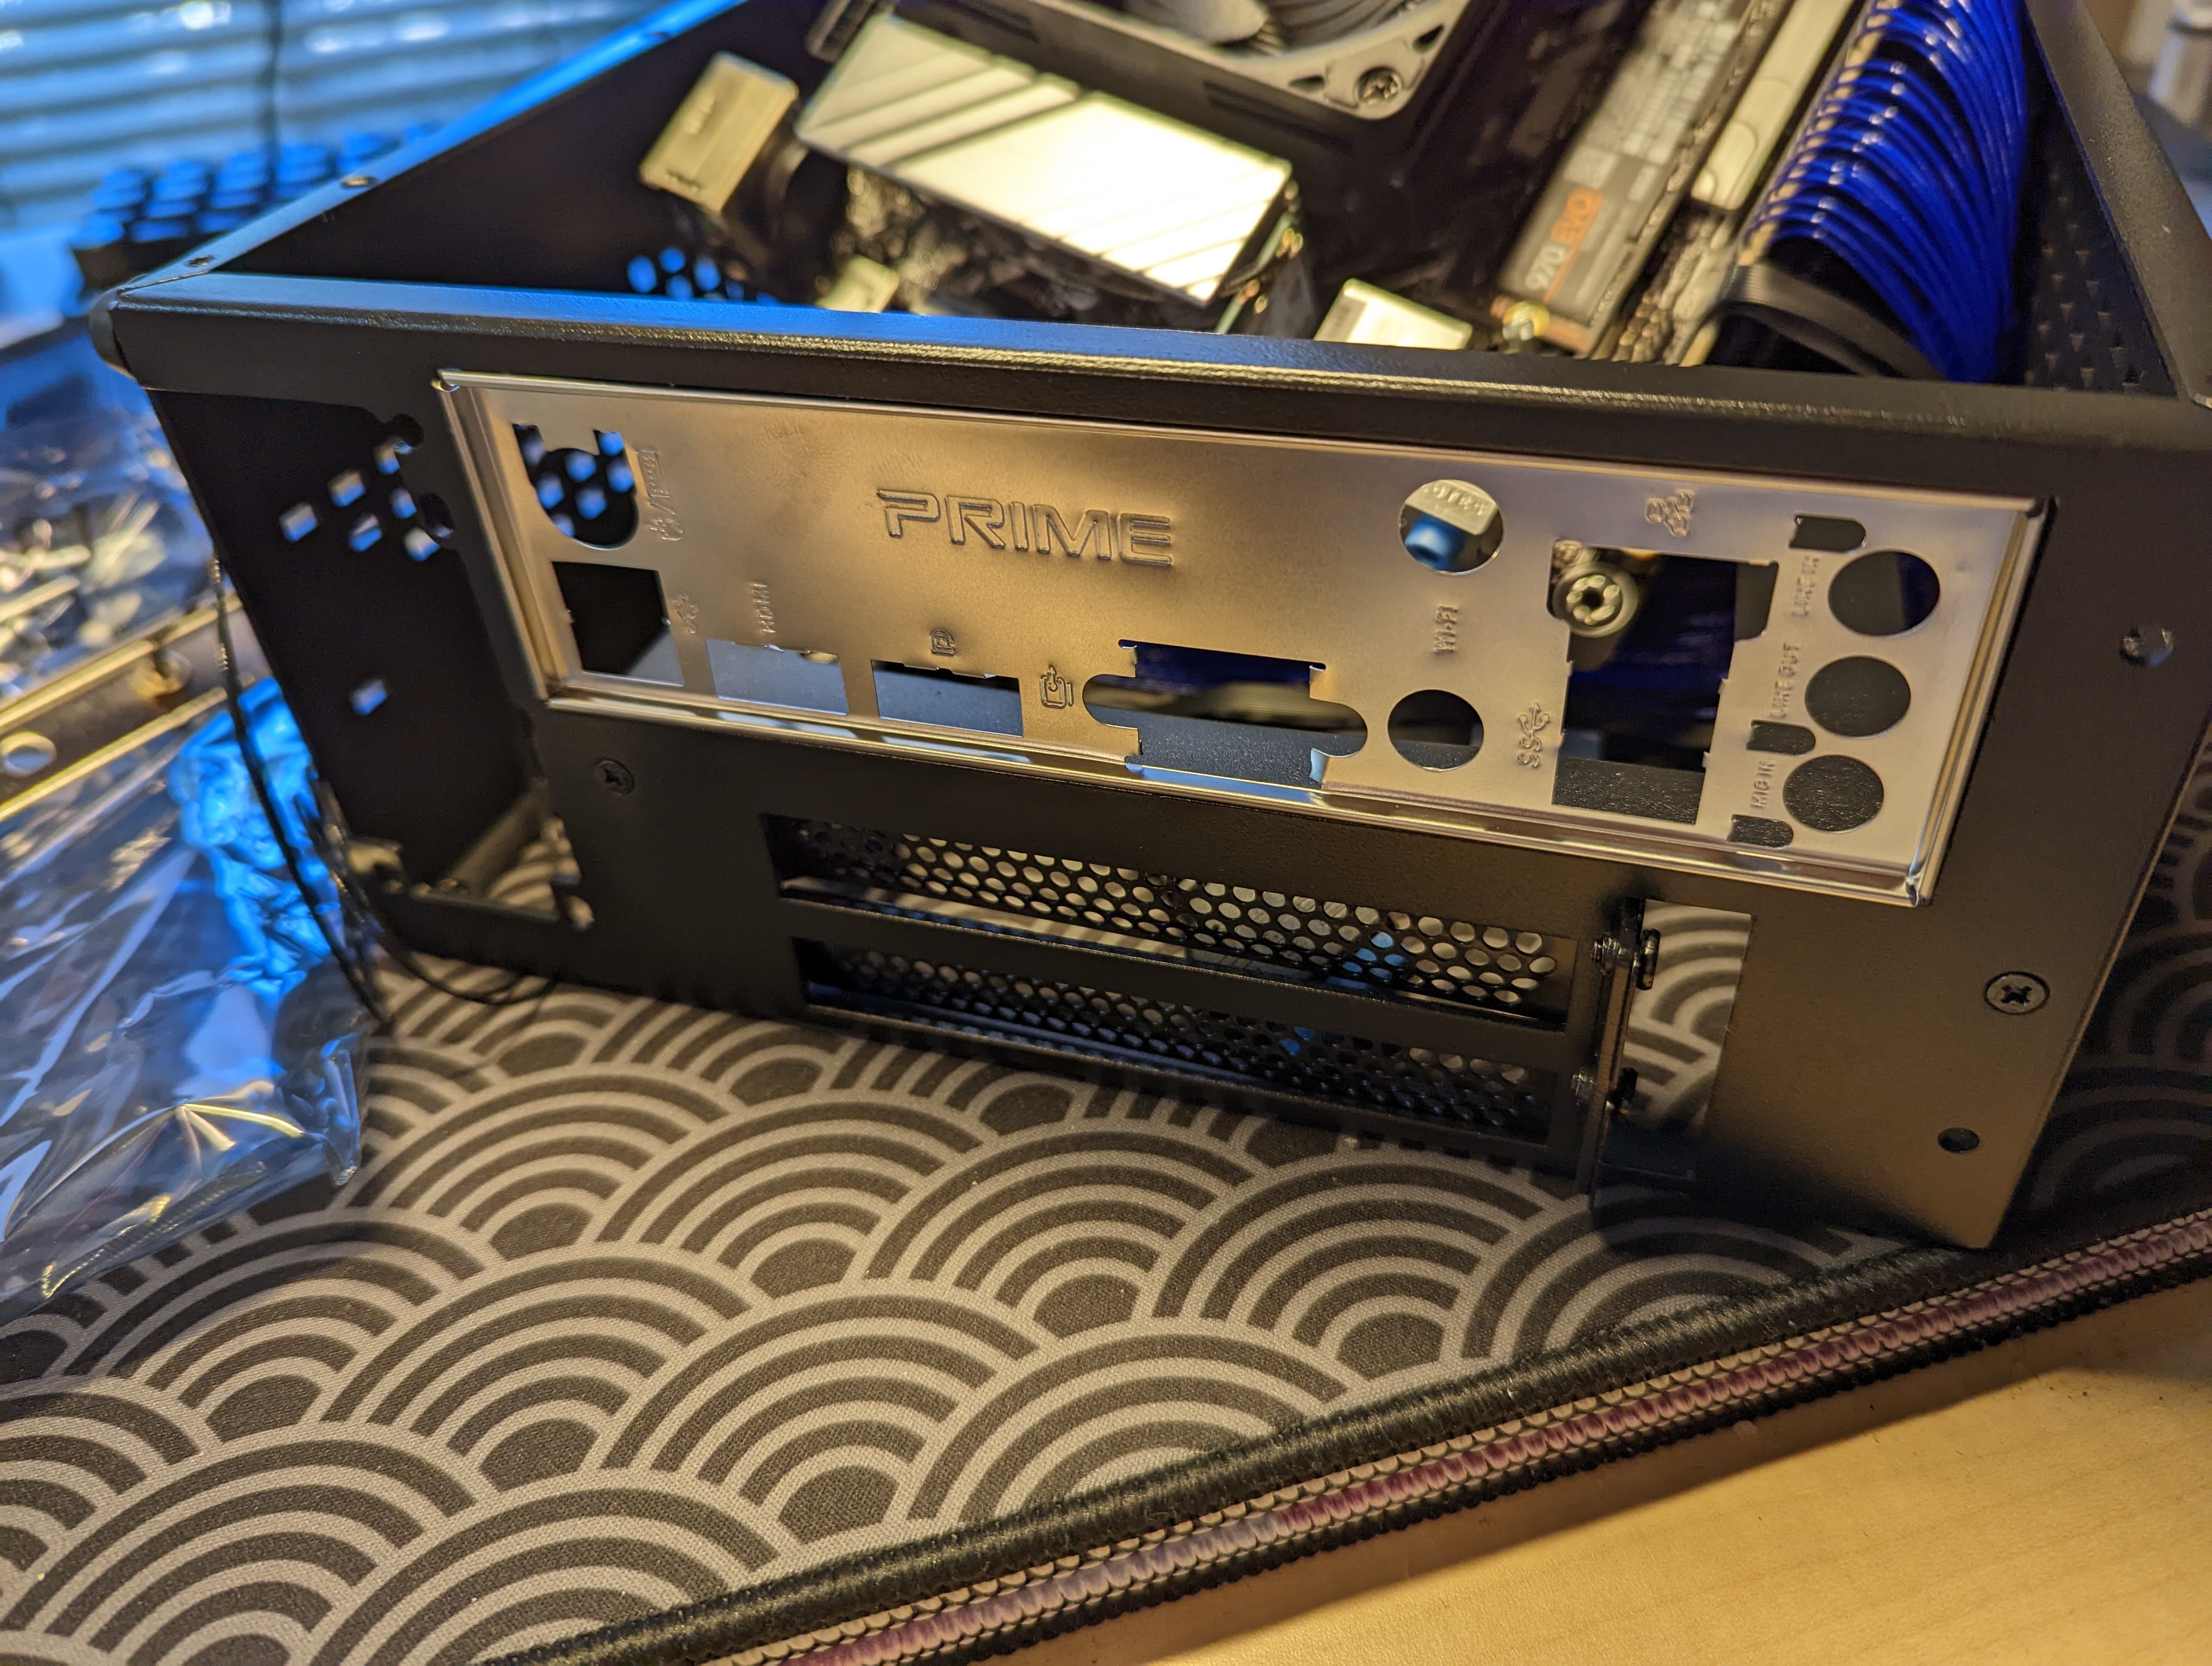
At this point, I’ve assembled all the components onto the motherboard. I now need to move the motherboard assembly into the case. To prep for the move, I first installed the backplate into the case, because this motherboard doesn’t have the plate pre-attached to the motherboard.
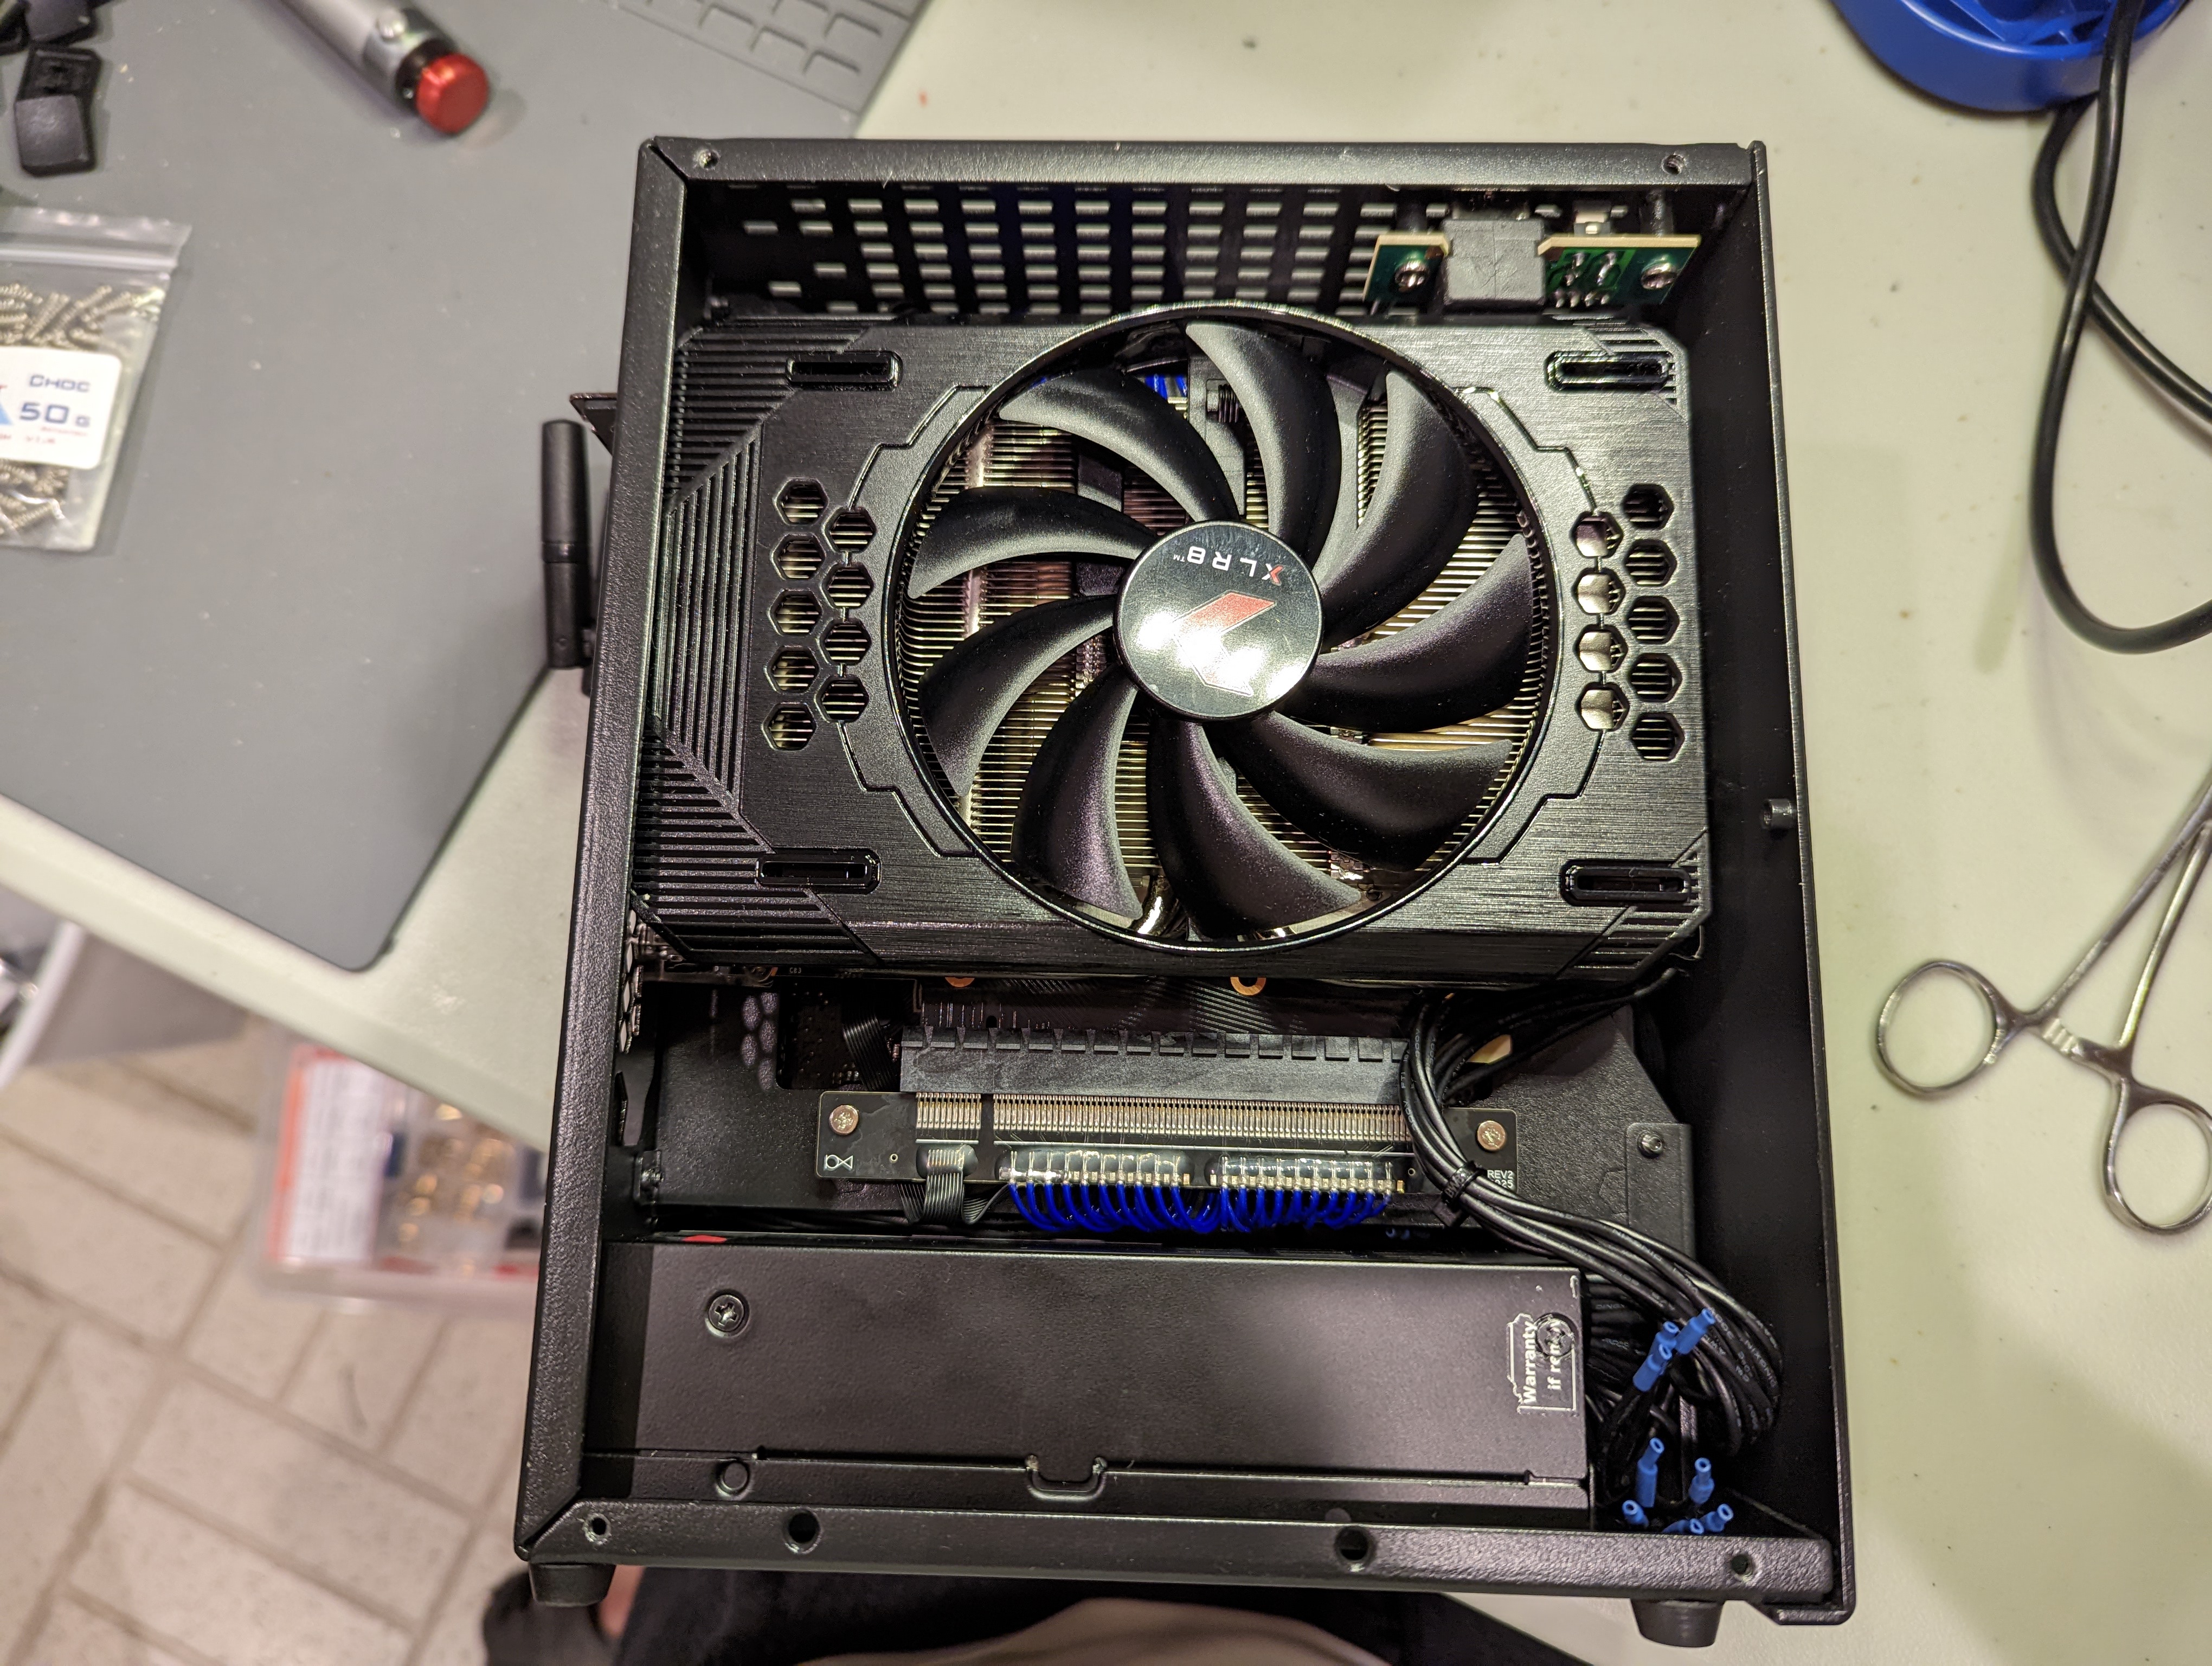
Installing the GPU
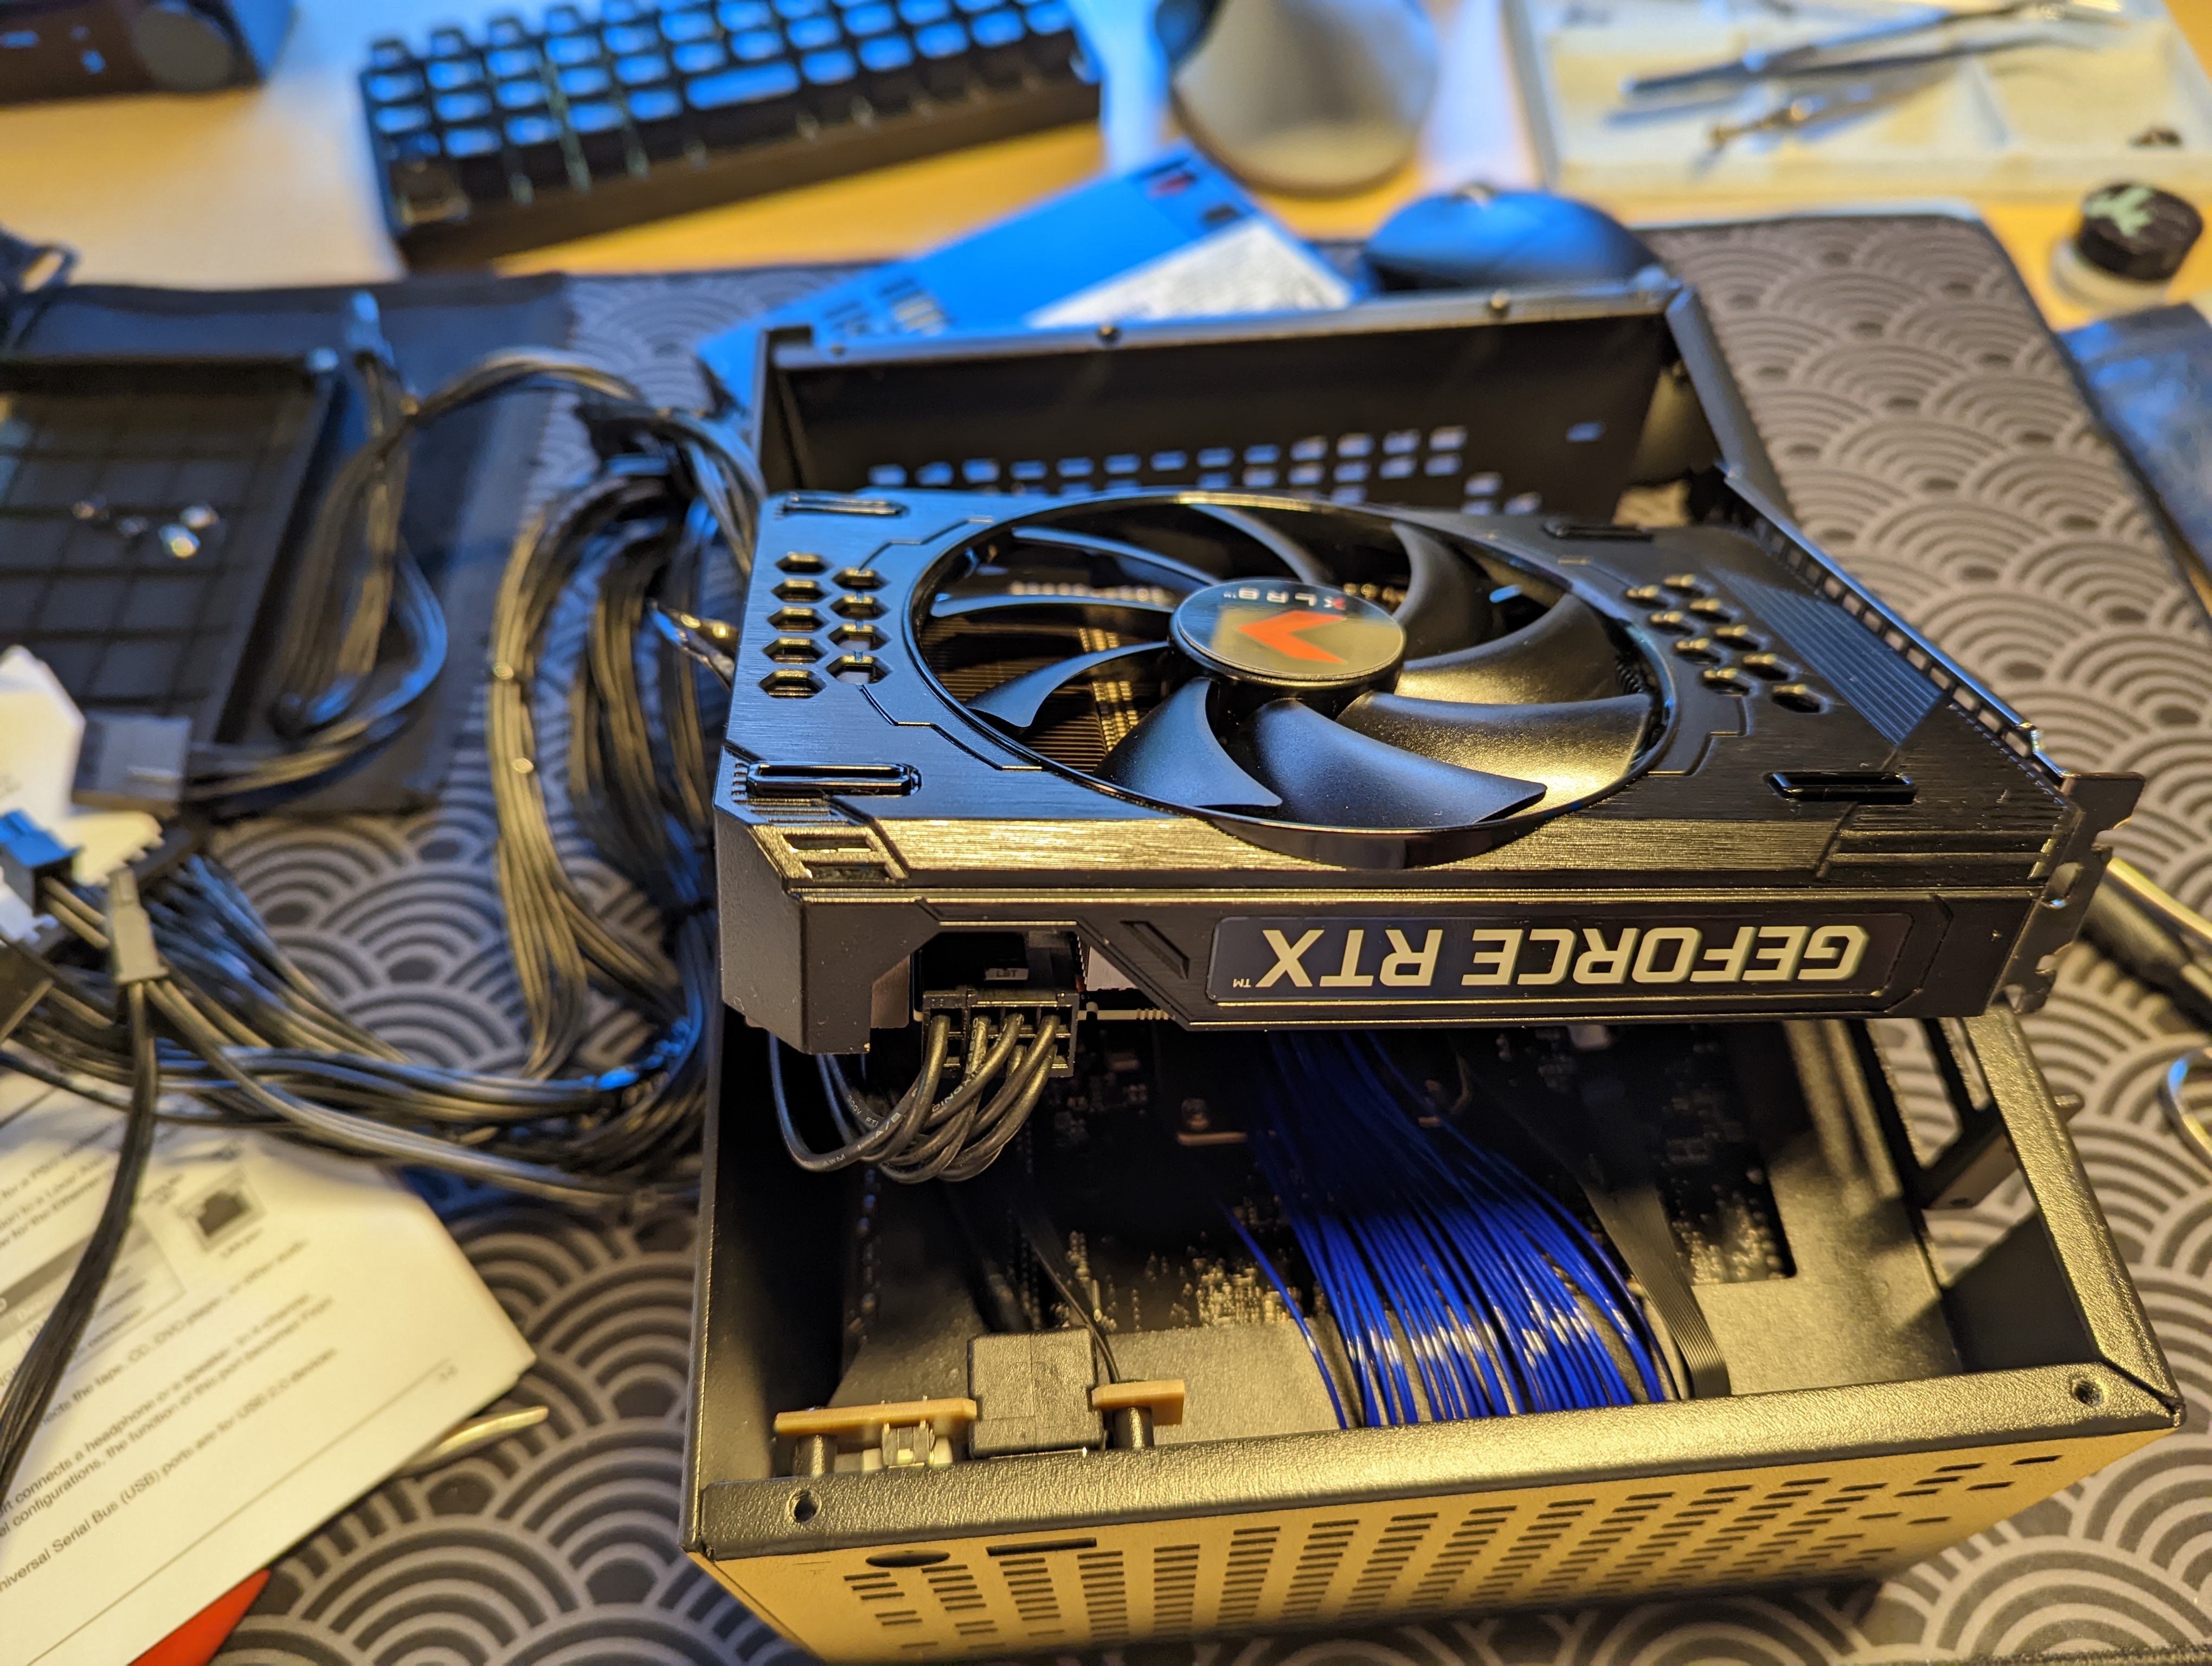
I’m using the very small but powerful PNY GeForce RTX 3060 12GB XLR8 single fan GPU. I plug the GPU into the PCIe cable. I then position and screw in the PSU to the bottom of the case, so I can properly route and plug the power cables to the GPU. If I don’t secure the PSU now, routing the power cables to the GPU will be difficult. I then screw the GPU into the case, via the screws that mount the PCIe riser cable and the GPU bracket.
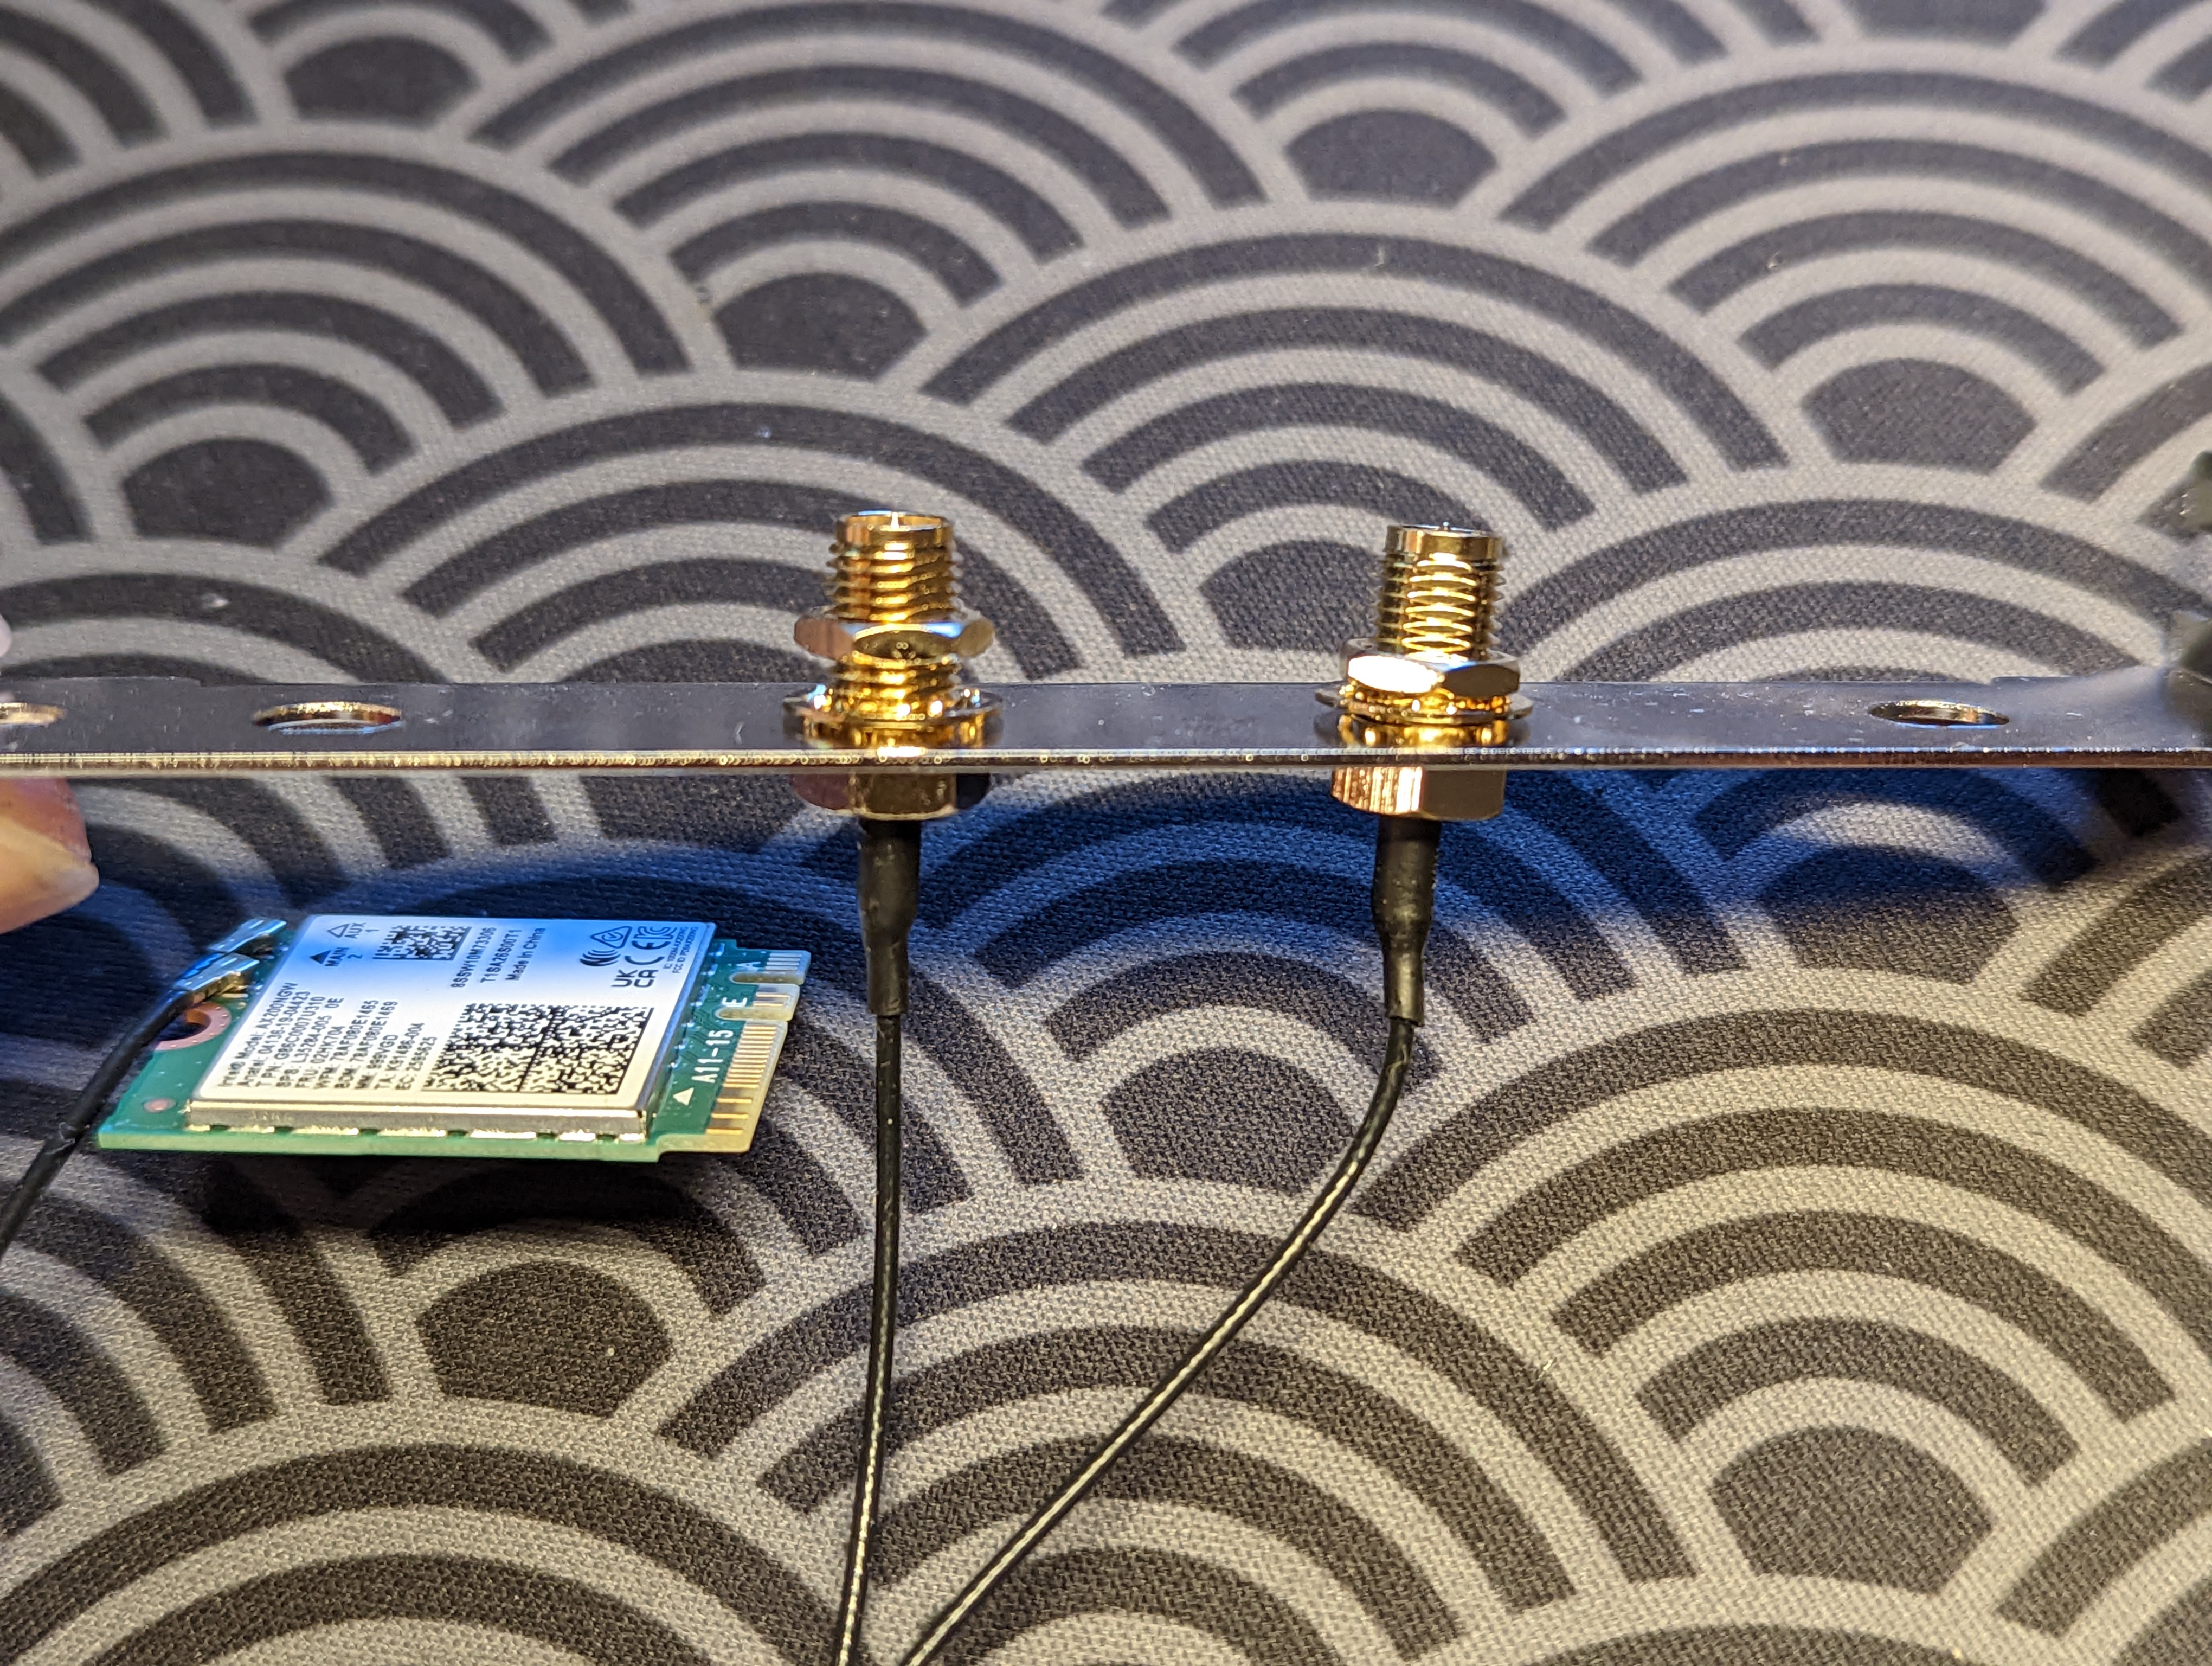
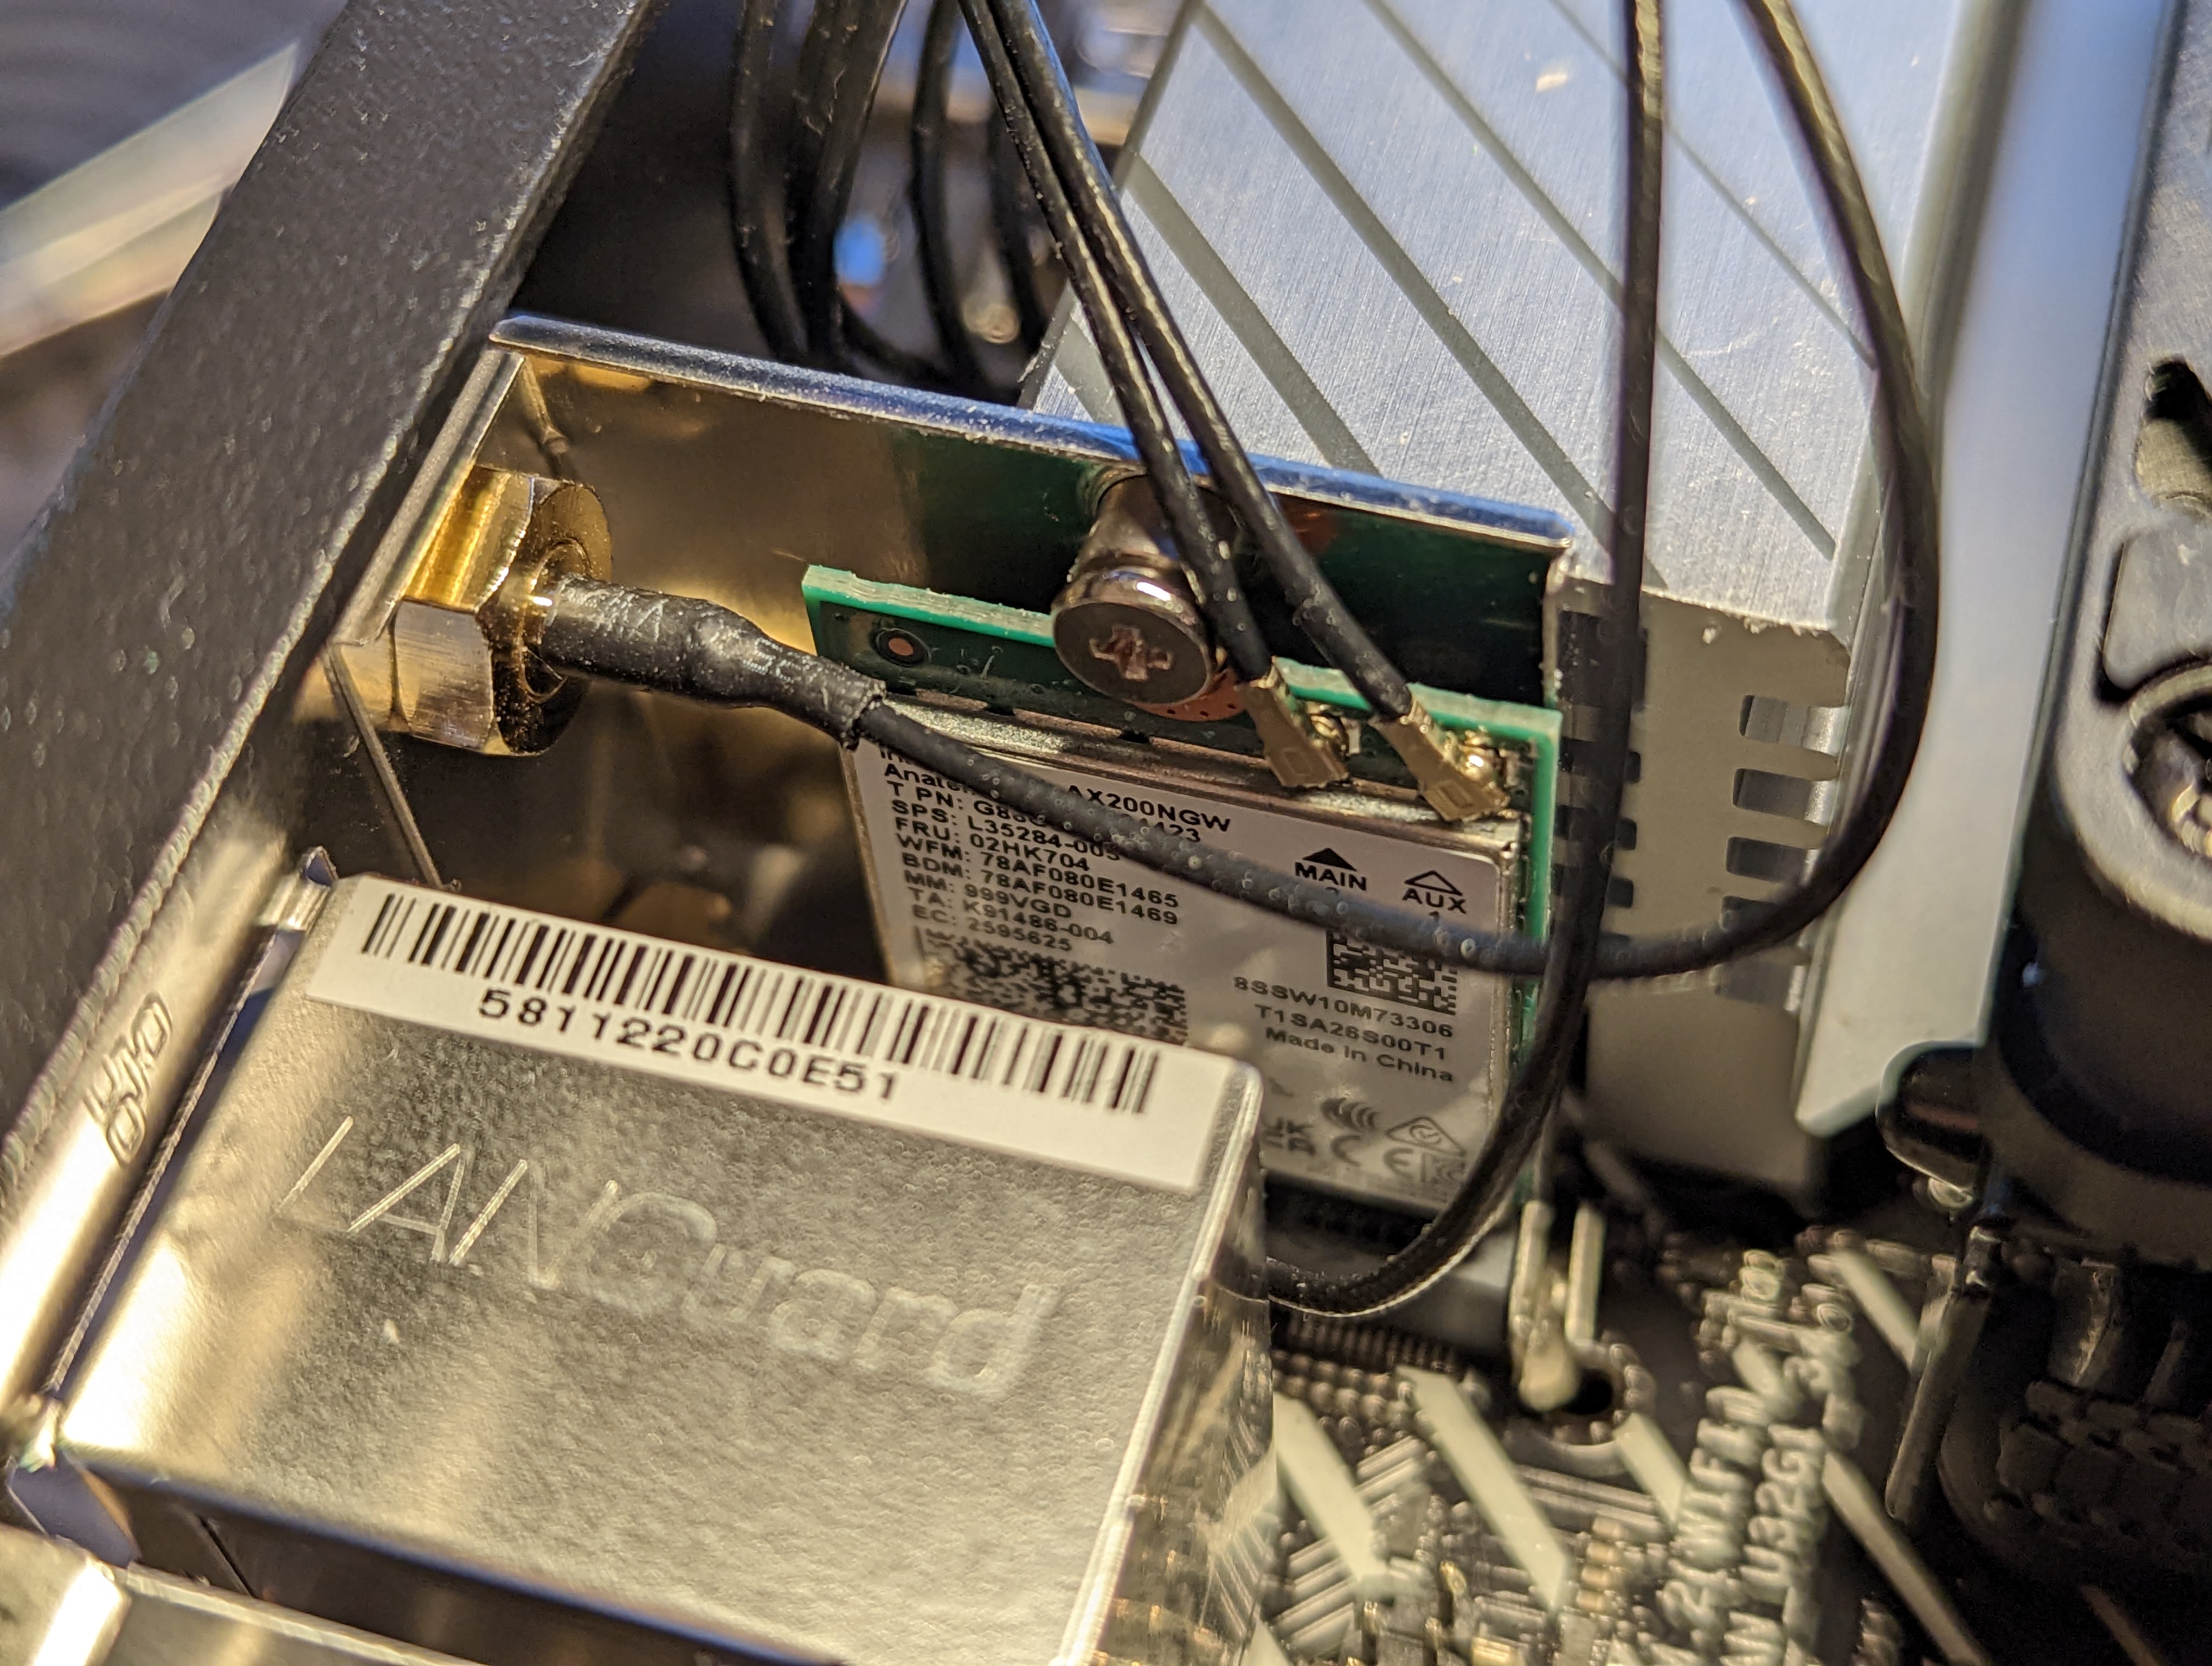
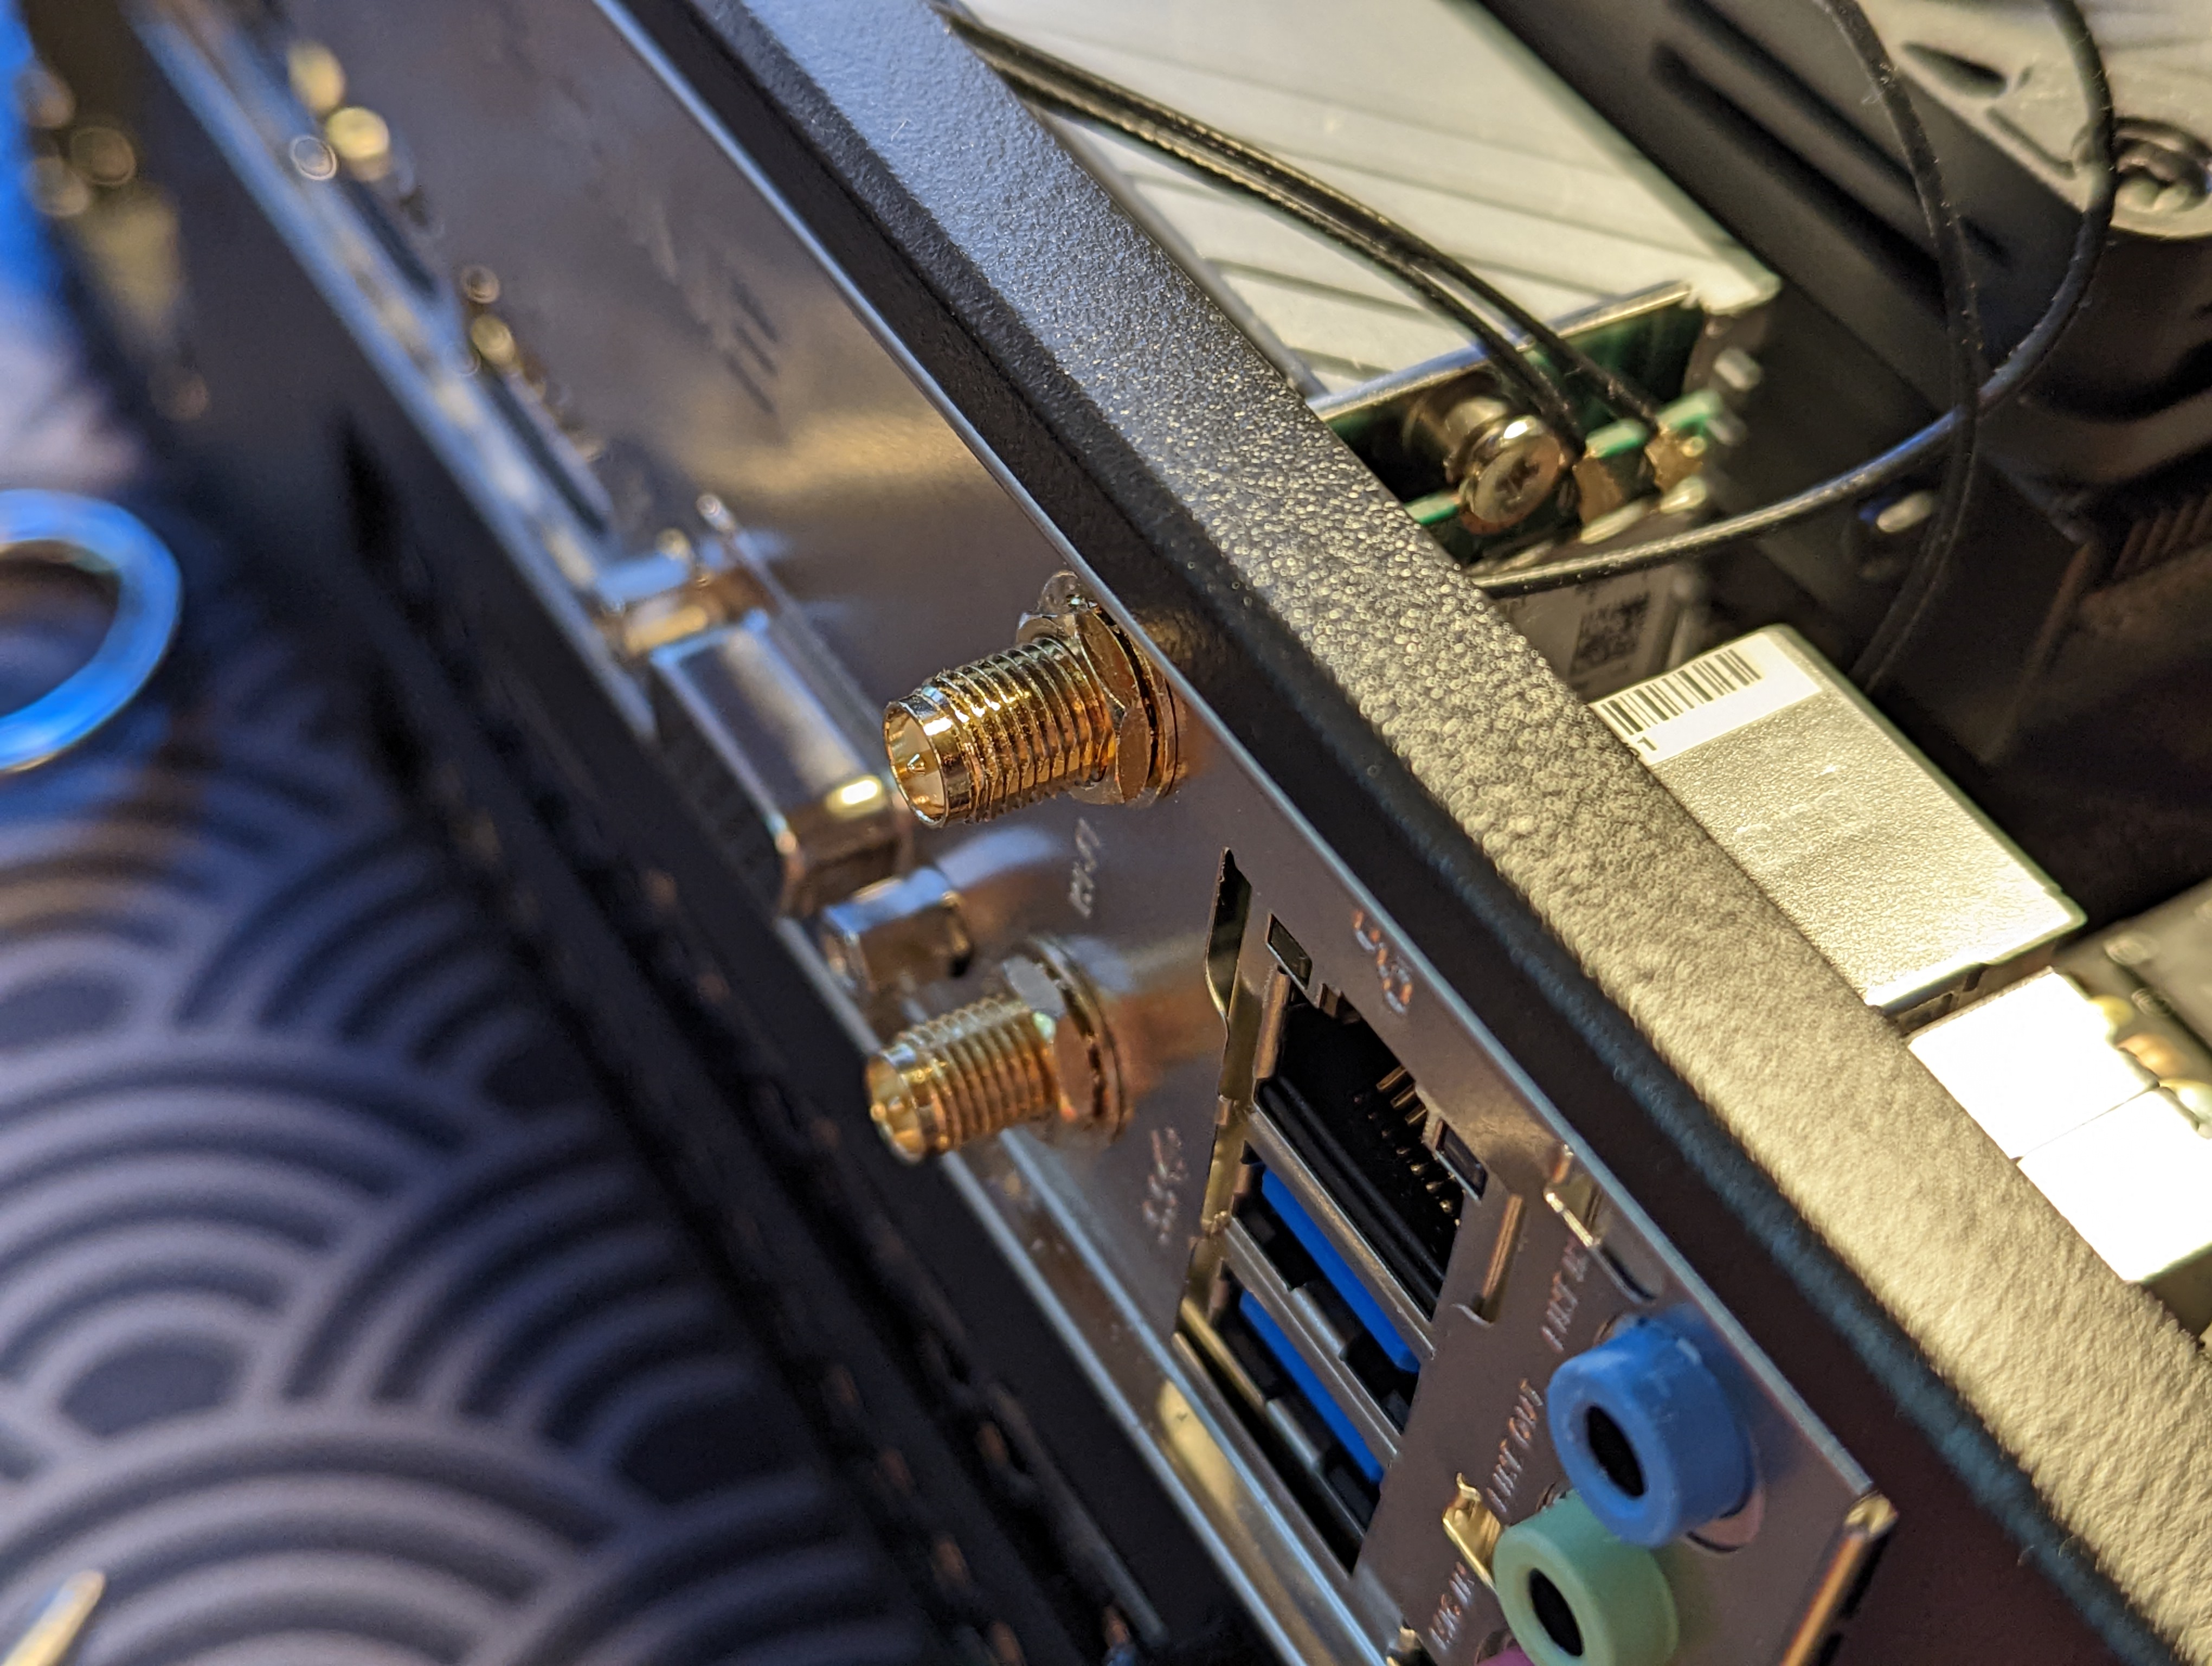
Installing the Wifi Card
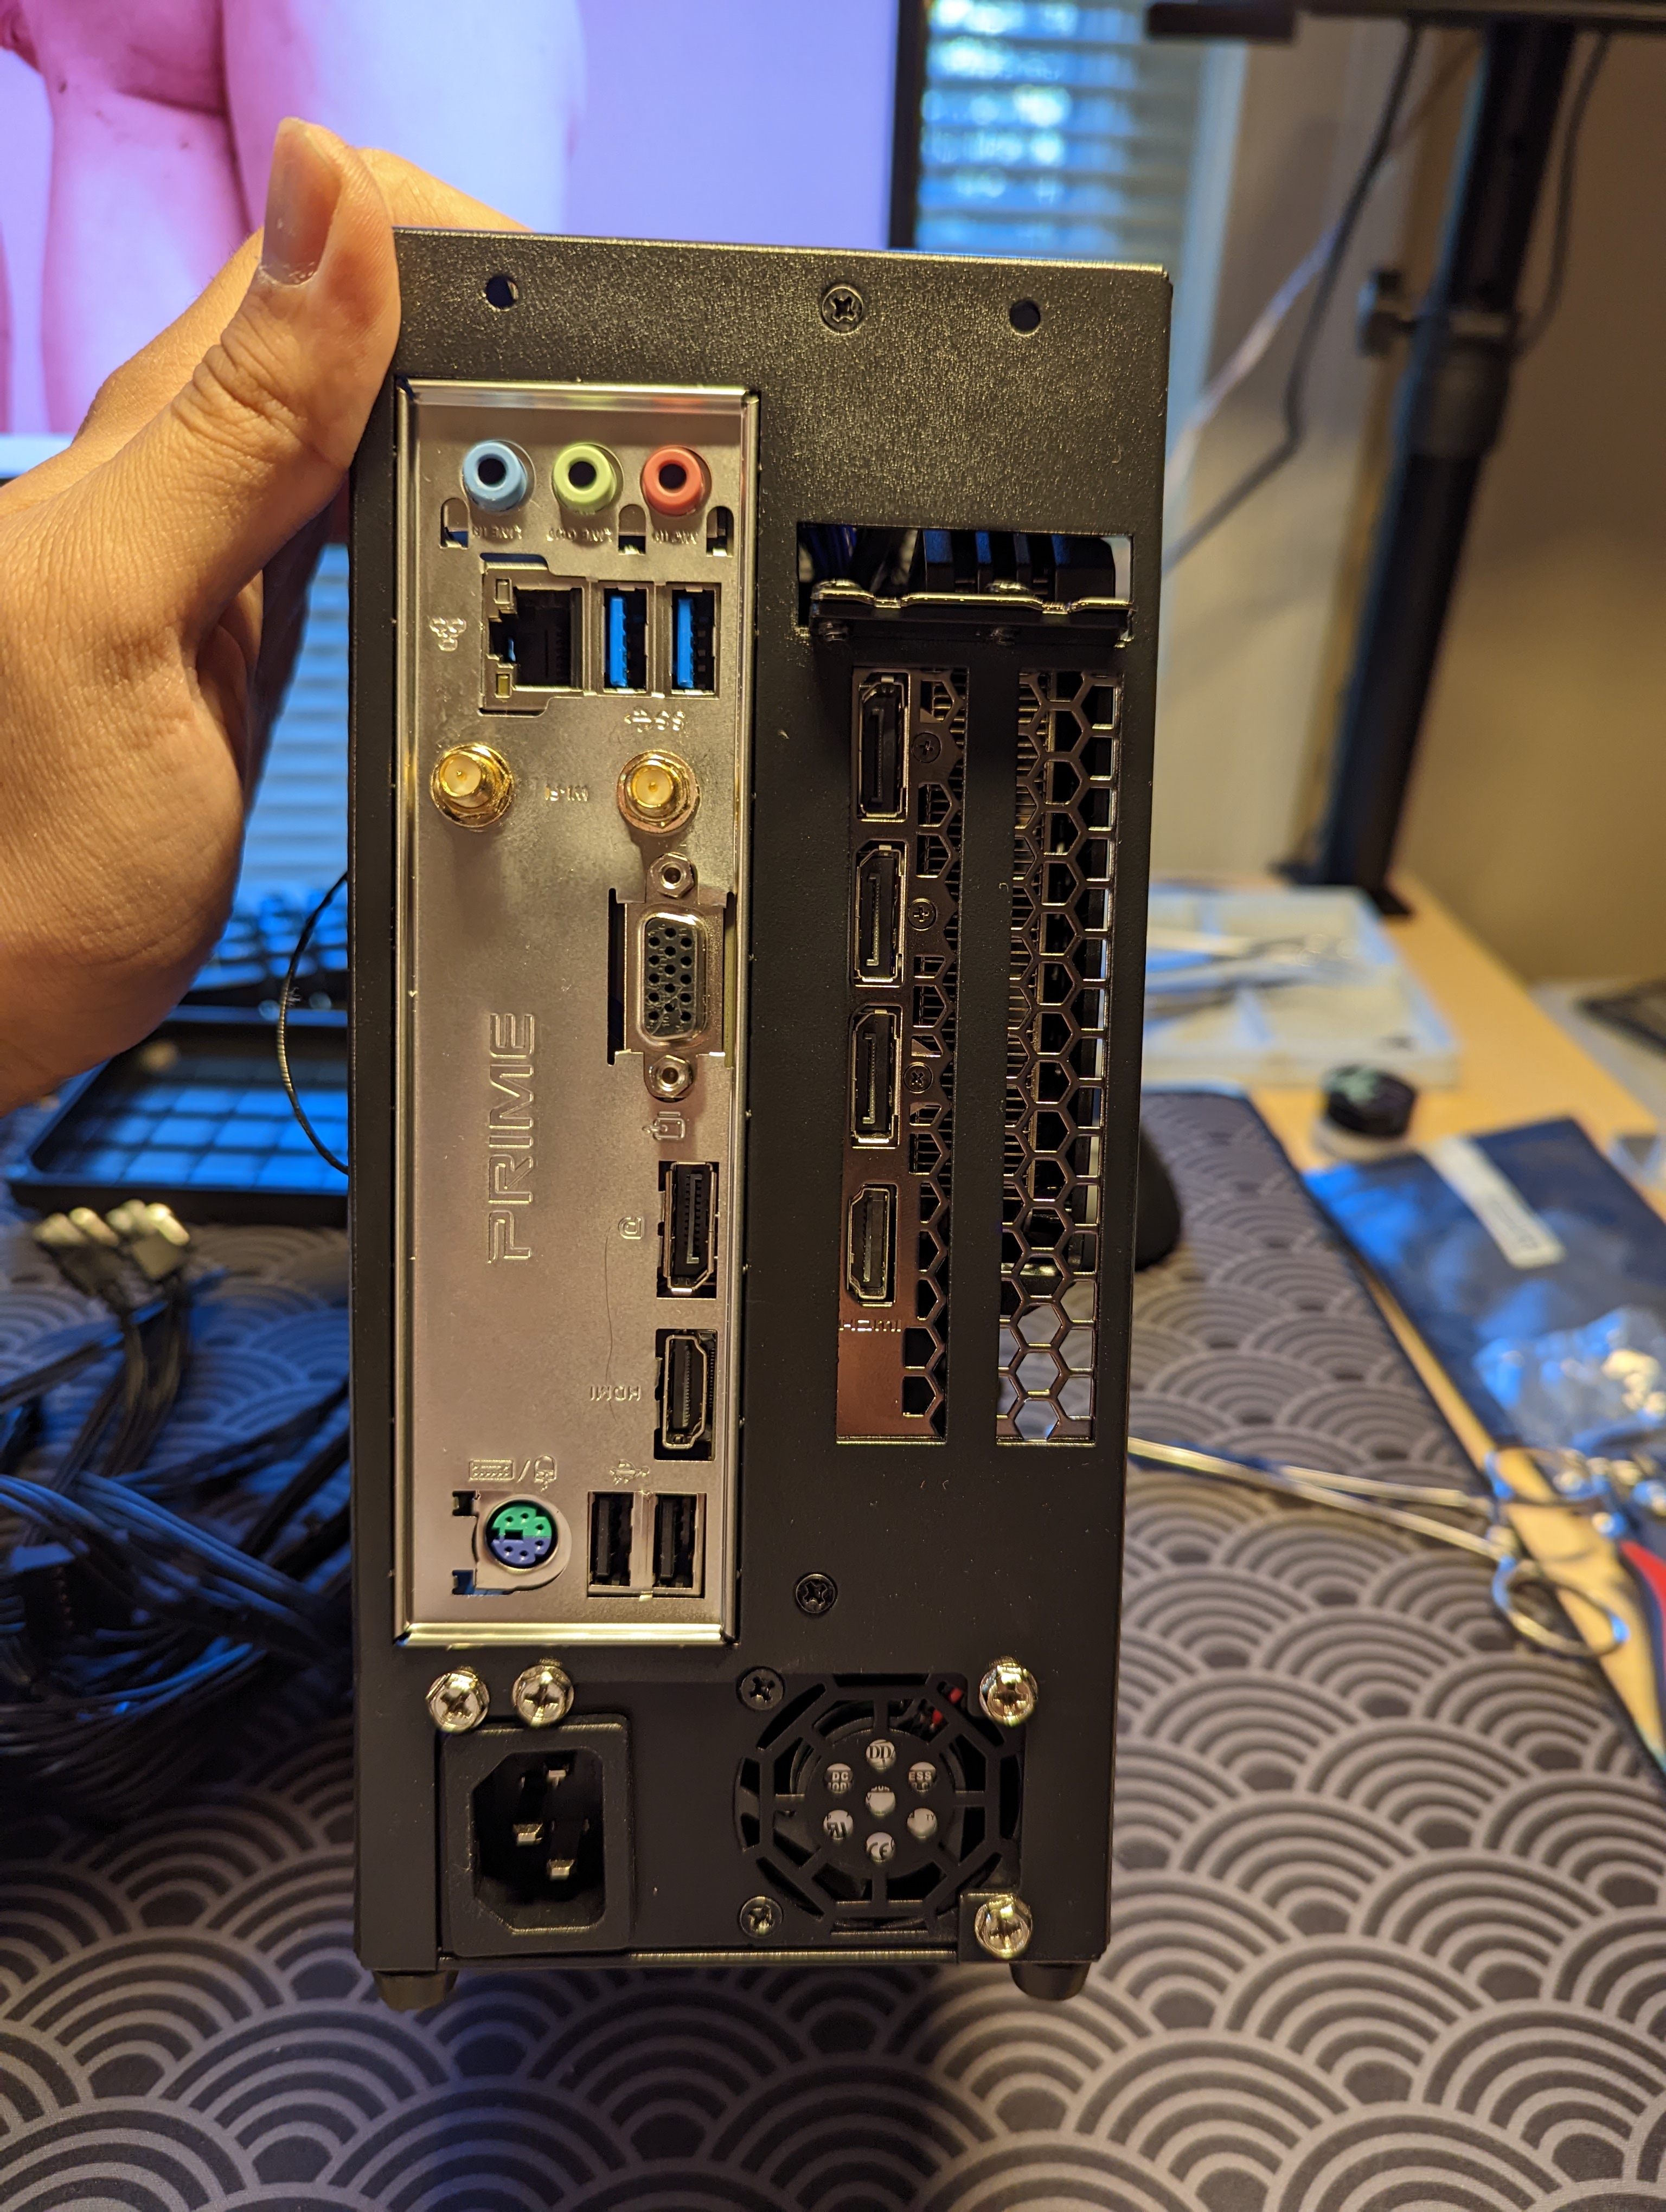
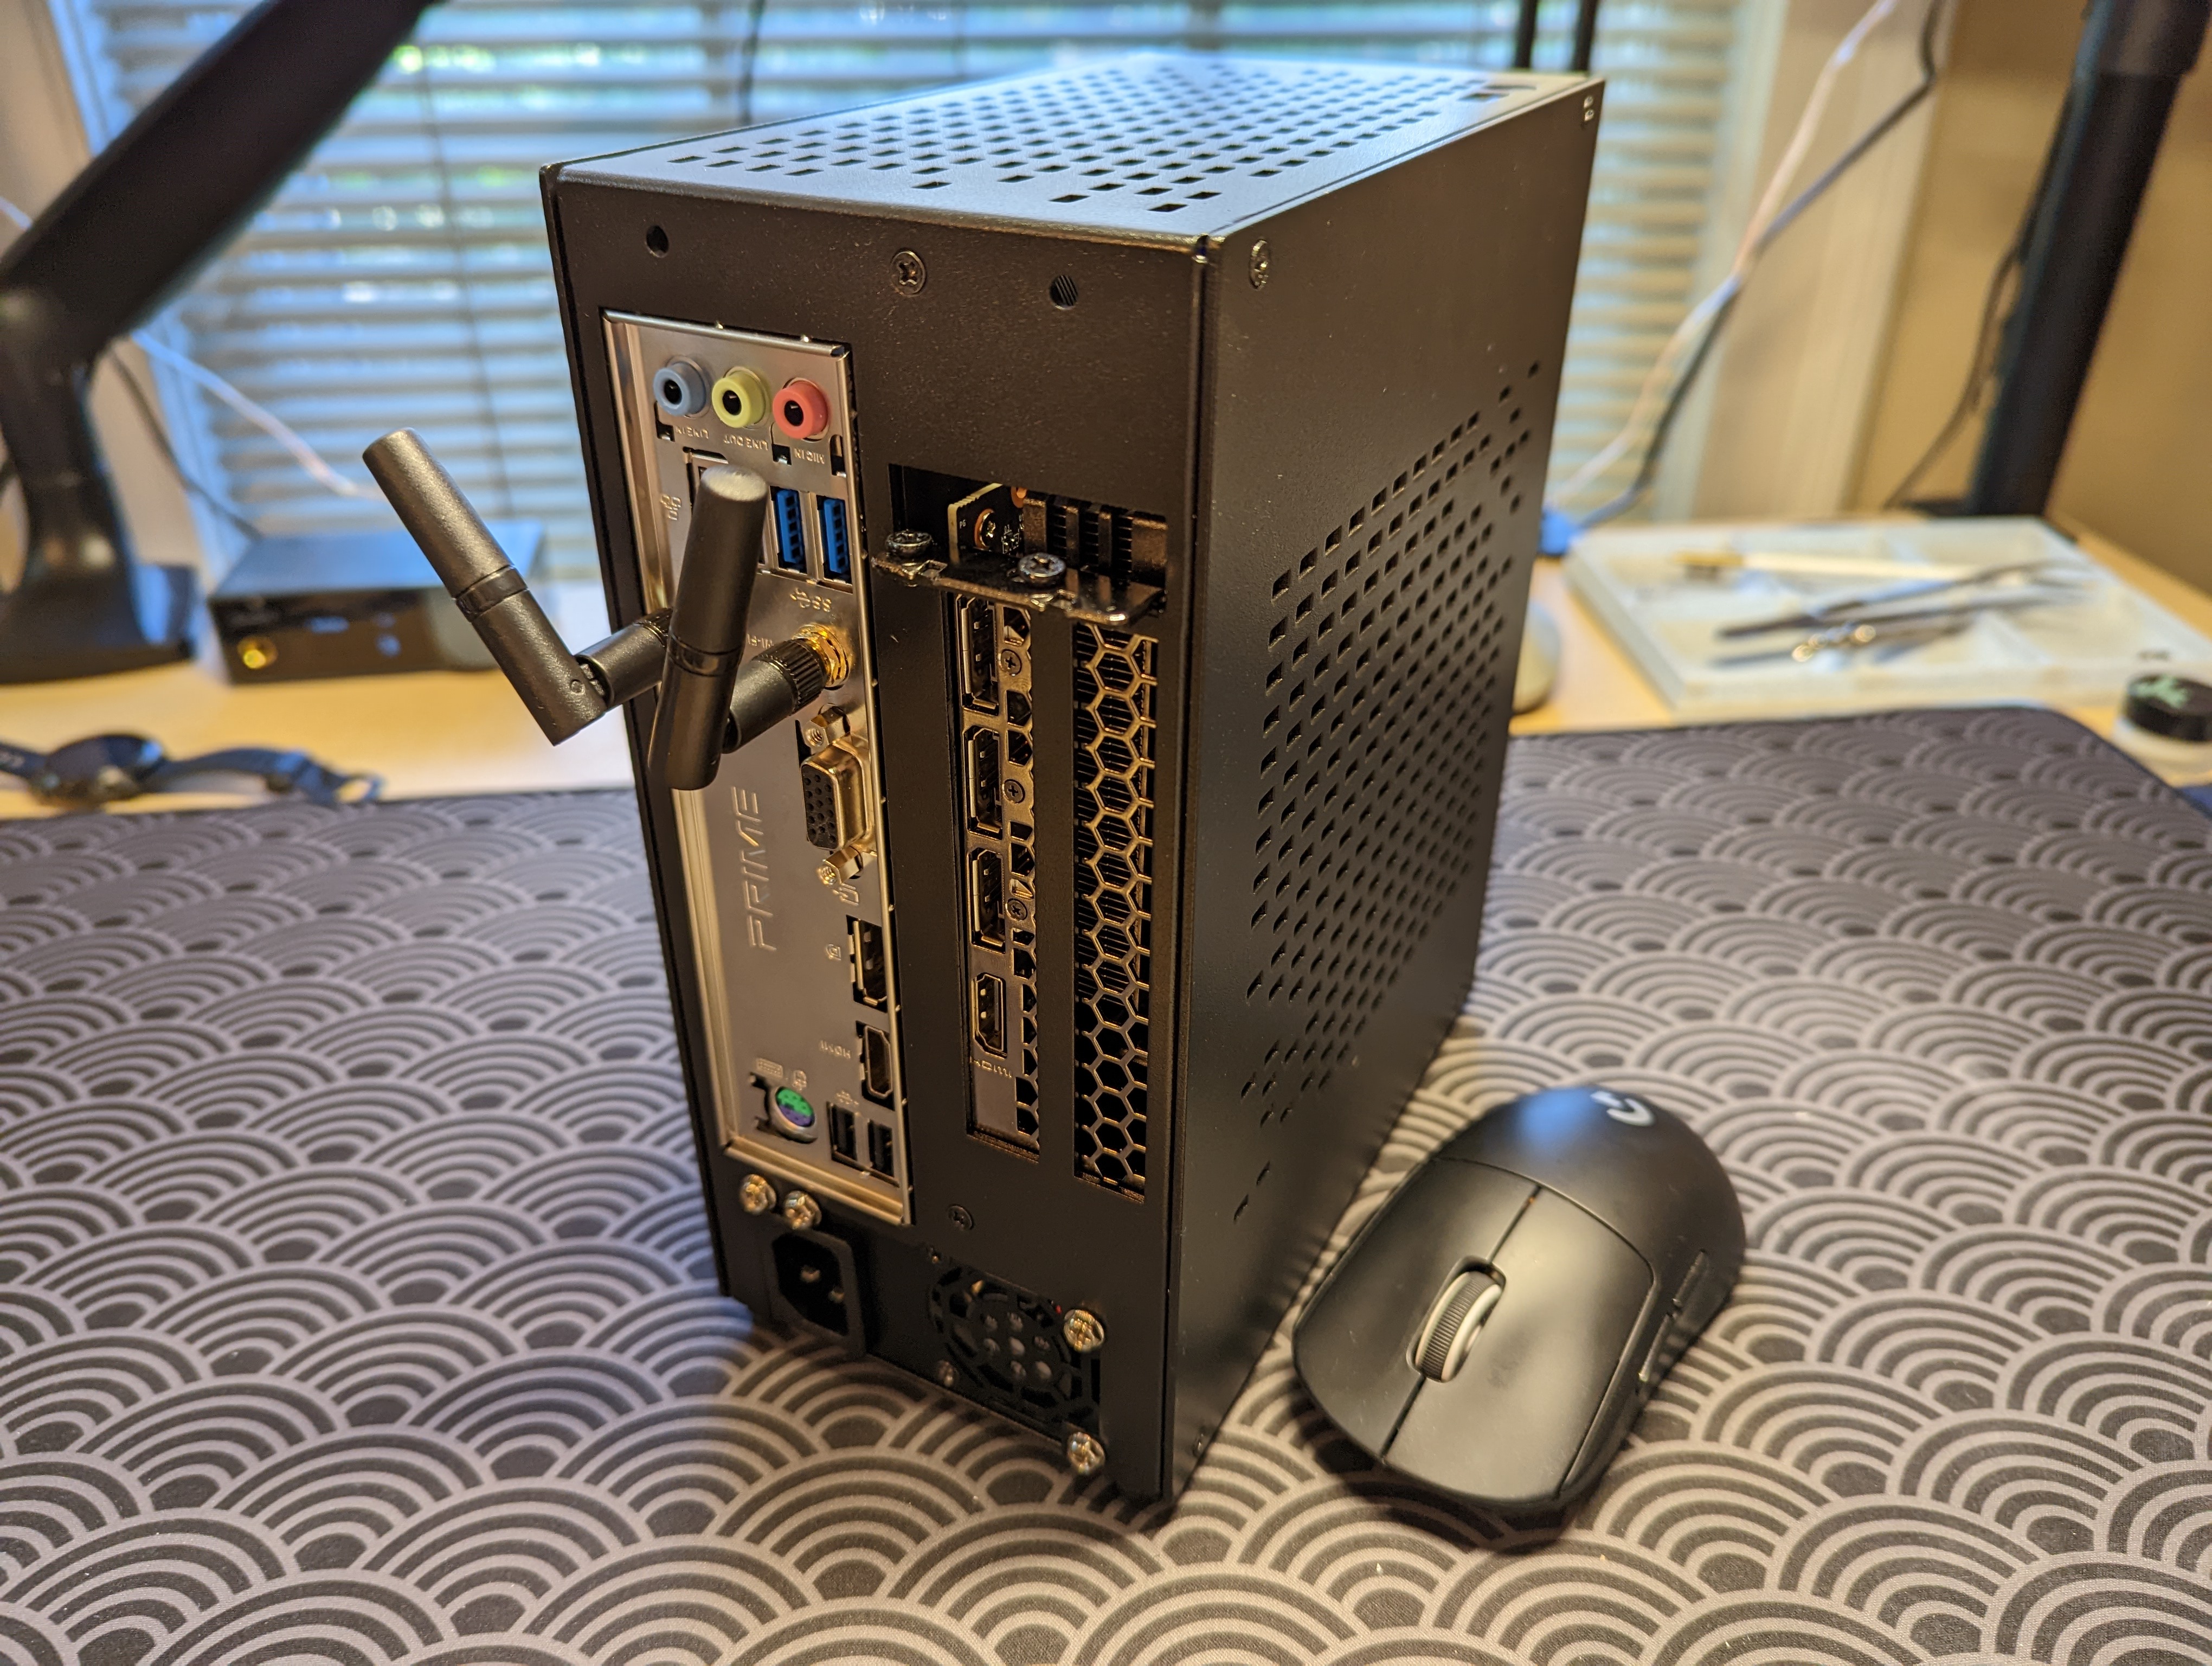
I’m using an Intel Wifi 6 AX200 kit, because this motherboard doesn’t natively have wifi. Installing the wifi card was more painful than I expected. First, I had to unscrew the gold antennae pins from the PCIe plate, and instead use a smaller plate that came with the motherboard. The original PCIe plate would have been fine, if the GPU didn’t take up the entire rear part meant for the PCIe slots. I then carefully installed the wifi card into the motherboard, along with the supporting bracket, without having the wire pins detach from the wifi card.
Cleaning Up the Cables
At this point, I was pretty close to finishing the build. After plugging in the power button wires and the remaining relevant PSU cables (i.e. the CPU and motherboard cables), I was left with some excess cables, like a SATA cable, that were fixed to the non-modular PSU. I wanted to free up valuable real estate, so I cut the excess cables, and applied heat shrink to the ends, so they wouldn’t short anything by accident (an unlikely scenario, but who knows ![]() ).
).
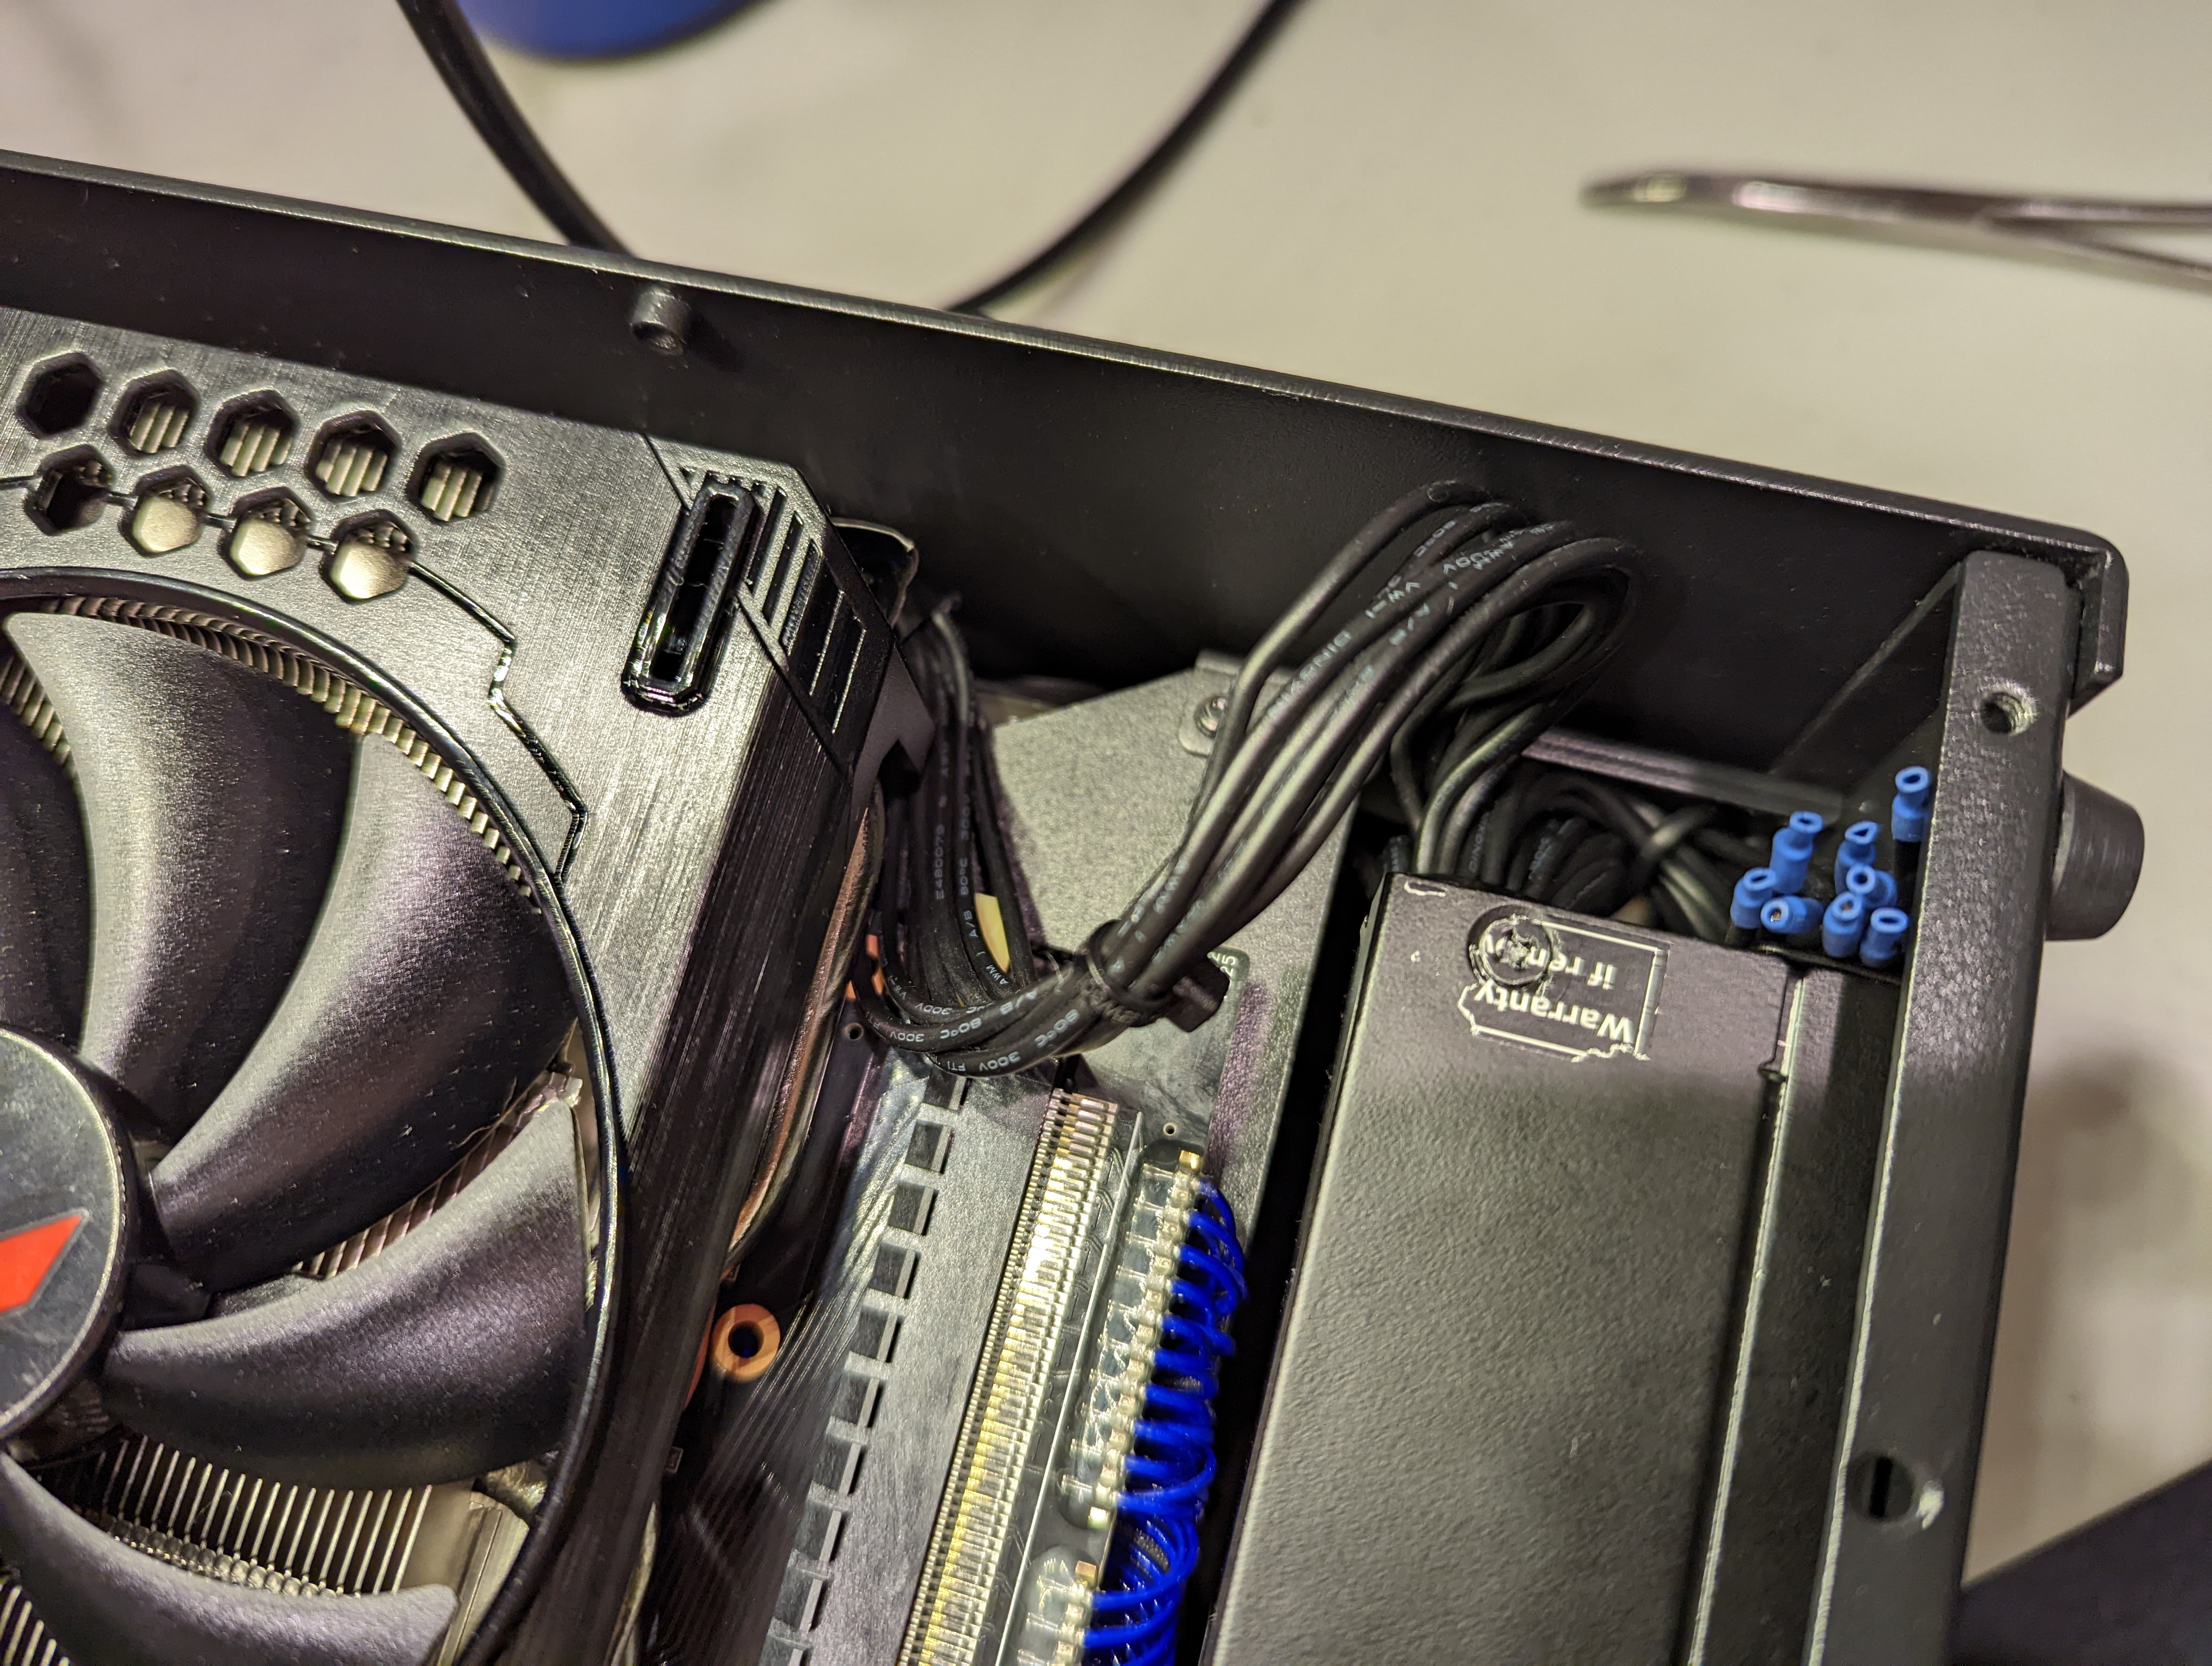
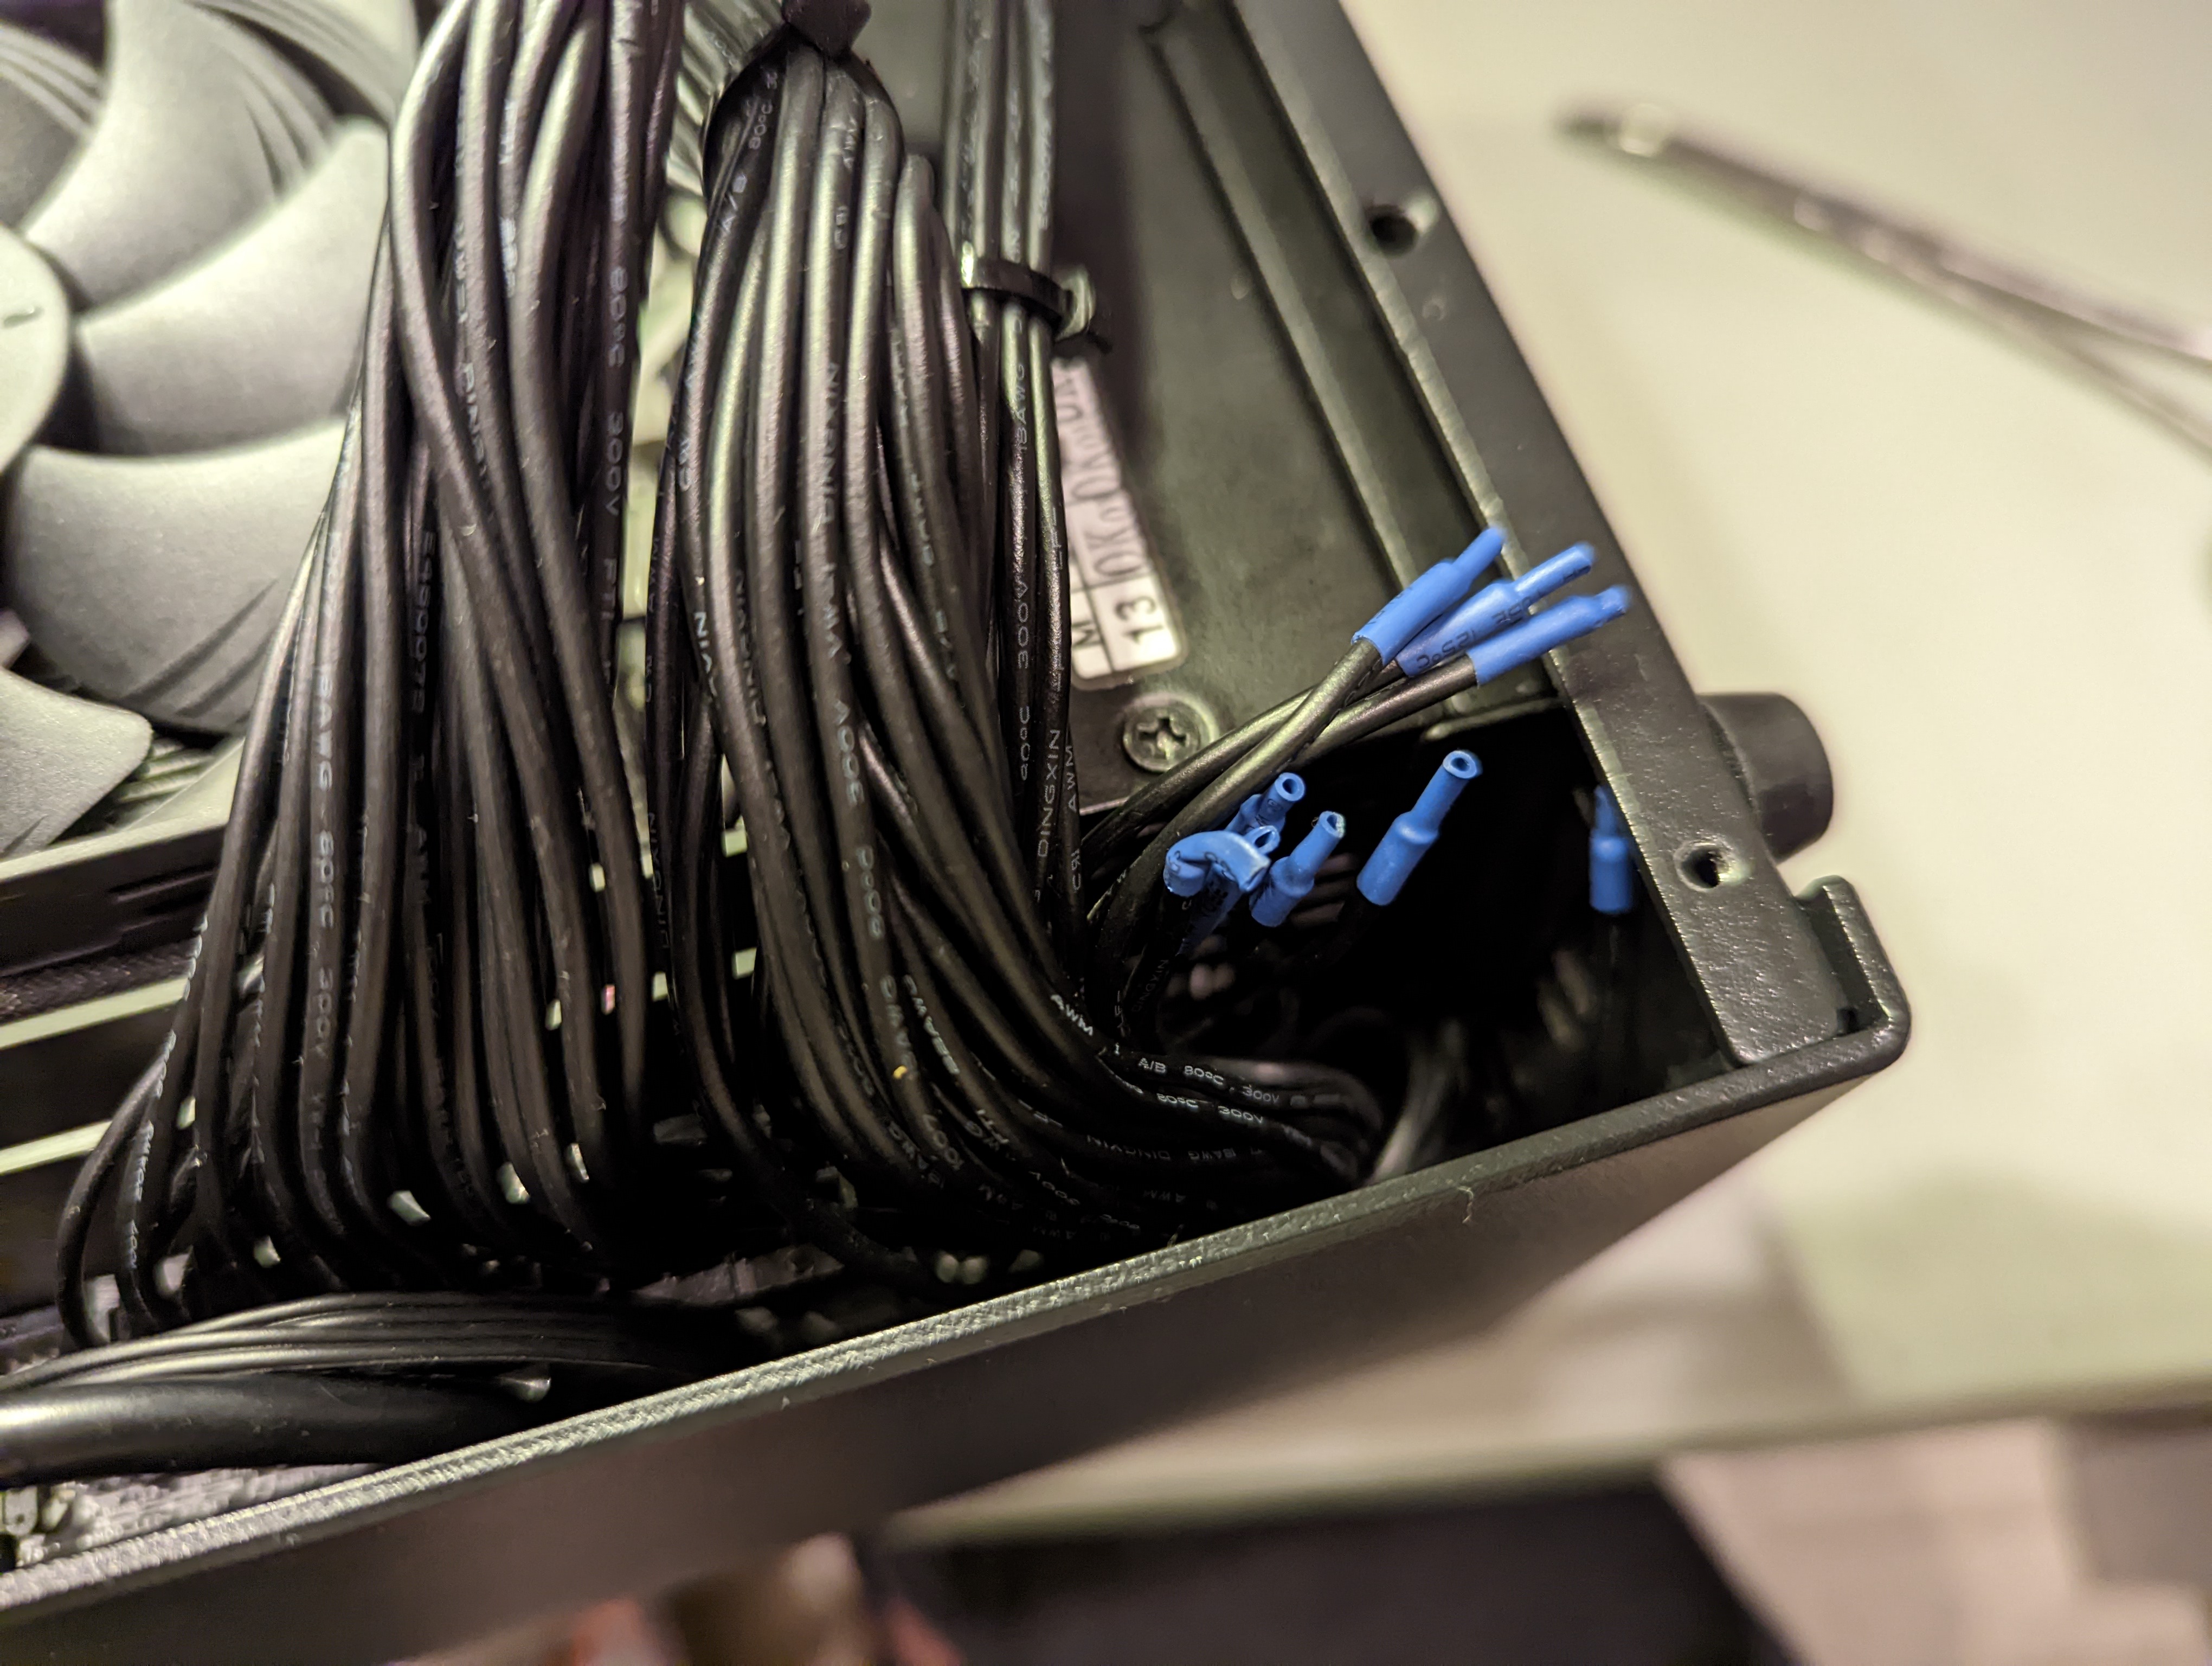
Then, I pushed the cables into whatever remaining space seemed natural. I think the end cable work looks pretty good!
Booting Up the Machine
Before closing up the case, I wanted to test that the computer booted. I plugged in my USB stick loaded with Ubuntu 22.04. My machine did not boot ![]() . I googled a solution, and apparently installing only a single stick of RAM can solve uncooperative first boots. So I removed a stick of RAM, but again, I did not get a successful boot. I then tried swapping the placement of the one RAM stick, and finally I got a boot
. I googled a solution, and apparently installing only a single stick of RAM can solve uncooperative first boots. So I removed a stick of RAM, but again, I did not get a successful boot. I then tried swapping the placement of the one RAM stick, and finally I got a boot ![]() !
!
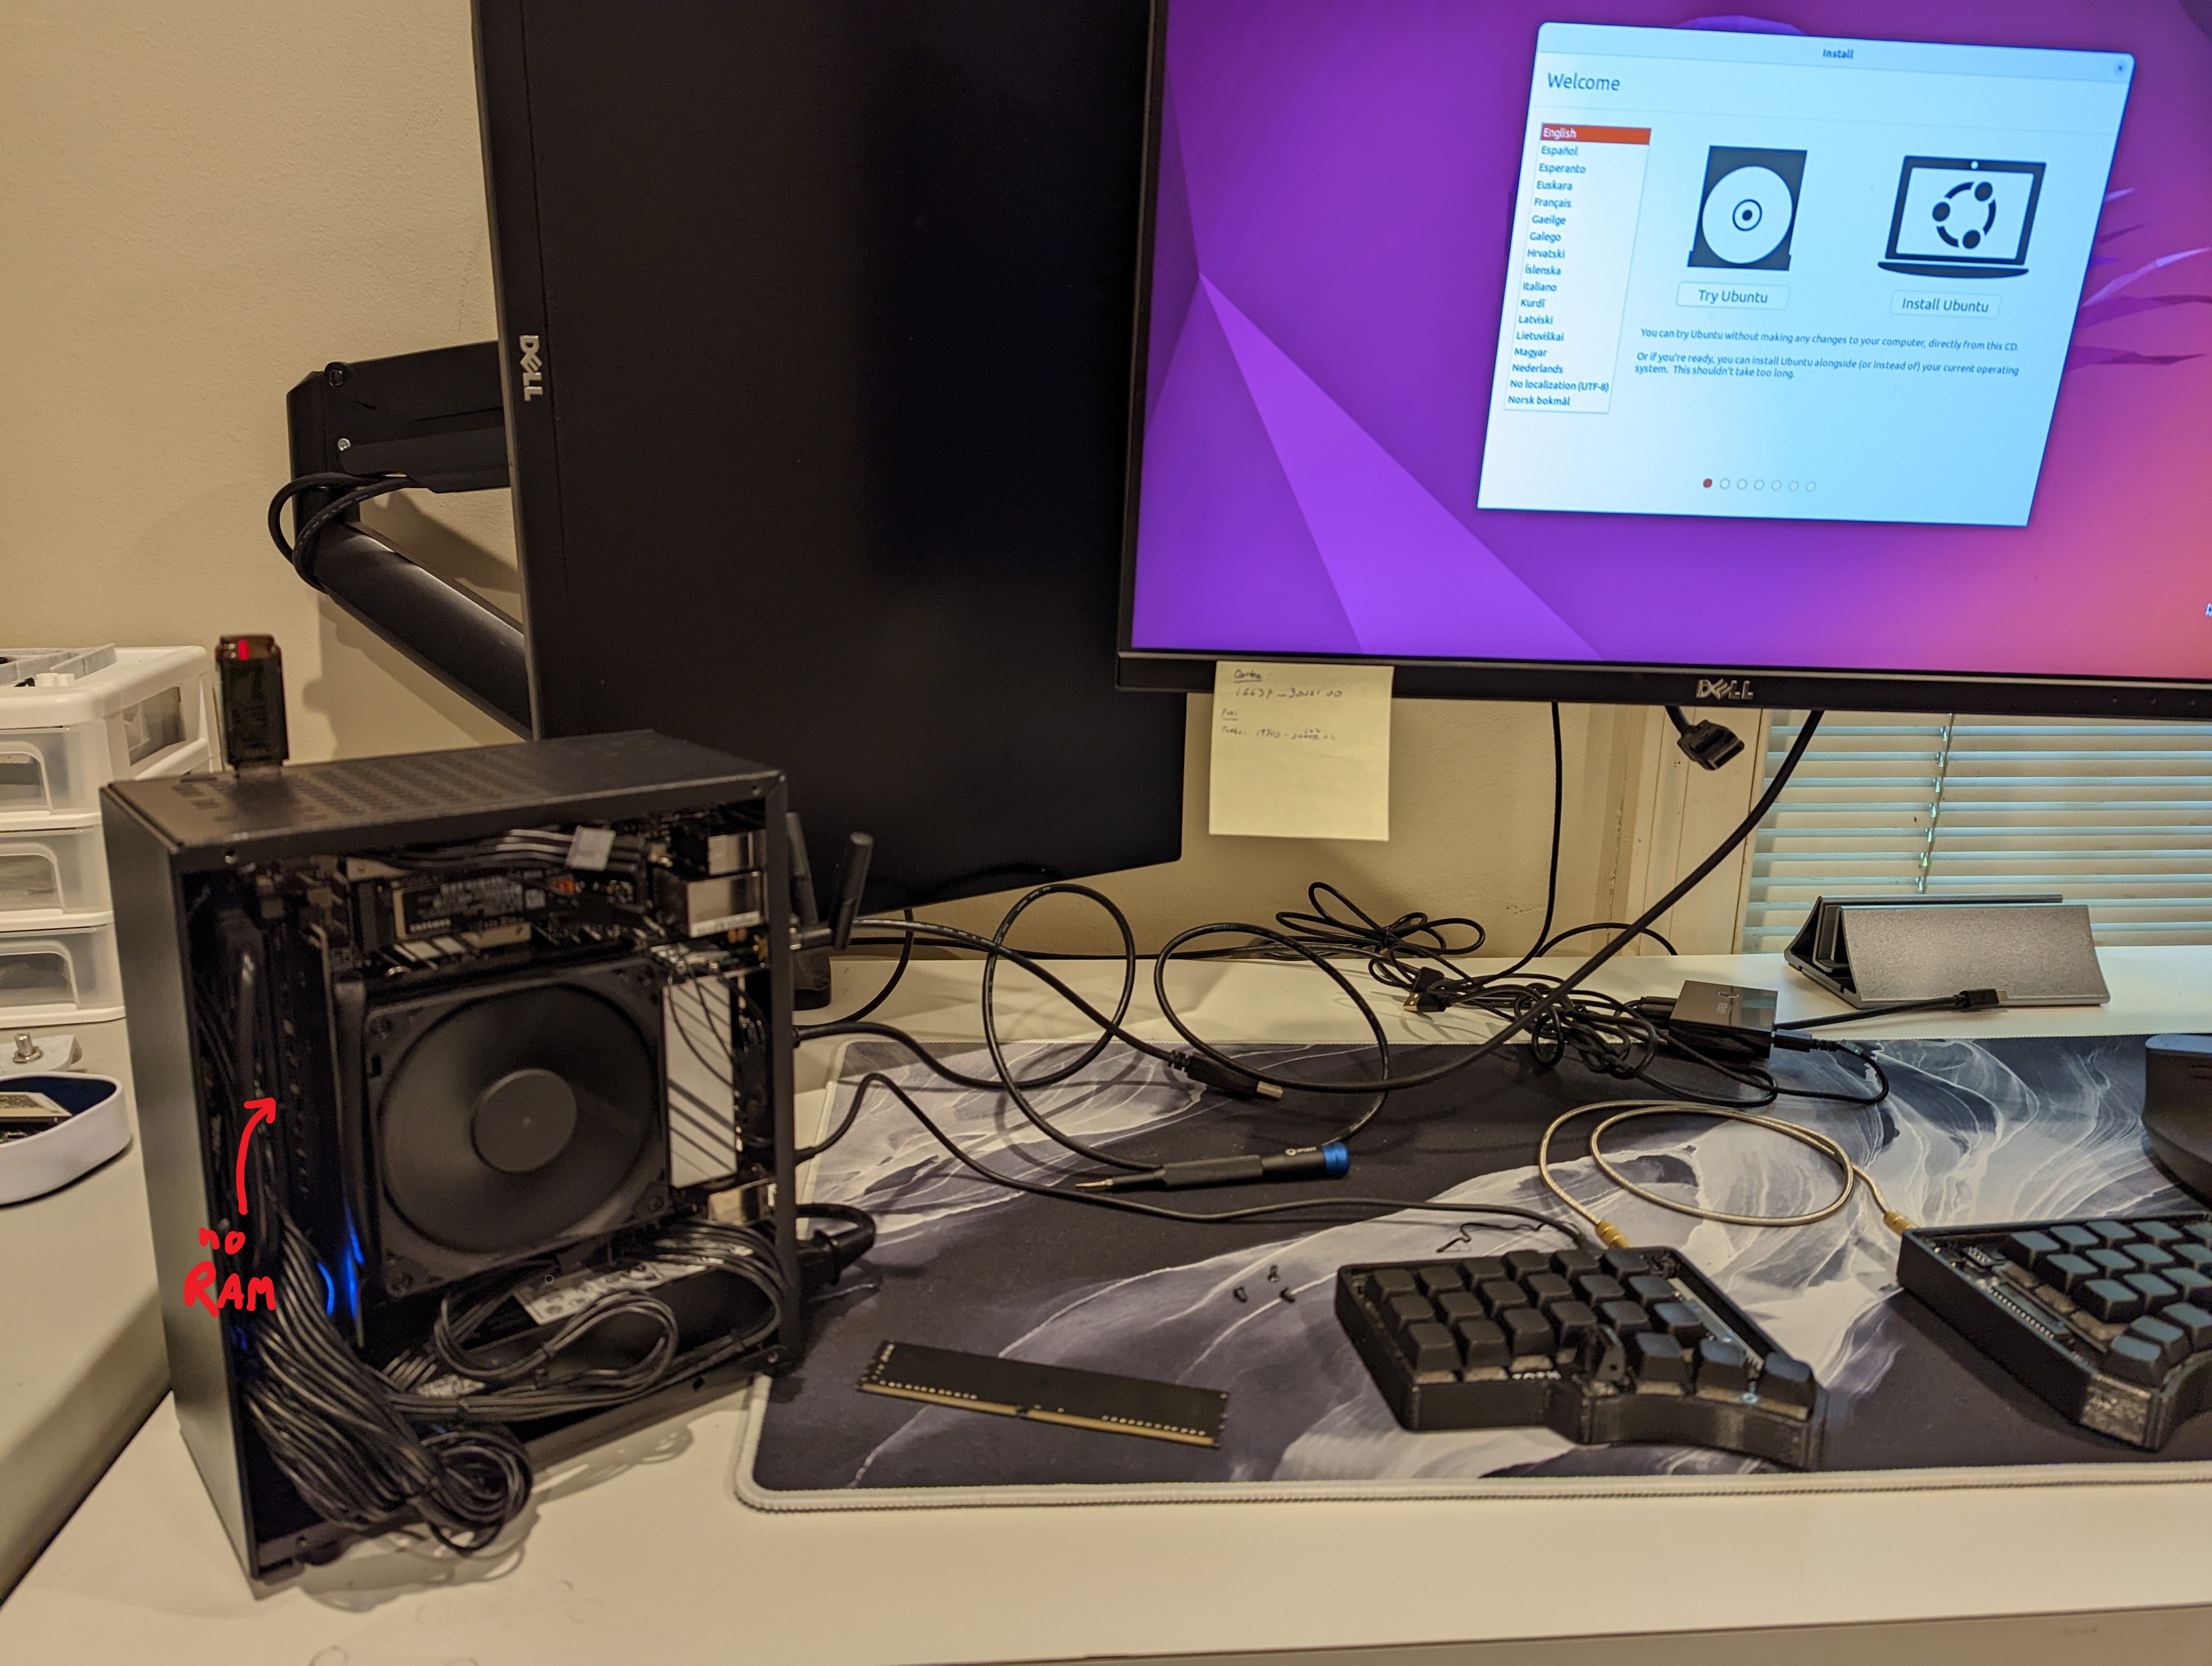
After setting up Ubuntu, I powered down the machine, and installed the second stick of RAM, and then powered the machine on again. Success!
Future Improvements
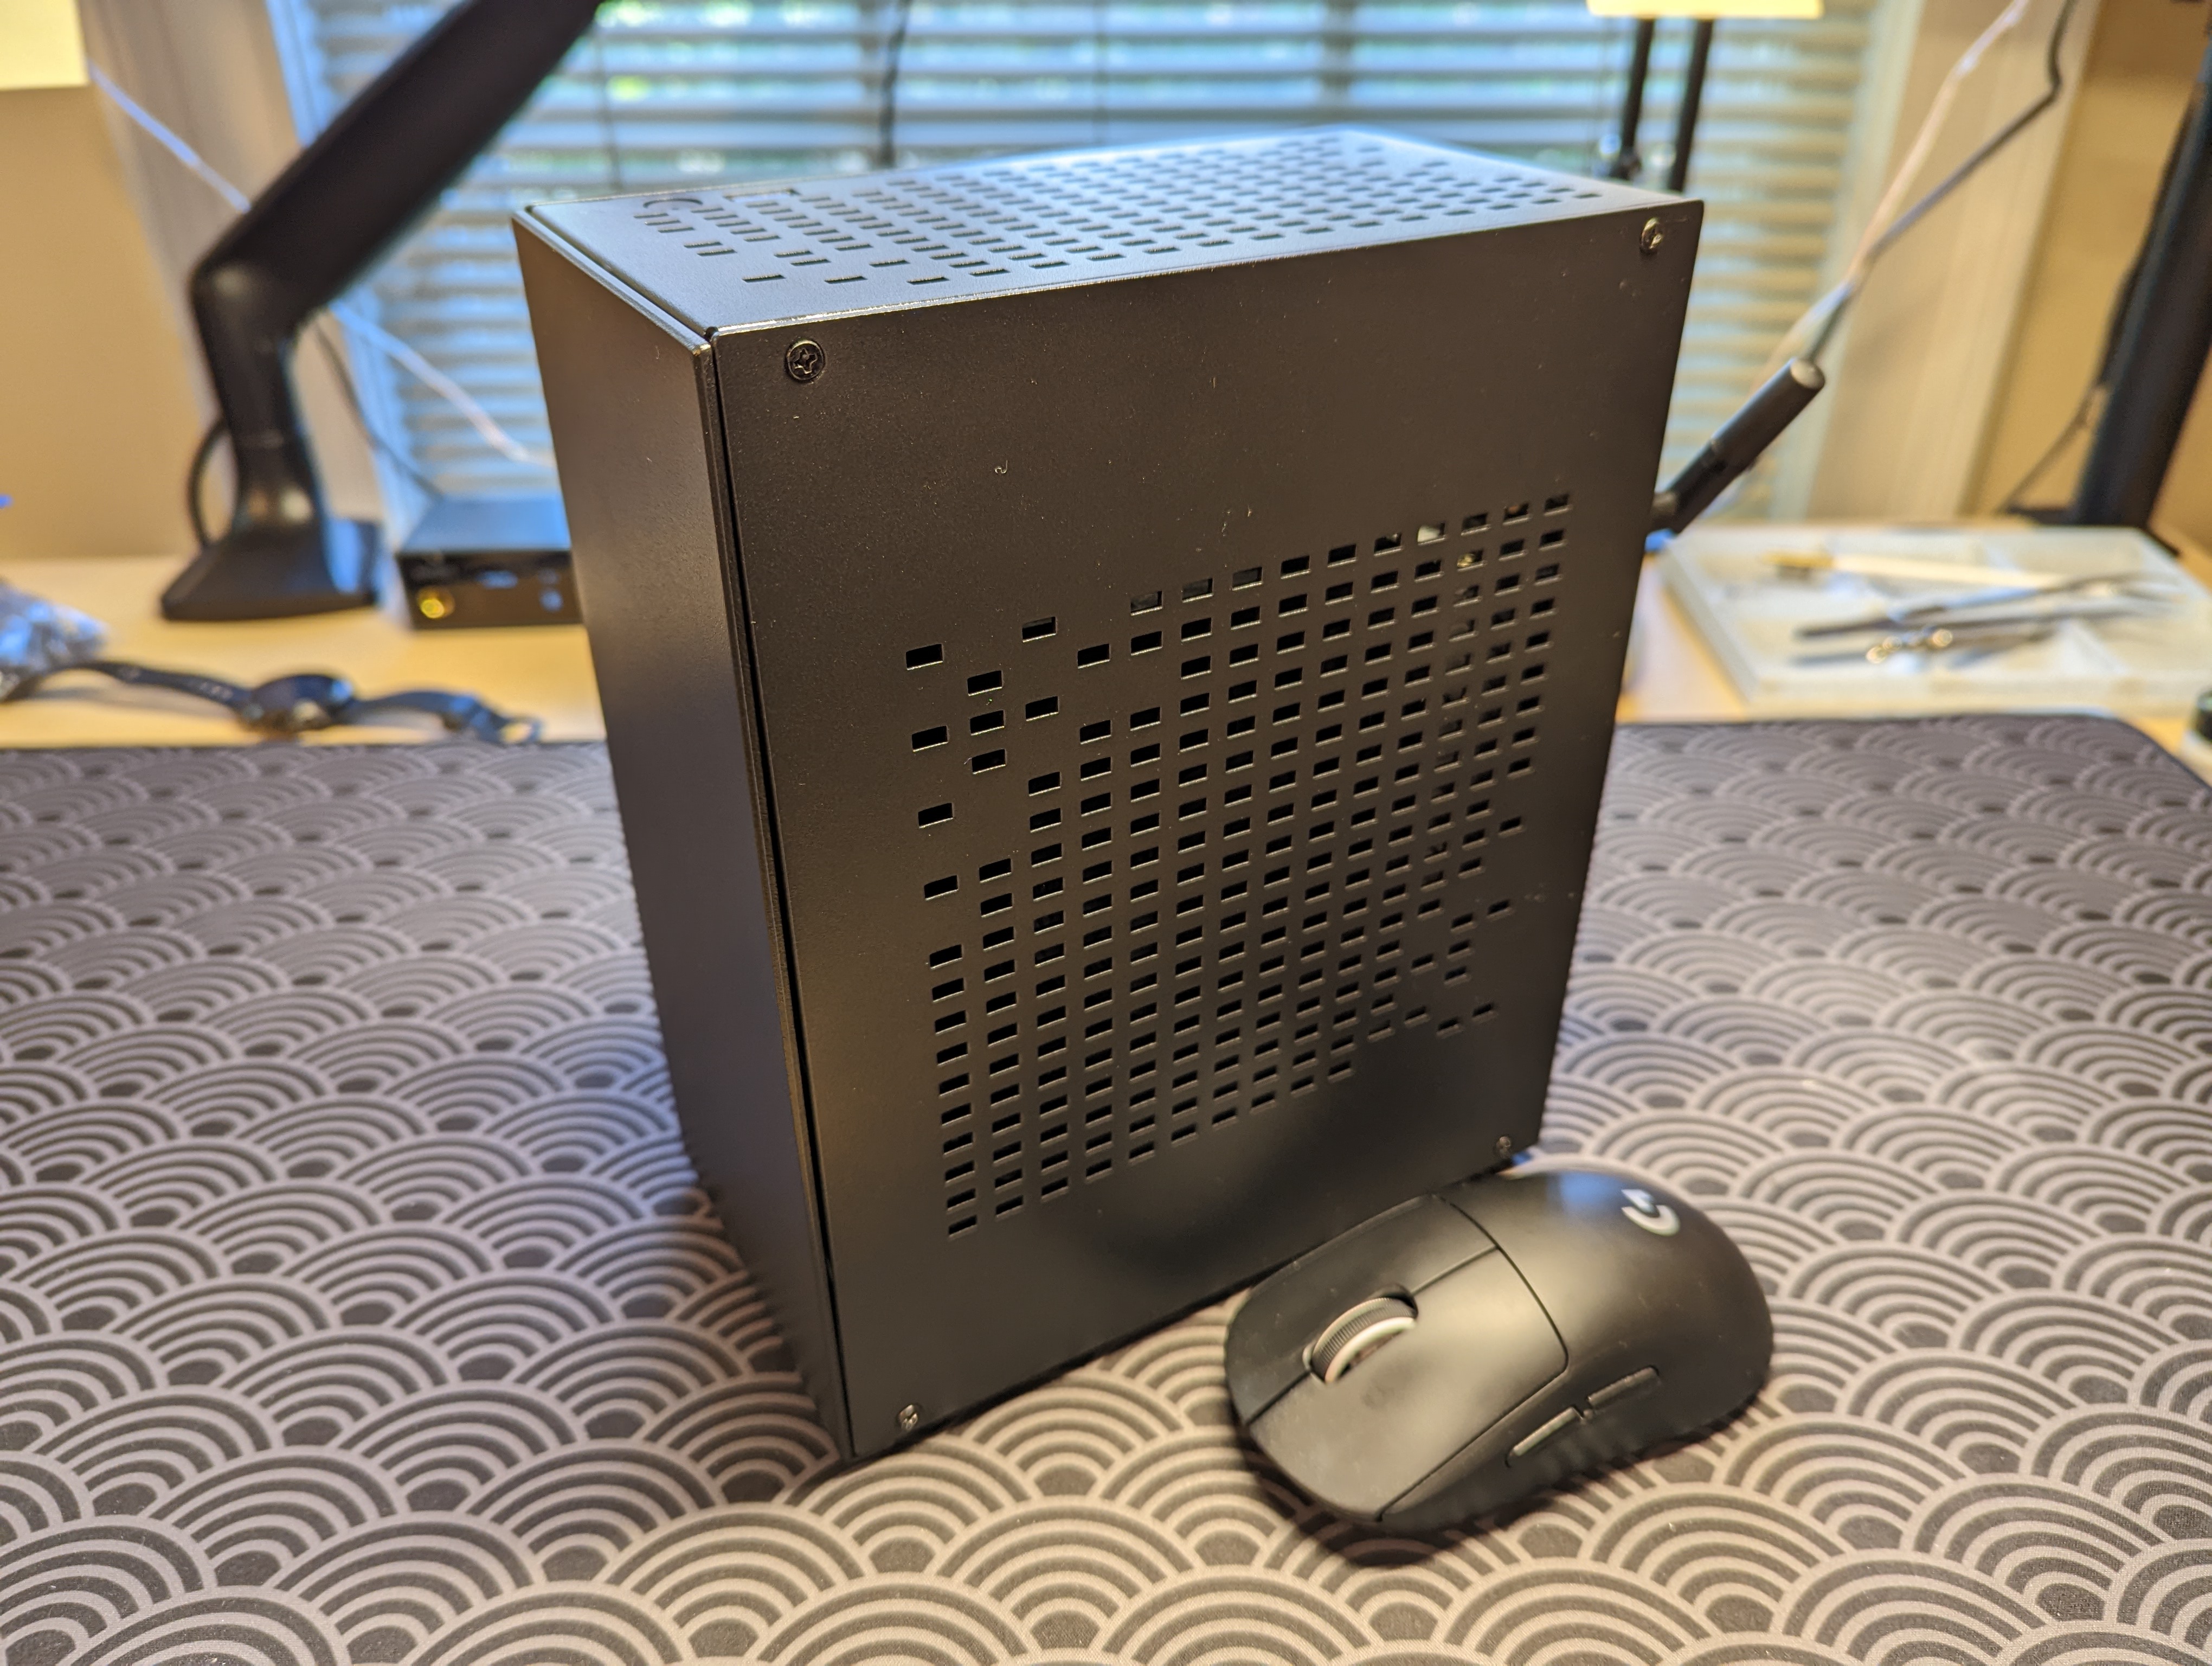
I’m very happy with the end result! The computer is super snappy, and runs surprisingly quietly and cool! It also looks awesome. I’ll probably upgrade the RAM to 2 x 16 GB of 3200 MHz and the SSD to 1 TB, at some point in the future.
Parts Summary
| Item | Part |
|---|---|
| Case | A39 |
| PSU | Enhance ENP-7660B 600 W |
| CPU | Intel i3-12100F, 12th Gen Alder Lake Quad-Core 3.3 GHz |
| CPU Cooler | Noctua NH-L9i-17xx chromax.black |
| Motherboard | Asus Prime H610I-Plus D4-CSM |
| RAM | 2 x 8 GB of Gskill DDR4 2666 MHz |
| SSD | Samsung 970 Evo Plus 500 GB |
| GPU | PNY GeForce RTX 3060 12GB XLR8 single fan GPU |
| PCIe riser | Louqe PCIe 4.0 riser cable |
Footnotes
-
Admittedly, I’m actually writing this blog post on my Windows machine right now, but I’m using Git BASH for Windows to emulate a terminal. It’s actually an awesome piece of open-sourced software, but … it’s still not the same as a Linux development environment. For one, I can’t stand the
\or\\file structure notation. And why do I have to usectrl+insto copy lines of code from the ‘terminal’, instead ofctrl+corctrl+shift+c, like a sensible person? ↩
↩