I’ve been on a bit of a SFFPC-building streak, so I figured why not build another one? I’ve been curious about HoloISO, which is a port of the official Steam OS image, except it’s not tied to the Steam Deck hardware. HoloISO is mostly hardware agnostic, except for its poor support for Nvidia GPUs. For that reason, I thought I would build with an AMD GPU (Steam Deck’s poor Nvidia support makes sense, given that the Steam Deck is using a special AMD APU). I also wanted to try a build where I swap out the stock GPU fans for fancy Noctua fans. With these two goals in mind, I ordered some parts and built my custom SFFPC gaming console.
The Case
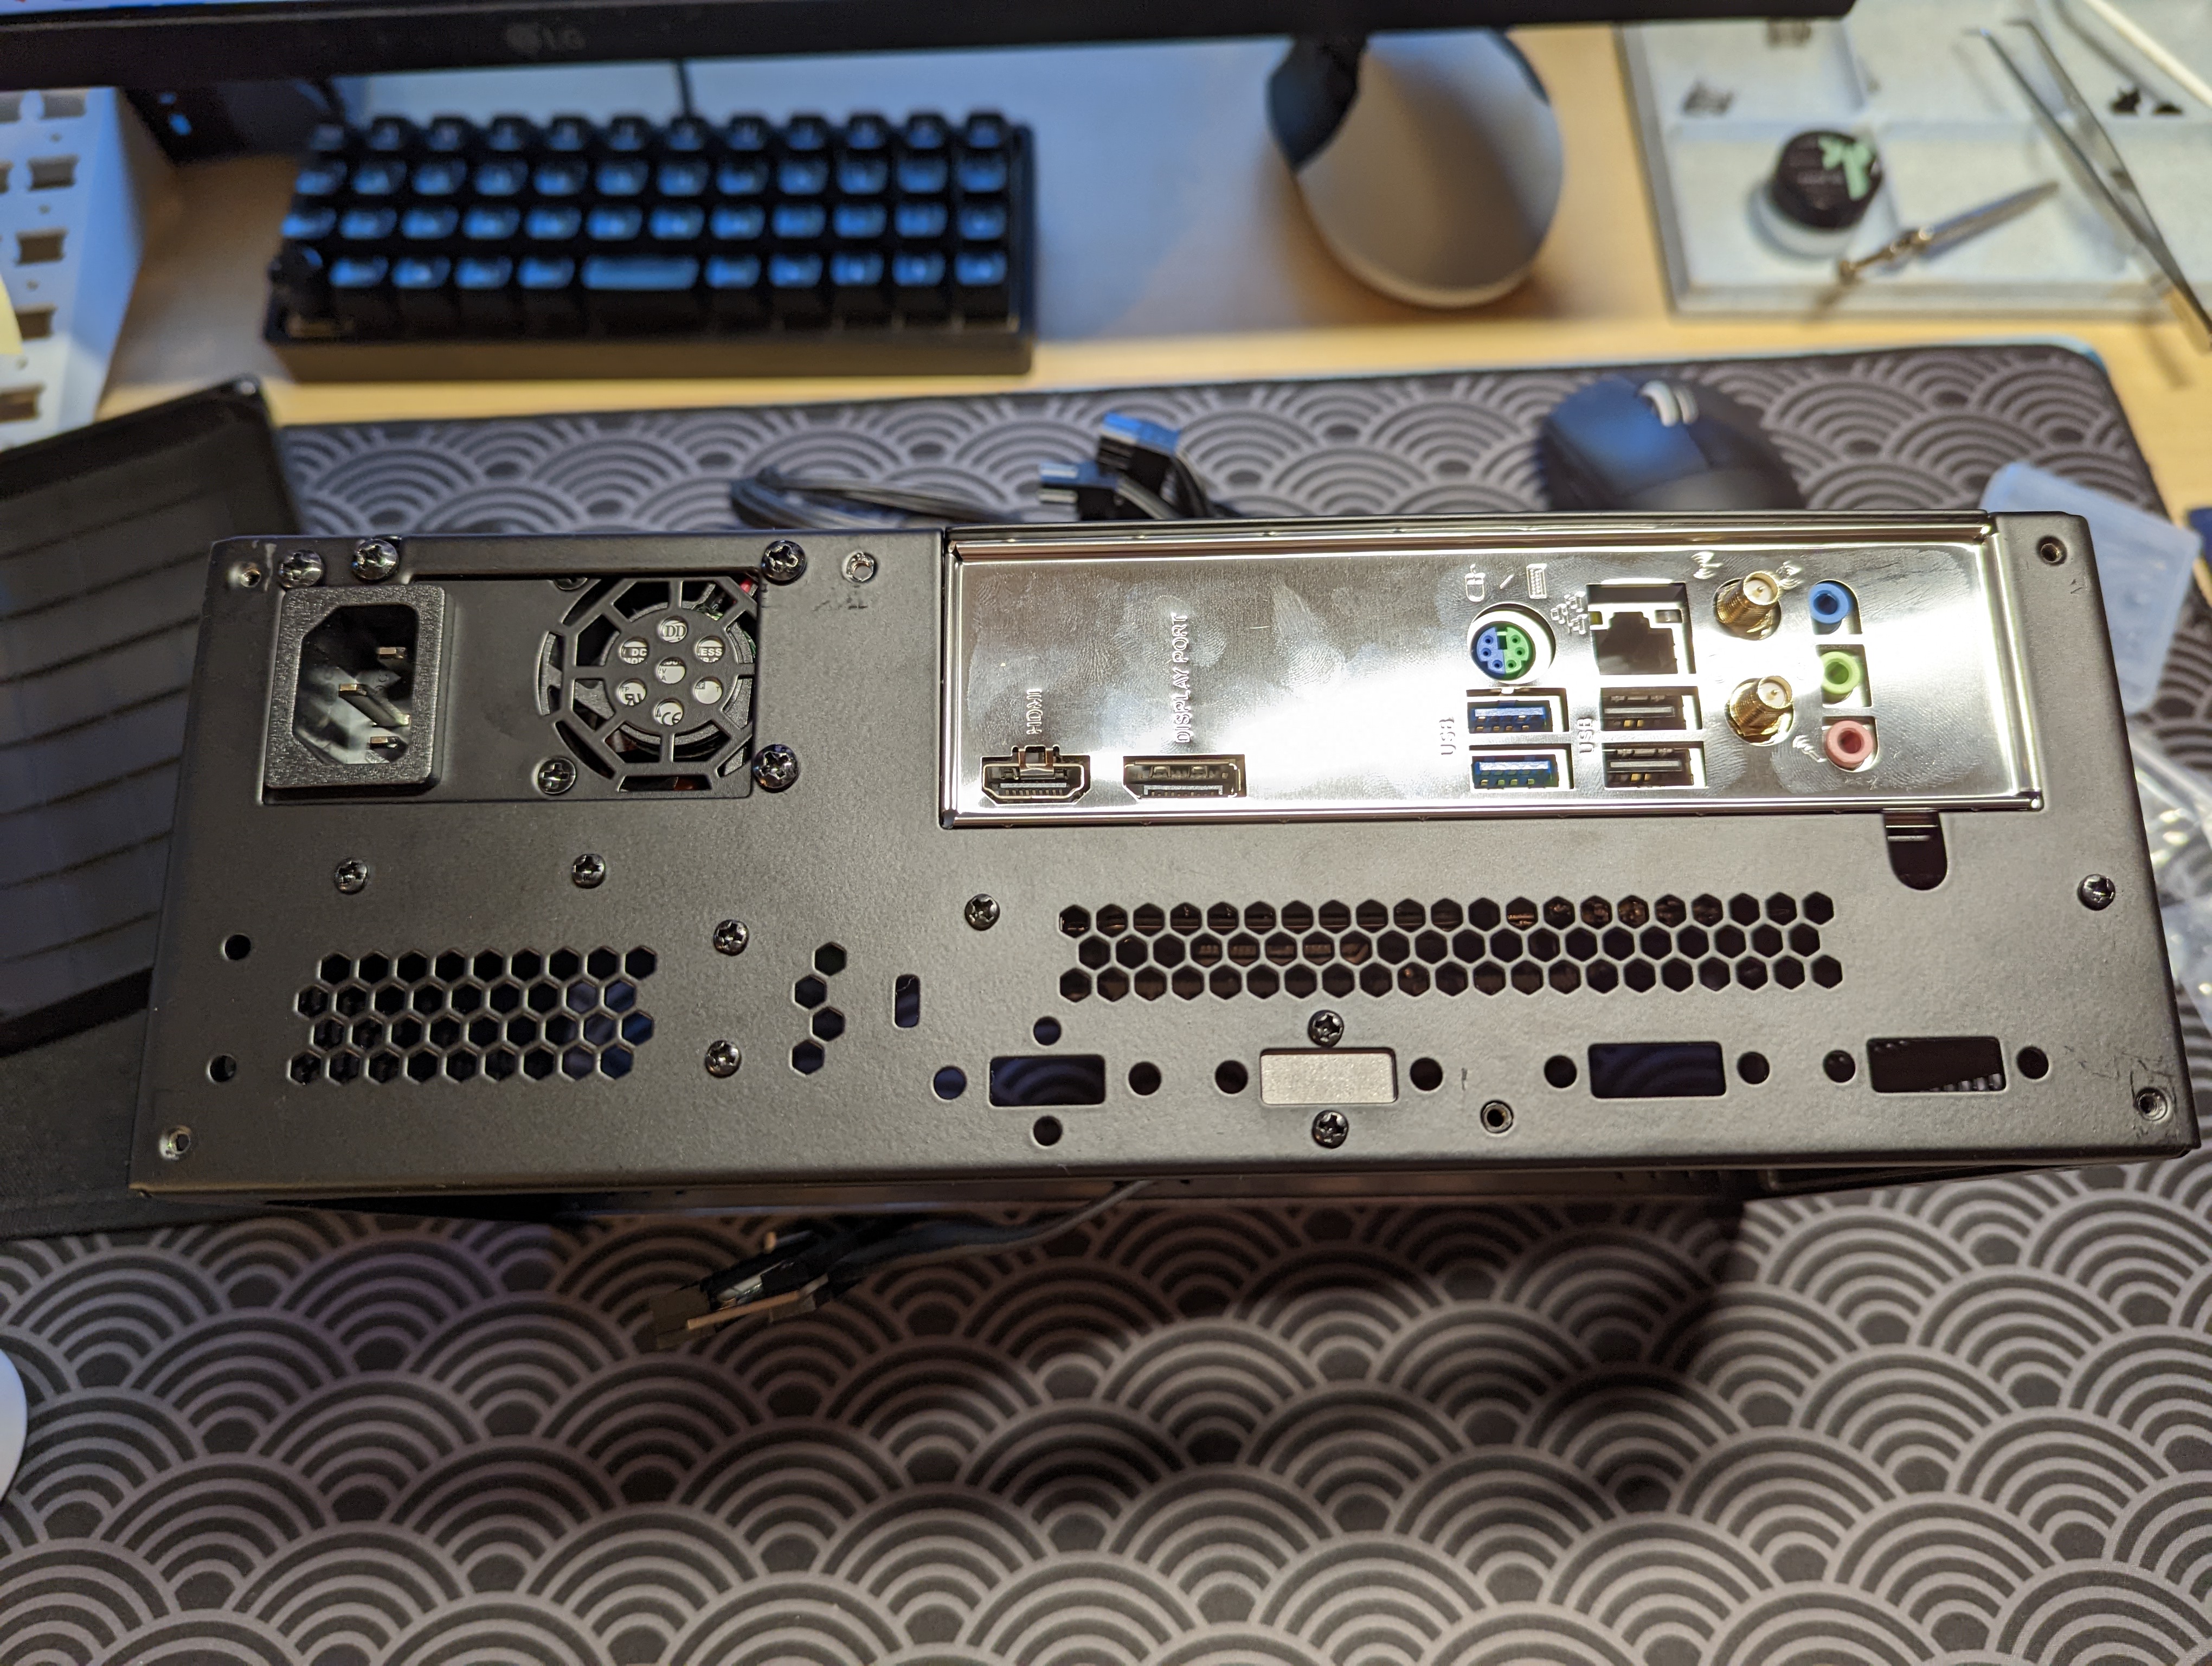
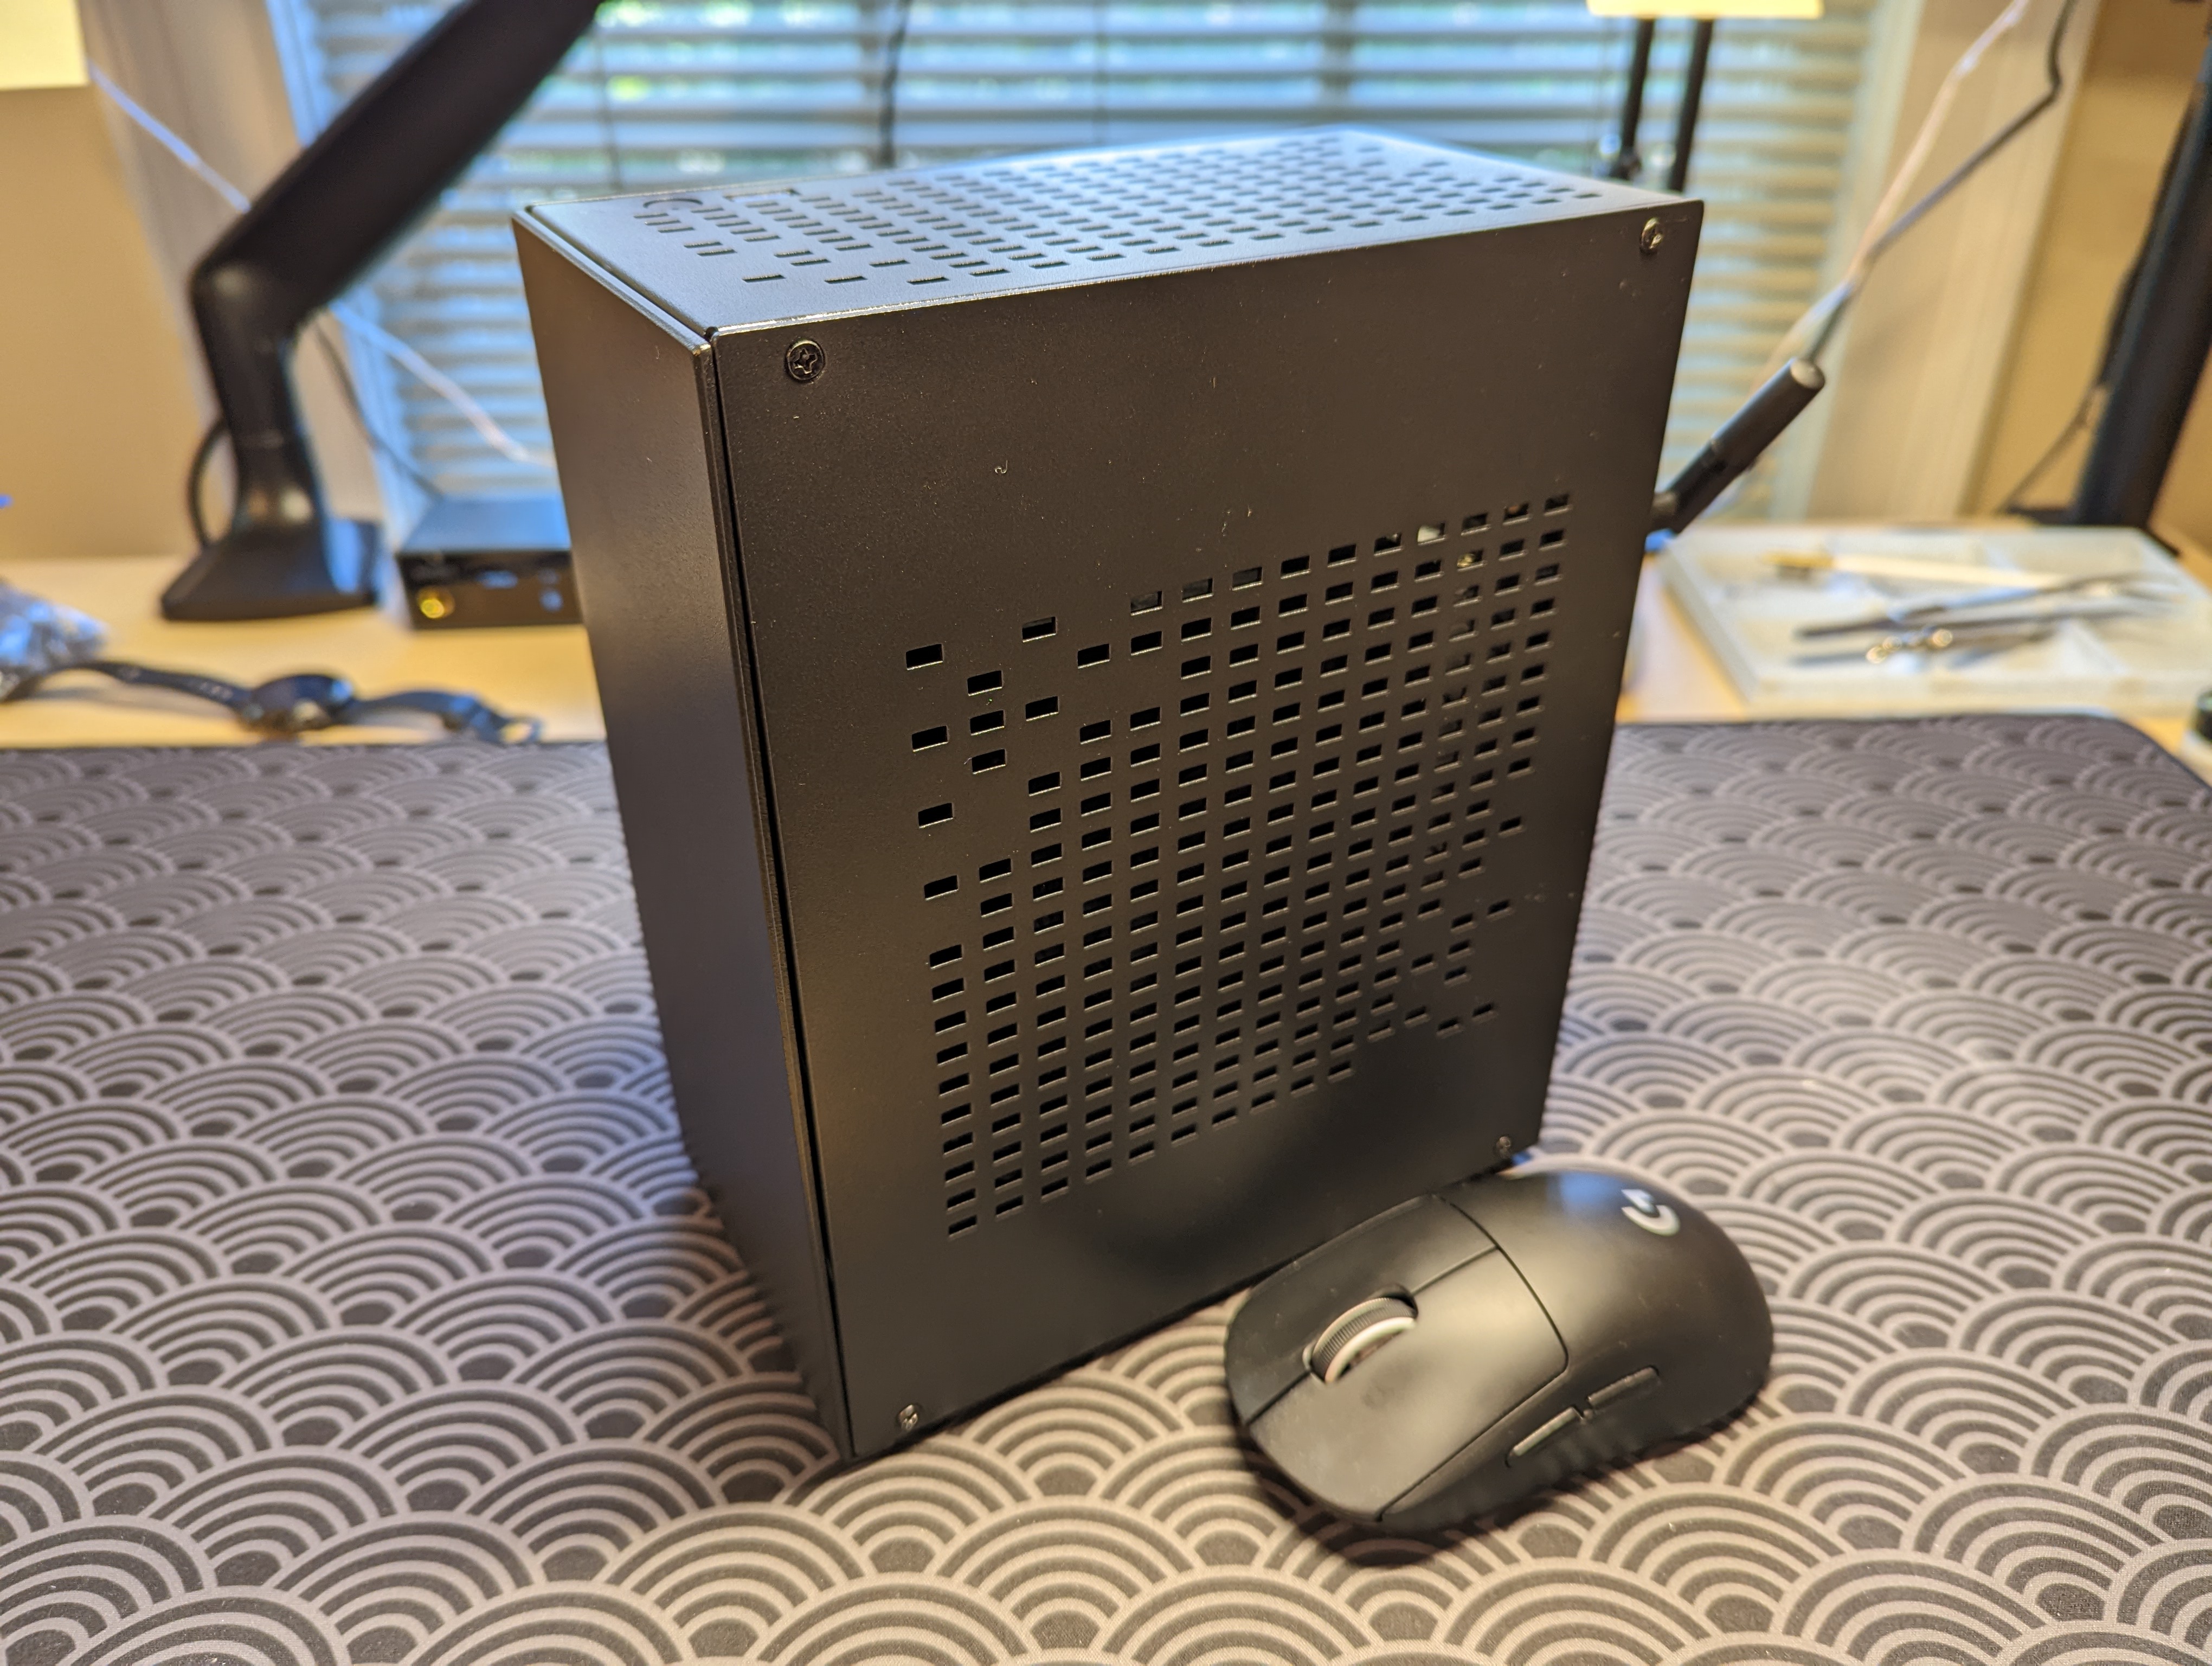
For this build, I’ve gone with the compact and sleek Velka 5. This case is reliably in stock, and has decent pricing for a SFFPC case. The Velka 5 can also support a full-sized graphics card.
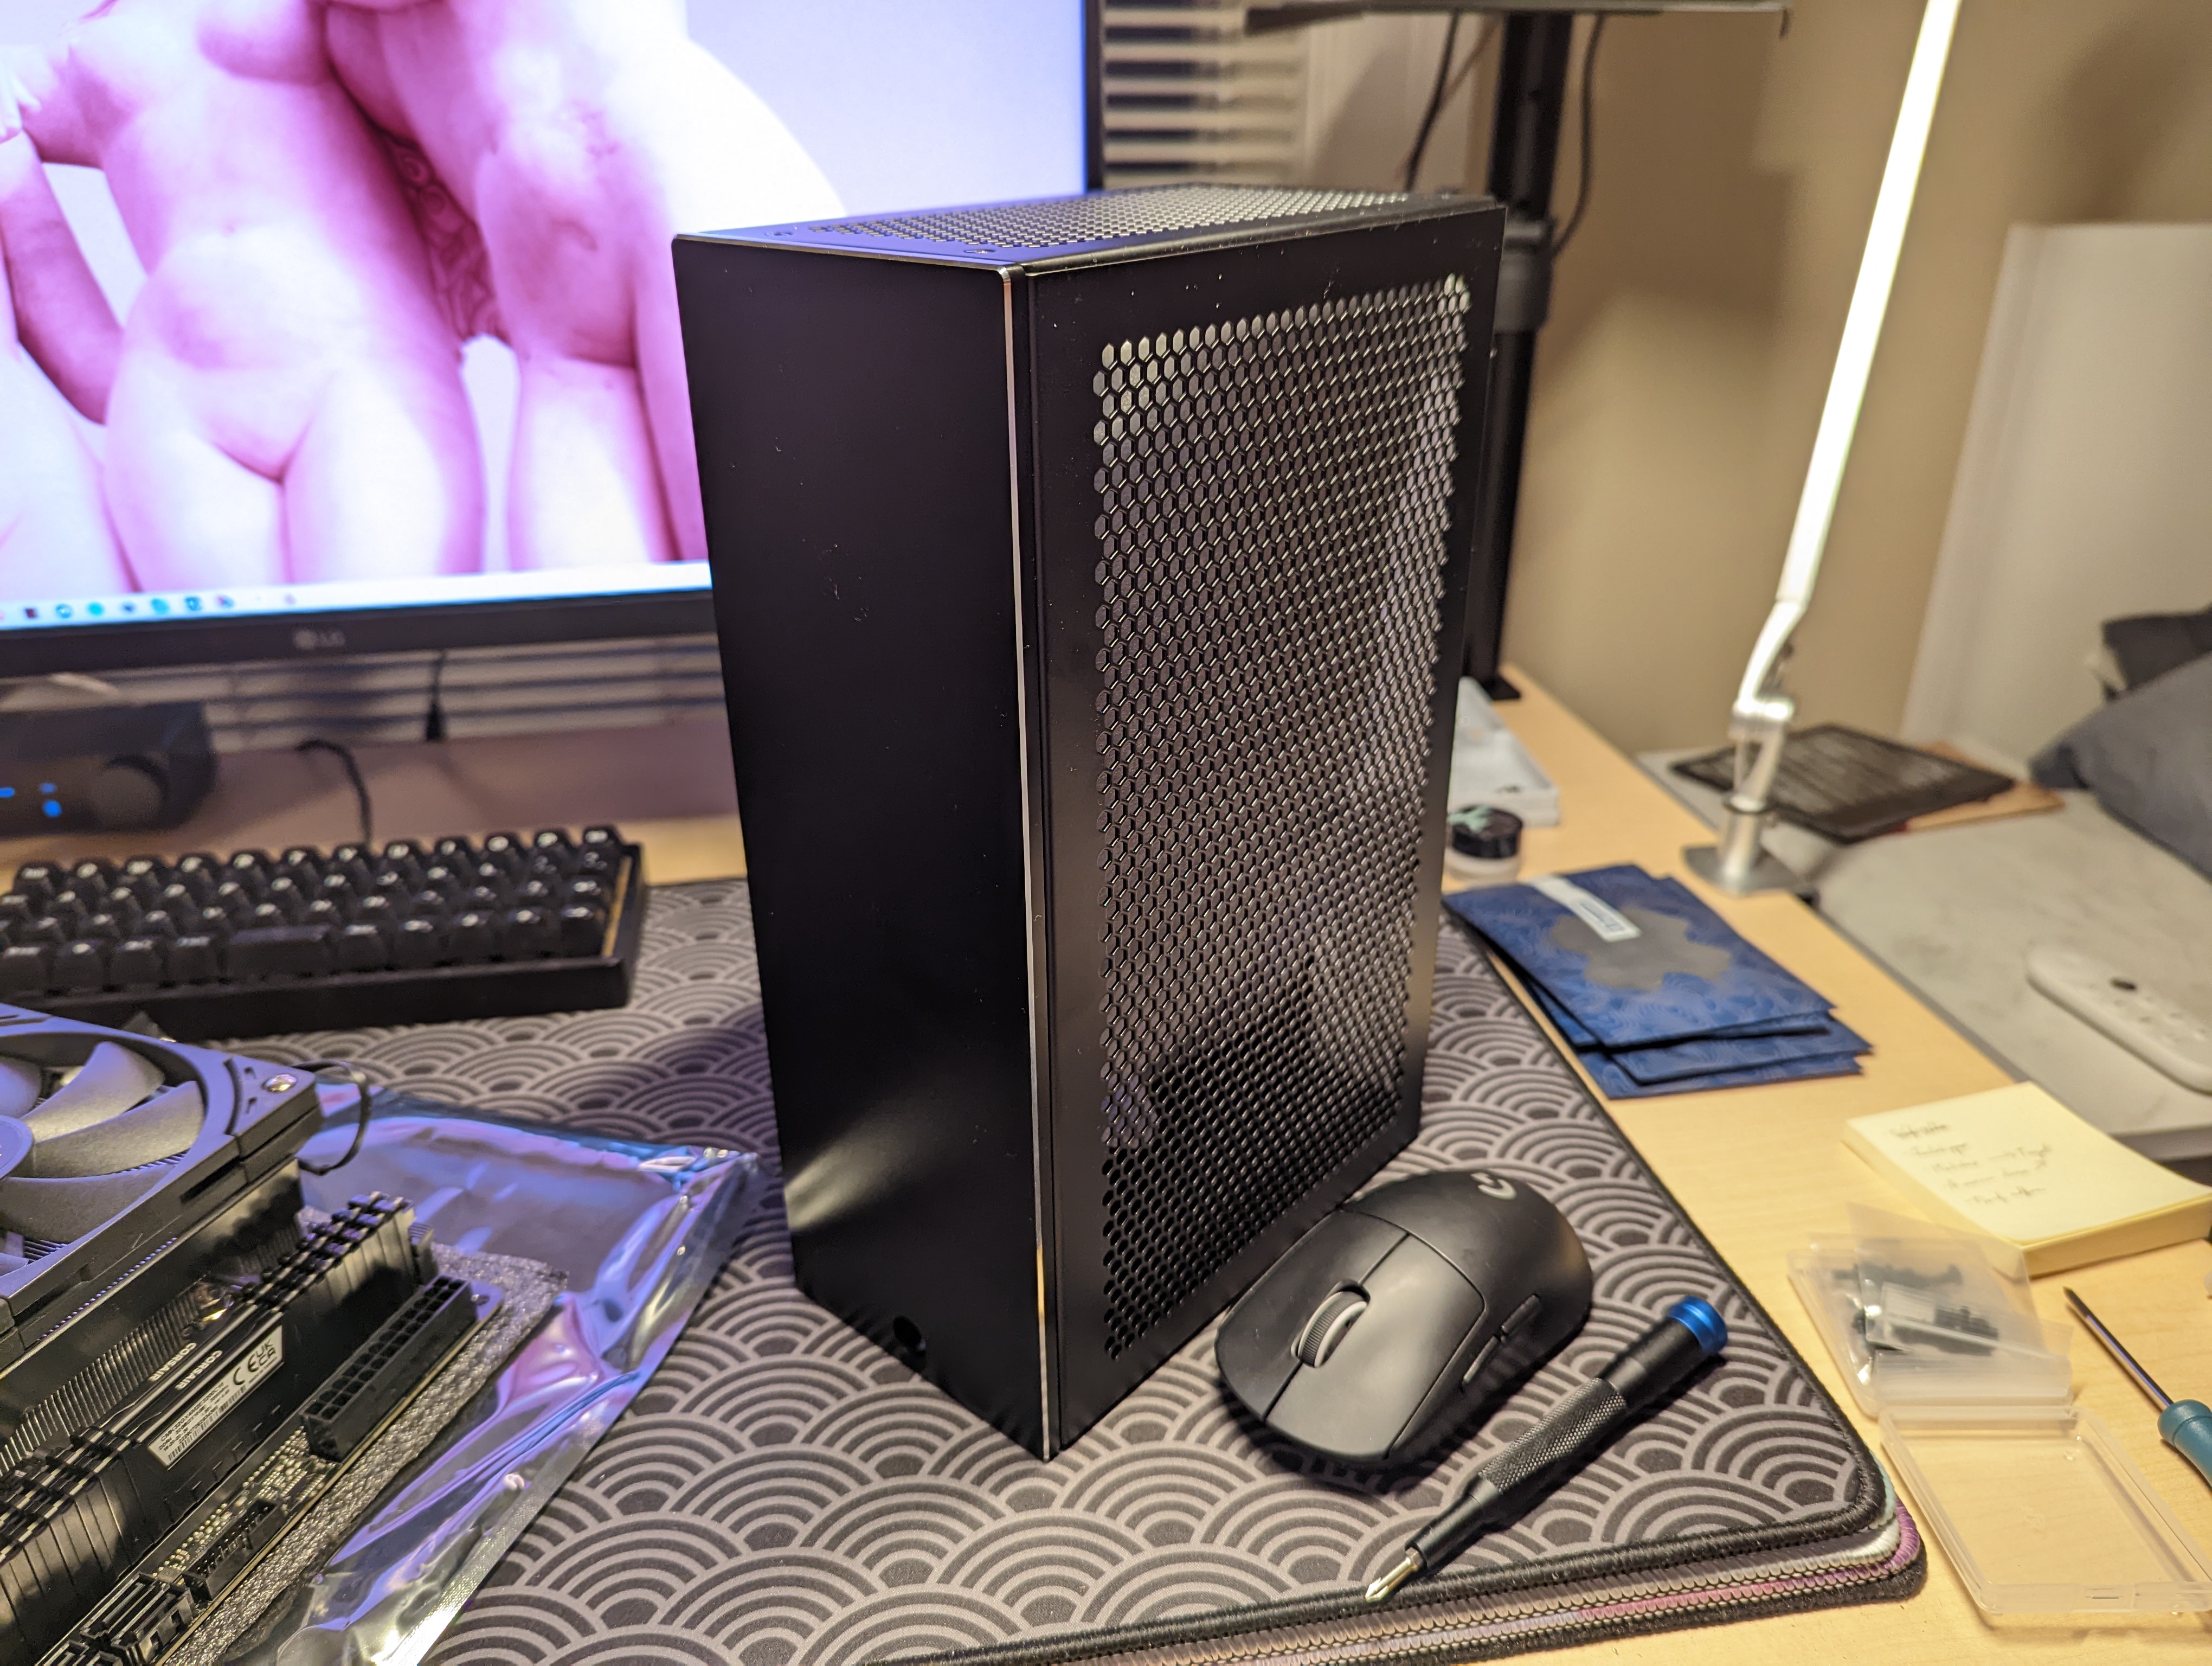
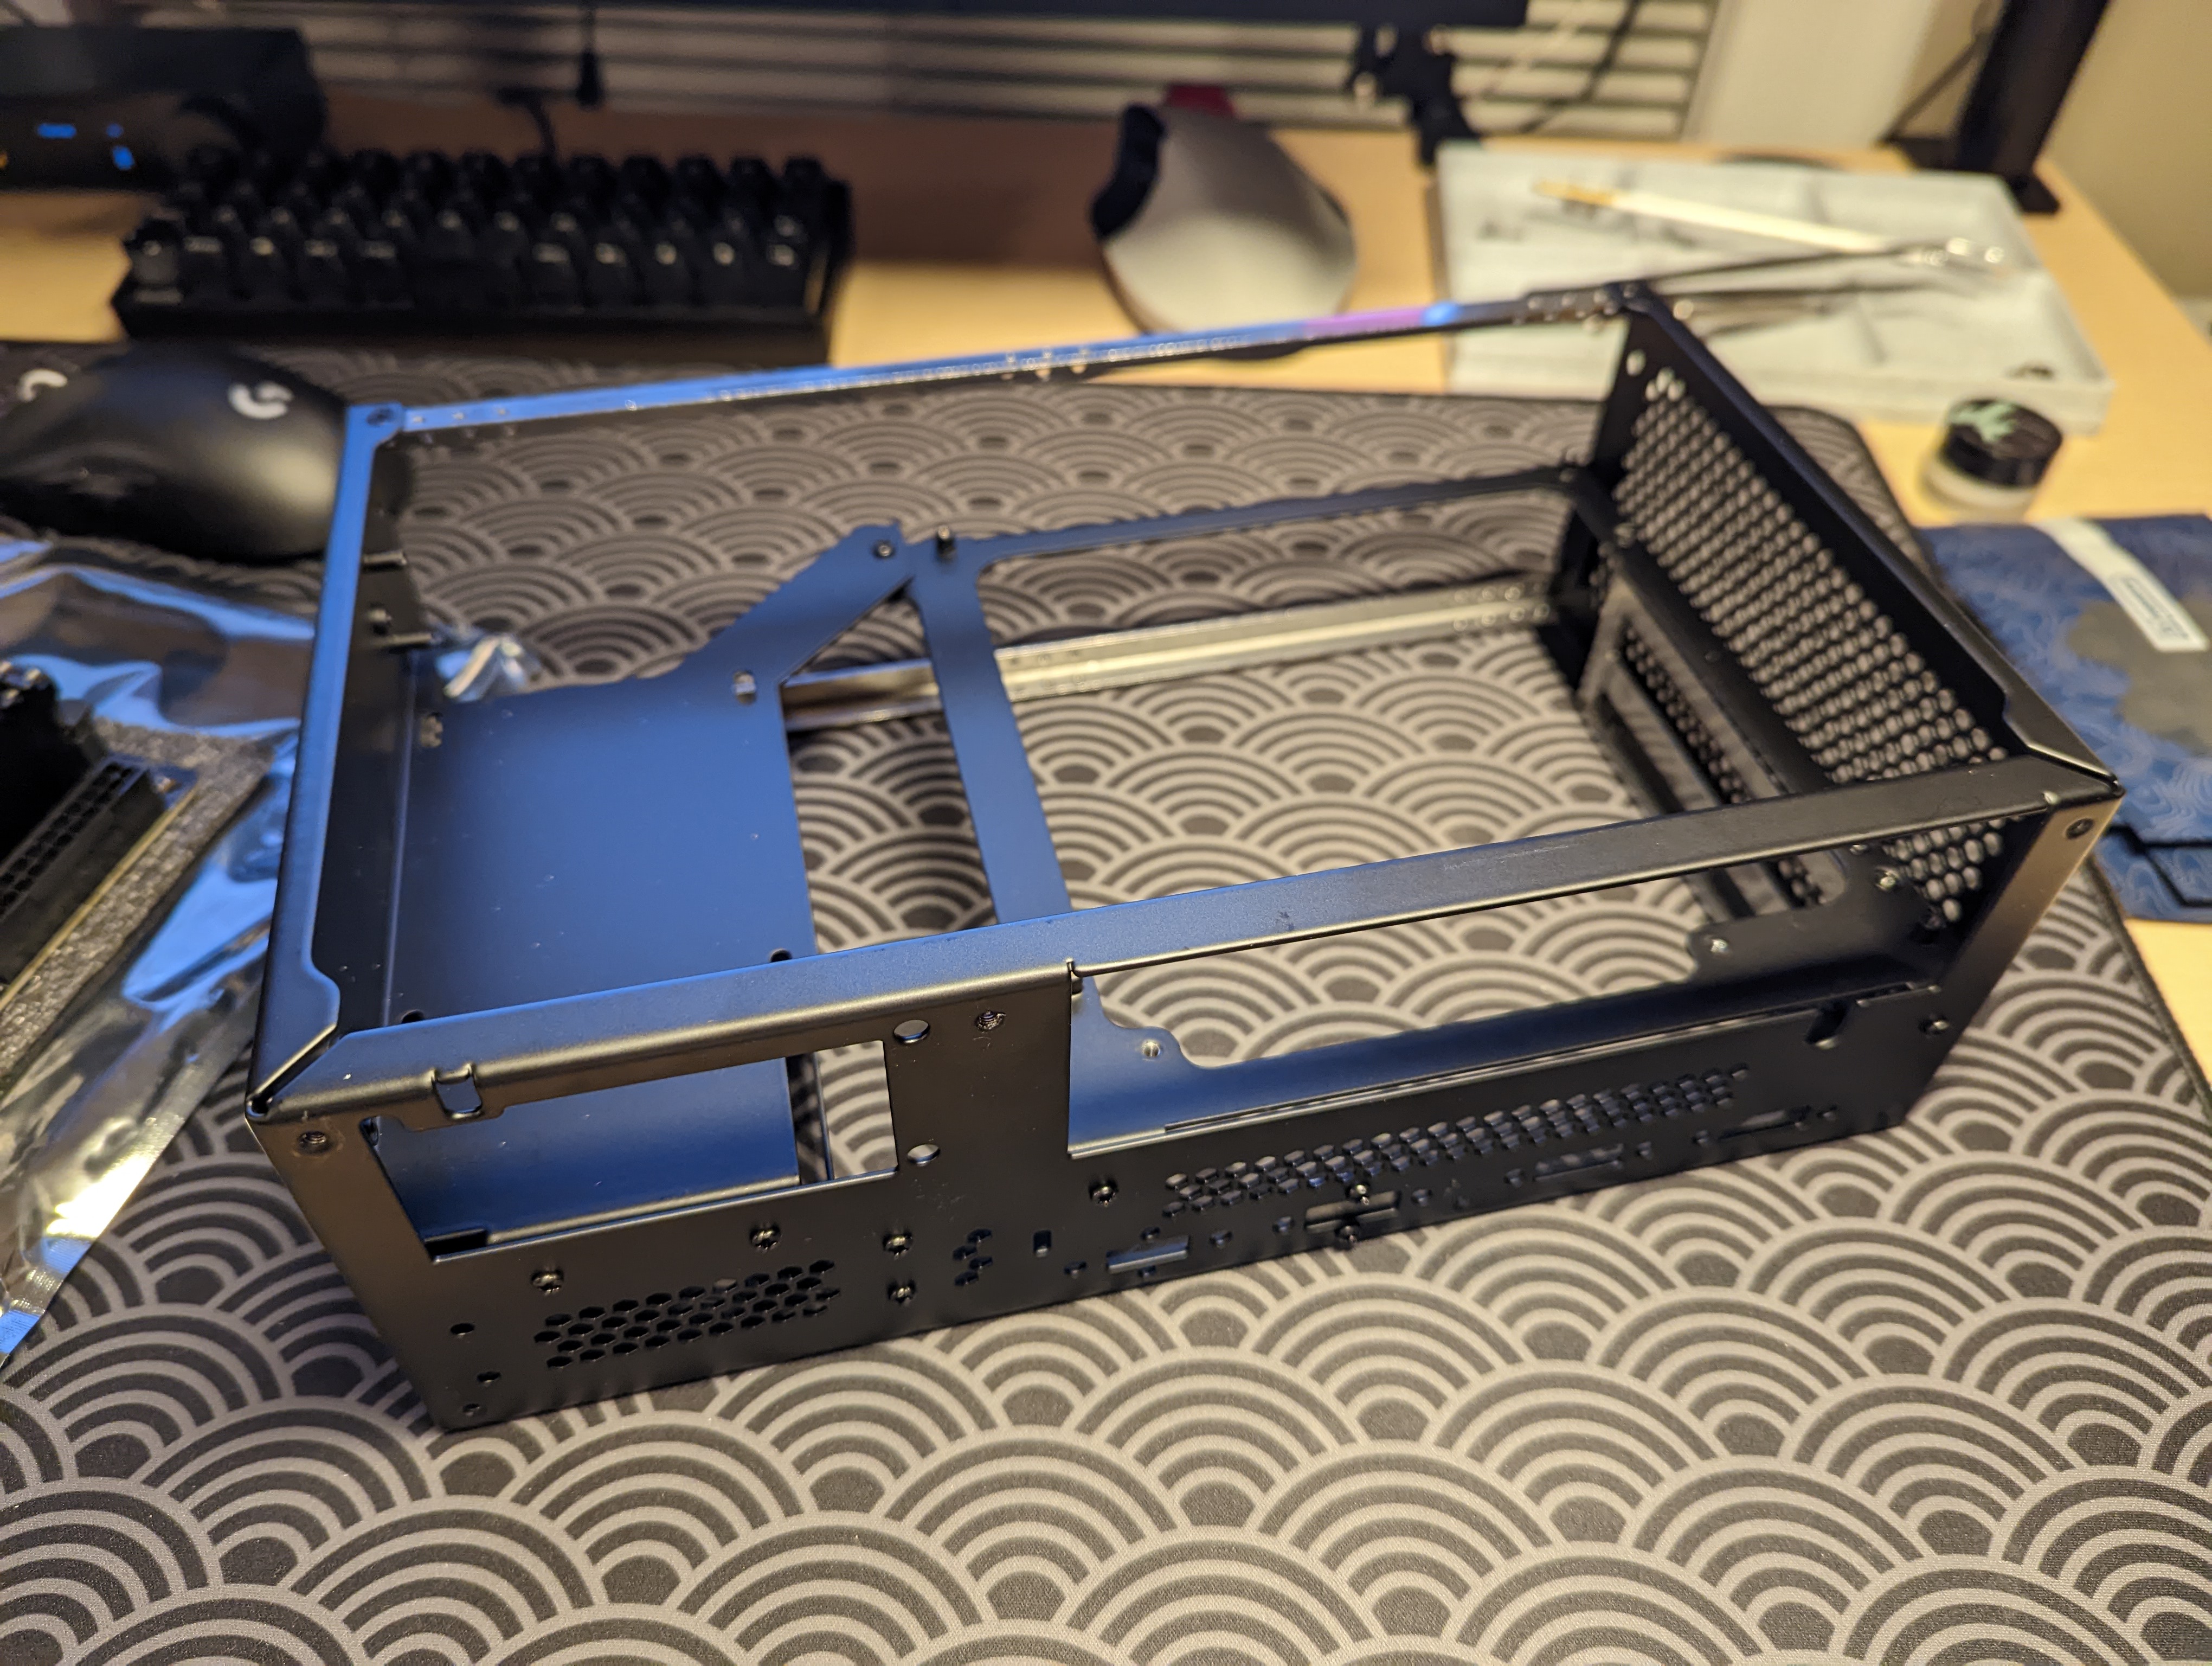
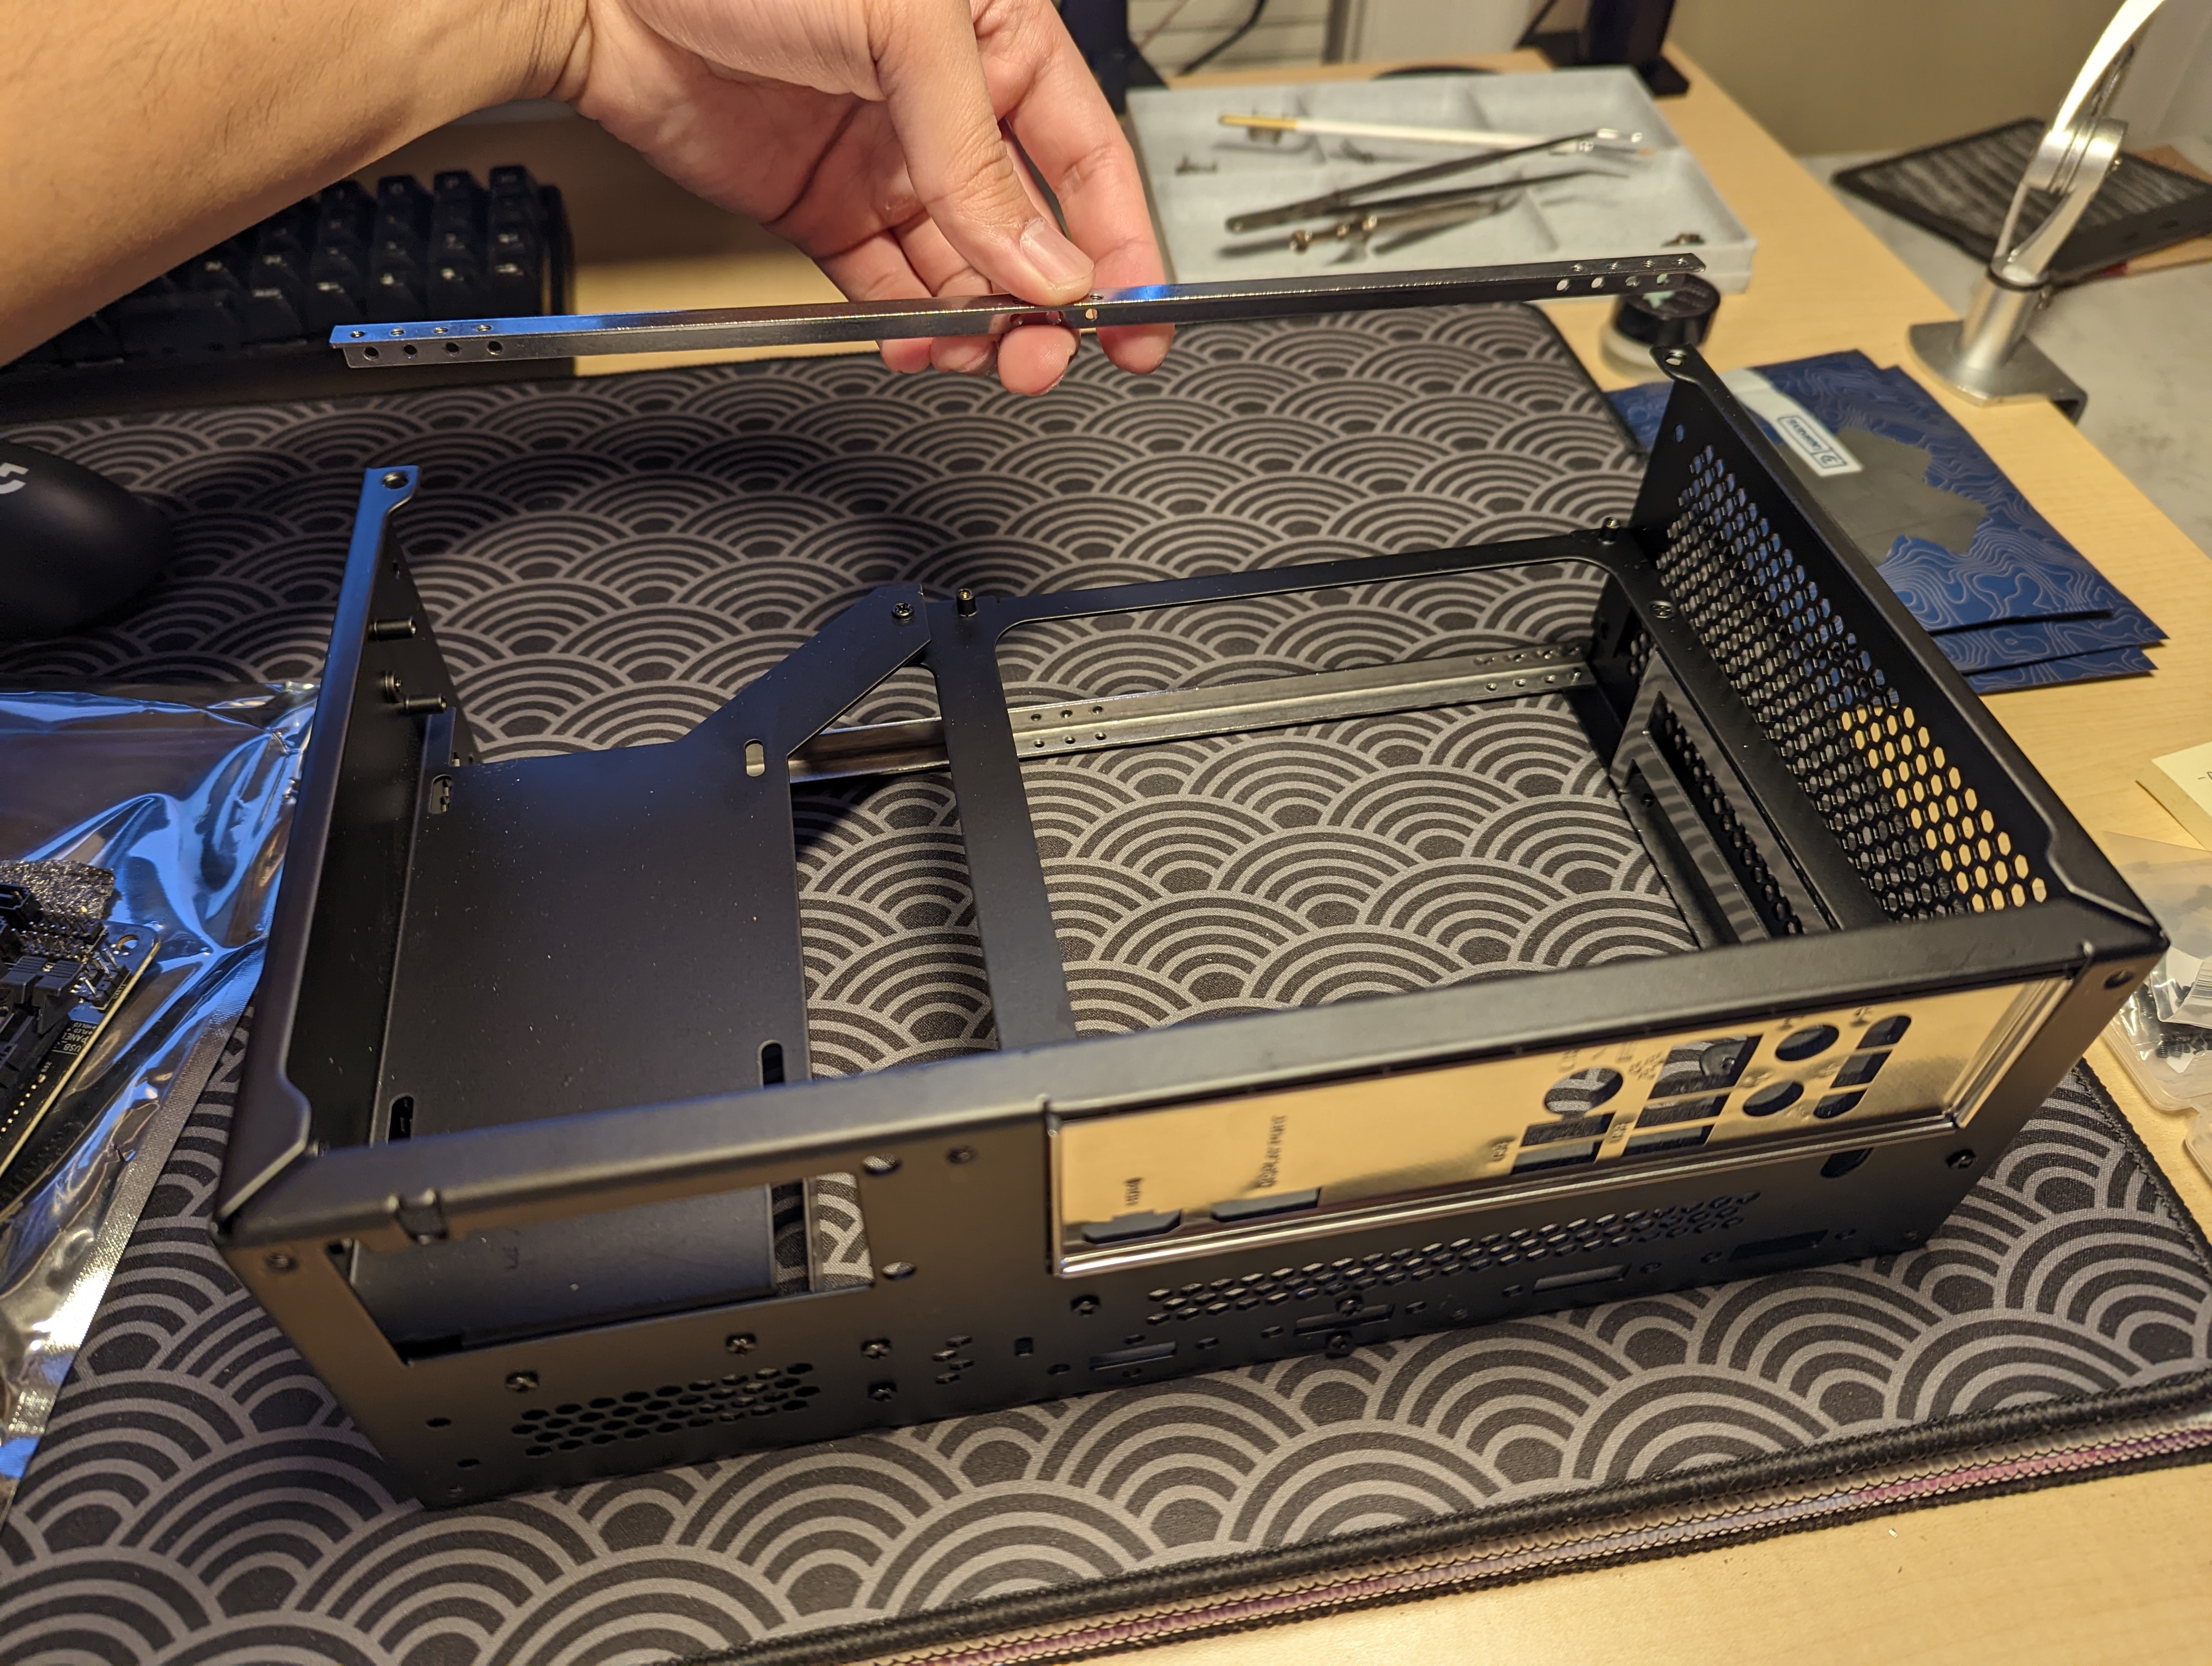
The build quality is pristine, and all the parts are extremely sturdy. I’m excited to build in the Velka!
Testing the Power Supply
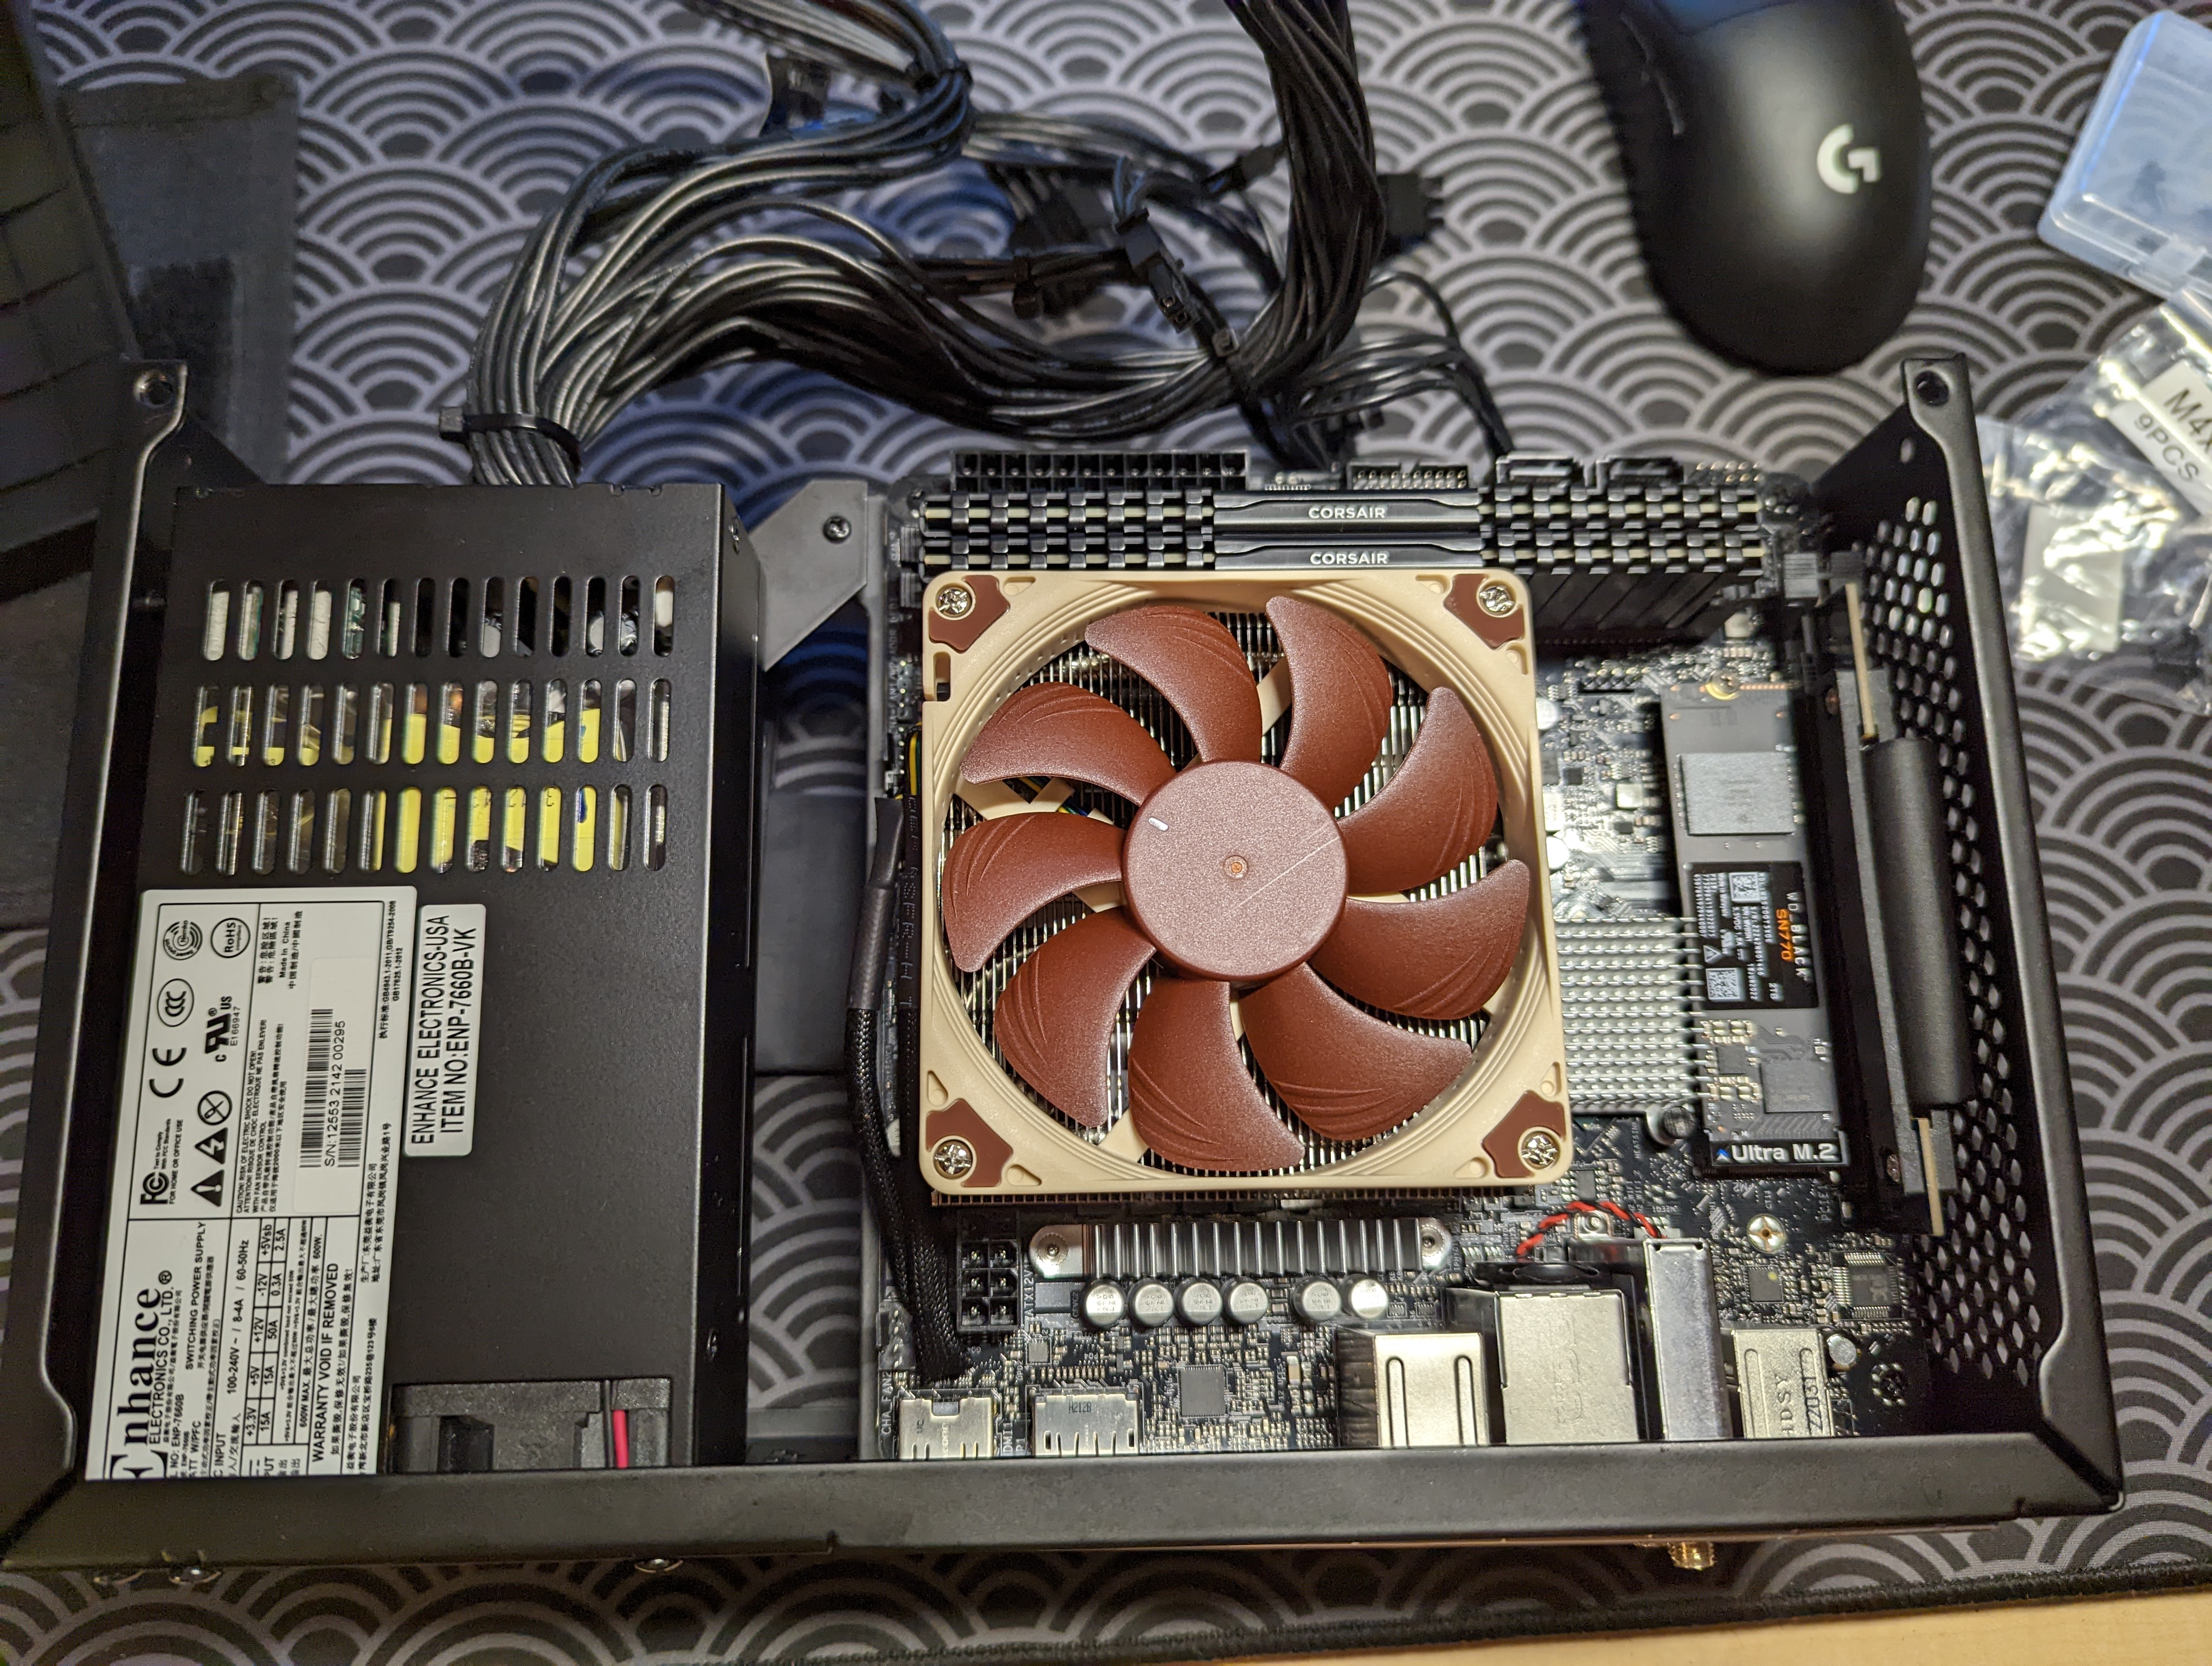
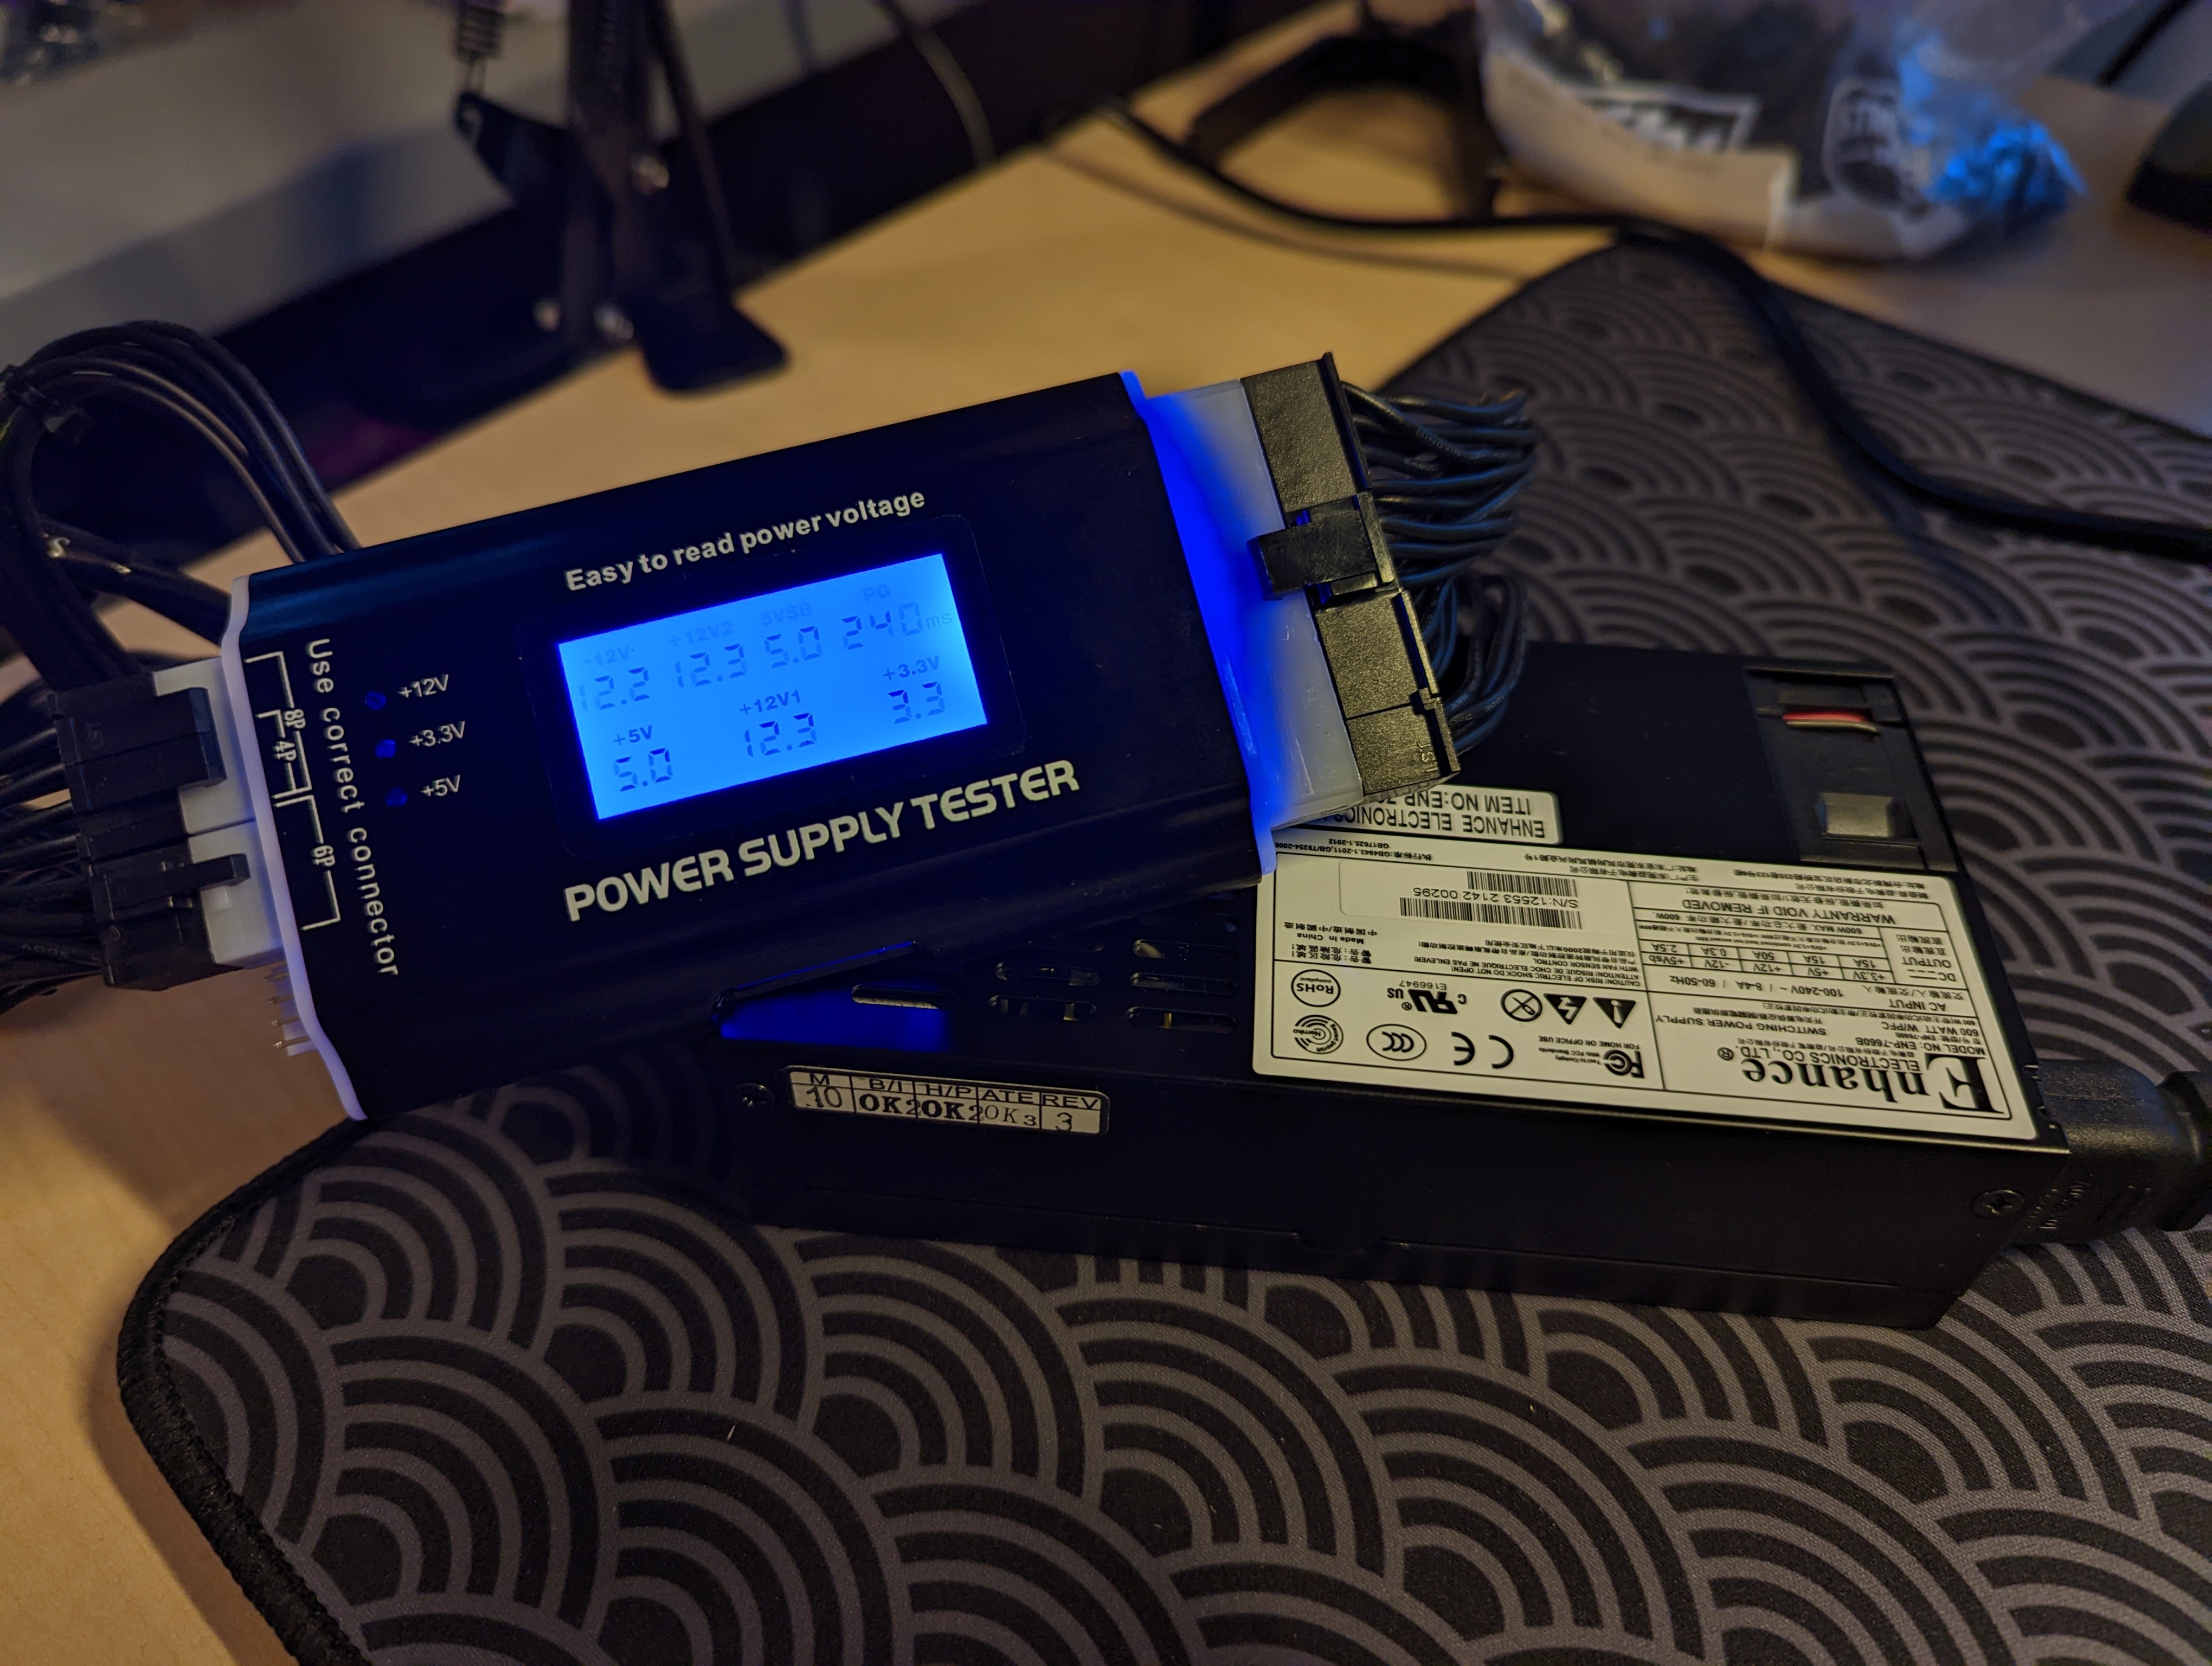
Just like with my last SFFPC build, I’m using a 600 W ENP-7660B flex PSU from Enhance. This PSU is non-modular, so I’m going to have to cut some unnecessary cables, down the road. For now, however, I’m leaving all the cables intact.
Like with all my builds, I start by testing the functionalisty of the power supply. I plug in a cheap power supply tester, and check that all the voltage readings are as expected.
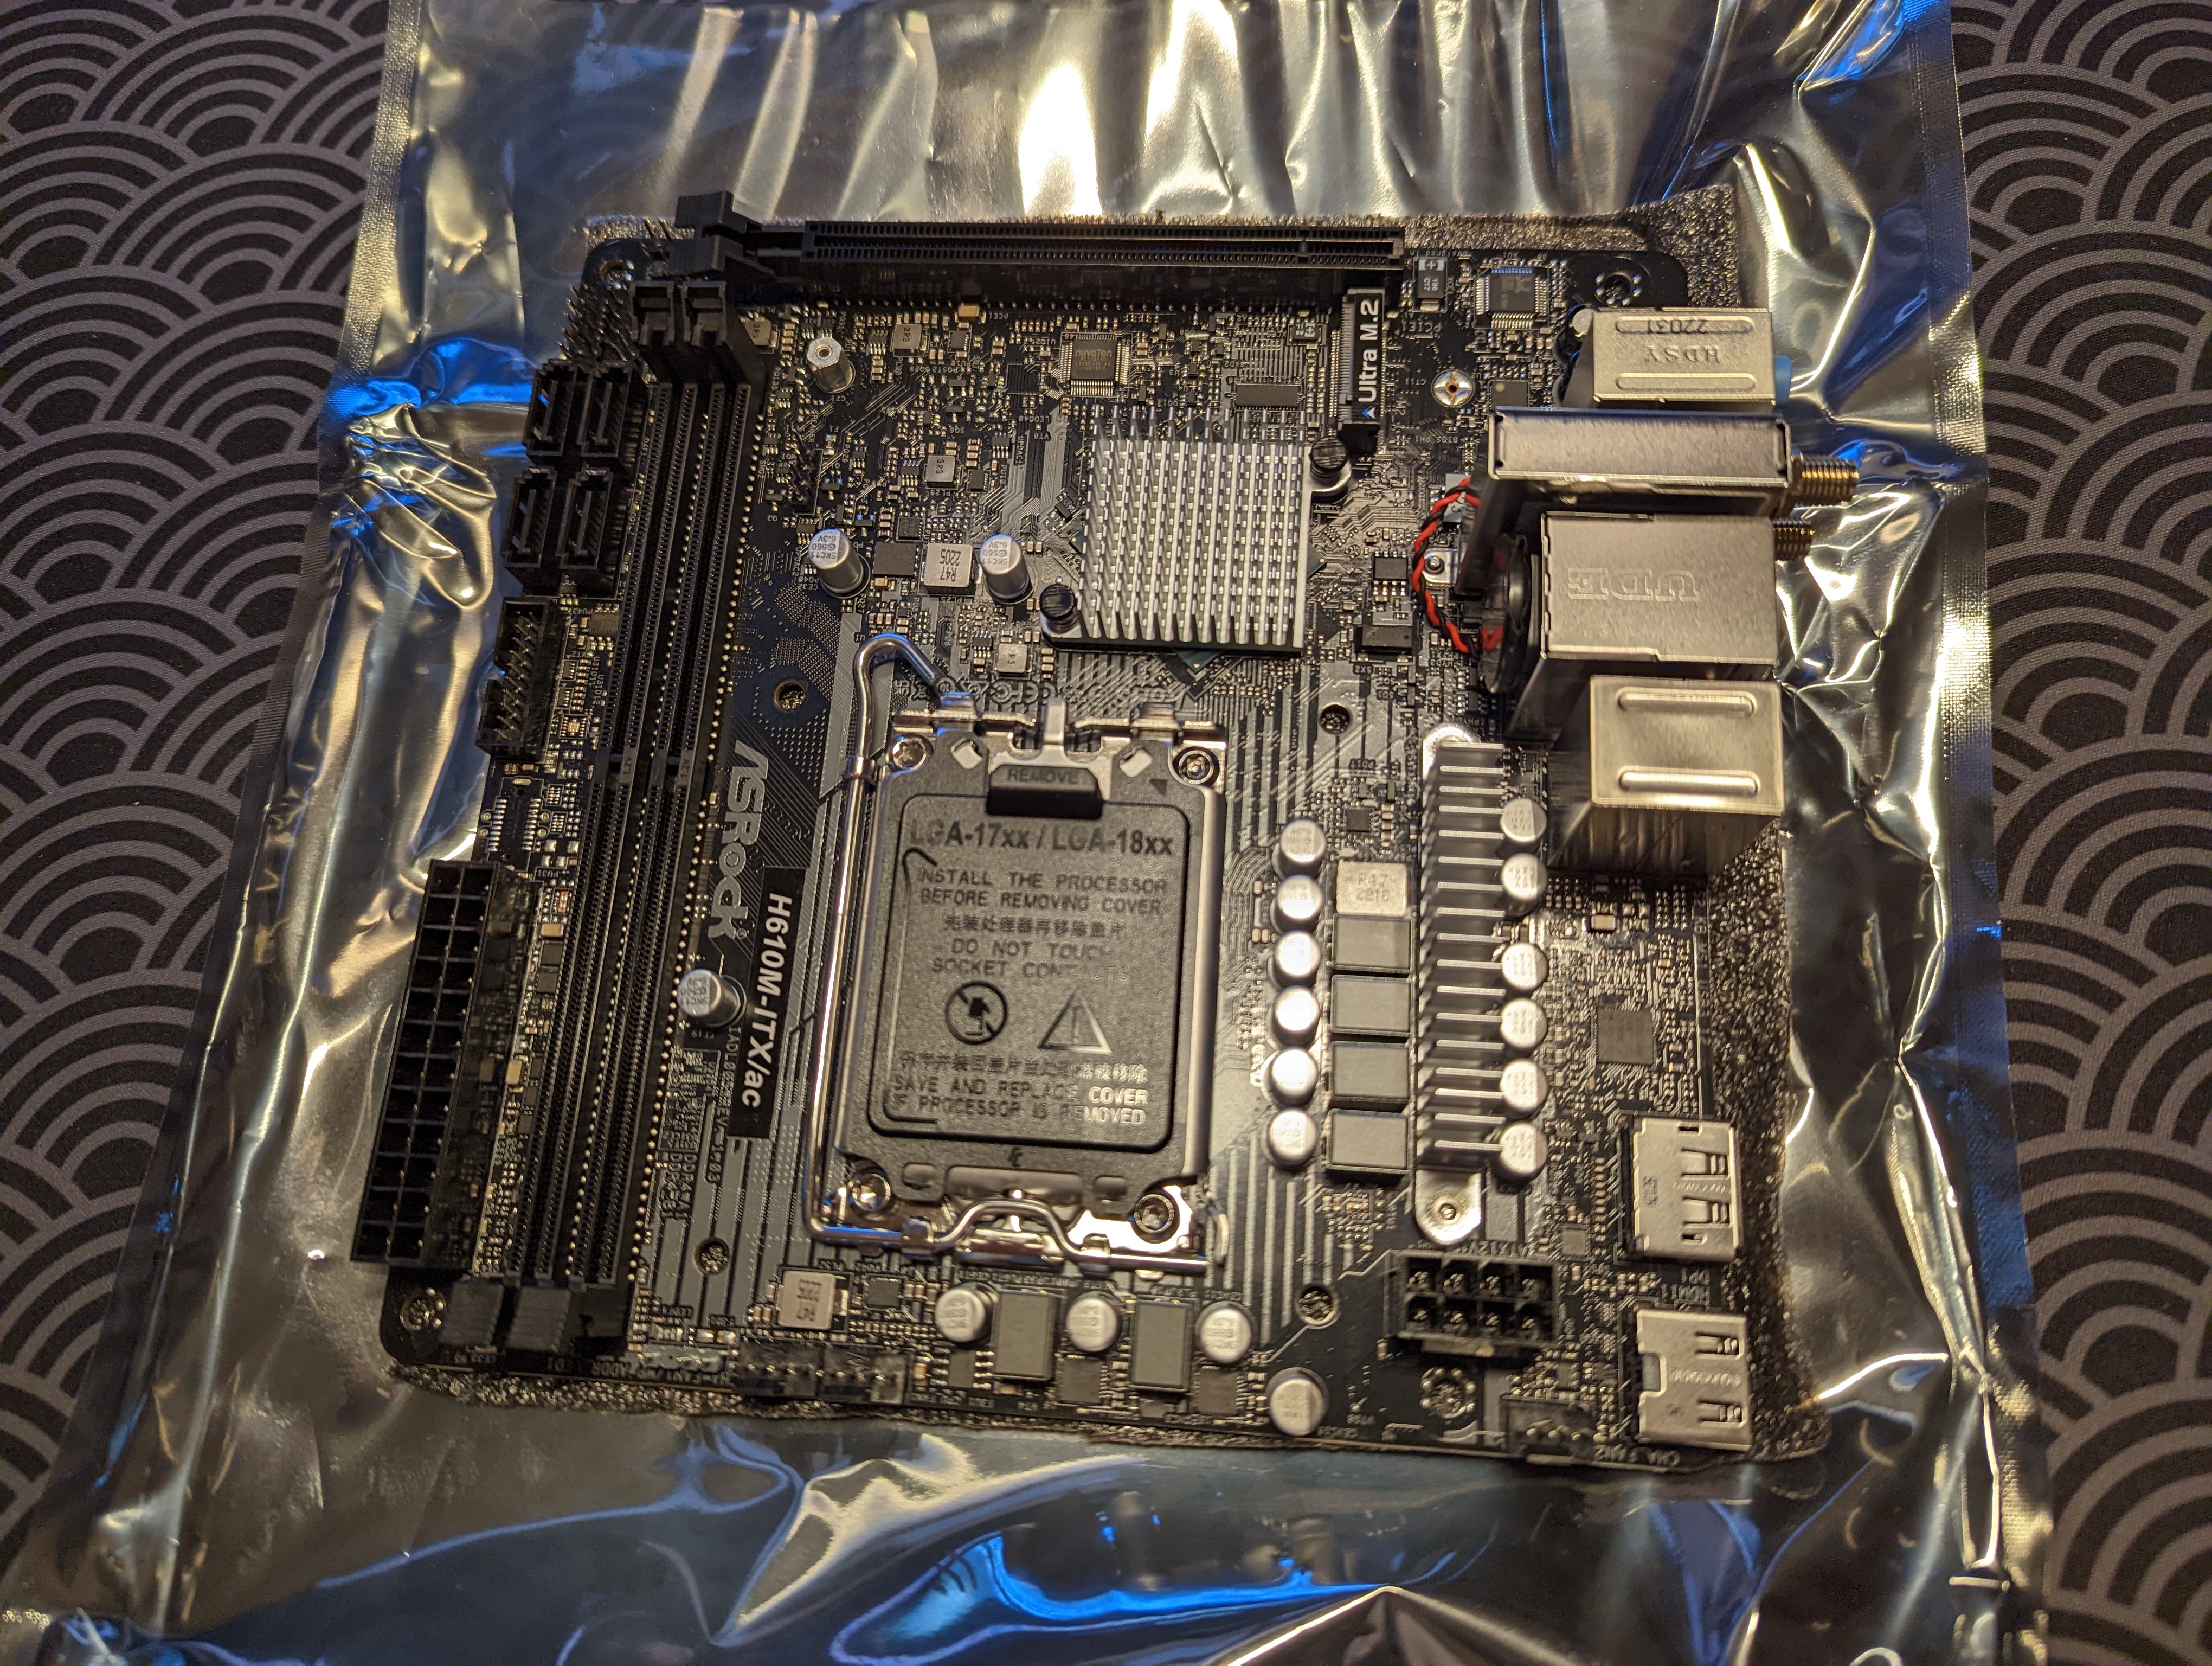
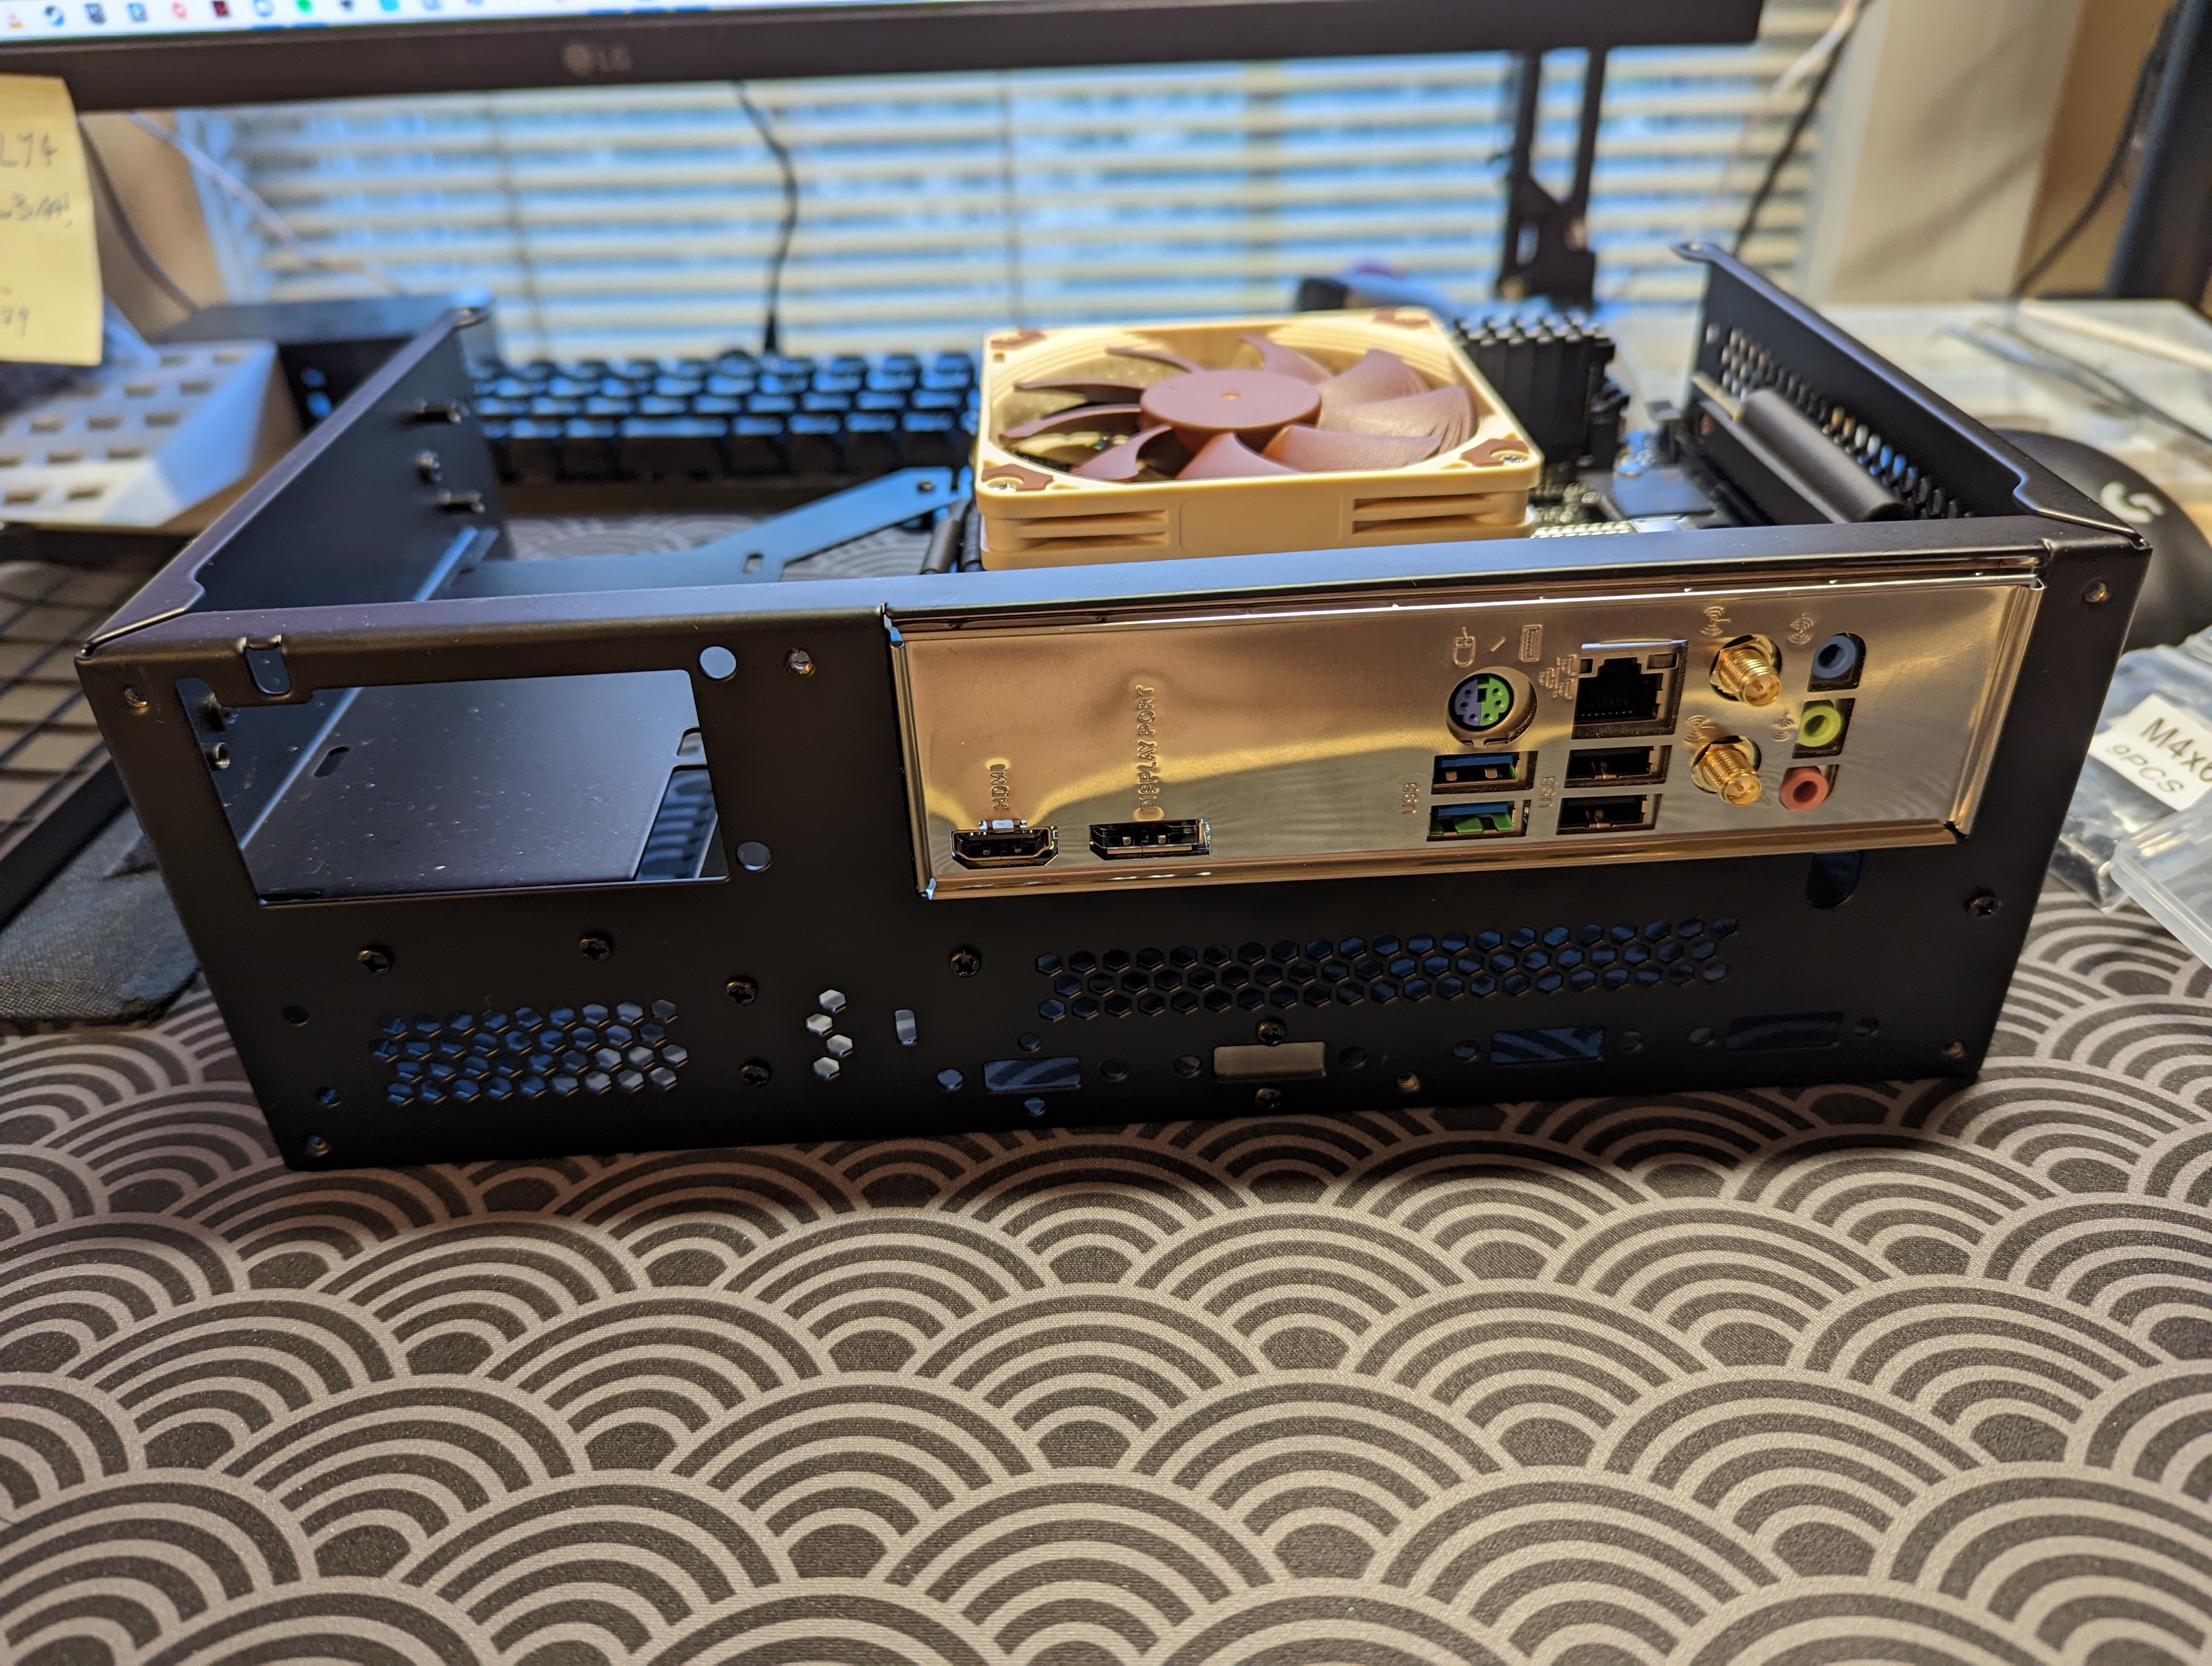
Assembling the Motherboard
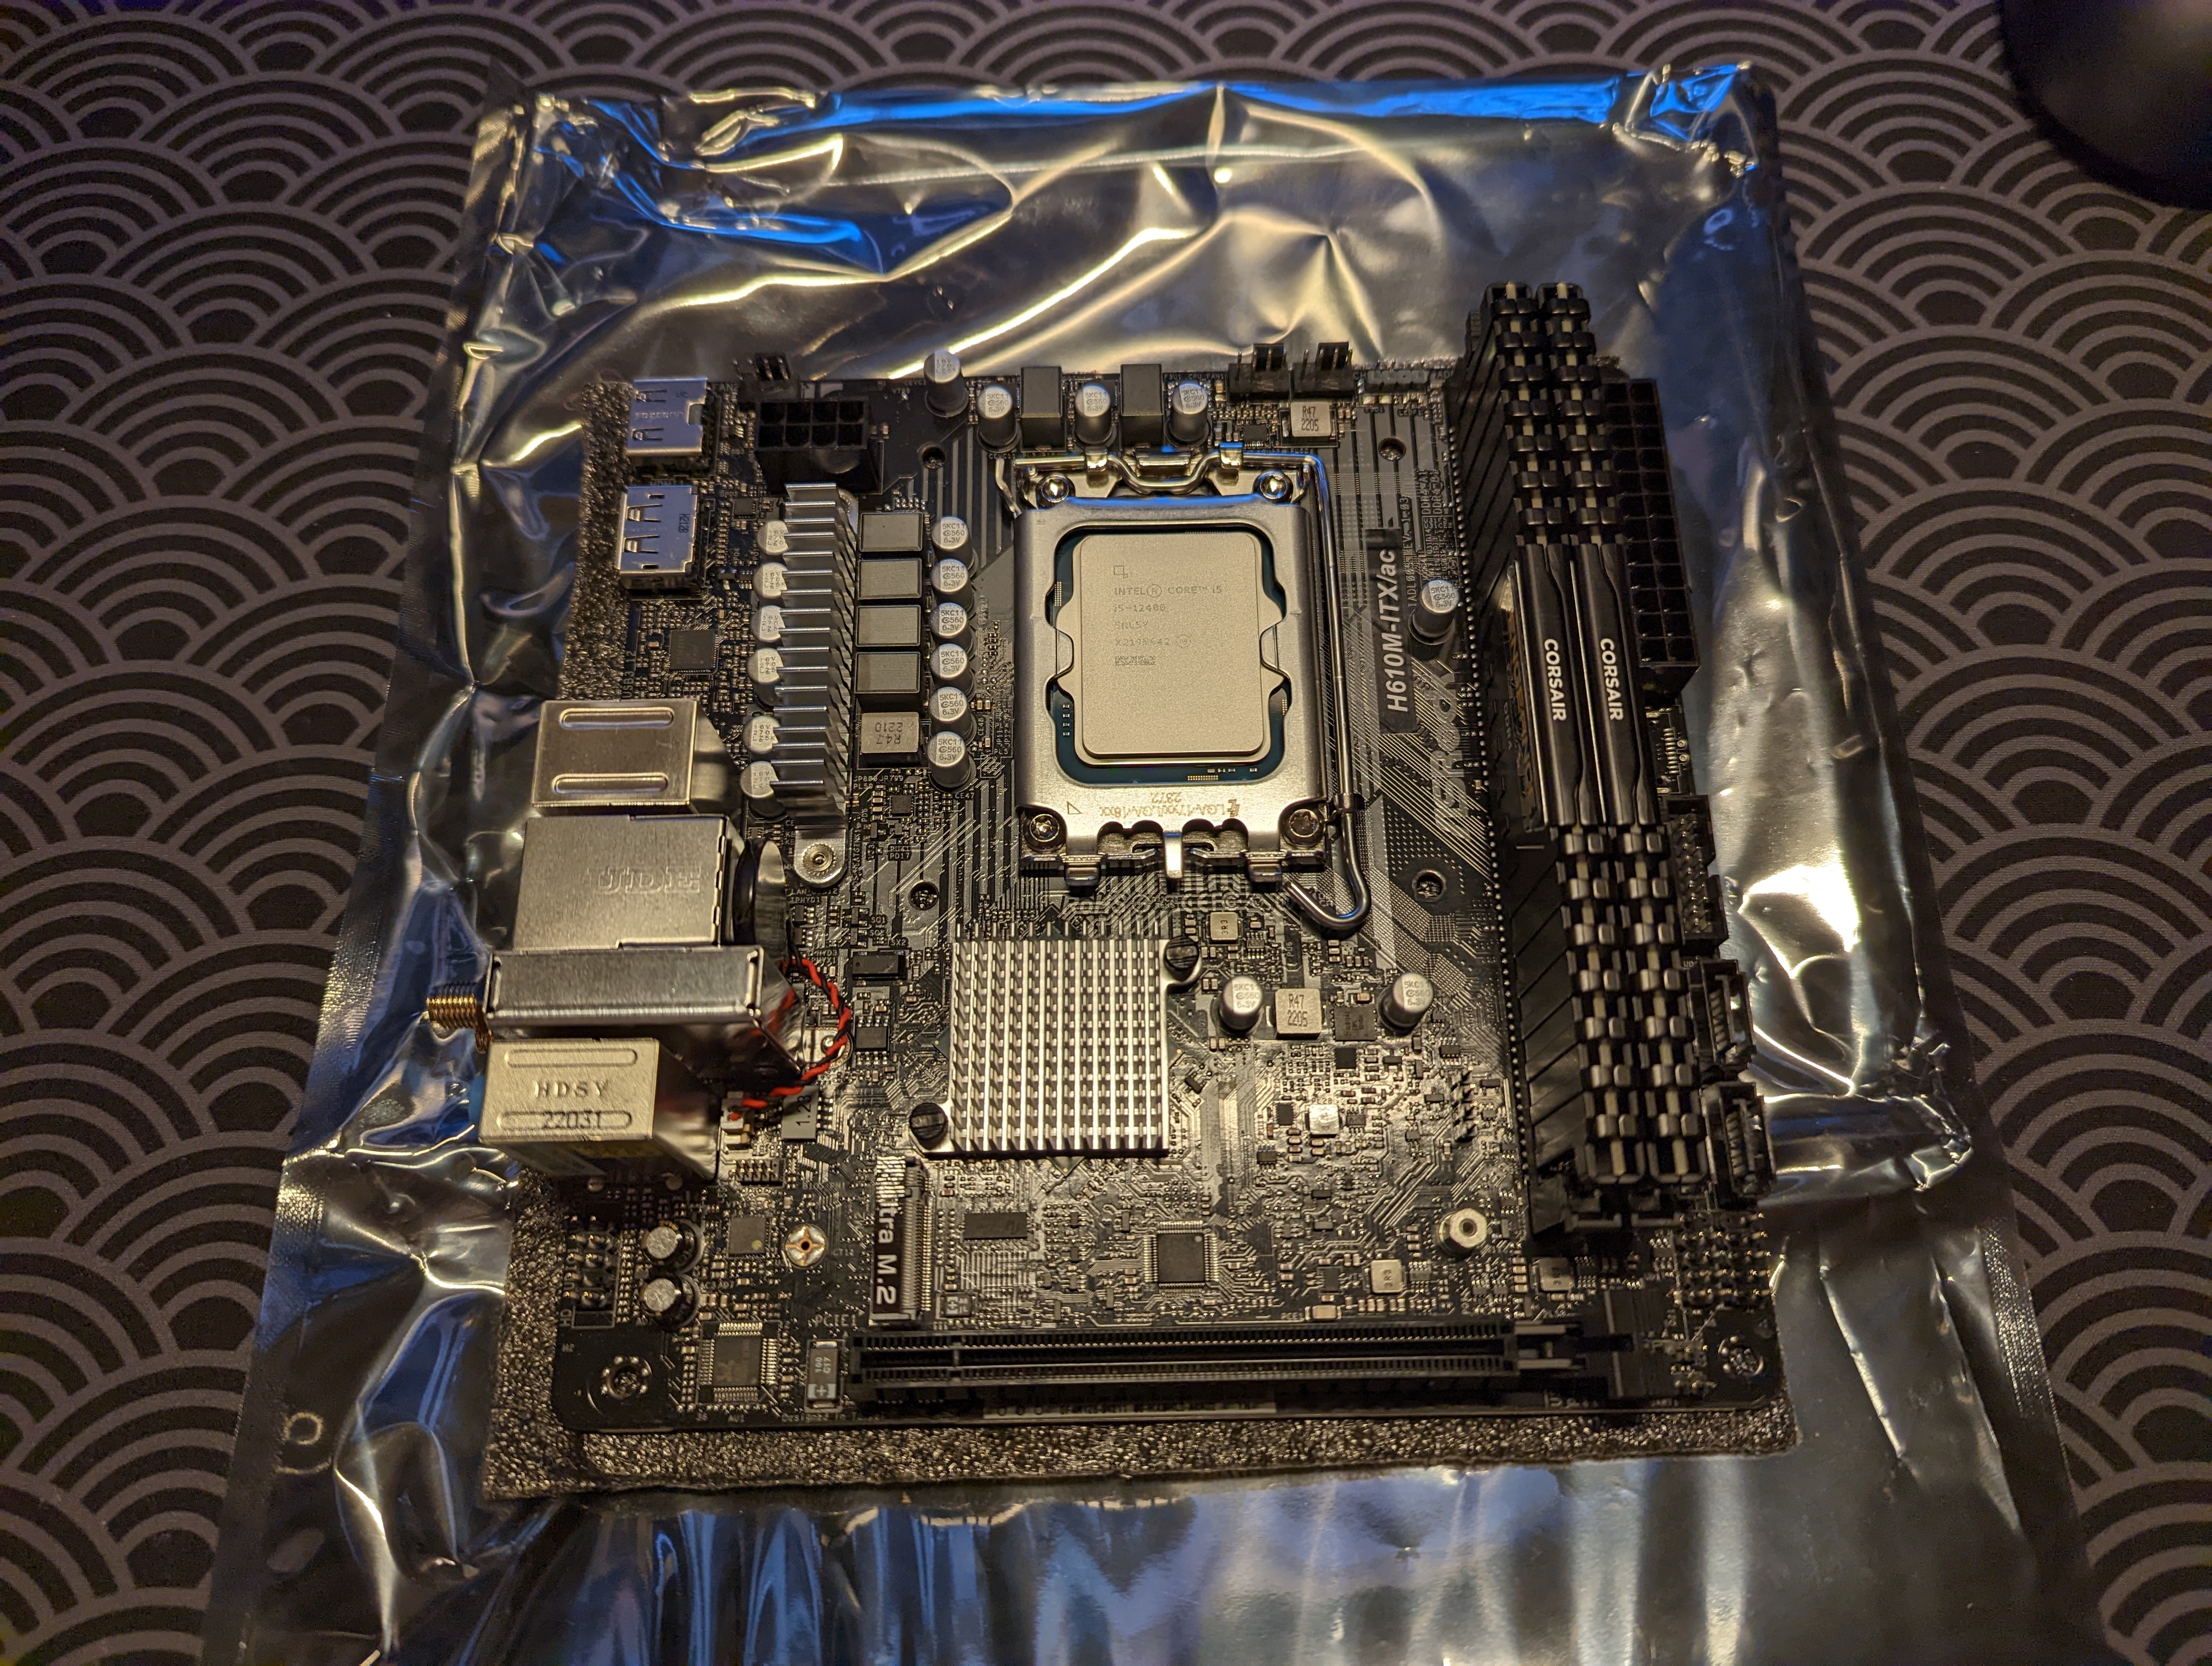
For my motherboard, I’m using an ASRock H610M-ITX/ac mini ITX motherboard with an LGA 1700 Intel socket. Accordingly, I’m using a 12th Gen Alder Lake Intel i5-12400F (4.40 GHz). From what I can tell, the i5 is currently a kind of a sweet spot for price to gaming performance, so it should handle most games I throw, without much issue.
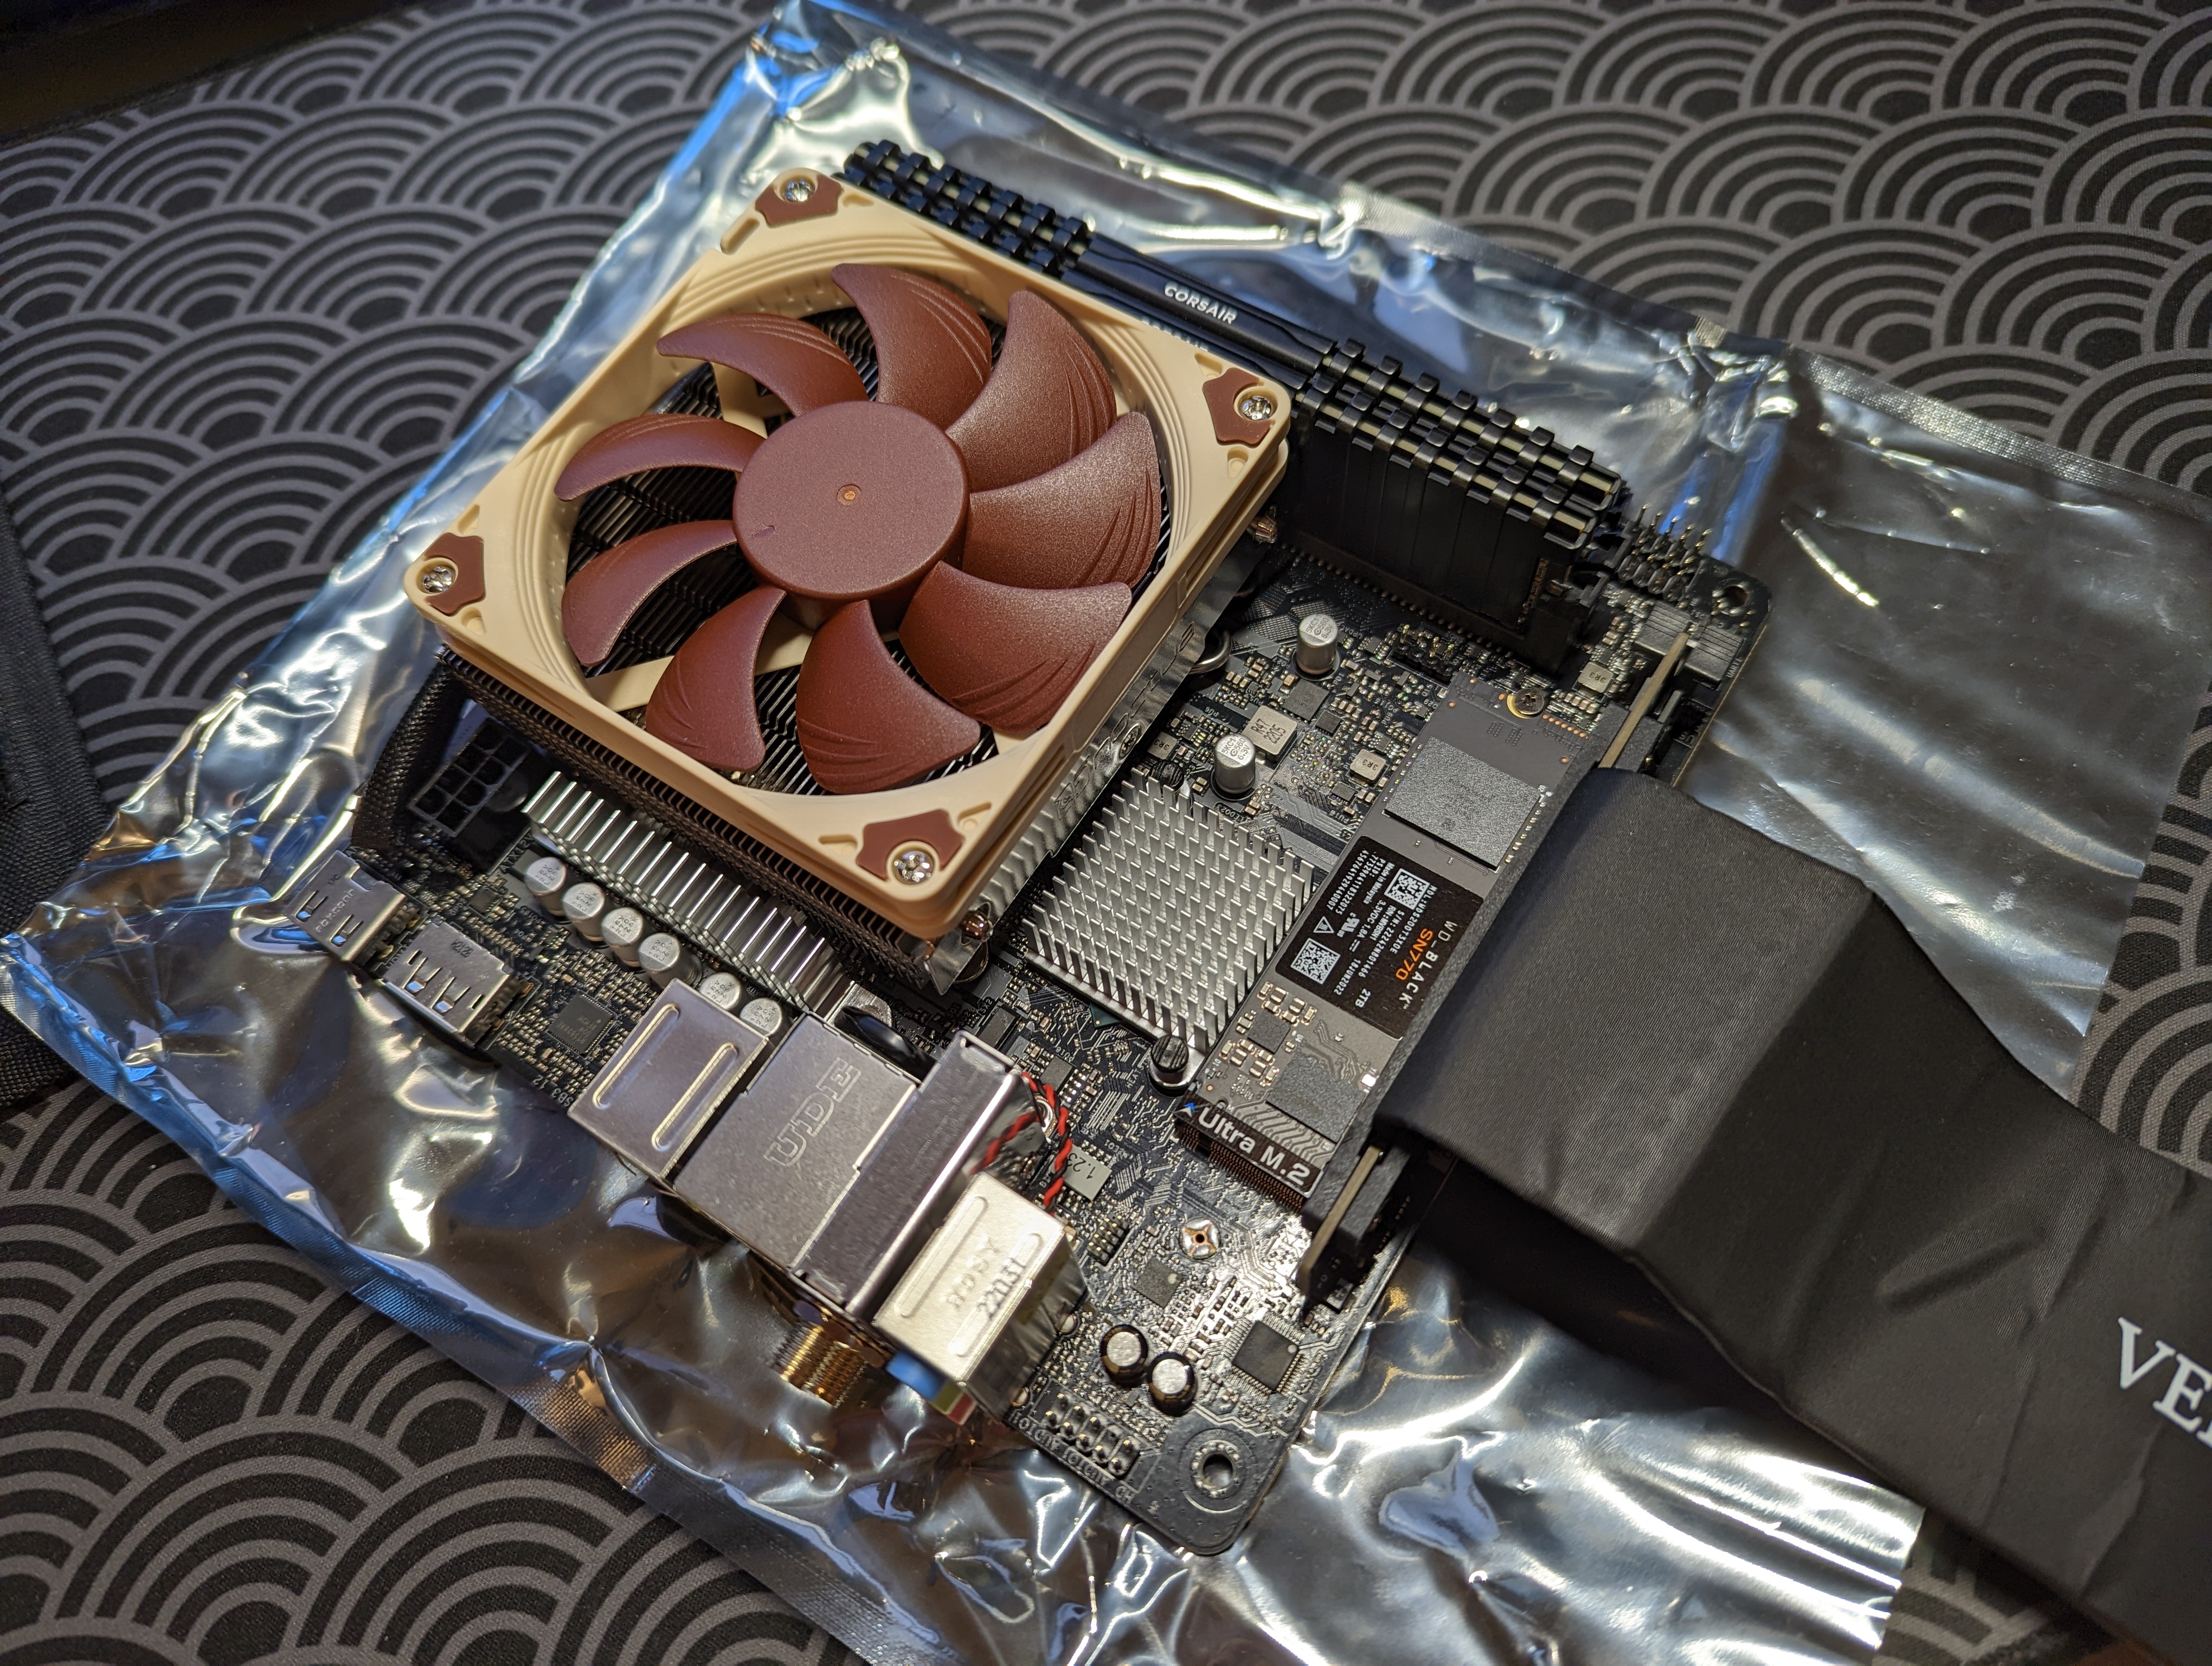
For the the CPU cooler, I’m using a Noctua NH-L9i-17xx. This CPU cooler is super quiet and low-profile, and even though it’s considered a lighter CPU cooler, it should be sufficient for the 12th gen i5 CPU. I applied a conservative amount of CPU cooling paste on the CPU.
For RAM, I’m using 2 x 16 GB of Corsair LPX Vengeneace DDR4 3200 MHz and for the SSD, I’m using 2 TB of Western Digital WD_BLACK SN770 M.2.
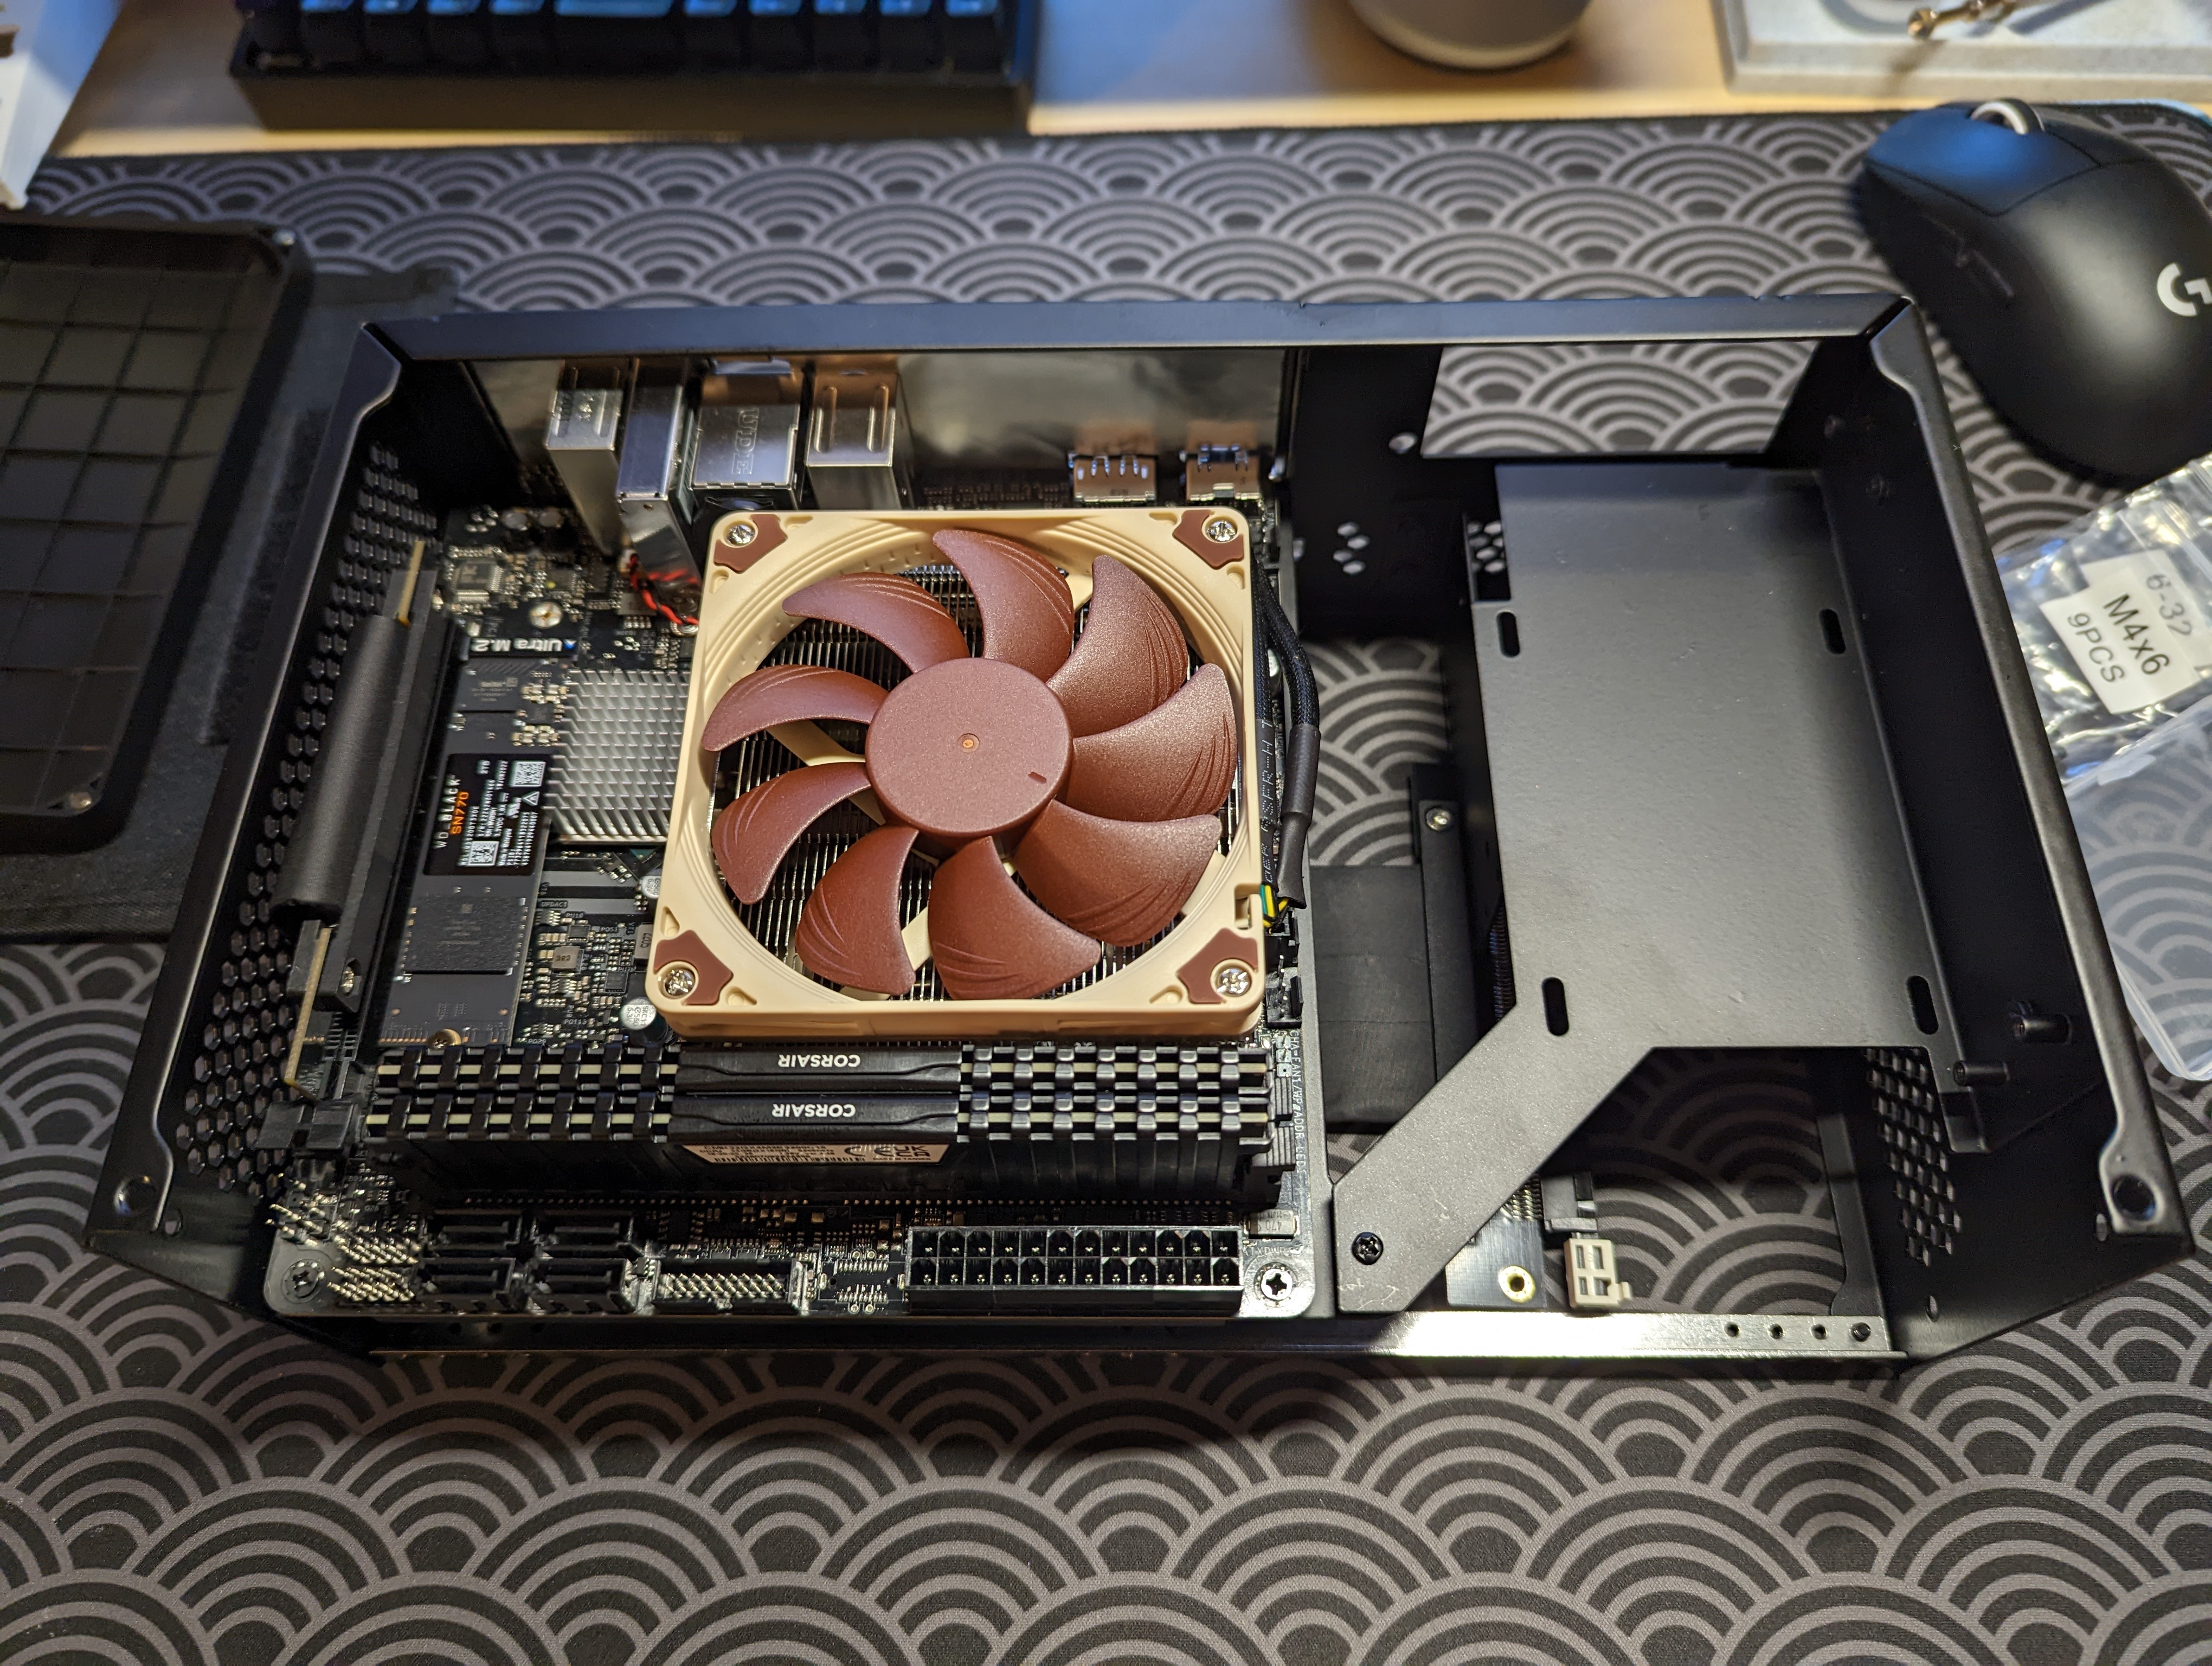
In all my photos, I depict the default Velka PCIe riser, which supports strictly PCIe 3.0. My motherboard, however, doesn’t support PCIe 3.0, and so I wound up replacing the riser with the Velka VC-S290G4 290 mm PCIe 4.0 cable, after I ran into some boot issues. I felt a little silly running into the boot issues, because I knew beforehand that PCIe 3.0/4.0 GPU/riser cable incompatibilities result in boot issues, which is why I bought a PCIe 4.0 cable for my last build.
At this point, I had assembled all the components onto the motherboard. I then moved the motherboard assembly into the case.
Deshrouding, Modifying, and Installing the GPU
From my experience, stock GPU fans leave a lot to be desired. I wanted to try my hand at GPU deshrouding
Installing the Power Supply
I now needed to provide power to all my components. I placed my fully functioning PSU into the allocated spot in my PC case.